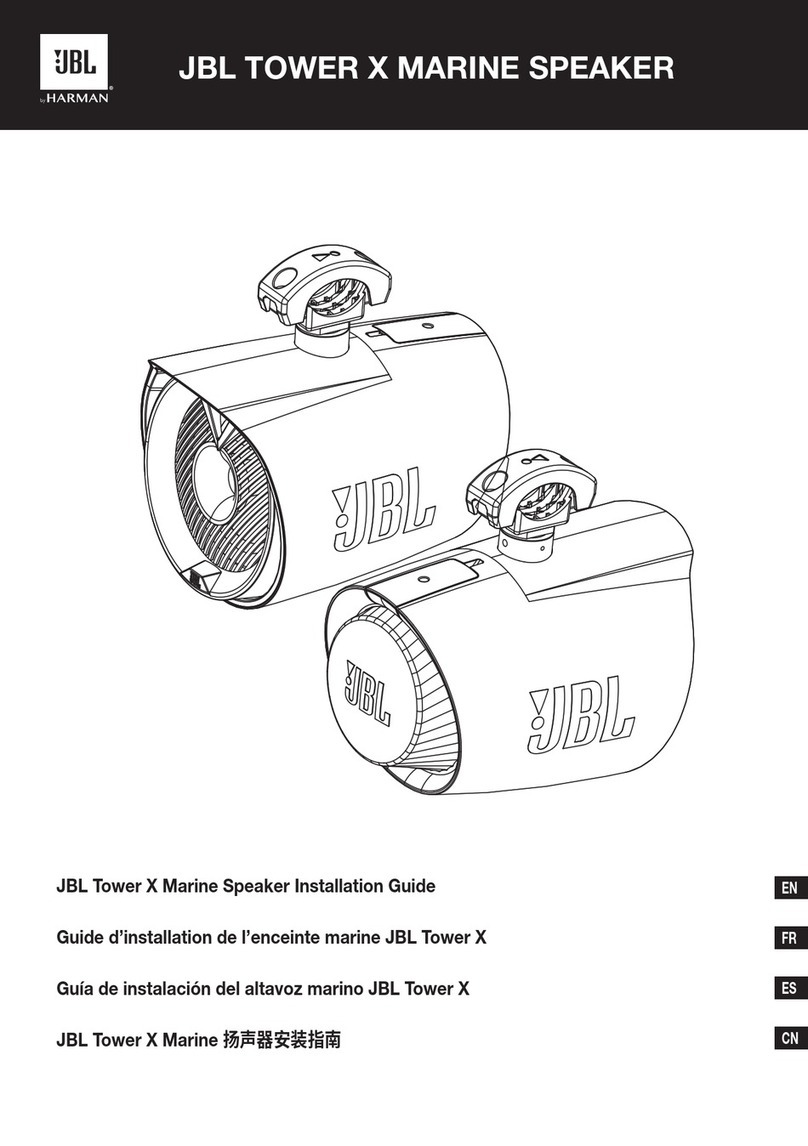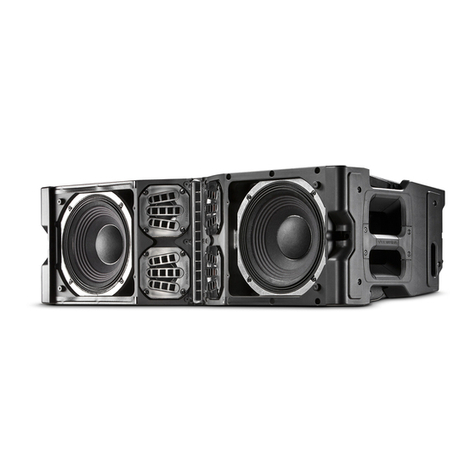
AXYS®ABF-260/100W PA6 V0 Low Profile Installation Manual Rev 1.1
202103/ABFPA6VOLP_IM_1.1
8
This symbol is intended to alert you to the
presence of uninsulated dangerous voltages
within the product’s enclosure that may be of
sufficient magnitude to constitute a risk of
electric shock.
This symbol is used throughout this manual
and is intended to alert you to the presence of
important instructions.
1) Read these instructions.
2) Keep these instructions.
3) Heed all warnings.
4) Follow all instructions.
5) Do not use this apparatus near water.
6) Clean only with dry cloth.
7) Do not block any ventilation openings. Install in
accordance with the manufacturer’s instructions.
8) Do not install near any heat sources such as radiators,
heat registers, stoves, or other apparatus (including
amplifiers) that produce heat.
9) Only use attachments/accessories specified by the
manufacturer.
10) Use only with the cart, stand, tripod, bracket
or table specified by the manufacturer, or sold
with the apparatus. When a cart is used, use caution when
moving the cart/apparatus combination to avoid injury
from tip-over.
11) Refer servicing to qualified service personnel. Servicing
is required when the apparatus has been damaged in any
way, liquid has been spilled or objects have fallen into the
apparatus, the apparatus does not operate normally, or has
been dropped.
Warning -To reduce the risk of fire or electric
shock, do not expose this apparatus to rain or
moisture.
Warning -The installer should ensure that the
mechanical mounting method employed
should be capable of supporting four times the
weight of the unit (i.e., with a safety factor of 4).
Warning -Equalisation boosts below 350
Hz frequency could damage/shorten the life
expectancy of the compression driver. No
equalisation boosts should be applied below 350 Hz. In
addition a 4th order 350 Hz high pass filter should be
applied in the output signal path of the ABF-260. The high
pass filter specification can be found in the appendix of
this manual.
1. IMPORTANT SAFETY INSTRUCTIONS

