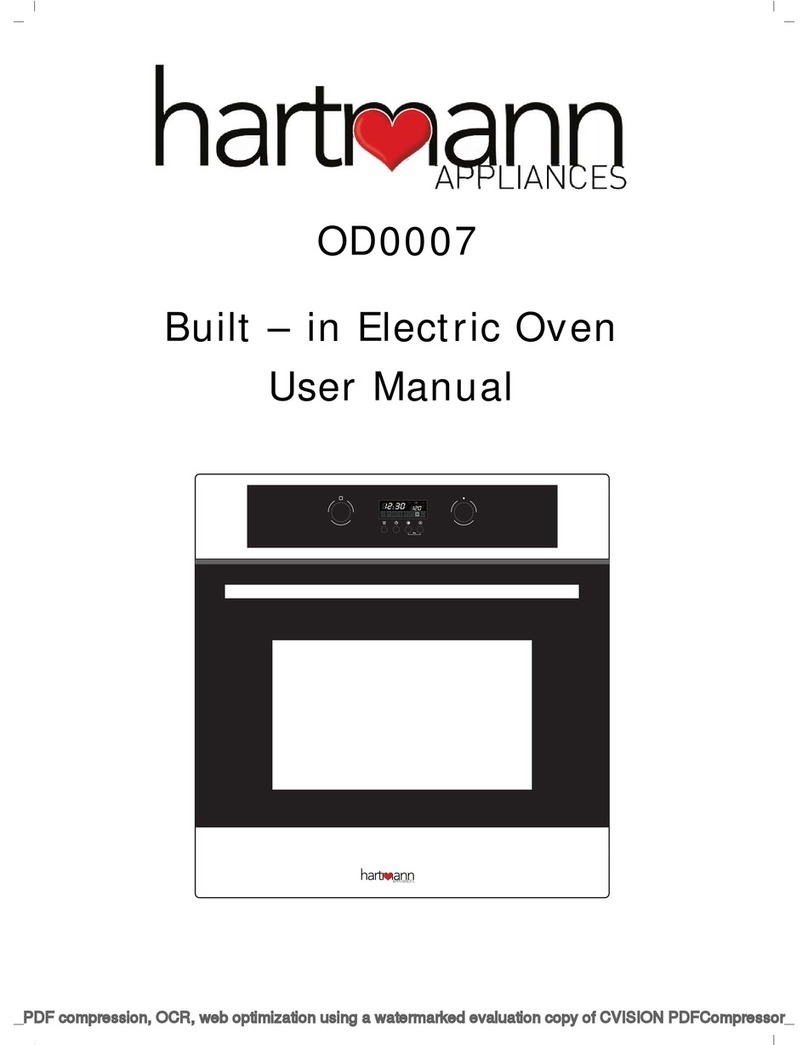
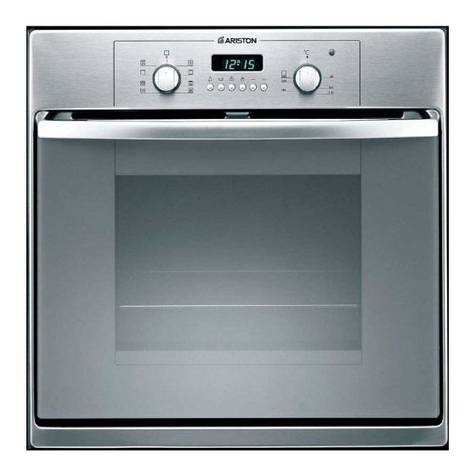
Hartmann OT001 User manual

OT001
Built-In Electric Oven
User Manual

Do not use harsh abrasive cleaners or sharp metal scrapers to clean the glass of the oven. This can scratch the
surface and may result in permanent damage to the glass.
When the oven is first switched on, it may give off an unpleasant smelling. This is due to the bonding agent used for
the insulating panels within the oven.This is completely normal, if it does occor, you merely have wait for the smell to
clear before putting food into the oven.
During use, the appliance becomes very hot. Care should be taken to avoid touching heating elements inside the oven.
Do not allow children to go near the oven when it is operating , especially when the grill is on.
Ensure that the appliance is switched off before replacing the oven lamp to avoid the possiblity of electrice shock.
This appliance is not intended for use by persons (including children) with reduced physical, sensory or mental capabilities,
or lack of experience and knowledge, unless they have been given supervision or instruction concerning use of the appliance
by person responsible for their safety.
The means for disconnection must be incorporated in the fixed wiring in accordance with the wiring specifications.
Conductors of supply cords shall have a nominal cross-sectional ares not less than 3G1.5mm2.
DECLARATION OF COMPLIANCE
When you have unpacked the oven, make sure that it has not been damaged
in any way. If you have any doubts at all, do not use it: contact a professionally
qualified person. Keep packing materials such as plastic bags, polystyrene,
or nails out of the reach of children because these are dangerous to children.
Thank you for purchasing our product.We hope you enjoy using the many features and benefits it provides.
Before using this product please study this entire Instruction Manual carefully. Keep this manual in a safe place
for future reference.Ensure that other people using the product are familiar with these instructions as well.
WARNING
The oven must be used only of the purpose for which it was designed; it must only be used for cooking food. Any other
use,e.g. as a form of heating is a breech of use and is therefore dangerous. The manufacturer will not be held liable or
responsible for any damage to a property caused through incorrect use. When using any electrical appliance you
must follow a few basic rules.
SAFETY HINTS
Do not use the oven unless you are wearing something on your feet.Do not touch the oven with wet or damp hands or feet.
Do not allow children or irresponsible people to use the oven unless they are carefully supervised.
If the oven breaks down or develops a fault, switch it off at the mains and do not touch it.
Please contact the After Sales Service Centre.
If the cable is at all damaged it must be replaced promptly. When replacing the cable, follow these instructions.
-Remove the power cable and replace it with one of the H05VV-F, and H05V2V2-F type .
-The cable must be able to bear the electrical current required by the oven.
-Cable replacement must be carried out by properly qualified technicians.
-The earthing cable (yellow-green) must be 10mm longer than the power cable.
Heating resistance temperature of power cord is above 70oC.The power cord should be connected with duplex switch,which
is no less than 250V and 20A (no need to be connected with plug).
If the above instructions are not adhered to the manufacture cannot guarantee the safe operation of the oven.
ACKNOWLEDGMENT
Do not use the power cord with an adapter, power board or extension cable.
If the cable is damaged it must be replaced promptly by a qualified technician.
2

Stay on: For the oven to be used in the " ". the food may catch fire if the cooking time is set too long. Close
supervision is necessary during toasting and the time should not be set too long.
NOTE: For cooking times which are under sixty minutes, first set to a longer time and then turn the switch back to
the time you require.
To set functions by turning the function knob to desired level.
The oven will automatically start cooking after function, time and temperature are set.
To set the time of cooking by turning the timer knob to desired time per your food cooking guide.
After the cooking time is up, the unit will " Dong" to stop.
To set the temperature by turning the temperature knob.
If the unit is not in use, always set the knobs to "I".
FITTING THE OVEN INTO THE KITCHEN UNIT
Fit the oven into the space provided
in the kitchen unit; it may be fitted
underneath a work top or into an
upright cupboard.Fix the oven in
position by screwing into place, using
the two fixing holes in the frame.
To locate the fixing holes,open
the oven door and look inside.
To allow adequate ventilation,the
measurements and distances
indicated in the diagram must be
adhered to when fixing
the oven.
IMPORTANT
If the oven is to work properly, the kitchen housing must be suitable. The panels of the kitchen unit that are next to the oven must be made
of a heat resistant material. Ensure that the gules of units that made of veneered wood can vithstand temperatures of at least 120
ºC
.
Plastics or glues that cannot withstand such temperatures will melt and deform the unit,once the oven has been lodged inside the units,
electrical parts must be completely insulated.This is a legal safety requirement.All guards must be firmly fixed into place so that it is impossible
to remove them without using special tools. Remove the back of the kitchen unit to ensure an adequate current of air circulates around the oven.
The hob must have a rear gap of at least 45 mm.
HOW TO USE
Appliances with stainless steel fronts
Always remove any flecks of lime scale,grease, corn flour and egg white immediately. Corrosion
can form under such flecks. Use stainless steel care products. Follow the manufacturer's
instructions. Try out the product on a small area first, before using on the whole surface.
Appliances with aluminum fronts
Use a mild windows-cleaning detergent.
Wipe the area with a soft windows cloth or a fluff- free micro-fibre cloth,using a horizontal action
without applying pressure.
Aggressive cleaning products, scratchy sponges and rough cleaning cloths are not suitable.
3

PRODUCT DESCRIPTION
Symbol Function description
Oven Light.
Top heat: Perfect for flash browning dishes like cauliflower or macaroni cheese.
Note:when you need to achieve a gratin finish, this is available on our range cookers.
Heating the oven using the top and bottom elements. The temperature can be set within the range of 50-250OC
Put the food in the oven after it has reached the prset temperature.During cooking,refrain from opening the door.
Heating the oven using the bottem element. Preset temperature to 50-250OC
Note: Thus function is ideal for cooking pizza.
Temperature Knob Timer knob Function Knob
Control panel
Door handle
Door
Triple-glass
window of
the door
4

ACCESSORIES
Wire shelves : For grill .dishes, cake pan with
items for roasting and grilling.
Slider bracket : These shelf support rails on the right and left
sides of the oven can be removed for
cleaning oven walls.
Universal pan: For cooking large quantities of food such
as moist cakes, pastries, frozen food etc,
or for collecting fat/ spillage and meat juices.
NOTE: The number of a accessories included depends on the particular
appliance purchased.
SHELF PLACEMENT WARNING:
To ensure the oven shelves operate safely, correct placement of the shelves
between the side rails is imperative. This will ensure that during careful removal
of the shelf or tray, hot food items should not slide out.
use of rotisserie accessories
The rotisserie works in combination with the grill element to cook cuts of
meat or poultry,at the same time browning to perfection.
The bulb in the light is a special bulb, and has hight temperature resistance (230-240V~25W).
For replacement, proceed as follows:
1. Disconnect power from the mains outlet or switch off the circuit breaker of the unit's mains outlet.
2. Unscrew the covering glass and replace the bulb with a new one of the same type.
3. Screw the covering glass back in place.
BULB REPLACEMENT
5

FE
C
A
b
A
FE
C
A
b
A
DG
Model Dimension(mm) Model
Dimension(mm)
A600+2 B
C560+2 D
E24+2 F
G25+2
565+2
90
5
INSTALLATION
For the sake of a good appearance and reliability, keep the unit clean. The modern design of the unit facilitates
maintenance to a minimum.The parts of the unit which come into contact with food have to be cleaned regularly.
Before any maintenance and cleaning, disconnect the power
Set all controls in the OFF position.
Wait until the inside of the unit is not hot but only slightly warm- cleaning is easier than when warm.
Clean the surface of the unit with a damp cloth, soft brach or fine sponge and then wipe dry.
In case of heavy soiling, use hot water with non- abrasive cleaning product.
For cleaning the glass of the oven door,do not use abrasive cleaners or sharp metal scrapers, these can scratch
the surface or lead to the glass being damaged.
Never leave acidic substances (lemon juice, vinegar) on stainless steel parts.
Do not use a high pressure cleaner for cleaning the unit.
The baking pans may be washed in mild detergent.
This appliance is marked according to the European directive 2002/96/EC on Waste Electrical and Electronic
Equipment(WEEE).
By ensuring this product is disposed correctly, you will help prevent potential negative consequences for the
environment and human health,which could otherwise be caused by inappropriate waste handling of this product.
The symbol on the product indicates that this product may not be treated as household waste. Instead it shall be
handed over to the applicable collection point for the recycling of electrical and electronic equipment. Disposal
must be carried out in accordance with local environmental regulations for waste dispoasl.For more detailed
information about treatment, recovery and recycling of this product, please contact your local city office, your
household waste disposal service or the shop where you purchased the product.
CLEANING AND MAINTENANCE
6

Table and tips
Small cakes 3
Sponge cake 2
50-250
50-250
Apple pie 2
Apple pie
Small cakes
Small cakes
Bread(pieces)
Burgers
1+3
3
1+3
4
4
50-250
50-250
50-250
50-250
50-250
50-250
Food Weight Shelf
position Cooking
Method Temp.0CTime
(min.) Dish
Biscuits
Sausages
Toast
Toast
Beef
Pork
Chicken
Burgers
Pork fillet
Sausages
Filet of beef
Rich biscuits
Victoria sandwich
Swiss Roll
------- 1+3 50-250 0-120 Baking tray
400g 4 50-250 wire shelves
4 pieces 4 50-250 wire shelves
9 pieces 4 50-250 wire shelves
1000g 2 50-250 wire shelves
1000g 2 50-250
on ceramic plates
+ wire shelves
1300g 2 50-250
wire shelves
1000g 4 50-250 wire shelves
1000g 4 50-250 wire shelves
400g
4 50-250 wire shelves
1000g
4 50-250 wire shelves
------
------
------
3
2
3
50-250
50-250
50-250
Baking tray
Baking tray
Baking tray
------
------
------
------
------
------
------
------
------
------
------
------
------
------
------
------
0-120
0-120
0-120
0-120
0-120
0-120
0-120
0-120
0-120
0-120
0-120
0-120
0-120
0-120
0-120
0-120
0-120
0-120
0-120
0-120
0-120
7
Table of contents
Other Hartmann Oven manuals
Popular Oven manuals by other brands
NEFF
NEFF U15E52.3GB instruction manual
GE
GE Advantium PSB9100BL installation instructions
Hotpoint
Hotpoint BD52 BD62 Installation and operating instructions
Siemens
Siemens HB 58 C 6B Series User manual and installation instructions
DeLonghi
DeLonghi DSC 616-IND Installation & user's instructions

Convotherm
Convotherm 6.06 mini installation manual
