1
What is it ?
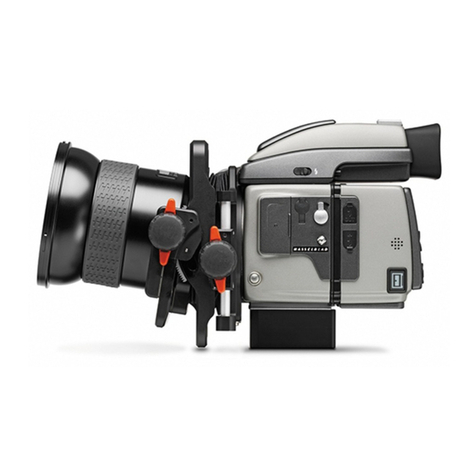
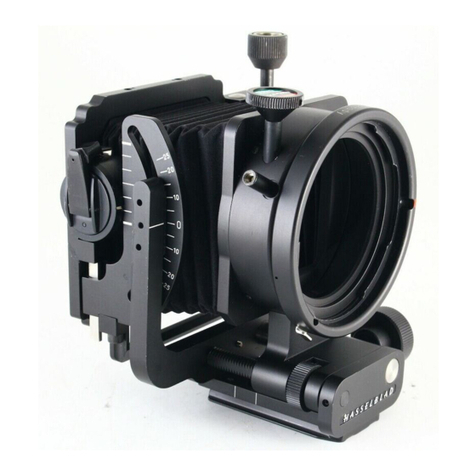
The HTS 1.5 is an accessory for H-system cameras that greatly
expands their usability both technically and creatively. It works
by allowing a lens to be moved in two different ways to meet
some challenges typically found in professional photography. It
is compact, simple to use and can prove to be an invaluable aid
in certain situations.
The HTS 1.5 adapter is mounted between the lens and the cam-
era body and, by way of the databus connections, automatically
conveys data to ensure the optimum in convenience and accu-
racy of exposure. This information is nally stored as metadata
with each le that can then be accessed in Phocus.
And it is in Phocus that DAC corrections automatically take into
account all tilt, shift and rotational movements as well as a
long list of specic lens data. This ability, unique to Hasselblad,
ensures the exceptional quality produced by the HTS 1.5.
What does it do?
The HTS 1.5 primarily solves problems but equally well pro-
motes creative opportunities to provide the photographer with
an almost invaluable tool.
Problem solving would be most obviously benecial in architec-
tural work, close-up product photography and certain kinds of
documentation, for example.
Creative opportunities would cover almost any area of photog-
raphy where a fresher approach is required regarding selective
focus and/or perspective manipulation.
How does it work?
It exploits established optical principles familiar to view camera us-
ers, namely ‘tilt’ and ‘shift’. These capabilities are further exploit-
ed by being able to rotate the whole unit. Only basic explanations
are included here as In-depth technical descriptions are beyond
the scope of this manual. A search on the Internet under headings
such as ‘camera movements’ and ‘Scheimpug Principle’, for
example, can provide much more insight into the concepts.
To be able to allow such movements using a lens from the stan-
dard range, an optical converter that increases lens coverage is
integrated into the design. In this way the adapter expands the
use of a number of lenses that many users already have thereby
avoiding the need for dedicated lenses.
Very simply put, tilting the lens moves the orientation of the
plane of sharp focus while shifting the lens moves the projected
image circle inside the camera.
What problems does it solve?
There are basically two areas that can be helped by tilt and
shift:
· Tilt is used when you want to change the orientation of the
plane of sharp focus.
· Shift is used to change the area selected for coverage of a
scene while retaining parallel lines in the image. It can also
used to create panoramas when used horizontally.
Although tilt is typically used in close-up product or landscape
photography and shift is typically used in architectural applica-
tions, it would be wrong to highlight these areas too much.
There are many situations where some tilt or some shift or
both would go a long way in producing a competitive edge on an
otherwise normal shot.
How is it creative?
The actions that produce practical solutions to problems create
effects that can also be classied as creative, dependent on
the intention. For example, it might be said that “stitching” (the
digital combining of several images) creatively exploits the ‘cor-
rect’ use of movements while selective de-focusing creatively
exploits the ‘incorrect’ use.
Hasselblad HTS 1.5
