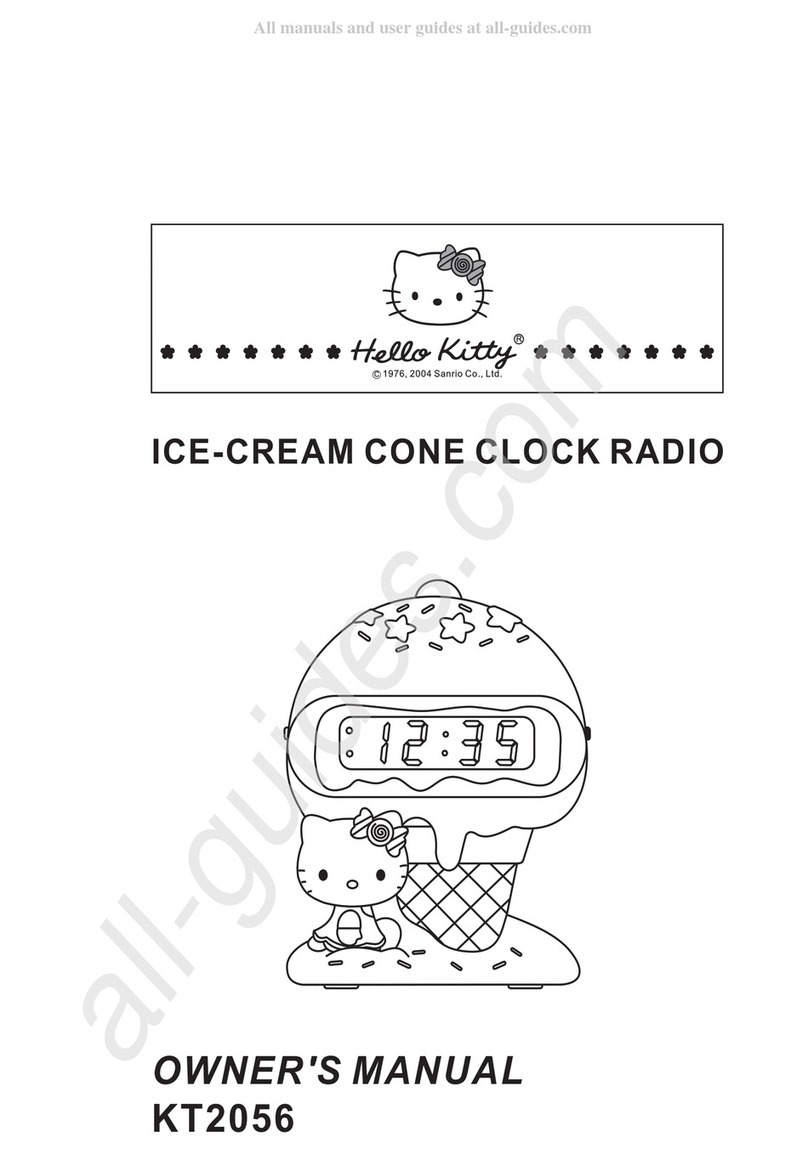
Hello Kitty KT2051 User manual

AM/FM ALARM CLOCK RADIO
USER MANUAL
KT2051
WARNING
This is an AC clock radio - not a toy! To avoid risk of fire, burns,
personal injury and electric shock it should not
be played with
or placed where small children can reach it.

1
WARNING
TO REDUCE THE RISK OF FIRE OR SHOCK HAZARD, DO NOT USE THIS PLUG
WITH AN EXTENSION CORD, RECEPTACLE OR OTHER OUTLET UNLESS THE
BLADES CAN BE FULLY INSERTED TO PREVENT BLADE EXPOSURE. DO NOT
EXPOSE THIS APPLIANCE TO RAIN OR MOISTURE.
IMPORTANT SAFETY INSTRUCTIONS
1. Read all instructions.
2. Keep these instructions.
3. Heed all warnings.
4. Follow all instructions.
5. Do not use this apparatus near water.
6. Clean only with dry cloth.
7. Do not block any ventilation openings. Install in accordance with the
manufacturer's instructions.
8. Do not install near any heat sources such as radiators, heat registers,
stoves, or other apparatus (including amplifiers) that produce heat.
9. Protect the power cord from being walked on or pinched particularly at
plugs, convenience receptacles, and the point where they exit from the
apparatus.
10. Only use attachments / accessories specified by the manufacturer.
11. Unplug this apparatus during lightning storms or when unused for long
periods of time.
12. Refer all servicing to qualified service personnel. Servicing is required
when the apparatus has been damaged in any way, such as the power
supply cord or plug is damaged, liquid has been spilled or objects have
fallen into the apparatus, the apparatus has been exposed to rain or
moisture, does not operate normally, or has been dropped.

2
13. This apparatus should not be exposed to water and no object filled with
liquids such as vases should be placed on the apparatus.
14. The main AC plug is used as a disconnect device and it should remain
readily accessible during use. In order to disconnect the apparatus, the
main AC plug should be disconnected from the AC outlet completely.
WARNING
THIS IS AN AC OPERATED CLOCK RADIO
UK MAINS PLUG DETAILS
For your convenience, a mains plug with a fuse (3 Amperes) has been fitted to
this appliance. For your safety please observe the following information. The
appliance is designed to operate on 230 volts, 50 Hz AC mains supply. The
wires in the mains lead are coloured in accordance with the following code:
CAUTION:Under no circumstances should the Neutral or Live wires be
connected to the 'E' (Earth) terminal.
Colour Code
Plug Lead
BLUE
NEUTRAL
BROWN
LIVE

3
PROTECT YOUR FURNITURE!!
This system is equipped with non-skid rubber ‘feet’ to prevent the product from moving when you
operate the controls. These ‘feet’ are made from non-migrating rubber material specially
formulated to avoid leaving any marks or stains on your furniture. However certain types of oil
based furniture polishes, wood preservatives, or cleaning sprays may cause the rubber ‘feet’ to
soften, and leave marks or a rubber residue on the furniture.
To prevent any damage to your furniture we strongly recommend that you purchase small self-
adhesive felt pads, available at hardware stores and home improvement centers everywhere, and
apply these pads to the bottom of the rubber ‘feet’ before you place the product on fine wooden
furniture.
IMPORTANT NOTES
Avoid installing the unit in locations described below:
♦Places exposed to direct sunlight or close to heat radiating appliances such as electric
heaters.
♦Dusty, humid or moist places.
♦Places subject to constant vibration.
POWER SOURCE
This unit is designed to operate on 230V~ 50Hz AC house current. Operating this unit on any
other power source may cause damage to the unit, and such damage is not covered by your
warranty.
It is also equipped with a battery backup system for the clock that is powered by an optional 9V
battery (type 6LR61, 6F22 or equivalent) – not included.
BATTERY BACKUP SYSTEM
The Battery Backup System ensures the clock and alarm settings are retained during a power
interruption or power outage (in order to preserve the battery life the Display will not light). All clock
settings will be kept in memory, however, the clock time may require adjustment for exact accuracy
once the power resumes. If a battery is not installed, the Display will be flashing “12:00” when the
power is restored. This indicates that you have to set up the time and alarm settings again.
BATTERY INSTALLATION
Note: For optimum performance an alkaline-type battery is recommended.
1. Open the battery compartment door on the bottom of the cabinet
then connect one type 6LR61 9V battery to the Battery Clip located
inside.
Note: The battery clip only fits one way to ensure the correct polarity.
2. Replace the Battery Compartment Door.
IMPORTANT: Be sure that the battery is installed correctly. Wrong
polarity may damage the unit.
BATTERY CARE
♦If the unit is not to be used for an extended period of time, remove the battery. Old or leaking
battery can cause damage to the unit and will void the warranty.
♦Do not try to recharge batteries not intended to be recharged; they can overheat, rupture and
leak. (Follow battery manufacturer’s directions.
♦Do not dispose of batteries in fire, batteries may leak or explode.

4
LOCATION OF CONTROLS AND INDICATORS
SETTING THE CLOCK
When you connect the radio to an AC outlet for the first time the clock display will begin flashing
"12:00". The flashing will stop when you set the time.
1. Press and hold the TIME button and repeatedly press the HOUR button to set the correct
Hour.
2. Press and hold the TIME button and repeatedly press the MINUTE button to set the correct
Minute.
NOTE:
There is a PM INDICATOR located in the top left-hand corner of the clock display. Be sure to
observe the PM indicator when setting the time to make sure the time is set correctly for AM or
PM. If the PM indicator is 'On', the time displayed is "PM". If the PM indicator is 'Off, the time
displayed is "AM ".
1. SNOOZE BUTTON
9. VOLUME CONTROL
2. ALARM BUTTON
10. FM WIRE ANTENNA
3. TIME BUTTON
11. AUTO INDICATOR
4. SLEEP BUTTON
12. AC CORD
5. HOUR BUTTON
13. AM/FM BAND SELECTOR
6. MINUTE BUTTON
14. AUX IN JACK
7. FUNCTION SELECTOR
(ON/OFF/AUTO/ALARM)
15. PM INDICATOR
8. TUNING CONTROL

5
LISTENING TO THE RADIO
1. Set the AM/FM BAND SELECTOR to the desired band, AM or FM.
2. Slide the FUNCTION SELECTOR to the “ON” position.
3. Select your desired station with the TUNING CONTROL.
4. Adjust the VOLUME CONTROL to the desired listening level.
5. When you have finished listening, slide the FUNCTION SELECTOR to the “OFF” position to
turn the radio off.
TIPS FOR BEST RADIO RECEPTION
AM - The AM antenna is built inside the radio. If AM reception is weak, change the position of
the unit until the internal antenna picks up the strongest signal.
FM - If FM reception is weak, fully extend the FM WIRE ANTENNA and vary the position and
location of the antenna until you find the strongest signal.
AUX IN OPERATION
This unit features an aux line-in jack for connecting your iPod, MP3 player or other digital music
player.
1. Connect the headphone jack of your external device to the AUX IN jack located on the back
of the unit (cable not included).
2. Turn the unit on and it will enter the AUX function mode once an external device is plugged
into the AUX IN jack.
3. Start playing your iPod, MP3 player or other external audio device.
4. Slowly adjust both volume controls on the unit and the external device.
5. Turn off your iPod, MP3 player etc. when finish listening. Turn the unit off and unplug the
AUX IN jack.
NOTE:
Once the AUX IN jack is plugged during POWER ON mode, it will automatically switch to the
AUX mode no matter what position the AM/FM Band Selector is in. Remember to disconnect the
cable from unit after use in order to be able to listen to the radio again.
ALARM OPERATION
SETTING THE WAKE UP TIME
1. Press and hold the ALARM BUTTON and repeatedly press the HOUR BUTTON to set the
correct wake up Hour.
2. Press and hold the ALARM BUTTON and repeatedly press the MINUTE BUTTON to set the
correct wake up Minute.
NOTE:
There is a PM INDICATOR located in the top left-hand corner of the clock display. Be sure to
observe the PM indicator when setting the alarm to make sure the alarm time is set correctly for
AM or PM. If the PM indicator is 'On', the alarm time will be "PM". If not, the alarm time will be
"AM".
CHECKING THE WAKE UP TIME
Whenever you want to check the wake up time, simply press the ALARM BUTTON. The display
will change from current time to wake up time. Release the ALARM BUTTON to return to current
time.
WAKE TO ALARM
1. Set the FUNCTION SELECTOR to the “ALARM” position. The AUTO INDICATOR will light
up to confirm that the alarm is set.

6
2. At the selected wake up time the alarm will beep and continue for about two hours and then
shut off automatically.
3. If you want to listen to the radio after the wake up time, set the FUNCTION SELECTOR to the
“AUTO” position. Adjust the tuning and volume for the radio program if required.
4. To stop the beep, press the ALARM Button once. The beep will stop but the alarm remains
set and will turn on the alarm on again at the same time the following day.
5. If you do not want the alarm to turn on the following day, set the FUNCTION SELECTOR to
the “OFF” position. The AUTO INDICATOR will go off.
WAKE TO RADIO
1. Slide the FUNCTION SELECTOR to “ON”, select the band, station and adjust the volume to a
level that you wish to hear when the wake up time is reached, then slide the FUNCTION
SELECTOR to the “AUTO” position. The AUTO INDICATOR will light on the display.
2. Reconfirm the wake up time setting by pressing the ALARM BUTTON.
3. At the selected wake up time the radio will turn 'On' and will play for about two hours and then
shut off automatically.
4. To stop the radio before it shuts off, press the ALARM BUTTON. The radio will stop but the
alarm remains set and will turn the radio on again at the same time on the following day.
5. If you do not want the radio to turn on the following day, set the FUNCTION SELECTOR to
the “OFF” position. The AUTO INDICATOR will go off.
SNOOZE ALARM
After the radio or beeping sounds, you may press the SNOOZE button for a few more minutes
sleep. The alarm will stop for approximately 9 minutes and then turn on again.
SLEEP OPERATION
SLEEP TO RADIO
You can program the sleep timer to play the radio for up to 1 hour 59 minutes and then shut off
automatically.
1. Slide the FUNCTION SELECTOR to “ON”, select the band, station, and volume level that you
want to listen then slide the FUNCTION SELECTOR to either the “OFF” or “AUTO” position.
2. Press the Sleep Button, the display will show 0:59 sleep time. At the same time radio will
come on and stay on for 59 minutes.
3. To shorten the ‘SLEEP’ time to less than “0:59”, press the Sleep Button together with the
Minute Button until the desired “SLEEP” time is shown on display.
4. To set at the maximum sleep time of 1:59, press the Sleep Button. The display will show
“0:59” sleep time and the radio will begin to play. While holding the SLEEP button, press the
HOUR button. The display will show “1:59” sleep time. After 1 hour 59 minutes, the radio will
shut off automatically.
5. To set the Sleep Timer between “0:59” and “1:59”, first press the Sleep Button together with
the HOUR button, the display will show “1:59” Sleep time. Then, press the Sleep Button
together with the Minute Button until the desired “SLEEP” time is shown on display.
6. After the preset “SLEEP” time has elapsed, the radio will switch off automatically. To switch
the radio off before the preset “SLEEP” time has elapsed, press the SNOOZE BUTTON.
SLEEP AND WAKE TO RADIO
1. Slide the FUNCTION SELECTOR to “ON” and select the band, station and volume level that
you wish to hear when the alarm comes 'On', then slide the FUNCTION SELECTOR to the
“AUTO” position. The AUTO INDICATOR will light up.
2. Follow steps 2 to 5 in “SLEEP TO RADIO” section above to set your desired sleep time.
3. The unit is now programmed to turn off automatically at the Sleep Time you selected and
then to turn on at the preset “Alarm Time”.
4. To cancel the sleep timer before it counts down to "00" and shut the radio off, press the
SNOOZE BUTTON.

Other manuals for KT2051
1
Table of contents
Other Hello Kitty Clock Radio manuals
Hello Kitty
Hello Kitty KT2053A User manual
Hello Kitty
Hello Kitty KT3004 User manual
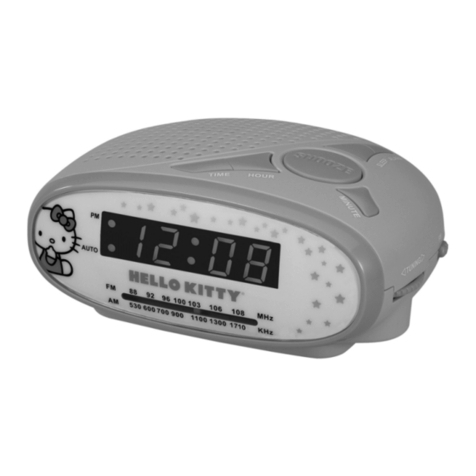
Hello Kitty
Hello Kitty KT2051 User manual

Hello Kitty
Hello Kitty KT2064 User manual
Hello Kitty
Hello Kitty KT2053A User manual

Hello Kitty
Hello Kitty KT2055 User manual
Hello Kitty
Hello Kitty KT2051P User manual

Hello Kitty
Hello Kitty KT2064PF User manual

Hello Kitty
Hello Kitty Hello Kitty KT2054 User manual

Hello Kitty
Hello Kitty KT2064P User manual

