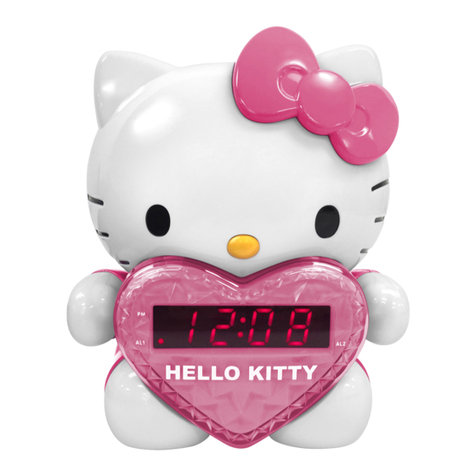
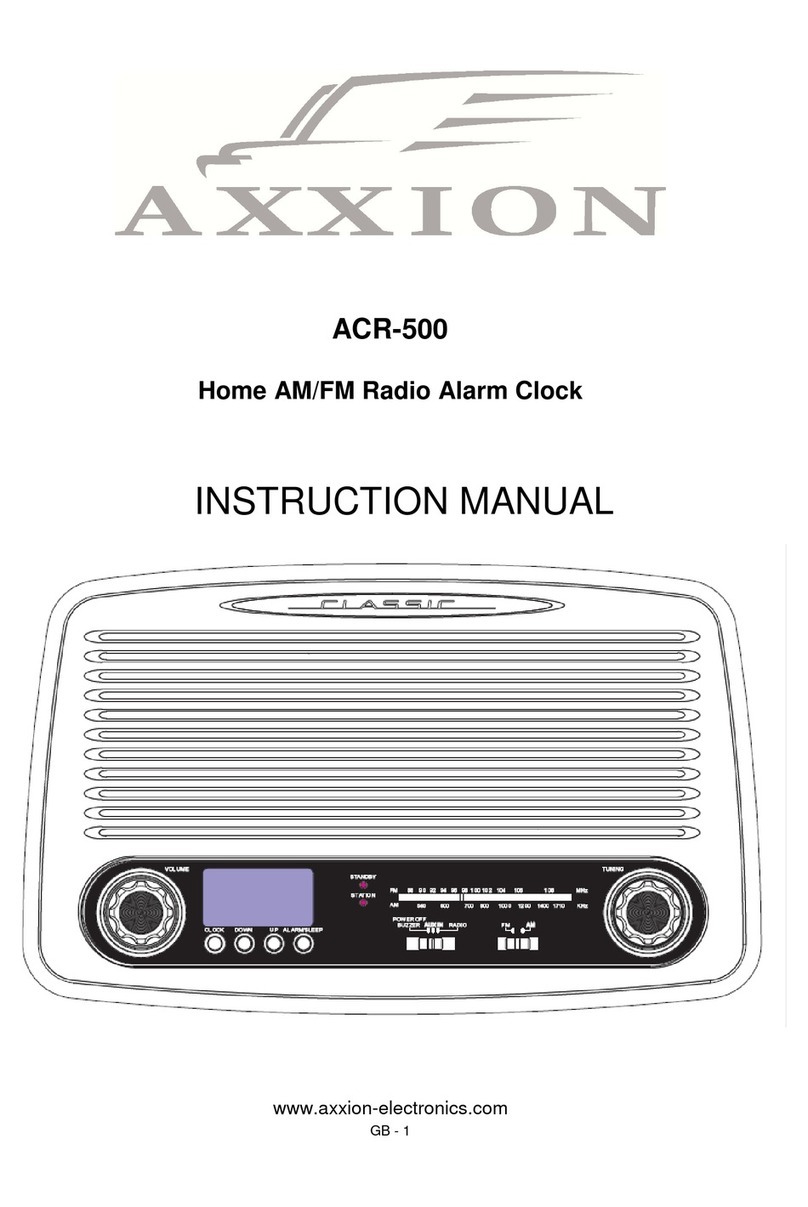
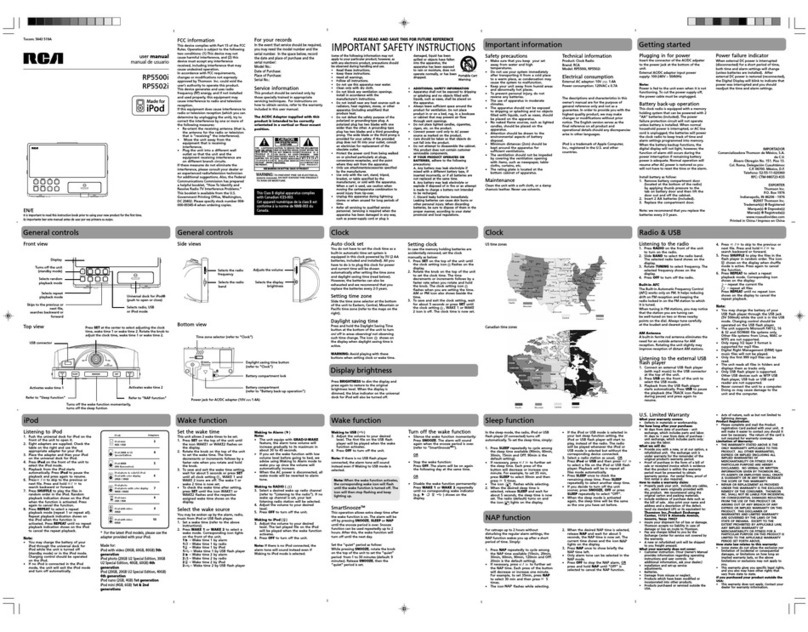
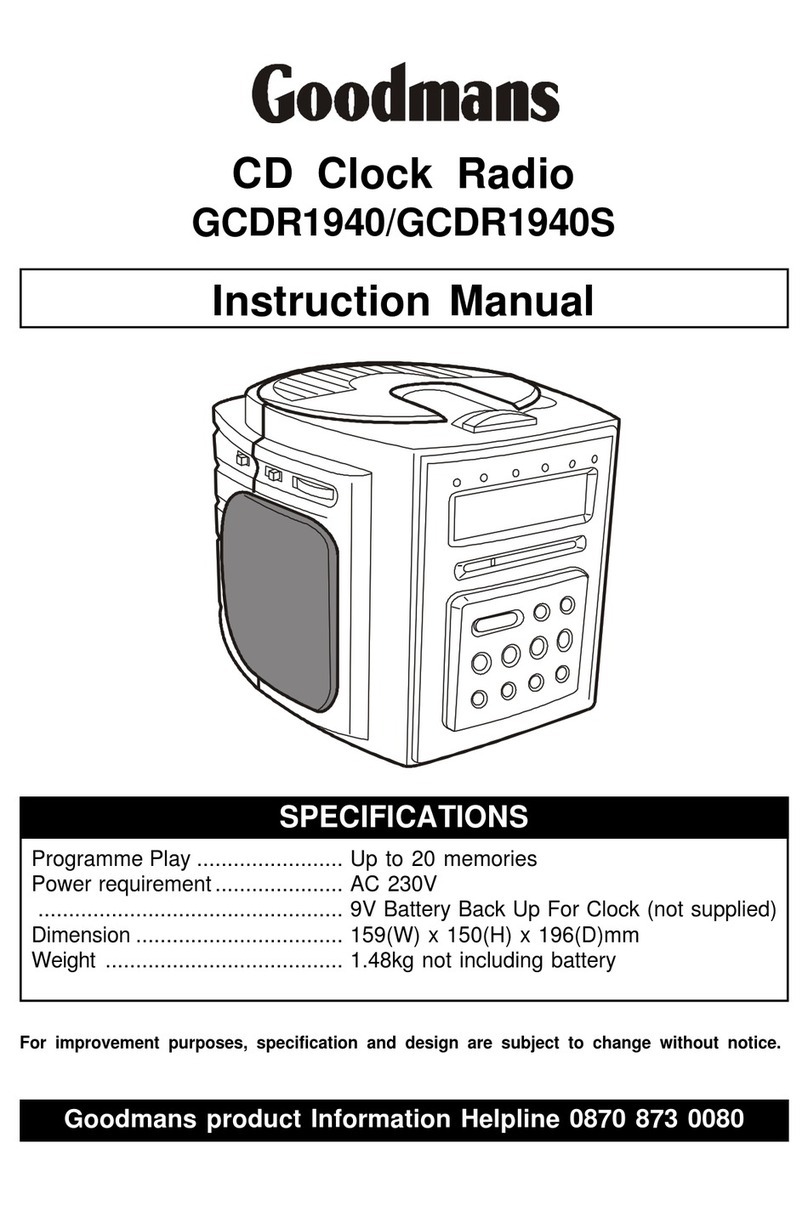
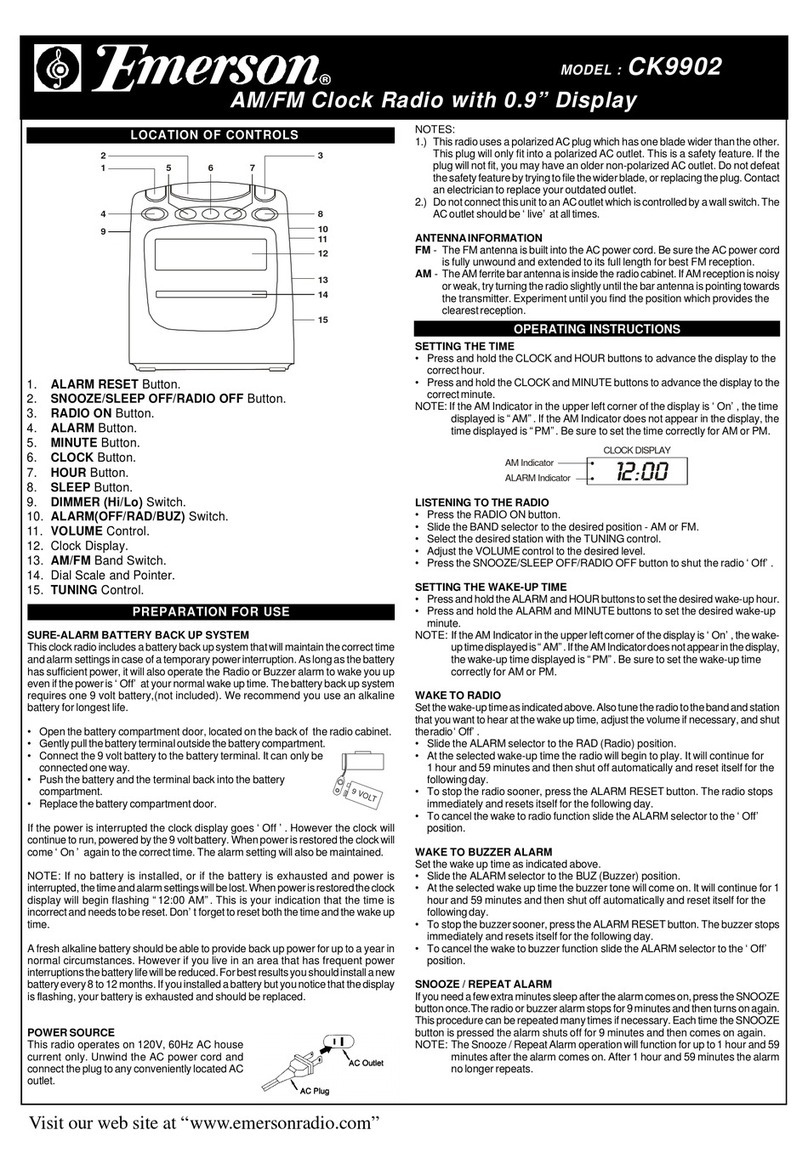
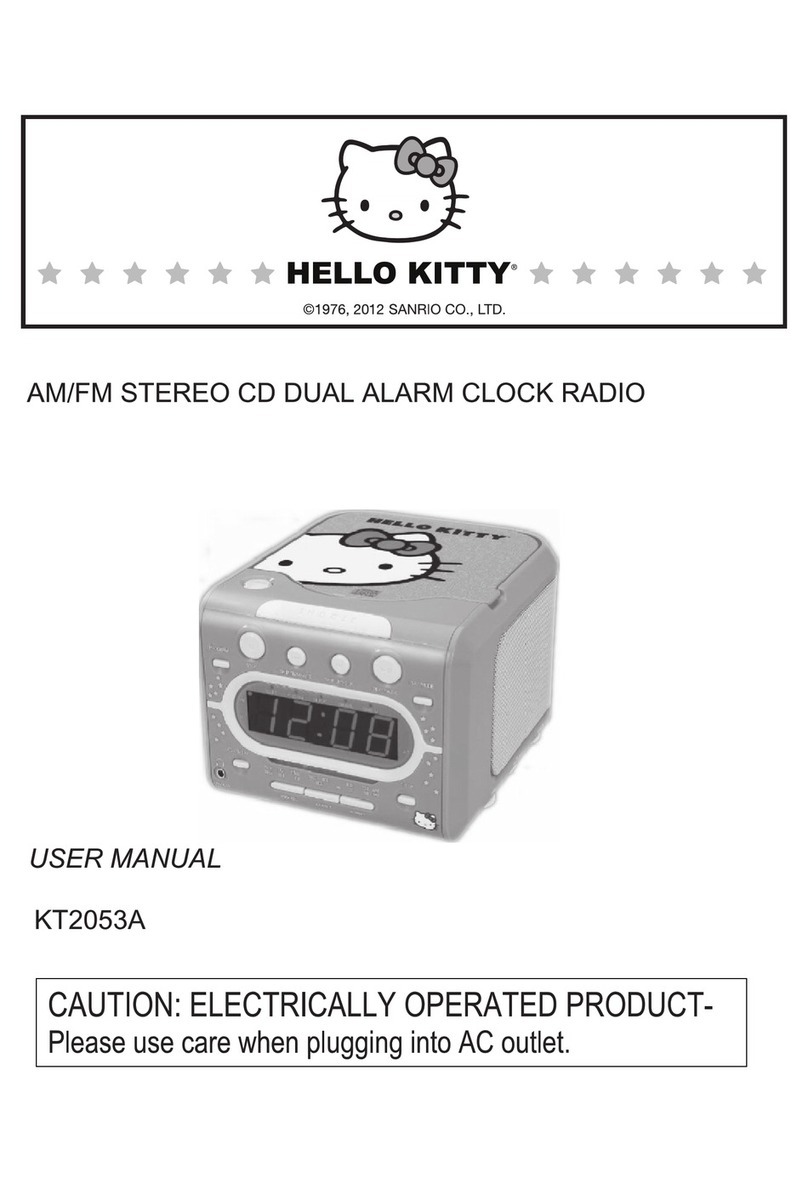
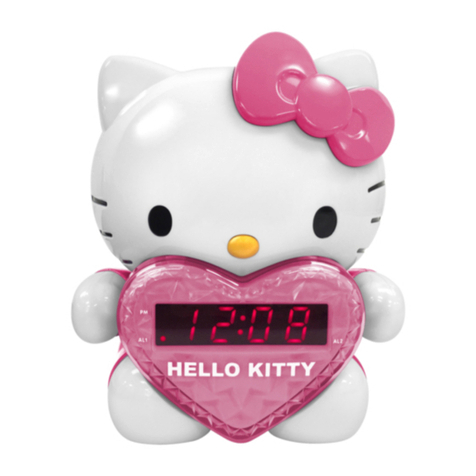
Hello Kitty KT2053A User manual

* * * * * *
HELLO
KITTY·
* * * * * *
C1976, 2012 SANRIO CO., LlD.
AM/FM STEREO CD DUAL ALARM CLOCK RADIO
USERMANUAL
KT2053A
CAUTION:
ELECTRICALLY
OPERA
TED
PRODUCT-
Please
use
care
when
plugging
into
AC
outlet.
Meijer.com

WARNING: TO PREVENT FIRE
OR
SHOCK HAZARD, DO NOT EXPOSE THIS APPLIANCE TO
RAIN OR MOISTURE.
CAUTION: USE OF CONTROLS OR ADJUSTMENTS OR PERFORMANCE OTHER THAN THOSE
SPECIFIED
MAY
RESULT IN HAZARDOUS RADIATION EXPOSURE.
The
l~hlning
flash
with
arrowhead
syrnbol,llilhin
an
equilaleml
triangle
~
intended
to
alert
the
user
to
the
presence
of
uninsulaled
dangerous
voltage
llilhin
the
products
enclosure
that
may
be
of
suffident
magnitude
to
constitute
a
risk
of
eleclirc
shod!
to
persons.
CAUTION:
TO
REDUCE
THE
RISK
OF
ELECTRIC
SHOCK,
DO
NOT
REMOVE
COVER
(OR
BACK).
NO
USER
SERVICEABLE
PARTS
INSIDE.
REFER
SERVICING
TO
QUALIFIED
SERVICE
PERSONNEL.
The
Calll:ion
Marking
is
located
at
the
back
enclosure
of
the
apparatus.
The Rating plate is located
at
the back enclosure
of
the apparatus.
The
exdamafion
mark
point
llilhin
an
equilateral
triangle
~
intended
to
alert
the
user
to
the
presence
of
imporiant
operating
and
maintenance
(serving)inslruclions
in
the
litemture
accompanying
the
ap~iance.
IMPORTANT SAFETY INSTRUCTIONS
1.
Read these instructions.
2.
Keep
these
instructions.
3. Head
all
warnings.
4.
Follow
all
instructions.
5.
Do
not use this apparatus nearwater.
6.
Cleaning-
Unplug this product from the wall outlet before cleaning.
Do
not use liquid cleaners
or
aerosol
cleaners.
Clean
only
with
a
dry
cloth.
7.
Do
not
block
any
ventilation
openings.
Install
in
accordance
with
the
manufacturer's
instructions.
8.
Do
not
install
near
any
heat
sources
such
as
radiators,
heat
registers,
stoves,
or
other
apparatus (including amplifiers) that produce heat.
9.
Do
notdefeat the safetypurpose
of
the polarized
or
grounding-type plug. A polarized plug has
two
blades with one widerthan the other. A grounding type plug has
two
blades and a third
grounding prong. The wider
or
the third prong is provided for your safety.
If
the provided plug
does
not
fit
into
your
outlet,
consult
an
electrician
for
replacement
of
the
obsolete
outlet.
10.
Protect
the
power
cord
from
being
walked
on
or
pinched
particularly
at
plugs,
convenience
receptacles,
and
the
point
where
they
exit
from
the
apparatus.
Meijer.com

11.Only use attachments/accessories specified
by
the manufacturer. •
12.Useonlywith a cart, stand, tripod, bracket,
or
table specified
by
the
manufacturer,
or
sold with the apparatus. When a cart is used, use
caution when moving the carU apparatus combination to avoid injury
from tip-over.
13.Unplug this apparatus during lightning storms
or
when unused
for
long periods oftime.
14.Refer all servicing to qualified service personnel. Servicing is required when
the
apparatus
has been damaged in
any
way, such
as
power-supply cord
or
plug is damaged, liquid has
been spilled
or
objects have fallen into the apparatus, the apparatus has been exposed to rain
ormoisture, does not operate normally,
or
has been dropped.
15.This apparatus shall not
be
exposed to dripping
or
splashing waterand
that
no
objectfilled
with liquids such
as
vases shall be placed on
the
apparatus.
16.Main plug is used
as
disconnectdevice and
it
should remain readilyoperable during intended
use. In order
to
disconnect the apparatus from
the
mains completely, the mains plug should
be disconnected form
the
mains socketoutlet completely.
17.Batteryshall
not
be
exposed
to
excessive heatsuch
as
sunshine, fire
or
the like.
18.Excessive sound pressurefrom earphones and headphones can cause hearing loss.
CAUTlON:
TO
PREVENT ELECTRIC SHOCK, MATCH WIDE
BLADE
OF
PLUG TOWIDE SLOT, FULLYINSERT.
SAVE THESE
INSTRUCTIONS
2
Meijer.com

CAUTION
CLASS
1
LASER
PRODUCT
CAUT10N
CLASS 1 LASER PRODUCT INVISIBLE LASER RADIAllON
APPAREIL LASERDE CLASSE 1 WHEN
OPEN
AND INTERLOCKS
PROOUCTO LASER DE CLASE 1 DEFEATED.
AVOID EXPOSURE
TO
BEAM
This product
contains
a low power laser device.
Followthe advice below
for
safe operations.
ON
PROTECnON
AGAINST
LASER
ENERGYEXPOSURE
•
As
the laser beam used in this compact disc player
is
harmful
to
the eyes, do not attempt
to
disassemble
the
casing.
• Stopoperation immediately
if
any
liquid
or
solidobjectshould fall intothecabinet.
•
Do
nottouch the lens
or
poke at it.
If
you do, you
may
damage
the
lens and the player
may
notoperate
property.
•
Do
not
put
anything in the safety slot.
If
you
do, the laser diode will be ON when the
CD
door
is
still
open.
•
If
the unit
is
not
to
be used
for
a long period
of
time, make sure
that
all powersources are disconnected
from the
unit
Remove all batteries from the batterycompartment, and unplug the
AC
cord from the wall
ouUet.
Make
it
a practice
to
remove
the
AC
cord
by
grasping the plugand not
by
pulling the cord.
• This unitemploys a laser.
The
use
of
controls
or
adjustment
or
performance
of
procedures other than
thosespecified here
may
resultin exposure
to
hazardous radiation.
ON PLACEMENT
•
Do
not
use
the unitin places, which are extremely hot.cold, dusty
or
humid.
• Place the unit
on
a flat and even surface.
•
Do
not restrict the airflow
of
the
unit
by
placing
it
in a place with poorventilation,
by
covering
it
with a
cloth
or
by
placing iton a carpet.
ON CONDENSATION
• When left
in
a heated room where
it
is
warm and damp,waterdroplets
or
condensation
may
form inside
the
unit.
• When there
is
condensation inside
the
unit, the unit
may
notfunction normally.
• Let
it
stand
for
1 to 2 hours before turning the poweron,
or
gradually
heat
the room
up
and
dry
the unit
before use.
Should any lroubleoccur, remove the powercordand referservicing
to
qualified personnel.
3
Meijer.com

COMPLIANCE
WITH
FCC
REGULATIONS
This equipment has been tested and found
to
comply with the limits for a Class B Digital Device, pursuant
to
Part
15
of
the FCC Rules. These limits are designed
to
provide reasonable protection against harmful
interference in a residential installation. This equipment generates, uses and can radiate radio frequency
energy and,
If
not Installed and used
In
accordance with the Instructions, may cause harmful Interference
to
radio communications. However, there
is
no guarantee that interference will not occur in a particular
installation.
If
thiS
equipment does cause harmful interference
to
radio ortelevision
receptiOn,
which can
be
determined
by
turning the equipment off and on, the user is encouraged
to
tJy
to
correct the interference
by
one ormore
of
the following measures:
-Reorient
or
relocate the receiving antenna.
-Increase the separation between the equipment and receiver.
-Connectthe equipment intoan outleton a circuitdifferentfrom that
to
which the receiverisconnected.
-Consultthe dealeroran experienced radio technician for help.
WARNING
Changes ormodifications
to
this unitnotexpressly approved
by
the party responsible for compliance could
void lhe user's authority
to
operate the equipment.
WELCOME
TO
THE WORLD OF HELLO KITTY
Selecting
fine
audio
equipment
such
as
the
unit
you've
just
purchased
is
only
the
start
of
your
musical
enjoyment.
Now
it'slime to
consider
how
you
can
maximize
the
fun
and
excitement
your
equipment
offers. This
manufacturer
and
the
Electronic
lndusbies
Association's
Consumer
Electronics
Group
want
you
to
get
the
most
out
of
your
equipment
by
playing
It
at
a safe
level.
One
that
lets
the
sound
come
through
loud
and
dear
without
annoying
blaring
or
distortion
and,
most
importantly,
without
affecting
your
sensitive
hearing.
Sound
can
be
deceiving.
Over
time your
hearing
"comfort
level"
adapts
to
higher
volumes
of
sound.
So
what
sounds
"normal"
can
actually
be
loud
and
harmful
to
your
hearing.
Guard
against
this
by
selling
your
equipment
at
a
safe
level
BEFORE
your
hearing
adapts.
Toestablish a
safe
level:
• Start
your
volume
control
at
a
low
setting.
• Slowly
increase
the
sound
until
you
can
hear
it
comfortably
and
clearly,
and
without
distortion.
Onceyou
have
established a comfortable sound
lawl:
• Set
the
dial
and
leave
it
there.
Take
a
minute
to
do
this
now
will
help
to
prevent
hearing
damage
or
loss
in
the
future.
After
all,
we
want
you
listening
fora
lifetime.
We
WantYou Listening For aLifetime
Used
wisely,
your new
sound
equipment
will
provide
a
lifetime
of
fun
and
enjoyment.
Since
hearing
damage
from
loud
noise
is
often
undetectable
until
it
is
too
late,
this
manufacturer
and
the
Electronic
Industries
Association's
Consumer
Electronics
Group
recommend
you
avoid
prolonged
exposure
to
excessive
noise.
Cuslomtlr'& Record:
---=---
1
!.41
...
,_.,,
0
LISTENING
PV~.
·
A
t.U
.U..
=
The
serial
number
of
this
product
is
found
on
its
bottom.
You
should
note
the
serial
number
of
this
unit
in
the
space
provided
as a
permanent
record
of
your
purchase
to
aid
in
identification
in
theevent
of
theft
of
loss.
Model Number:
KT2053A
Serial Number:
_______
_
4
Meijer.com

LOCATION OF CONTROLS
1.
SNOOZE BUTTON
2. SKIPON/MINUTE BUTTON
3. STOPBUTTON •
4.
PROGRAM BUTTON
5. SLEEPINDICATOR
8. PROGRAM INDICATOR
7. REPEATINDICATOR
8. CD DISPLAYBUTTON
9. HEADPHONEJACK
10. CLOCKADJUST BUTTON
11. ALARM 1 BUTTON
12. ALARM 2 BUTTON
13. DIALWINDOW
14.SLEEPBUTTON
15. LED DISPLAY
16. SNOOZE INDICATOR
17. RANDOMINDICATOR
18. PLAYMODE BUTTON
19. PLAY/PAUSE BUTTON
-11
20. SKIPUP/HOURBUTTON
21. DBBS ON/OFF SWITCH
22. MODE SELECTOR
(OFF-CD-RADIO-ALARM)
23. TUNING CONTROL
24. BAND SWITCH (AM-FM-FM.ST)
25. VOLUME CONTROL
28. CD DOOROPEN
27. POWER ON/OFF BUTTON
5
1
'¥31
'-'¥'
/ \
21
22
?
\...
.,...
-
...,..
237
I
~
24
25
Meijer.com

POWERSOURCE
This AMIFM Stereo
CD
Dual Alarm Clock Radio operates from
AC
120V 60Hz line power supply. A
9V
alkaline battery (not included) is also required to retain
the
normal and alarm time settings in the event of a
poweroutage.
AC
OPERATION
Plug
the
AC
Power Cord into
the
AC
120V
60Hz
powersource.
BACKUP
BATTERY
INSTALLATION
1.
Open
the
Battery Compartment Door, following
the
polarity diagram shown In
the
Battery
Compartment, connect
one
DC
9V
battery (not included) to the battery clip which
only
fits one
way
to
ensure
the
correct polarity.
2. Replace the BatteryCompartment Door.
IMPORTANT: Be sure thatthe battery
is
installed correctly. Wrong polarity
may
damage the unit.
3.
For
betterperformance and longeroperating time,
we
recommend the
use
of
alkaline-type battery.
4.
If
the unit is not to
be
used
for
an extended period
of
time, remove the battery. Old
or
leaking battery
can causedamage
to
the unitand will
void
the
warranty.
5.
Do
not
dispose
of
battery
in
fire. Battery may leak
or
explode.
TIMESEmNG
Note:
In orderfor the
clock
tofunction properly, the clock
has
to
be
set
thefirst time
you
use
the Unit,
for
example to setthe current
lime
at
2:15 PM.
1.
Connect
the
AC
cord to an
AC
120V
60Hz poweroutlet.
Make
sure
to
use
an
outletthat is always
"live".
Do
not
use
an
outlet
that
is
controlled bya
wall
switch.
2. When the
unit
is plugged in thefirst time, the Displaywill
show
flashing "12:00" (AM).
3. While
the
Display
is
flashing, press the
HOUR
~
Button repeatedly until the correct hour
is
displayed.
Note:
For
12
Hour format, there is a
PM
INDICATOR (PM) located in the upper left-hand conner
of
the
DISPLAY. This indicator will light when the time range falls within
the
"PM" range when selling the
clock.
The
lime is inthe"AM" range
if
this indicatoris not
lit
It is importantthatthe "AM"
or
"PM" setting
is
correctfor properoperation
of
theAlarm function.
4. Pressthe MINUTE
~
Button repeatedly until
the
correct minute is displayed.
5. Pressthe
CLOCK
Button once
to
complete thesetting.
,..
1·
2:
151
Note:
If
you
want
to
resetthe time, first press
the
CLOCK
Button
~
then repeat
steps
3 to5 to
complete thesetting.
CHANGING 12124
HOUR
FORMAT
Pressand hold the
CLOCK
Button, the
clock
will change
to
24 Hourformat, and vice versa.
I
/2
H
[~[2YH
6
Meijer.com

SETTINGALARM TlME
This unit allows you to set
two
differBnt wake-up times which you
can
choose
to
use
independently
or
simultaneously
AL
1
or
Al2
orAL
1
and
2.
1.
Press
the
ALARM1
(11)
or
ALARM
2 (12) Button once.
The
LED
Displaywill change from
the
current
time to wake
up
time
and
begin flashing.
The
ALARM1
(AL
1)
or
ALARM
2
(AL
2)
Indicatorlights.
AL1
I.
lZ=ttOI
2. While
the
Display
is
flashing, press
the
11+1
Button (20) rBpeatedlyuntil
the
desired
hour
appears
in
the
Display.
Note:
For
12
Hour
format, there
is
a
PM
INDICATOR(PM) located
in
the
upperleft-hand comer
of
the
Display. This indicatorwill light
when
thetime rangefallswithin
the
"PM" range when setting
the
Alarm.
The
time
is
in
the "AM" range ifthis indicator
is
not
lit.
It
is
important that the "AM"
or
"PM" setting
is
correct
for
properoperationof
the
Alarm function.
3. Press
the
I<~<~
Button
(2)
rBpeatedly until
the
conrect minute
is
displayed.
r:--
~~--r-7'
ALl
I.
,~
:
<;i
ill
4.
To
complete
the
seHing process, press
the
respective ALARM1 (11)
or
ALARM
2 (12)
button~-
KT2053A
will
wake
to
CD, RADIO
or
BEEPING
when
the
presetalarm time,
6:30AM,
is
reached.
Note:
PressALARM1 (11)
or
ALARM
2 (12)
buttons~
to turn
the
respective Alarm function off.
The
respectiveALARM1
(AL
1)
or
ALARM
2
(AL
2)
Indicator
will
go
off.
RADIO RECEPTION
1.
Press the POWERON/OFF Button (27) once
to
tum
on
the unit.
2.
Set
the
MODESelector(22)
lo
the
"RADIO" position.
3.
Set
the
BAND
Selector(24)
1o
"AM, FM
or
FM ST"position
as
desired.
4. Adjust
the
VOLUME
Control (25)
lo
obtain
the
desired sound levelfrom
the
Speakers.
5.
To
enhance the basseffect, set
the
DBBSSwitch (21)
lo
the
"ON"position.
6.
Tum
the
TUNINGControl (23}
lo
the
desired station and readjust
the
volumeusingthe VOLUMEControl.
Note:
i.
For
FM reception,
the
unit
provides FM MONO/STEREOselection.
If
you select FM
STEREO
band,you will
hear
s1ereo sound
when
a strong
FM
stereo broadcast
is
received.
ii.
To
receive a
weak
(noisy)
FM
station,
set
the
BAND
Selector(24}
to
MONO
position.
The
reception then
may
be
improved,
but
the
sound
is
monaural (MONO).
7. Whenyou havefinished listening, press the
POWER
ON/OFFButton (27) again
to
tum
the unit"Off".
7
Meijer.com

TIPS FOR BESTRADIO RECEPTION
AM
The
AM
ferrite barantenna is inside the cabinet.
If
AM
reception
is
unsatisfactory, tryturning the entire unit
slightly until you lind the direction that provides the best reception for
the
desired station.
FM
Make sure the
FM
Wire Antenna isextended
to
its full length.
You
mayhave
to
varythe direction
of
the
WireAntenna
to
find the position that provides the best reception.
CD
PLAYER
OPERATION
Note: This
CD
playerplays notonly
the
commercial
COs
butalso self-compiled CD-RIRW
discs.
1.
Setthe MODE Selector
(22)
to
the CD position.
2.
Open
the
CD
Door. Carefullyplace an audio CD, with its label side upward, on the center spindle
and
close the
CD
Door.
3.
Press the POWER ON/OFF Button
(27)
to
tum the unit
"On".
Two dashes"- -·flash while the Playeris
reading the table
of
contents
of
the
disc.
The
LED
Display
(15)
will show the total number oftracks
on
the disc for afew seconds
and
then return
to
the current
time.
~
-
>
~
-
~
1
~
L__l
-------""'--2--"""-JDI
~
1·
2:301
Note:
If
the
disc is inserted incorrectly, or
if
the disc is badly scratched
and
cannot
be
read
by
the
player,
"no•
will
appear
in
the
Displayfor afewseconds,
and
then the Display returns
to
the
currentlime.
PLAY/PAUSE MODE
4. Press
.........
Button
(19)
to
begin
playback. The
LED
Display (15) will briefly show
"01"
(Track 01) and
playbackon track
01
begins. Afterafewseconds the
LED
Display (15) returns
to
the
current
time.
c____-=-0-----'--'11
-..
1·
2:3
oI
Ifyou want
to
checktheTrack underplaying, press the CD DISPLAY Button (8) once.
5.
Adjustthe VOLUME Control
(25)
to obtain the desired sound level from
the
Speakers .
6.
To
enhance
the
bass
effect,
set
the
DBBS
Switch
(21)
to
the''ON" position.
7.
Tosuspend
play,
pressthe
..
, Button (19) once. TheLED Display (15)will brieflyshow the flashing
current track
and
then return
to
currentlime.
B.
To
resume
playing, press
the
..
, Button
(19)
again.
8
Meijer.com

SKIPPING FORWARD/BACK
9.
You can choose to playyourfavorite track
direcUy
bypressing repeatedly either the
11+1
(20}
._
Buttons
(2) until the desired track number appears
in
the
LED Display. Forexample Track No.
20
is selected.
Playbackwill begin onthe selected track.
20
1
10.
To
locate aparticular passage within a track, keepthe
11+1
(20)
or
,.,., Buttons
(2)
depressed until itis
found.
REPEAT1/REPEAT
ALL
PLAYBACK
11.
To
repeata particulartrack, press the PLAY
MODE
Button (18) once
in
STOP mode. The REPEAT
Indicator(7) flashes.
12.
Press the ,...,(2}
or
11+1
(20)Buttonsto selecttheparticulartrack e.g. track08to be repeated. While the
track number
is
flashing, pressthe
HI
Button (19}to start playback. Track 08will be repeated
continuously until the STOP• Button (3} is pressed.
13. Ifthe REPEAT ONEMODE isselected during playback, the selected trackwill be played automatically
and repeats continuously until the STOP • Button(3} ispressed.
14.
To
repeatthe entire CD, pressthe PLAYMODE Button (18}twice in STOPmode. The REPEAT
Indicator(7) lights steadily.
15. Press the
~•
Button (19}
to
startplaybackfrom Track1. Theentire CD will berepeated continuously
untiltheSTOP • Button (3) is pressed.
16. Ifthe REPEAT ALLfunction isselected during playback, the entire CD will be played automatically and
repeals continuously until the STOP • Button (3} is
pressed.
17.
To
cancel repeat playback, press the PLAYMODE Button (18} repeatedly until the REPEAT Indicator
(7)goes off.
18.
To
stop playing, presstheSTOP • Button (3once.
RANDOM PLAYBACK
This functionallows all the tracks on adiscto be played
in
a random sequence.
1.
Load
yourdiscand waituntil thetotal tracknumberisdisplayed.
2.
Press the PLAY MODE Button (18) three times in STOP mode. The RANDOM Indicator (17) comes
"On".
..1.
2:3
01
3. Press the
~•
Button (19). A trackwill be selected andplaybackbegins.
The LED Displaywillshow
the
tracknumber
of
the selectedtrackmomentarily and return
to
currenttime.
4. Ifthe Random function isselected during playback, pressthe
11+1
Button(20}to startrandom playback.
Note: ThePlayerwill stopautomaticallyafterall thetracks on thedischave been played.
5.
To
cancel random playback, simply press the PLAYMODE Button (19} again. The RANDOM Indicator
(17) goes "Off'.
6.
When you wish totum
off
the CD Player, press the POWER ON/OFFButton (27) again.
9
Meijer.com

CD
PROGRAMMED
PLAY
This function allows the tracks to
be
played
in
a programmed sequence. You may program a track
or
tracks to play more than once
if
desired.
Note:
i.
Programming can only
be
done while the playeris in theStop mode.
If
adiscis playing press the
STOP
• Button (3) tostop playback before performing the programming steps below.
ii.
Programmed playwill
be
disabled ifrandom function isactivated.
1. Select CD function and load the disc in the player and then tum the unit "On". Wait until the
to1al
track
number
is
displayed.
2.
Press thePROGRAM Button (4
).
The PROGRAM Indicator(6) flashes and the LED Display briefly
shows
•p
01" then '00"appears and flashes indicating that
you
can
select thefirsttrackto
be
programmed.
3.
Press the
~
Button (20)
or
the
144
Button (2) toselectthe first
song
to
be
programmed. Forexample,
programthe
song
in trackB
in
thefirst program memory"P01'.
4. Press the
PROGRAM
Button (4) again tostore selection. Theselected track isnowregistered
in
the
program memorynumber
01
and the Display advances to
'P
02"then
"00"
appears and flashes
indicating thatyoucan selectthe nexttrackto be programmed in the
memory.
5.
Press the
~
Button (20)
or
the
144
Button (2) to selectthe nextsong to
be
programmed end press the
PROGRAM
Button (4) tostore selection.
6.
You mayrepeatsteps
#2-
#5
to program as many as20tracks.
7.
Press
-~~
Button (19) tostartplaying in the programmed sequence.
• After
all
the programmed tracks have been played the player stops butthe
program
remains in the
memory.
• Press the
PROGRAM
Button (4) and then the
-~~
Button (19) tobegin
programmed
playback
again.
8.
To clearthe program from the memory
in
STOP mode:
i.
Pressthe PROGRAM Button (4) and then theSTOP • Button (3) or
ii.
Open
the
CD
Dooror
iii. Press
the
POWERON/OFF Button (27) to shutoffthe unit
or
iv. Switchtootherfunction using the
MODE
Selector(22)...
10
Meijer.com

PROGRAM
REPEATPLAYBACK
You
may
use
the
PROGRAM and REPEATfeatures together
to
repeat a programmed sequence
of
tracks.
1. Enter the desired tracks in the program memory
as
describe under section ·co
PROGRAMMED
PLAY''.
2. Press
the
PLAY MODE Button (18) once
for
single track repeat
or
twice
for
"All Tracks
Repear
as
desired.
The
PROGRAM
(6)and
REPEAT
Indicator
(7)
both lightup.
3. Press ....
u Button (19)
to
startProgram Repeat Playback.
The
programmed track
or
tracks will play
repeatedly until
the
STOP • Button (3)
is
pressed.
Notes on
CD-RJRW
Discs
• Because
of
non-standardizedformatdefinition/production of CD-R/RW, playback quality&
performance
are
not
guaranteed.
• Manufactureris
not
responsible
for
the playability
of
CD-RIRW
due
to
recording conditions such
as
PC performance, writingsoftware, mediaability,
etc.
• Do
not
attach a label
or
seal
to
eitherside
of
the CD-RIRWdisc.
It
may
causea malfunction.
USING
HEADPHONES
NOT
INCLUDED
Inserting the plug
of
your headphones into the system's HEADPHONE
JACK
(9) will enableyou
to
listen
to
the
CD
or
radio in privat&. When using headphones, thespeakerswill
be
au1omaticallydisconnected.
READ
THIS IMPORTANT
INFORMATION
BEFORE
USING
YOUR
HEADPHONES
1. Avoidextended play
at
veryhigh volume
as
it
may
impair
your
hearing.
2.
If
you experienceringing
in
yourears, reduce thevolume
or
shut
offyourunit.
3. Do
not
use
while drivinga motorized vehicle. This is dangerousand also illegal
in
somestates.
4.
Keepthevolume
at
a reasonable level even
if
yourheadset
is
an
open-air
type
designed
to
allowyou
to
hear
outsidesounds. Pleasenoteexcessivehigh volume
may
stillblockoutside sounds.
PROTECT
YOUR
FURNITURE!!
Thissystem
is
equippedwith non-skid nubber 'feet'
to
preventthe productfrom movingwhen
you
operate
the controls. These
'feef
are
madefrom non-migrating rubbermaterial speciallyformulated
to
avoid
leaving
any
marks
or
steins on
your
furniture. Howevercertain types
of
oil based furniture polishes,wood
preservatives,
or
cleaning sprays
may
cause thenubber 'feet'
to
soften,
and
leave marks
or
a nubber
residueon thefurniture.
To
prevent
any
damage
to
your
furniture
we
stronglyrecommend
that
you purchase small self-adhesive
feltpads,available
at
hardwarestoresand
home
improvementcenters everywhere, and applythese pads
to the bottom
of
the nubber
'feef
beforeyou placethe product
on
fine wooden furniture.
11
Meijer.com

ALARM
OPERATION
This unitprovides
wake
to
CD, RADIO
or
BEEPINGalarm function.
WAKE
TO
RADIO,
CD
OR
ALARM
1.
Refer
to
"SETTING
ALARM
TIME"
in
page
7
to
set
the
desired
wake
up
time (s).
The
respectivealarm time(s) flashes briefly in
the
Displaywhich will return
to
show
the
cunrent
time
in
a fewseconds.
2.
Set
the
MODE
Selector
(22)
to
the
desired
wake
up
mode, i.e. CD, RADIO orALARM.
The
selected
wake
up
mode will
be
turned "On"
when
the
preset
wake
up
time
is
reached.
The
respective
ALARM
Indicator
(AL
1
or
AL
2)
flashes. The alarm will continue
to
sound and last
for
60
minutes
and
then
tum
offautomatically.
The
alarm remains
sat
and
will
tum
the
radio
on
again
at
the
same
time
on
1hefollowing
day.
3.
To
stop the alarm sound before
it
turns off automatically, press
the
POWER ON/OFF Button (28)
once. The alarm sound stops
but
the
alarm remain
set
and will
tum
KT2053A
on
again
at
the
same
time
on
thefollowing day.
4.
To
cancel
the
alarm function press
the
ALARM1 (11)
and/or
ALARM 2 button (12) once.
The
respective
ALARM
indicator,
AL
1
or
AL
2,
goes
off.
Notes:
i.
If
you
have
chosen
'Wake
to
RADIO" alarm mode,
make
sure that
you
have tuned
to
a station
and
adjusted
the
volume
to
a comfortable level.
ii.
If
'Wake
to
co·
alarm mode
is
selected,
make
sure
that
there
is
a
CD
in
the
player
and
the
volume
is
set
toa comfortable level.
iii. In "Wake
to
CD" alarm mode, "baep
...
beep"will
sound
instead
if
no
CD
is inserted.
iv. In "Wake
to
CD" alarm mode,
the
CD
will
play
for
about
60
minutes, regardless
1he
total playing
time
of
the
disc.
SNOOZE
OPERATION
1.
When
the
alarm sounds (beeping, radio
or
CD),
you
can press the SNOOZE Button (1)
to
extend the
alarm time by 6 minutes.
The
beeping, radio
or
CD
will then
tum
on
again.
2.
The
SNOOZE operation
can
be
repeated saveral times within
the
60
minutes alarm duration until the
POWERON/OFF BUTTON (27) is prassad.
12
Meijer.com

SLEEP
TIMER
OPERATION
You can
use
the SLEEP Timer to fall asleepto Radio orCD for90, 60, 30 or 15 minutes intervals.
SLEEP
OPERATION
1.
In
Power
On
mode, operate the Radio
or
CD as usual. Adjustthe volumeto the desired level.
Note; The level you selected for "Sleep to Music"
is
the same level you will hearwhen the alarm turns
"On".
2.
Press the
SLEEP
button (14). TheSLEEP Indicator(5) turns
on.
The LED Display will show90
minutes
of
playing time and then return to showthe currenttime mode
in
3 seconds.
KT2053Awill automatically tum offafter 90 minutes haselapsed.
ADJUSTING
THE
SLEEP
PERIOD
1. Wilh theunit in POWER ON mode, press the SLEEP Button (14) repeatedly to select the amount
of
sleep time as follows:
Display SLEEPTimerOffTime
1•
Press
90
Shut off
in
90 Minutes
2
110
Press 60 Shutoff
in
60 Minutes
3'" Press
30
Shutoff
in
30 Minutes
4'"
Press 15 Shutoff
in
15
Minutes
5"' Press Currenttime Shut off
In
15
Minutes
2. The unitwill automatically turn offafter the preset sleep time has elapsed. However,
if
you wantto tum
the
radio
offbefore the preset sleep time has elapsed, press the POWER Button to switch the poweroff.
Note:
If
90
or
60
minutes sleep lime is selected and
you
are playing a CD that
is
only 48 minutes
long,
for
example, playbackwill stop
at
the end
of
the disc.
ii.
Make surethe
MODE
Selector {22)
is
set
to
the CD
or
RADIO position before you press the
SLEEP
Button
(14).
No sound will
be
heard
if
the
MODE
Selector
(22)
is setto the
OFF
or
ALARM
position.
SLEEP AND WAKE
TO
CD/RADIO/ALARM
1. Follow steps 1
to
4 {shown in
P.6)
underthe "SETTING ALARM TIME" section to setthe ALARM lime.
2.
Set
your desired
'WI>J(E
TO" sourca as describe above
in
the "ALARM OPERATION" section. Follow
step 1 (shown above) under the "ADJUSTING THE SLEEP PERIOD" section to set the desired SLEEP
time.
KT2053A
is
now
programmed to tum off automatically at the Sleep Time you selected and then to tum
on
again at the preset "Alarm Time".
13
Meijer.com

CARE AND MAINTENANCE
1. Avoid operating yourunit underdirectsunlight
or
in
hot, humid
or
dusty places.
2.
Keep your unit
f!YiaY
from healing appliances and sources
of
electrical noise such
as
fluorescent lamps
or
motors.
3.
For better Clock Display clarity, avoid operating the unit under direct sunlight
or
in strong room
illumination.
4. Unplug theunitfrom the electrical poweroutlet immediatelyin case
of
malfunction.
COMPACTDISC
CARE
• Handlethe disconly
by
its edges. Never allow
your
fingers
to
come
in
contactwith the shiny,
unprinted side
of
thedisc.
• Do not attach adhesivetape, stickers etc., to
the
disc label.
• Clean the discperiodicallywith soft, lint-free,
dry
cloth. Neverusedetergents
or
adhesive cleaners
to
clean thedisc.
If
necessary, use a CD cleaning kit.
•
If
discskips
or
getsstuck on a section
of
thedisc, it is probably dirty
or
damaged (scratched).
• Whencleaning thedisc, wipe in straight lines from the center
of
the discto
the
edge of
the
disc. Never
wipe in circularmotions.
•
To
remove a discfrom its storagecase, press down
on
the
center
of
the
case
and
lift the
disc
outs,
holding it carefully bythe edges.
• Fingerprints and
dust
should be carefullywiped off the disc's recorded surfacewith a softcloth. Unlike
conventional records, compactdiscs have
no
grooves
to
collect dust and microscopic debris
so
gently
wiping with a softcloth should remove most particles.
CLEANING THE UNIT
•
To
preventfire
or
shock
hazard, disconnect
your
unitfrom the
AC
powersourcewhen cleaning.
• The finish on the unit may be cleaned with a dust cloth and cared
for
as
other furniture. Use caution
when cleaning and wiping the plasticparts.
•
If
the cabinet becomesdustywipe
it
with a
soft
dry
dustcloth. Do
not
use
any
wax
or
polish sprays
on
the cabinet.
•
If
thefront panel becomes dirty
or
smudgedwith fingerprints it may
be
cleaned with a soft cloth slightly
dampened (never wet) with a mild
soap
and water solution. Never use abrasive cloths
or
polishes
as
thesewill damage
the
finish
of
your
unit.
CAUTION:
Never
allow
any
water
or
other
liquids
to
get
inside
the
unit
while
cleaning.
14
Meijer.com

TROUBLESHOOTING GUIDE
If
you experience difficulties in
the
use
of
this
CD Clock Radio, please
check
the following
or
call
1-800-777-5331
for
CustomerService.
SvmDtom
Possible
Cause
Solution
Noise
or
sound Station
not
tuned proper1y
for
AM
or
Retune
the
AM
or
FM broadcast
distorted
on
AM
or
FM. station.
FM broadcast FM: Wireantenna
is
not extended. Extend the FM wireantenna.
AM:
The
barantenna is
not
positioned Reposition the unituntil the best
correctly reception is obtained.
NoFMSTEREO
You havetuned
to
a monostation
or
Select anotherFM station.
effect
the
station is
too
weak.
FM (MONO) mode is chosen SelectFM STEREO mode.
AM
or
FM
no
sound Unit
not
set
to
AM
or
FM band. Slide the Function selector
to
AM
or
FM
position.
Volume atminimum IncreaseVolume
CD playerwill
not
Unit
not
in
CD
function mode. Select CDfunction mode.
play CD is installed incorrectly. InsertCDwith label side up.
If
the CD is self-a>mpiled,
the
media Use betterquality blank media and
used
may
not
be
compatible with the retest.
player.
CD skips while Disc is dirty
or
scratched. Wipe CDwith clean
doth
or
use
plavina anotherdisc.
CD Intermittentsound Dirty
or
defective
disc
Clean
or
replace thedefective disc
DirtyPick Up lens Use a CO-lens
deaning
disc
to
dean
the lens
Player
is
subjectto excessive shock
or
Relocate the player
away
from shock
vibration
or
vibration
CD
No
Sound PAUSE Function has been Press the ....u Button
to
resume
activated during playback. playback.
Playerstops playing when all
the
tracks
on
CD have been played.
15
Meijer.com

90
DAY
LIMITED
WARRANTY
AND
SERVICE
VAUDIN
THE
U.SA
ONLY
SPECTRA
MERCHANDISING INTERNATIONAL, INC. warrants this unit to be 1tee from defective materials
or
factory workmanship for a period
of
90
days from the date
of
original customer purchase
and
provided the product is
utilized within the U.S.A This warranty
is
not assignable or transferable, Our obligation under this warranty is the
repair
or
replacement
of
the defective unit
or
any
part
thereof, except batteries, when it is returned to the SPECTRA
SeiVice Department, accompanied
by
proof
of
the date
of
original consumer purchase, such as a duplicate copy
of
a
sales receipt.
You
must pay all shipping charges required to ship the product to SPECTRA for warranty service.
If
the product
Is
repaired or replaced under warranty, the return charges will
be
at SPECTRA's expense. There are
no
other express
warranties other than those stated herein.
This warranty is valid only in accordance
with
the conditions setforth below:
1.
The warranty applies to the SPECTRA product onlywhile:
a.
Itremains
in
the possession ofthe original purchaser
and
proof
of
purchase is demonstrated.
b.
It
has not been subjected to accident, misuse, abuse, improper service, usage outside the descriptions
and
wamings covered within the user manual or
non~SPECTRA
approved modifications.
c.
Claims are made v.ithin the warranty period.
2. This
warranty
does not cover damage
or
equipment failure caused
by
electrical wiring not
in
compliance with
electrical oodes
or
SPECTRA user manual specifications, or failure to provide reasonable care
and
necessary
maintenance as outlined in the user manual.
3.
Warranty of all SPECTRA products applies
to
residential use only
and
is void when products
are
used
in
a
nonresidential environment orInstalled outside the United States.
This warranty gives you specific legal rights, and you may also have other rights which vary from state
to
state.
TO
OBTAIN SERVICE please remove all batteries {If any) and pack the unit carefully
and
send
It
freight prepaid
to
SPECTRA at the address shown
below.
IF
THE
UNIT
IS
RETURNED WITHIN THE WARRANTY PERIOD
shown
above, please include a proof of purchase (dated cash register receipt) so that
we
may establish your eligibility for
warranty
service
end
repair
of
the unit without
cost.
Also
include a note
with
adescription explaining how
the
unit is
defective. A customer service representative may need
to
contact you regarding the status of your repair,
so
please
include your
name,
address, phone number
and
email address
to
expedite the process.
IF
THE UNIT
IS
OUTSIDE
THE
WARRANTY PERIOD, please include a check for $25.00
to
cover the cost
of
repair,
handling and return postage. All out ofwarranty returns must
be
sent prepaid.
It
Is
recommended that
you
contact SPECTRA first at 1-800-777-5331 or by email at [email protected] for
updated information
on
the unit requiring service. In some cases the model you have may
be
discontinued, and
SPECTRA reserves the right
to
offer alternative options for repair
or
replacement
SPECTRA MERCHANDISING INTERNATIONAL,
INC.
4230 North NormandyAvenue,
Chicago, IL60634,
USA
1-800-777-5331
To register your product, visit the link below
to
enter your information.
http:/twww.spectraintl.comiwform.htm
16
Printed
in
China
Meijer.com
Other manuals for KT2053A
1
Table of contents
Other Hello Kitty Clock Radio manuals
Hello Kitty
Hello Kitty KT2056 User manual
Hello Kitty
Hello Kitty KT2051 User manual
Hello Kitty
Hello Kitty KT2055 User manual
Hello Kitty
Hello Kitty KT2051P User manual
Hello Kitty
Hello Kitty KT2053A User manual
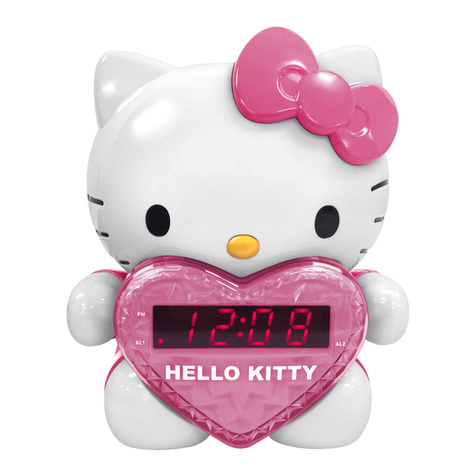
Hello Kitty
Hello Kitty KT2064 User manual
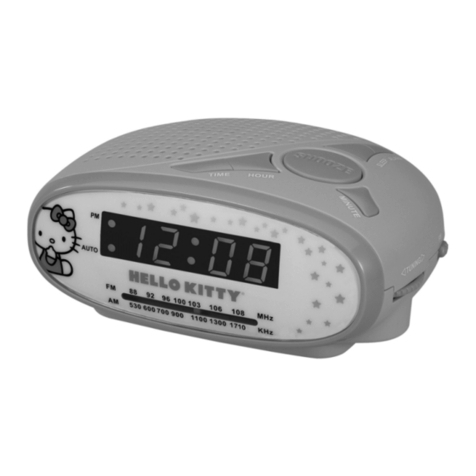
Hello Kitty
Hello Kitty KT2051 User manual

Hello Kitty
Hello Kitty KT2056 User manual
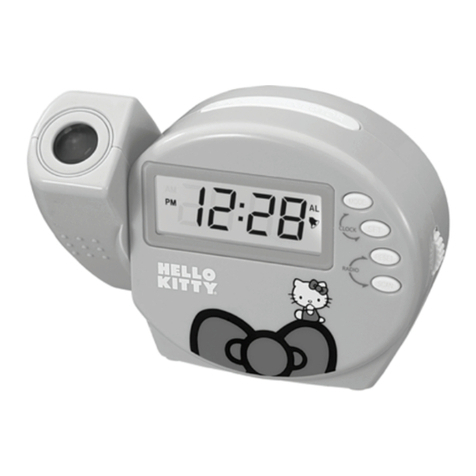
Hello Kitty
Hello Kitty KT3004 User manual
Hello Kitty
Hello Kitty KT2064PF User manual


