HFX Senza PTRC1000 User manual

How to use the Remote Control
(PTRC1000)
How to use the Charger
(CHGR1000)
Senza
Remote Control
Quick Start Guide

1. Remote Control ON/OFF Button
2. Stimulation Level Indicator
3. Program Indicator
4. Program Selection Button
5. Stimulation OFF Button
6. Stimulation Start/Increase Button
7. Stimulation Decrease Button
8. Battery Level Indicator
(Charger level of Trial Device or Implant)
1 5
6
7
8
2
3
4
Guidance on using your Remote Control will be provided by your HFX Care Team. You may not need to make any programming
changes during the temporary trial. To achieve optimal relief, make sure you work closely with your HFX Care Team.
Tips
Replace the batteries in the Remote Control if any of the following situations arise:
• The Remote Control beeps 6 times when turned on.
• The Remote Control will not turn on.
When the Battery Level Indicator shows 2 bars or fewer, the batteries in the Trial Device need to be replaced. See Trial
Device Guide.
Turning the Remote Control ON
Press and hold until you see lights turn on and hear a beep.
• You may need to press for up to 5 seconds.
• If the Remote Control syncs with the Trial Device or Implant, your Program Indicator (1, 2, or 3) will light up. You’ll also
see lights on the Stimulation Level Indicator indicating the stimulation is ON.
• If the Remote Control cannot sync with the Trial Device or Implant, you will hear 3 beeps and the lights on the Remote
Control will turn OFF.
• Repeat these until you have a link with the Trial Device or Implant. Moving the Remote Control closer to the Trial Device
or Implant will help.
• Other buttons on the Remote Control will respond only when the Remote Control is ON and linked to the Trial Device or
Implant.
How to use the Remote Control (PTRC1000)
For Patients in the Implant Phase
Turning Remote Control OFF
Press to turn OFF the Remote Control.
• Stimulation continues even when the Remote Control is OFF.
• DO NOT press to turn OFF the Remote Control.
turns stimulation OFF.
• Remote Control will turn off by itself after 2 minutes of inactivity.
Turning stimulation OFF
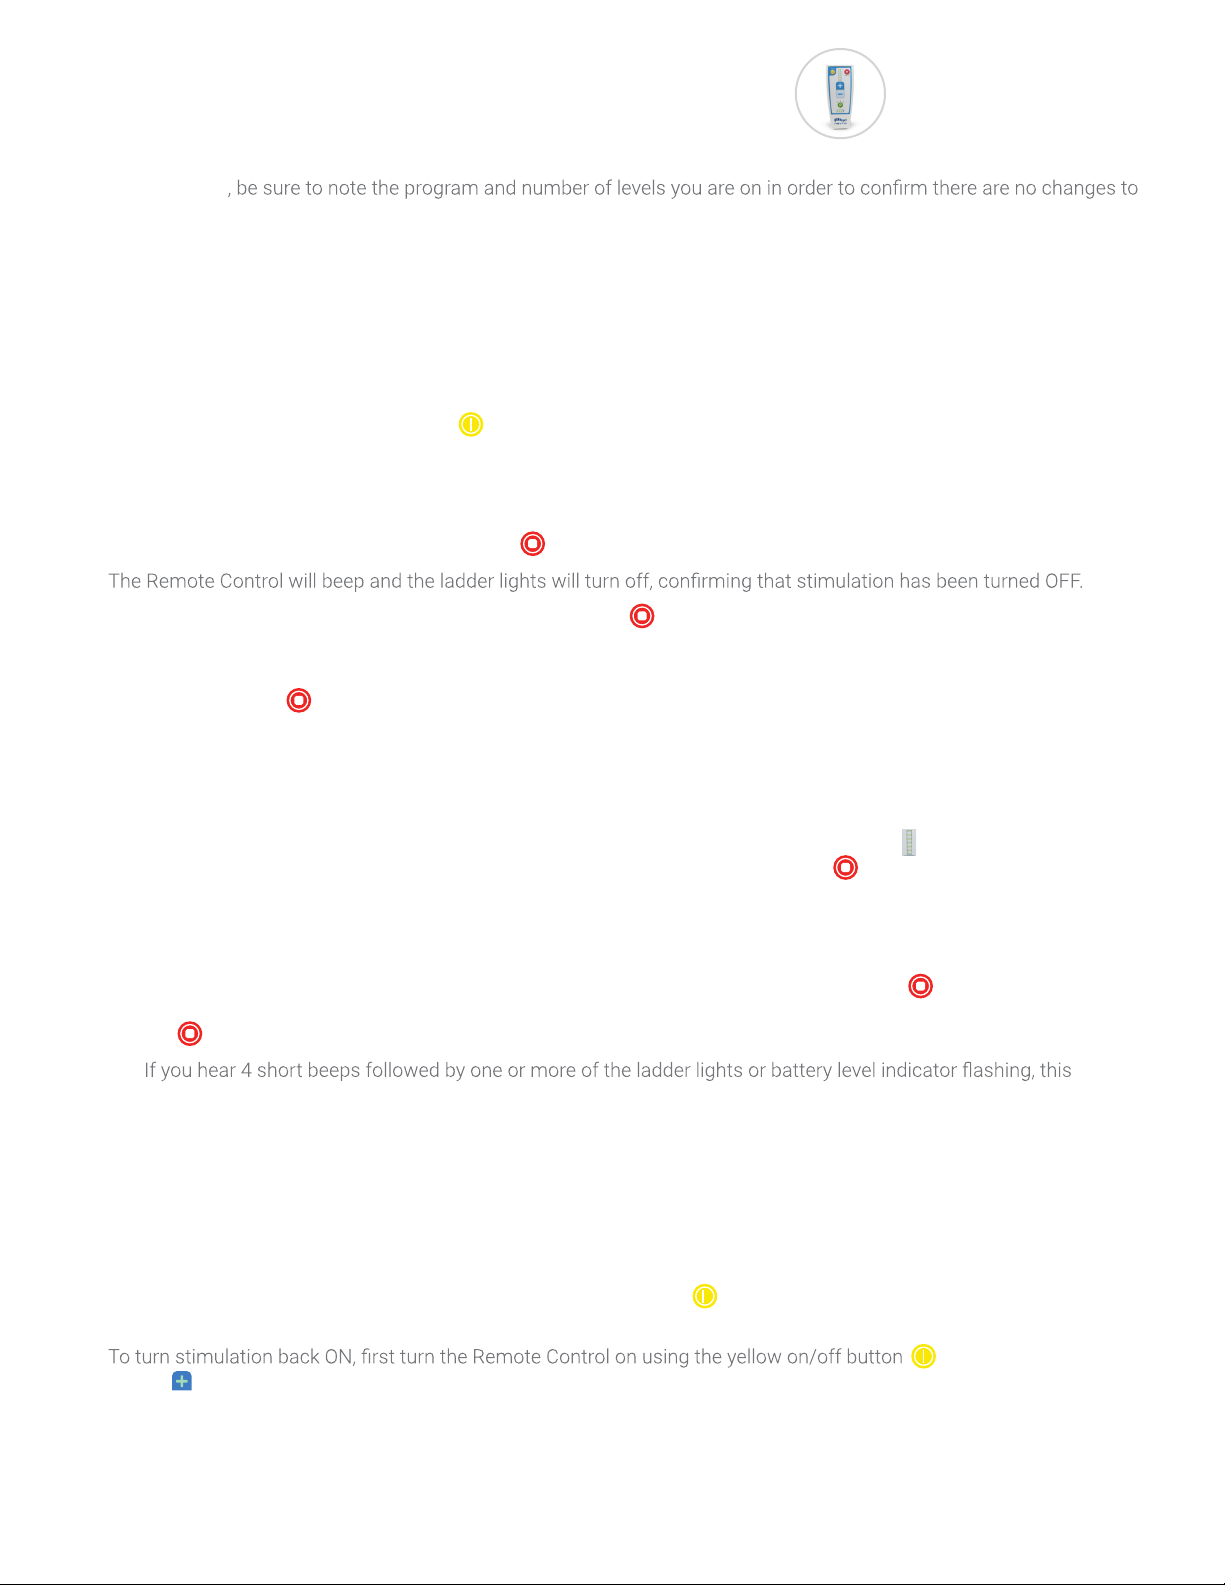
Once the Remote Control is ON, press to turn stimulation OFF.
• The lights on the Stimulation Level Indicator will be OFF when stimulation is OFF.
• This button only turns stimulation OFF. It does not turn stimulation ON.
Turning stimulation ON and changing program
To turn stimulation ON, press . The Remote Control must be ON.
• Stimulation is ON unless it has been turned OFF.
• When stimulation is turned ON (after it was turned OFF), the Trial Device or Implant will be on the starting level for the
last active program used.
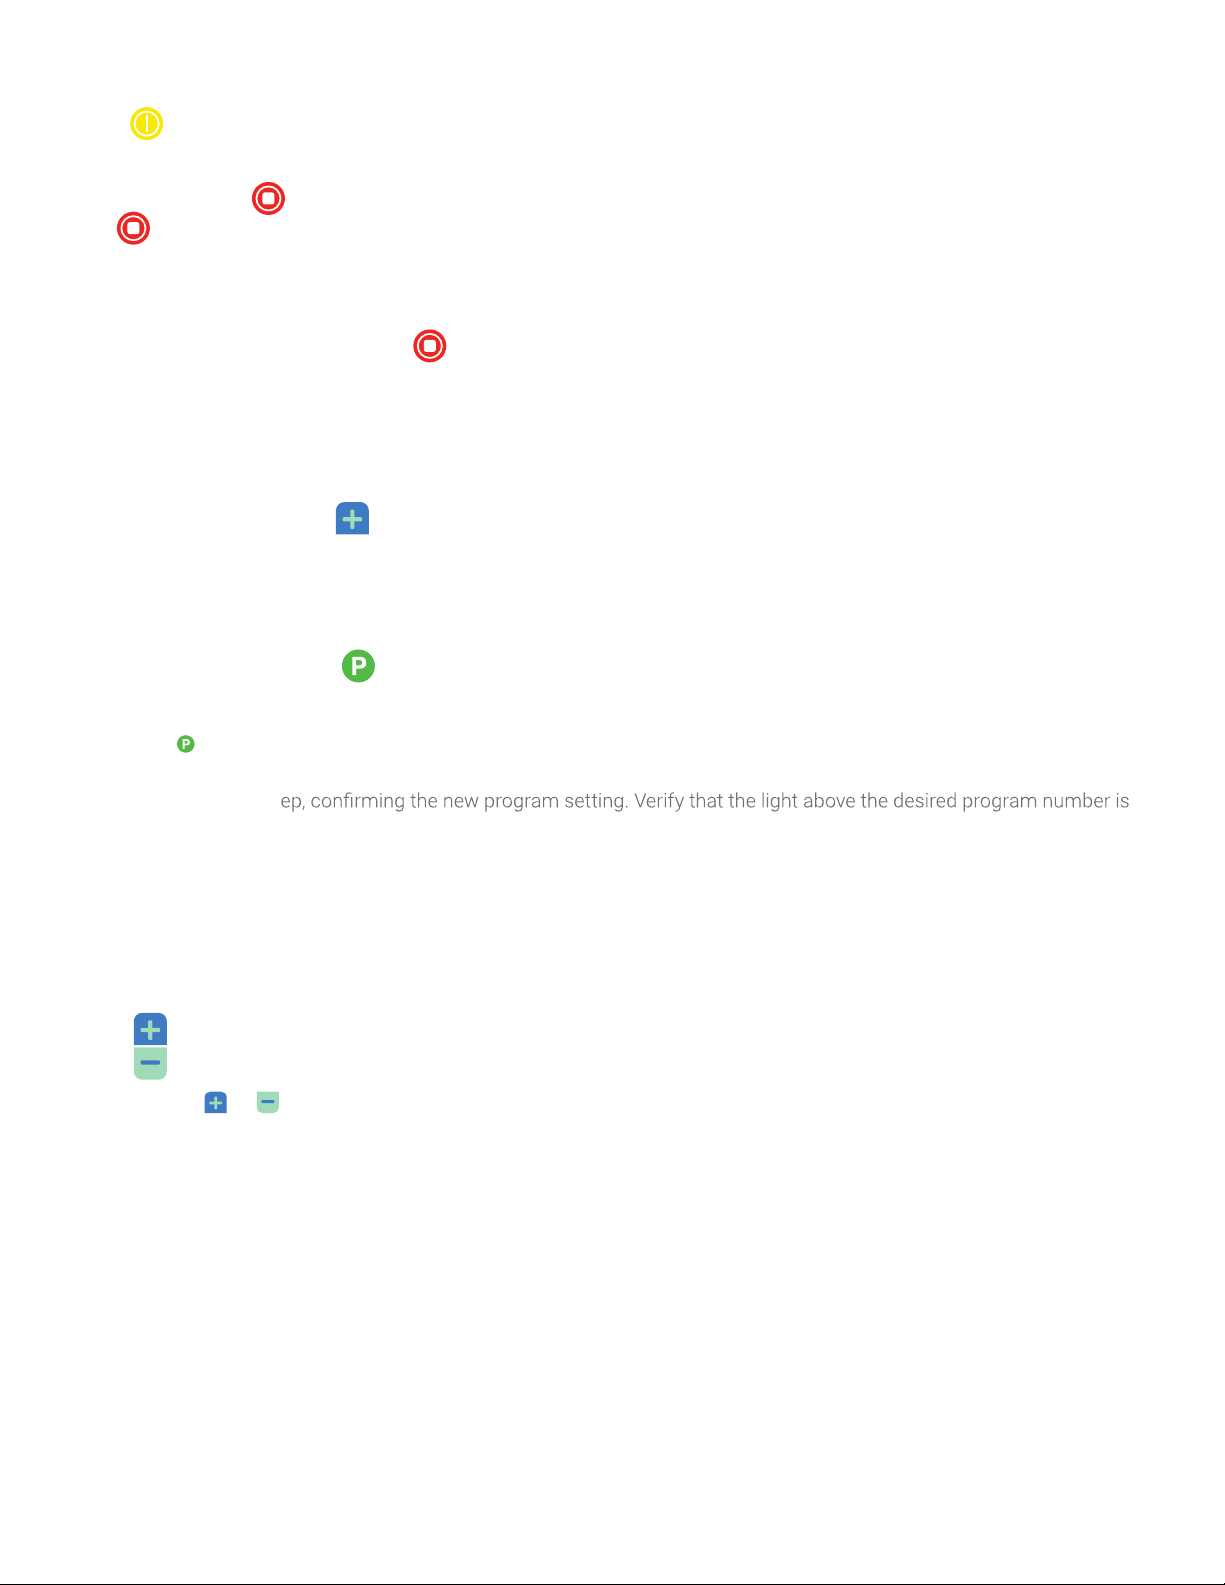
To change the program, press .
• Program Indicator light will start blinking.
• Press repeatedly until the light is at the desired program number.
• Once desired program is selected, do not press any buttons until the light stops blinking. The Remote Control will
sound one long be
steadily illuminated.
• If the Remote Control beeps 3 times and the Program Indicator goes back to the previous program, then the program
was not successfully changed. Place the Remote Control closer to the Trial Device or Implant and repeat previous
steps.
Changing stimulation level
The remote should be turned ON before adjusting the stimulation level.
Press to increase stimulation level.
Press to decrease stimulation level.
• For each or , 1 beep will sound.
• The level of stimulation can be seen in the Stimulation Level Indicator.
• When stimulation level for selected program is at the maximum or minimum level AND you try to go one level up or
down, 2 beeps sound, indicating that you are at the currently programmed limit.
ess and hold the stimulation off button at the top right corner of the Remote Control for at least 10 seconds.
Impedance Check Instructions (PTRC1000)
An Impedance Check for your system is required to be performed prior to you receiving an MRI scan. Before initiating an
Impedance Check
your settings made during the process.
Below are step by step instructions on how to perform the check. Contact your HFX Care Team before conducting an
Impedance Check on your device.
In some situations, the Impedance Check can be performed by your HFX Care Team if needed.
Turn on your Remote Control
• Press and hold the yellow on/off button at the top left corner of the Remote Control for 5 seconds, or until you hear
a long beep indicating the Remote Control has connected to your implant device.
Turn off Stimulation and Initiate Impedance Check
• Next, pr
•
• While you continue to hold down the stimulation' off button the ladder lights will begin to light up from bottom to top.
indicates the impedance check is in process.
• The remote will then beep when the impedancecheck is complete. Once you hear another beep or series of beeps,
you can release the . These beeps (described below) indicate whether you had a successful or unsuccessful
ImpedanceCheck.
Successful Impedance Check Indicators
• To be eligible for an MRI procedure, all of your impedances need to be within an acceptable range. The impedances
are within an acceptable range when you hear onelongbeep and see all ladder lights on your RemoteControl,
includingthe battery bar, light up solid after holdingthe stimulation off button for more than 10 seconds after
followingthe instructions above.
Unsuccessful Impedance Check Indicators
• If the Impedance Check was unsuccessful, you will hear 3 short beeps after holding the stimulation off button for
10 seconds after following the instructions above. Move the Remote Control closer to your device and press and hold
the for 10 seconds to re-run the Impedance Check.
•
indicates one or more of the electrode impedances are not within acceptable range and an MRI cannot be
completed. Please contact a HFX Coach at 844-331-1001 for support.
• If none of the number levels on your remote are lit up or blinking, the Impedance Check was not performed. Follow
the instructions listed above in “Turn off Stimulation and Initiate Impedance Check,” being sure to hold the stimulation
off button for at least 10 seconds.
Exit Impedance Check Instructions and Turn Stimulation Back On
• To exit the Impedance Check mode, press the yellow on/off button on the Remote Control for 5 seconds until all
lights on the Remote Control turn off. When the Remote Control is turned on next, it will return to the normal mode.
• , then press the ‘+’
button once. You will now see lights on your ladder indicating stimulation is ON and you can adjust program settings
as needed.

1. Charging Coil
2. Charger Battery Level Indicator
3. Antenna Strength Indicator
4. Stimulation OFF Button
5. Charge Start Button
6. Power Adapter Port
7. Implant Battery Level Indicator
Tips
Do not press unless you want to turn OFF the stimluation.
To turn the stimulation ON, use your Remote Control.
Charging times may vary for each session, depending on factors such as recharging frequency and stimulation
settings.
If the Charging Coil has an insufficient link (shown by the Antenna Strength Indicator), reposition the Charging Coil
slowly and wait 3 seconds. The Antenna Strength Indicator may take up to 3 seconds to update the new Charging Coil
position. Repeat as necessary.
If charging time is shorter than expected, your Implant may have been turned OFF. Make sure your Implant is turned
ON with the Remote Control.
Important reminders
Do not charge the Implant while the Charger is plugged into the wall. Always remove the Power Adapter before
pressing the Charge Start Button.
Recharge the Implant regularly to develop an easy-to-remember routine.
While charging, the implant site may become warm. If pain or discomfort is felt, stop charging and contact your doctor
or HFX Coach.
After recharging the Implant, plug the Charger back into the wall so the Charger will be ready for your next recharging
session.
please notify your HFX Coach.
2
34
7
5
6
1
How to use the Charger (CHGR1000)
For Patients in the Implant Phase

Charging preparation
Place the center of the circular Charging Coil over the top of your Implant.
• Figure 1 shows that the top of the Implant (in yellow box) is at the center of the Charging Coil.
• Figure 2 shows an Implant just below the beltline. Your Implant may be in a different location, such as on your front
side, in the abdomen (not shown).
Initiate charging
Press and hold until beeping starts, then release.
1. Beeping and blinking of green lights continues until the Charger links with the Implant.
2. If 10 to 12 seconds pass without a link, the Charger will sound one long beep and shut off. Reposition the Charging
Coil and press hold again.
3. When lights appear on the Antenna Strength Indicator, a link has been made. More lights mean a better link, and
make it less likely that charging will be interrupted by movements.
4. the small orange bar and beep
intermittently.
slowly and repeat Steps 1 and 2.
Charging
Charging is in progress when you see lights blinking on both the Charger Battery Level Indicator and the Implant Battery
Level Indicator. As charging progresses, the number of lights on the Charger Battery Level Indicator will decrease and the
number of lights on the Implant Battery Level Indicator will increase.
• If the link is lost, the Charger will beep. Reposition the Charging Coil and repeat Steps 1 and 2.
Figure 1 Figure 2
Complete charging
When charging is complete, one long beep will sound and the lights on the Charger will turn OFF. Check the Implant Battery
Level to make sure the battery is fully charged.
Plug the Charger into the wall socket to ensure the Charger will be ready for the next charging session.
• To plug the Charger into the wall socket, connect the Power Adapter into the Charger’s Power Adapter Port, then plug
the Power Adapter into the wall socket.
• It’s okay to continuously charge the Charger. The battery will not be damaged.
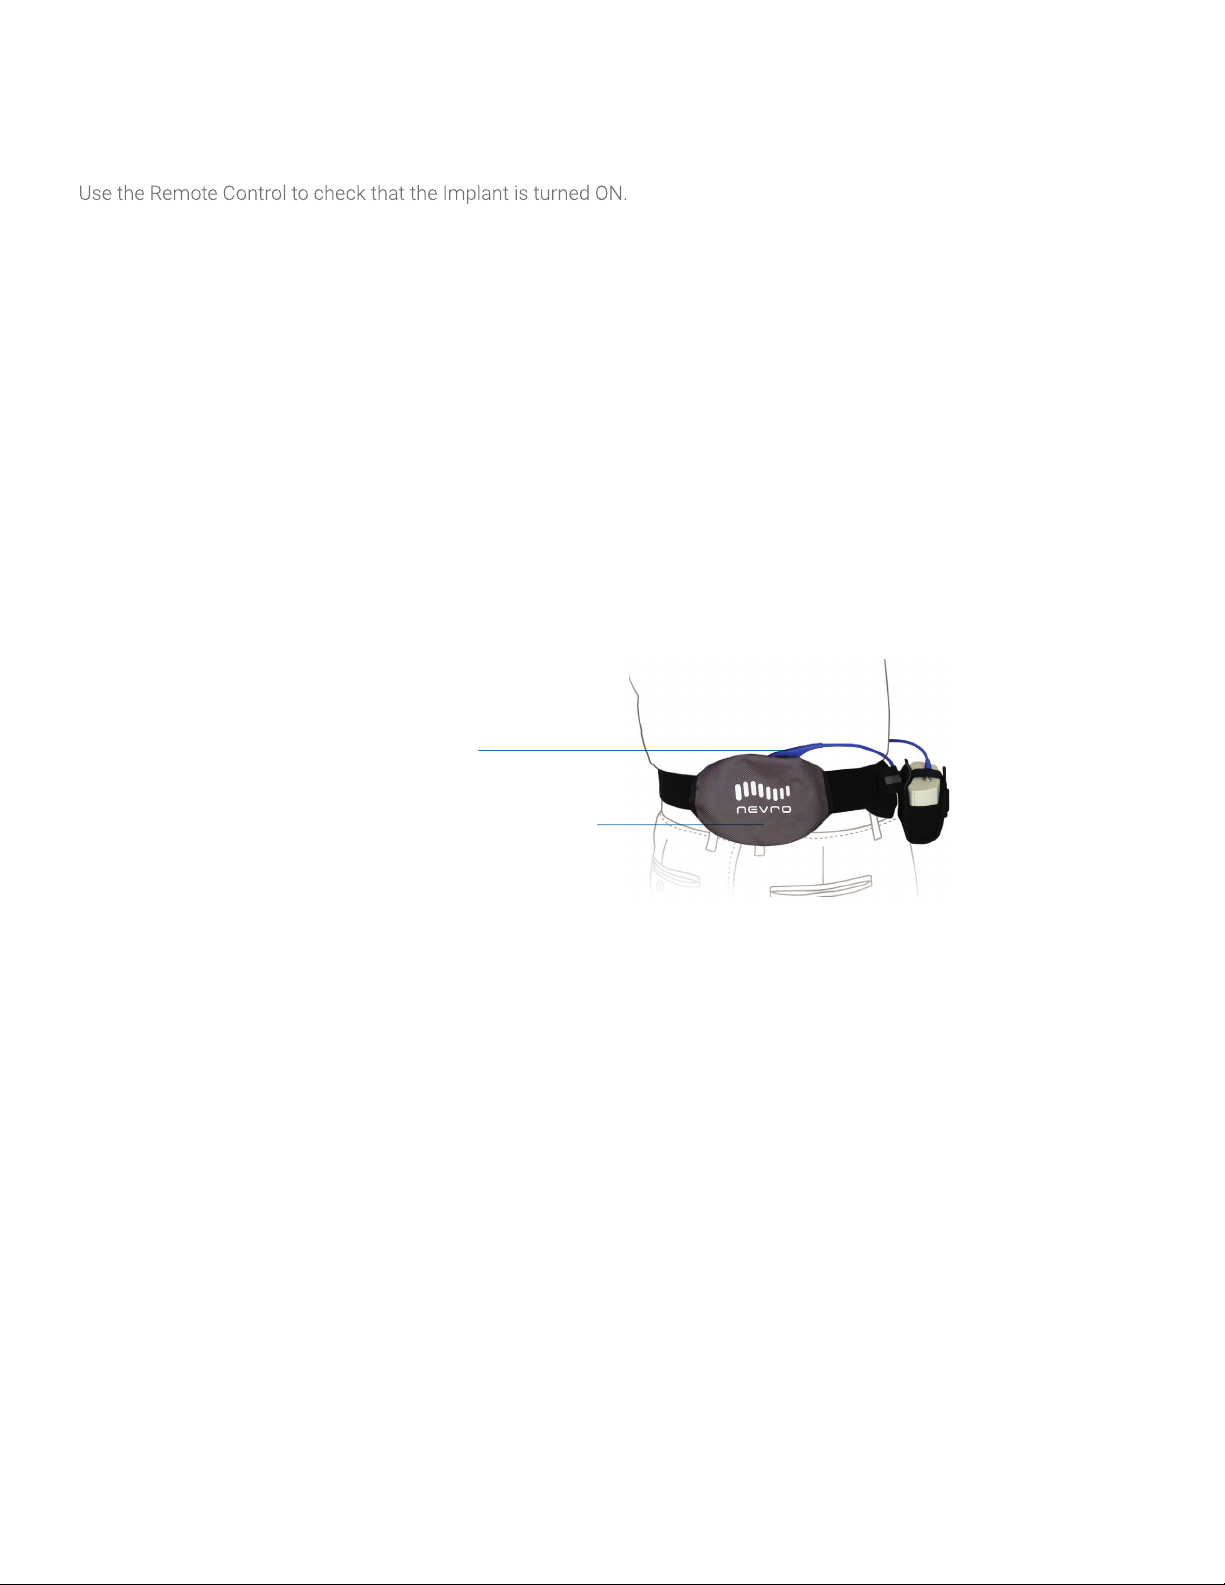
Using the Charger Belt
Once you know where to place the Charging Coil to achieve a strong link with the Implant, use the Charger Belt to secure
the Charging Coil’s location on your body before charging.
1. Place the blue Charging Coil in the mesh pouch on the Charger Belt and securely attach belt around the waist.
2. Initiate charging and move the Charging Coil until it links with the Implant.
3. If you want to be mobile during charging, insert the Charger into the holster. Then clip the holster to your belt or pants.
Charger Belt
The Charging Coil can be
inserted into the mesh pouch
through the opening at the
top of the Charger Belt.
Charger Holster

SENZA, SENZA II, SENZA OMNIA, OMNIA, HF10, the HF10 logo, 10 kHz Therapy, HFX, the HFX
logo, HFX iQ, the HFX iQ logo, HFX Algorithm, HFX CONNECT, the HFX Connect logo, HFX
ACCESS, the HFX Access logo, HFX COACH, the HFX Coach logo, HFX CLOUD, the HFX Cloud logo,
RELIEF MULTIPLIED, the X logo, NEVRO, and the NEVRO logo are trademarks or registered trademarks of Nevro Corp.
© 2023 Nevro Corp. All Rights Reserved.
S001004 V2.0
ML-00028 Rev. F
Nevro Corp.
1800 Bridge Parkway
www.NevroHFX.com
Tel. 1.650.251.0005
Toll-free 1.888.956.3876
Video instructions are available at www.NevroHFX.com/resources
For full instructions on the accessories, warnings, and precautions, please refer to the Patient
Manual.
Important information: Rx Only: Patient experiences with the Senza® spinal cord stimulation (SCS) system vary by individual,
including the amount of pain relief. The occurrence of adverse events associated with SCS implant surgery or use also varies
by patient. Please see www.Nevro.comHFX/safety for complete safety, indications for use, and contraindications information.
Table of contents
Other HFX Remote Control manuals


