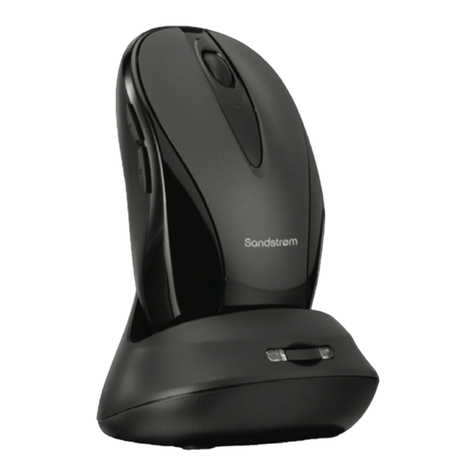
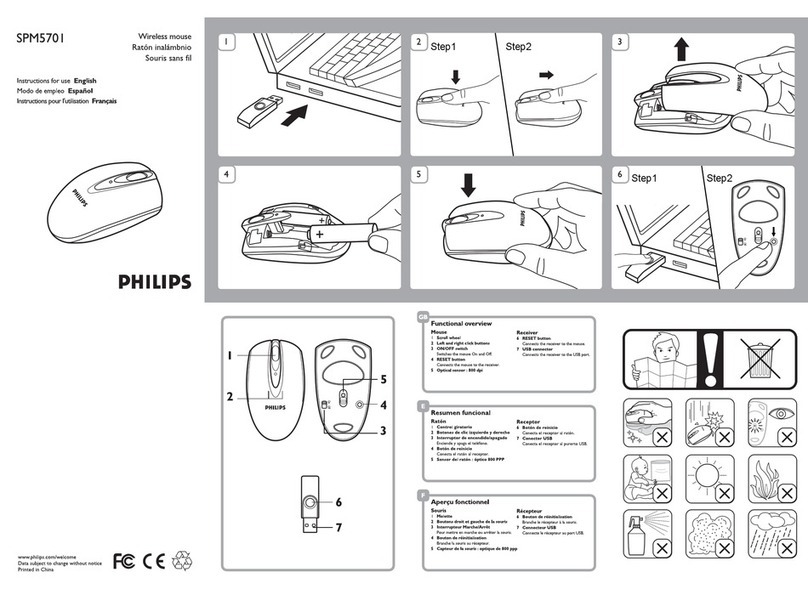
Hillcrest Labs Loop Pointer User manual

Hillcrest Laboratories, Inc. 15245 Shady Grove Road, Suite 400
The Loop™ Pointer
User Guide
Rockville, MD 20850
Copyright © 2007 – 2009 All Rights Reserved


Loop™ Pointer User Guide
Copyright © 2007 – 2009 i Hillcrest Laboratories, Inc
Copyright © 2009 Hillcrest Laboratories, Inc. All rights
reserved. Protected by U.S. Patents Nos. 7,158,118;
7,239,301; 7,262,760; 7,414,611; D547,304; D550,633; and
other patents issued or pending in the U.S. and other
countries.
Hillcrest Labs, the Hillcrest Labs logo, Freespace and other
Hillcrest Labs products referred to herein are either the
trademarks or registered trademarks of Hillcrest Laboratories,
Inc. Microsoft, PowerPoint, Windows, and other Microsoft
products referenced herein are either trademarks or registered
trademarks of Microsoft. Apple and Macintosh are trademarks
of Apple Inc., registered in the U.S. and other countries. All
other trademarks are property of their respective owners.
FCC Compliance
This equipment has been tested and found to comply with the
limits for a Class B digital device, pursuant to Part 15 of the
FCC Rules. These limits are designed to provide reasonable
protection against harmful interference in a residential
installation. This equipment generates, uses, and can radiate
radio frequency energy and, if not installed or used in
accordance with the instructions, may cause harmful
interference to radio communications. However, there is no

Loop™ Pointer User Guide
Copyright © 2007 – 2009 ii Hillcrest Laboratories, Inc
guarantee that interference will not occur in a particular
installation. If this equipment does cause harmful interference
to radio or television reception, which can be determined by
turning the equipment off and on, the user is encouraged to
try to correct the interference by one or more of the following
measures: 1) reorient or relocate the receiving antenna; 2)
increase the separation between the equipment and receiver;
3) connect the equipment into an outlet on a circuit different
from that to which the receiver is connected; 4) consult the
dealer or an experienced radio/TV technician for help.
This device complies with Part 15 of the FCC Rules. Operation
is subject to the following two conditions: 1) this device may
not cause harmful interference, and 2) this device must accept
any interference received, including interference that may
cause undesired operation.
Any changes or modifications not expressly approved by the
party responsible for compliance could void the user’s
authority to operate the equipment.

Loop™ Pointer User Guide
Copyright © 2007 – 2009 iii Hillcrest Laboratories, Inc
Warranty
Hillcrest Laboratories warrants this product, excluding
batteries, to be free from malfunctions and defects in both
materials and workmanship for 90 days from the date of
purchase. Retain the original dated sales receipt. Proof of
purchase is required for warranty repair. If this product is
found to be defective within the warranty period, Hillcrest Labs
will either repair or replace the product.
This warranty does not cover circumstances beyond the
control of Hillcrest Labs. We make no other express or implied
warranty for this product. Some states or jurisdictions do not
allow exclusion or limitation of incidental or consequential
damages, so the above limitation may not apply to you. Some
states or jurisdictions do not allow limitations on how long an
implied warranty lasts, so the above limitation may not apply
to you. This warranty gives you specific rights, and you may
have other rights which vary from state to state or by
jurisdiction.
For further warranty information, please refer to
www.hillcrestlabs.com.


Loop™ Pointer User Guide
Copyright © 2007 – 2009 1 Hillcrest Laboratories, Inc
Congratulations!
Congratulations! You have purchased Hillcrest Labs’
revolutionary Loop™ Pointer. The Loop™ Pointer is a
mouse replacement that lets you naturally control your
on-screen cursor with hand motions. Using the Loop™
Pointer, you can simply point and click on your PC or
Macintosh without any cords or even a flat surface. The
Loop Pointer’s distinctive ergonomic design includes
just four buttons and a scroll wheel.
Using the patented Freespace® motion control
technology from Hillcrest Labs, the Loop™ Pointer,
offers a new standard for ease of use, precision and
stability. Adaptive tremor removal and orientation
compensation are two of the sophisticated elements
that make using the Loop™ Pointer precise, responsive,
and easy to learn.

Loop™ Pointer User Guide
Copyright © 2007 – 2009 2 Hillcrest Laboratories, Inc
What’s in the Package
You get:
•The Loop™ Pointer.
•The USB RF transceiver, a device that plugs
into a USB port on the computer you will use
the Loop™ Pointer with.
•Two AA batteries.
The Loop™ Pointer and the USB RF transceiver work
together. To use the Loop™ Pointer with a computer
you must attach the USB RF transceiver to that
computer. The Loop™ Pointer requires two AA
batteries.
Installation and Setup
Only two easy steps are required to begin using the
Loop™ Pointer:
•Install batteries in the Loop™ Pointer: Locate the
battery cover, which is on the inside of the Loop™

Loop™ Pointer User Guide
Copyright © 2007 – 2009 3 Hillcrest Laboratories, Inc
Pointer. To remove the cover, look for the
Freespace® label, then squeeze on the dent
opposite the label and pull off the cover. Install two
AA batteries as shown on the label in the battery
compartment:
[battery insertion illustration
here – to come]

Loop™ Pointer User Guide
Copyright © 2007 – 2009 4 Hillcrest Laboratories, Inc
To make it easy to remove the battery for replacement,
make sure the ribbon attached inside the compartment
is underneath the batteries. Replace the battery cover.
•Plug the USB RF transceiver into a USB port on
the computer: The USB RF transceiver works in
any USB port on the computer.
After you plug in the USB RF transceiver, wait
approximately 30 seconds for it to be installed.
•Turn on the Loop™ Pointer. Press the on-off
button on the Loop™ Pointer. The Status LED
lights up.
You’re now ready to use the Loop™ Pointer!
Loop™ Pointer Controls and Buttons
The diagram on the next page shows the Loop™
Pointer controls and buttons. The right and left buttons
and the scrollwheel work just as they do on a regular
USB computer mouse.

Loop™ Pointer User Guide
Press to hide or
show cursor, or to
freeze cursor in
place
Lights up when
the Loop™
Pointer
communicates
with the PC
Battery cover
S
tatus LED
Corresponds to
the left mouse
button
Corresponds to the
mouse scrollwheel
Corresponds to the
right mouse button
On/Off
Copyright © 2007 – 2009 5 Hillcrest Laboratories, Inc

Loop™ Pointer User Guide
Copyright © 2007 – 2009 6 Hillcrest Laboratories, Inc
Using the Loop™ Pointer
Here are a few pointers for using the Loop™ Pointer:
You don’t have to point at the screen
Freespace® technology enables the Loop™ Pointer to
track motion, so the cursor on the screen follows the
movement of the Loop™ Pointer in your hand. So you
can hold your hand in the position that is the most
comfortable for you. Move your hand and the cursor
moves just the way you expect it to.
The buttons work just like the buttons on a mouse
The buttons on the Loop™ Pointer correspond directly
to the buttons on your mouse, trackball, or other
pointing device. The left button, right button and
scrollwheel do exactly what those buttons do, as
defined by Windows, by Macintosh OS X, or by the
program you are using.

Loop™ Pointer User Guide
Copyright © 2007 – 2009 7 Hillcrest Laboratories, Inc
Small wrist movements work best
Use your wrist to move the Loop™ Pointer. This gives
you better control over the Loop™ Pointer than moving
your whole arm.
If the cursor disappears, move the Loop™ Pointer or
press any button
To save battery power, the Loop™ Pointer and the USB
RF transceiver go into a sleep state when there is no
movement for a while. The cursor may disappear while
in sleep state. The cursor will appear and react as usual
to your movements when you move the Loop™ Pointer
or press a button.
You can customize the cursor using your PC’s
Control Panel or your Mac’s System Preferences
There are settings in the Mouse section of the Windows
Control Panel to customize cursor size and other
attributes to your preferences. In the Mouse section of
the Mac’s System Preferences you can adjust tracking
and scrolling, and assign actions to the buttons.

Loop™ Pointer User Guide
Copyright © 2007 – 2009 8 Hillcrest Laboratories, Inc
Using the Loop™ Pointer for PowerPoint
presentations
You can use the Loop™ Pointer to control PowerPoint
presentations without changing any settings. It acts just
like a mouse.
In PowerPoint for Windows, if you want to move
backward easily, you can make the Loop™ Back button
go back one slide without bringing up the action menu
first. Here’s how:
In newer versions of
PowerPoint for
Windows:
Click Office, then click
PowerPoint Options. Under
Advanced and Slide Show,
uncheck Show menu on right
mouse click.
In older versions of
PowerPoint for
Windows:
Open the Tools menu, then
select Options…and the View
tab. Under Slide Show,
uncheck Show menu on right
mouse click

Loop™ Pointer User Guide
Copyright © 2007 – 2009 9 Hillcrest Laboratories, Inc
Now when you click the Back button on the Loop™
Pointer, PowerPoint goes to the previous slide.
Table of contents
