manuals.online logo
Brands
  1. Home
  2. •
  3. Brands
  4. •
  5. Hinkley
  6. •
  7. Landscape Lighting
  8. •
  9. Hinkley Atlantis 15602 User manual

Hinkley Atlantis 15602 User manual

Installation Instructions
Family: Atlantis | Item No. 15602
Start Here
HINKLEY 33000 Pin Oak Parkway Avon Lake, OH 44012 (p)800.442.5539 / (f) 440.653.5555 www.hinkley.com






󳈐󶐕




Please do not
cut the top of
the PVC pipe
UBM to rest on top of
Pipe.



Unpacking
1. Unpack the bollard and the glass from the box.
2. Remove the bollard mount, threaded tube assembly, and PVC pipe from the box.
Luminaire Mounting
Note: If your local code requires a frost line burial deeper than 12 inches, you may
purchase a 2 inch PVC pipe (sch. 40 or sch. 80) from a local supplier and cut to
length as a replacement to the provided PVC pipe.
1. Dig a hole about 12 inches or deeper, depending on your
local code.
2. Feed the wires through the PVC pipe and insert it in the
ground, make sure the PVC is sticking out of the ground
enough that the bollard mount will fit on top of the PVC, and
that the bottom of the bollard mount is level with the ground.
3. Fill in the hole around the PVC pipe.
4. Level the PVC pipe with a post level.
5. Feed the wires through the bollard mount and the threaded
tube assembly, pull the wires out through the wiring coupler.
6. Put the bollard mount on top of the PVC pipe.
7. Tighten the three set screws on the sides of the bollard
mount.
Assembly
1. Wire the fixture wires and the main wires together using wire
nuts. Put the silicone glue, that’s provided, in the wirenuts to
waterproof. All connections must be housed with in the lower
section of the bollard and above ground.
2. Remove the bottom cover.
3. For ground installation: screw the nuts (supplied) onto the
threaded tube to get the correct height adjustment. This step is
not needed for concrete or other hard surface installations.
4. Put the main body of the fixture over the bollard mount and
threaded tube assembly.
5. Rotate the fixture to the desired position.
6. Put a nut and two external tooth washers (supplied in the
parts bag) on top of the threaded tube and tighten.
7. Replace the bottom cover.
8. Unscrew the four screws from the top cover and remove the
cover.
9. Insert the glass into the fixture, and screw it in.
10. Insert the LED into the top cover, screw in the set screw
to secure to the top and connect the wires with the quick
connect.
11. Put the top cover back on and tighten the four screws





2 1/2"
Min Hight
4 1/2"
Max


Installation Instructions
HINKLEY 33000 Pin Oak Parkway Avon Lake, OH 44012 (p)800.442.5539 / (f) 440.653.5555 www.hinkley.com
Commencer Ici (French)
Empieza Aqui (Spanish)
Desembalaje
1. Desembale el bolardo y el vidrio de la caja.
2. Retire el bolardo de montaje, montaje de tubo roscado y
tubo de PVC de la caja.
Luminaria de montaje
1. Excave un hoyo de aproximadamente 12 pulgadas o más,
dependiendo de su código local.
2. Pase los cables a través de la tubería de PVC e insértelo en
el suelo, asegúrese de que el PVC sobresalga del suelo lo
suficiente como para que el soporte del bolardo quede
encima del PVC y que la parte inferior del soporte del
bolardo esté nivelada con el terreno.
3. Rellene el agujero alrededor de la tubería de PVC.
4. Nivele la tubería de PVC con un nivel posterior.
5. Pase los cables a través del montaje del bolardo y el
conjunto del tubo roscado, extraiga los cables a través del
acoplador de cables.
6. Coloque el soporte de bolardo en la parte superior de la
tubería de PVC.
7. Apriete los tres tornillos de fijación a los lados del bolardo
una vuelta cada uno sucesivamente hasta que todos estén
apretados.
Nota: Si el código local requiere un entierro línea de congelación
profunda de 12 pulgadas, usted puede comprar un tubo de PVC
de 2 pulgadas (sch. 40, sch. 80) De un proveedor local y cortar a la
longitud como un reemplazo de la tubería de PVC proporcionado.
1. Conecte los cables del aparato y de los principales cables
juntos utilizando tuercas para cables. Ponga el pegamento
de silicona, que se proporciona en las tuercas de cable a
prueba de agua.
2. Retire la cubierta inferior.
3. Para la instalación del suelo: tornillo la tuerca (suministrada)
en el tubo roscado para obtener el ajuste de la altura
correcta. No es necesario este paso para instalaciones de
supercie dura de hormigón o de otro tipo.
4. Coloque el cuerpo principal del aparato sobre el bolardo de
montaje y ensamblaje de tubo roscado.
5. Gire el dispositivo a la posición deseada.
6. Ponga una tuerca (suministrado en la bolsa de piezas) en la
parte superior del tubo roscado y apriete.
7. Vuelva a colocar la cubierta inferior.
8. Aoje los cua tro tornillos de la cubierta superior y retire la
cubierta. Deje la tapa cuelgue sobre el borde de la
luminaria.
9. Inserte el vidrio en el aparato, y el tornillo en.
10. Inserte una bombilla LED o en el motor. Vea las
instrucciones para instalar LED.
11. Coloque la cubierta superior de nuevo y apriete los
cuatro tornillos.
Déballage
1. Déballez la borne et le verre de la boîte.
2. Retirez la borne de montage, assemblage de tube ÿleté, et
un tuyau en PVC de la boîte.
Luminaire de montage
1. Creusez un trou d'environ 12 pouces ou plus, selon votre
code local.
2. Faites passer les fils à travers le tuyau en PVC et insérez-le
dans le sol, assurez-vous que le PVC dépasse suffisamment du
sol pour que le support de borne ne se pose pas sur le dessus
du PVC et que le bas du support de borne soit au niveau de le
sol.
3. Remplissez le trou autour du tuyau en PVC.
4. Nivelez le tuyau en PVC avec un niveau de poteau.
5. Faites passer les fils à travers le support de borne et
l'ensemble de tube fileté, tirez les fils à travers le coupleur de
câblage.
6. Placez le support de borne sur le dessus du tuyau en PVC.
7. Serrez les trois vis de réglage sur les côtés de la borne d'un
tour chacune successivement jusqu'à ce qu'elles soient toutes
serrées.
Remarque: Si le code local exige un enterrement de ligne de gel
profond de 12 pouces, vous pouvez acheter un tuyau en PVC de
2 pouces (sch. 40 ou sch. 80) À partir d'un fournisseur local et
couper à la longueur comme un remplacement pour le tuyau en
PVC fourni.
1. Branchez les ls du luminaire et les principaux ls en utilisant
ensemble des écrous del. Mettez la colle silicone, qui est
fournie, dans les écrous del pour imperméabiliser.
2. Retirer le couvercle du fond.
3. Pour une installation au sol: visser l'écrou (fourni) sur le tube
leté pour obtenir le réglage de la hauteur correcte. Cette
étape est nécessaire pour les installations ne béton ou autre
surface dure.
4. Mettre le corps principal de l'appareil sur la borne de
montage et l'assemblage de tube leté.
5. Tourner l'appareil à la position désirée.
6. Mettez un écrou (fourni dans le sac de pièces) sur le dessus
du tube leté et serrer.
7. Replacez le couvercle du fond.
8. Dévissez les quatre vis du capot supérieur et retirez le
couvercle. Laissez le couvercle pendre sur le bord de
l'appareil.
9. Insérer le verre dans le luminaire et visser.
10. Insérez une ampoule ou un moteur LED. Voir les
instructions pour installer LED.
11. Mettez le couvercle supérieur et serrer les quatre vis.
Asamblea Assemblage
Family: Atlantis | Item No. 15602
Other Hinkley Landscape Lighting manuals

Hinkley 56000BZ User manual

Hinkley

Hinkley 56000BZ User manual

Hinkley Arc Series User manual

Hinkley

Hinkley Arc Series User manual

Hinkley IS59024 User manual

Hinkley

Hinkley IS59024 User manual

Popular Landscape Lighting manuals by other brands

AMP Lighting VAC-ZWM1-BBZ Installation & maintenance guide

AMP Lighting

AMP Lighting VAC-ZWM1-BBZ Installation & maintenance guide

Volt VSPL-9001-25-BBZ installation instructions

Volt

Volt VSPL-9001-25-BBZ installation instructions

Faro Barcelona SOBEK manual

Faro Barcelona

Faro Barcelona SOBEK manual

Volt VHS-650-4-BBK installation instructions

Volt

Volt VHS-650-4-BBK installation instructions

LIGMAN EU-20406-1 installation manual

LIGMAN

LIGMAN EU-20406-1 installation manual

Malibu Boats LZ1 instructions

Malibu Boats

Malibu Boats LZ1 instructions

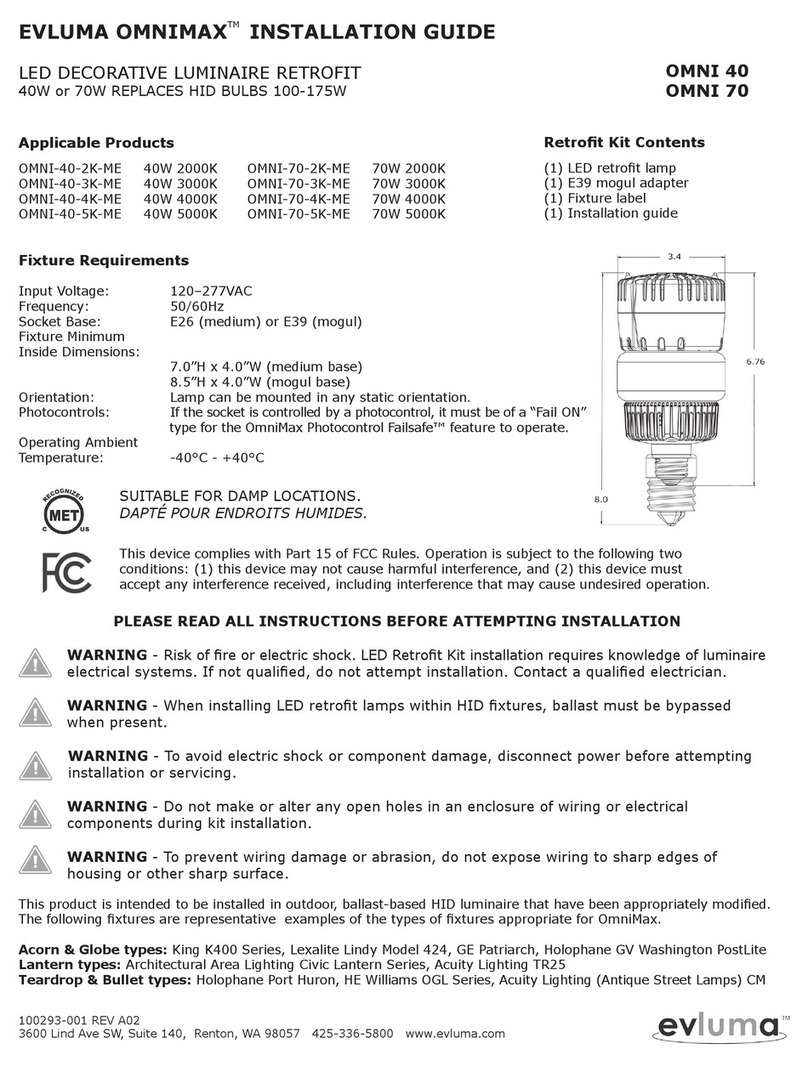
Evluma OmniMax OMNI-40-2K-ME installation guide

Evluma

Evluma OmniMax OMNI-40-2K-ME installation guide

Brinkmann Solar Gallery owner's manual

Brinkmann

Brinkmann Solar Gallery owner's manual

Malibu Boats LT401 instructions

Malibu Boats

Malibu Boats LT401 instructions

Volt VFL-4601-BBZ installation instructions

Volt

Volt VFL-4601-BBZ installation instructions

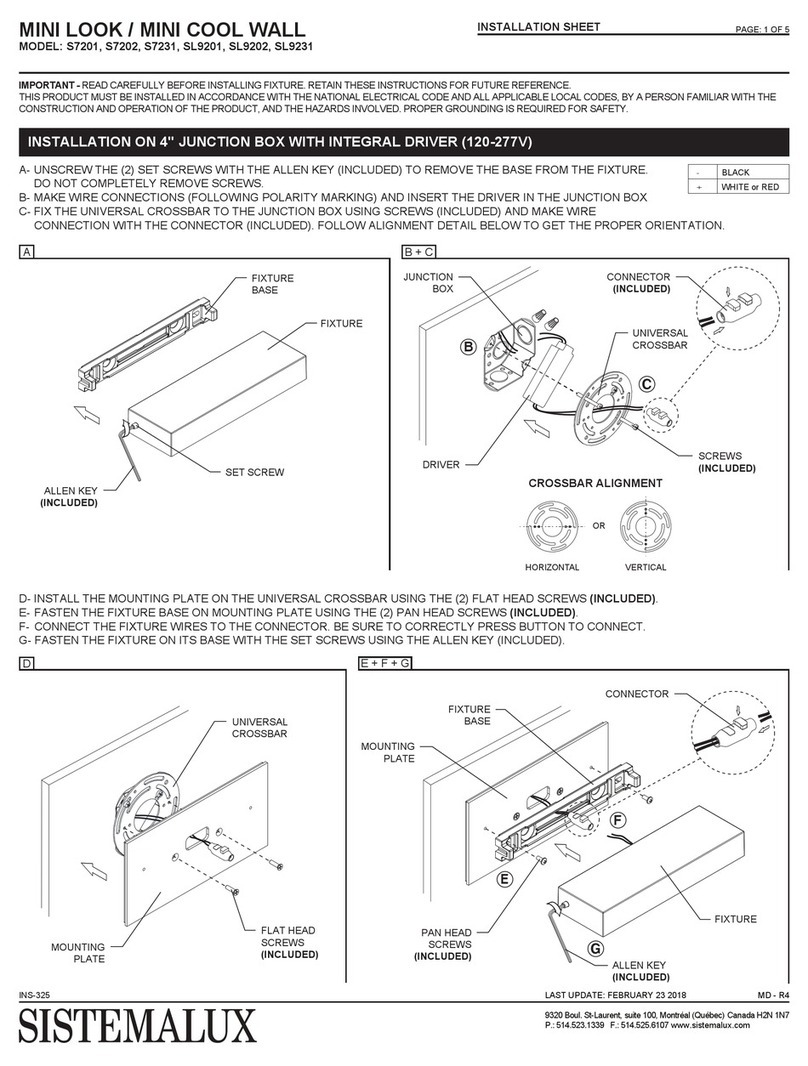
Sistemalux MINI LOOK Installation sheet

Sistemalux

Sistemalux MINI LOOK Installation sheet

LIGMAN LIGHTALK 1-LA-60003 installation manual

LIGMAN

LIGMAN LIGHTALK 1-LA-60003 installation manual

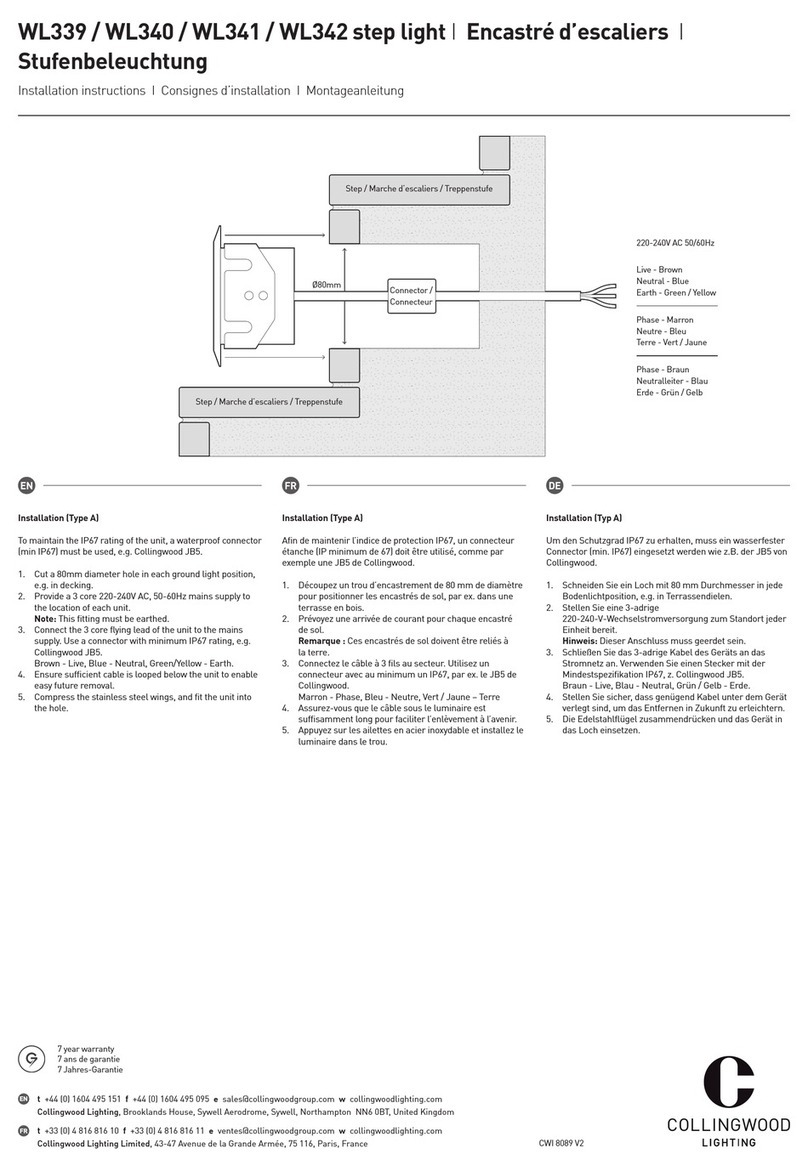
Collingwood Lighting WL339 installation instructions

Collingwood Lighting

Collingwood Lighting WL339 installation instructions

Home Accents Holiday 22RT4472225XY Assembly instructions

Home Accents Holiday

Home Accents Holiday 22RT4472225XY Assembly instructions

Malibu Boats LD622 Assembling & installation instructions

Malibu Boats

Malibu Boats LD622 Assembling & installation instructions

Regent Lighting Solutions Quattro Bollard - Buried installation instructions

Regent Lighting Solutions

Regent Lighting Solutions Quattro Bollard - Buried installation instructions

Heitronic 37285 Installation and operating instructions

Heitronic

Heitronic 37285 Installation and operating instructions

eLighting PV25WLOT quick start guide

eLighting

eLighting PV25WLOT quick start guide

manuals.online logo
manuals.online logoBrands
  • About & Mission
  • Contact us
  • Privacy Policy
  • Terms and Conditions

Copyright 2025 Manuals.Online. All Rights Reserved.