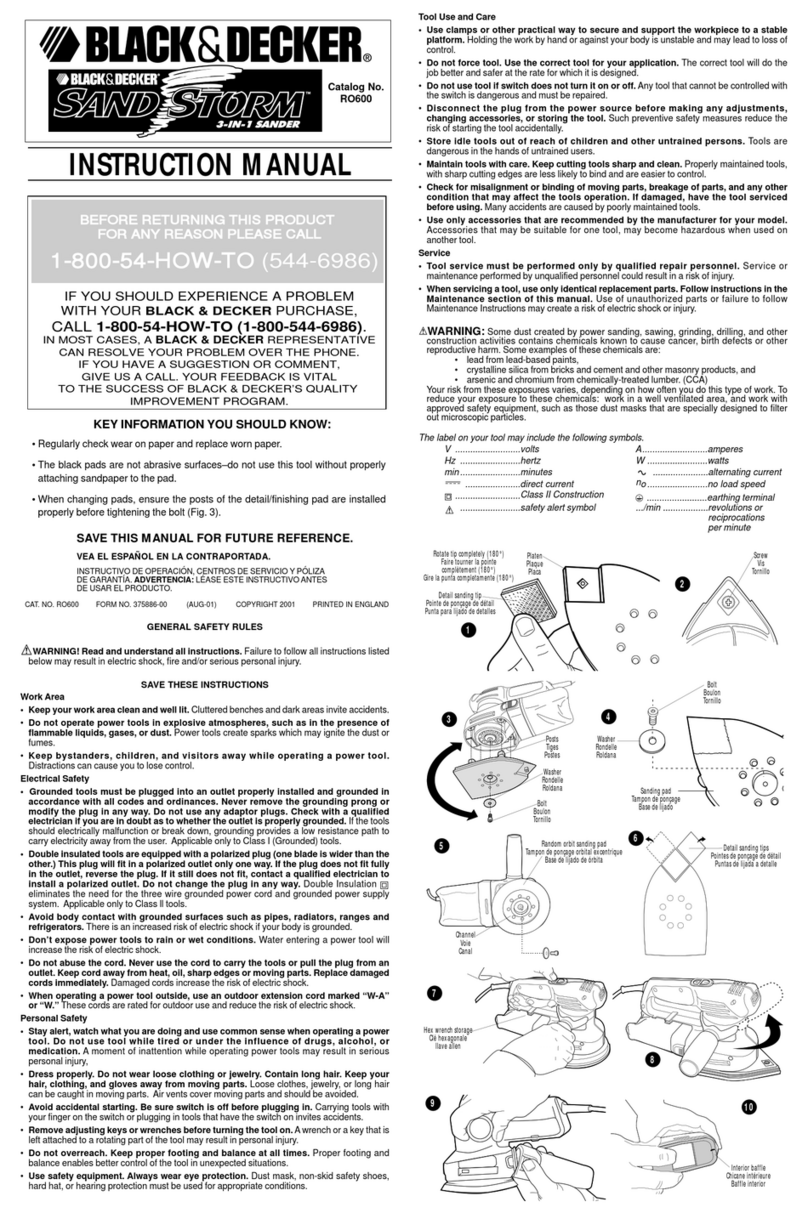
HireHere Floor Sander User manual

Page 1of 6
Floor Sander
This floor sander will sand hard and soft wood, cork
and composition floors that require rapid sanding and
levelling to a fine finish.
A powerful motor drives a finely balanced sanding
drum. This is covered in a unique drum rubber
providing a high-quality finish. Completely self-
contained with a high efficiency dust pick up, the
machine breaks down into three simple component
parts for easy transport.
With low voltage trip and overload protection this
floor sander is a high-performance machine suitable
for professional and homeowner use.
For safety it is recommended that a residual current circuit breaker (ground fault
interrupter) is used with this machine.
Preparation and PPE
•Check the operating voltage is correct and that the machine is switched OFF (‘O’) before
connecting to the power supply.
•Always disconnect from the power supply when changing the abrasive paper, servicing the
floor sander, replacing the dust bag, or leaving the machine unattended.
•Always replace the dust bag (paper type) or empty the dust bag (cloth type) when the dust
in the bag reaches the ‘MAX’ line or when the machine is left unattended.
•Never dispose of or empty the contents of the dust bag into a fire or incinerator.
•Never reuse the paper dust bag or use a nonstandard bag. Cloth bags must be in good
condition with no holes.
•Always wear a dust mask when using the floor sander, handling the dust bag, or cleaning the
machine after use.
•Wear ear protection when using the floor sander.
•Ensure adequate ventilation of the work area to avoid the formation of a combustible
mixture of flying dust and air.
•Never smoke when using or servicing the floor sander or when handling the dust bag.
•Never expose the machine to rain or damp. Always store in a dry place.
•Stop the floor sander immediately if damage to the machine or abrasive paper is suspected.

Page 2of 6
•Never allow the power cable to come in contact with the sanding drum when the floor
sander is in operation. If the power cable becomes damaged and the inner conductors are
exposed switch the power OFF and remove the plug before attempting to move the
machine. The cable must be replaced by an authorised dealer.
•Keep hands, feet, and loose clothing away from all moving parts of the machine.
•Punch down or remove all nails, screws, tacks, and other fixings from the floor before
sanding to prevent contact with the sanding drum.
•Never operate the machine without all the guards in place.
•Keep children and pets clear at all times.
•This floor sander is heavy, take care when lifting and transporting the machine. Always break
down the machine into its component parts when lifting and transporting.
Set Up
Assembly and Transport
The floor sander breaks down into three component parts, for easy handling and transport.
1. The main body
2. Handle assembly
3. Dust tube
To Assemble and Dismantle
1. Loosen the clamp bracket and slide the handle assembly into the handle bracket.
2. Adjust the height of the handle so that your arms are slightly bent when standing upright
behind the machine. This will provide you with maximum control in operation. Tighten the
clamp bracket firmly. Always ensure that the clamp bracket is tight, check periodically during
use.
3. Connect the cable handle to the body, twist lock at the rear right hand side of the floor
sander body.
4. Align the plug with the pins, push in and twist clockwise to lock.
5. Slide the exhaust tube into the exhaust bracket and push fully home.
6. Fit a paper dust bag following the instructions printed on the bag. If a cloth bag is used
ensure that it is tied securely around the dust tube neck and that the bag is in good
condition with no holes.
7. To prepare the floor sander for use place the machine on the floor and remove the main
cable from its storage position on the handle assembly. Check that the cable is in good
condition and that all fittings are secure.
8. To dismantle the floor sander reverse procedure above.
Always ensure that the floor sander is secure and cannot move when being transported in a vehicle.
The floor sander is heavy. Take care when lifting and carrying the machine.
Always break down the machine into its component parts when lifting and transporting.

Page 3of 6
Installing Abrasive Paper
1. Ensure the power cable is disconnected from the power supply.
2. Tip the floor sander back so that it rests on the handle.
3. Lift the drum guard and turn the drum to expose the paper clamp bar. Take care not to trap
your fingers when turning the drum.
4. Loosen the 2 paper clamp screws with a coin or suitable screwdriver so that the clamp bar
raises about 1/2“(12mm) only. DO NOT remove the screws completely.
5. Select a suitable grade of abrasive paper. To help install course grit abrasive papers draw the
smooth side (back) of the paper over the edge of a work bench to make it curl.
6. Kneeling in front of the machine place one end of the abrasive paper under the clamp bar so
that the notches align with the clamp bar screws and clamp bar. Carefully holding the
abrasive paper in place rotate the drum 1 revolution. Tuck the other end of the abrasive
paper under the clamp bar and use both hands to squeeze the sheet tight around the drum.
Make sure it is square to the edges of the drum with no overlap and both ends of the
abrasive sheet are equal distance under the paper clamp bar. Firmly tighten the two clamp
bar screws. Check the abrasive sheet is skin-tight around the drum. If in doubt repeat the
above procedure. Loose or damaged abrasive sheets will tear during sanding and can be
expensive to keep replacing.
7. Damage may also occur to the floor and floor sander.
8. Lower the drum guard and stand the machine up. The floor sander is now ready for use.
Floor Preparation
•Where possible remove all furniture from the area or room. The floor sander features an
efficient dust pickup; however, some dust will escape.
•Remove all tacks, staples, and other unwanted fixings from the floor. Failure to do so will
result in damage to the abrasive paper and sanding drum.
•Punch all nails below the surface of the floor using a suitable nail punch and hammer. Any
screws used to fix boards should be counter sunk below the surface. During sanding any
nails or screws that become exposed must be punched or counter sunk further.
•Firmly fix all loose boards or blocks.
•Remove heavy wax, grease, and dirt deposits by hand.
•Sweep and vacuum the floor thoroughly to remove dirt and discarded fixings.
•Ensure good ventilation by opening windows.

Page 4of 6
Using the Floor Sander
1. Move the floor sander to the location of your work.
2. Connect the power cable to a suitable power supply ideally located behind or to one side of
the machine and work area.
3. Hold both handles with the main cable held in a small loop in the left hand and then passed
over the left shoulder.
4. Apply light downwards pressure on the handles to tip the floor sander back to raise the
sanding drum off the floor. Switch on by pushing the ON/OFF switch to the ‘I’ position.
CAUTION: The Floor Sander is a powerful machine. Always ensure that you have a firm grip
before switching on.
5. Now move the floor sander slowly forward and at the same time release the pressure on the
handles to gently lower it so that the sanding drum comes into contact with the floor.
6. Guide the floor sander in a straight line at a slow walking pace. Do not force or hold the floor
sander back. Allow the machine to do the work and always move at an even pace.
7. At the end of the pass while still moving forward tilt the floor sander back so that the
sanding drum comes clear of the floor.
8. Move the machine over so that it overlaps the area just sanded by 3” (75mm) and start to
sand the next pass repeating the above technique.
9. Always ensure that the floor sander is moving when in operation and the sanding drum is in
contact with the floor.
10. Never lift the back of the machine when sanding.
11. Never apply pressure to try to increase the rate of sanding.
12. Never bounce or drop the floor sander on to the floor. Always lower the machine gently.
13. Never dwell in one place, always move steadily.
14. Never allow the power cable to come into contact with the sanding drum.
15. When the dust in the dust bag reaches the ‘MAX’ line stop sanding. Disconnect the power
cable from the power supply and remove the paper dust bag. Turn the top of the paper dust
bag over to stop the escape of dust and dispose of into a suitable container. Never reuse the
paper dust bag or empty it or dispose of it into a fire. If a cloth bag is used empty into a
suitable container being careful to contain the dust. Do not dispose of the contents into a
fire.
16. Fit a new paper dust bag or refit the cloth bag. Reconnect the floor sander to the power
supply and continue sanding.
17. When taking a break from work disconnect the power cable from the supply, remove and
dispose of the paper dust bag, or empty the cloth bag as detailed in 8. above. Never leave
the floor sander unattended with the dust bag in place containing dust.
18. On completion disconnect the power cable from the supply. Remove and dispose of the
paper dust bag or empty the cloth bag as detailed in 8. above. Stow the cable on the handle
assembly and if required dismantle for transportation.
DANGER: never leave the floor sander unattended with dust in the dust bag. Always remove the dust
bag and dispose of into a suitable container.

Page 5of 6
Floor Sanding Technique
Place the sander on the right-hand wall (unless you are making an angled cut on uneven floors) with
about two thirds of the floor in front of you. Start the sander with the drum off the floor then walk
forward at an even pace and ease the drum on to the floor. As you near the end of the pass,
gradually raise the drum off the floor.
Practice this technique before turning on the sander.
Cover the same path you made on the forward cut by pulling the machine backwards and easing the
drum to the floor as you begin the backward pass until you reach the original starting point, then
ease the drum off the floor.
When two thirds of the floor is sanded, turn the floor sander around and sand the remaining third in
the same way. Overlap the one third area by 0.6 to 0.9 meters (2 to 3 feet) with the two thirds area
to blend the two areas together.
WARNING: never bounce the sanding drum or dwell in one place as this will sand dips and hollows in
the floor.
Floor Types
Plank and Strip Floors
Old floors in good condition - when the floor is in good condition - no uneven edges, cupping or
crowning of planks and strips –and you want to re-surface the floor, sanding back to new wood,
start sanding in the direction of the planks or strips - with the wood grain.
Start with a medium grit abrasive. Complete the first cut with the HT8-1.2 Floor Sander then sand up
to the baseboards and door thresholds with the HT7-2 Disc Floor Sander, using a medium grit
abrasive, blending the edges in with the main floor area. Sweep the floor. Using a medium/fine grit
abrasive, sand the main floor area with the drum sander and then complete the floor with the edger
using a fine grit abrasive. Sweep the floor. Finish sanding the main floor area with the drum floor
sander using a fine grit abrasive. If the floor is in particularly good condition (level with no deep
scratches or blemishes) you may re-surface the floor using the Finishing Floor Sander, however, as
the sanding action of this machine is less aggressive than the HT81.2 Floor Sander the job will take
more time.
Uneven floors - when the floor is uneven sand diagonally at 45o across the room in both directions
using the HT8 Floor Sander with a coarse grit abrasive. Only make one cut on both diagonals, this will
achieve a basic level. Now complete the floor as for a level strip or plank floor. Use the same grit
abrasive as was used on the 45o cut for the first cut parallel to the planks or strips.
Floors with an existing finish - when re-finishing a floor remove as little of the existing surface as
possible. If the old finish is worn and the floor is generally in good condition use the Finishing Floor
Sander with abrasive pads and strips which have been especially designed for re-finishing floors.
These will maintain the integrity of any stain used to colour the wood and prepare the surface for a
new coat of finish. If the floor is badly marked and scratched and has to be sanded back to new
wood use the HT8 Floor Sander and HT7 Disc Floor Sander. Always try a medium grit paper first,
particularly on a diagonal cut. If 90% of the old finish is removed and the floor is generally level, you
do not need to use a coarse grit abrasive.

Page 6of 6
Engineered and Thin Floors
Use the Finishing Floor Sander for engineered or thinner floors that may have been subjected to
repeated sanding. The Finishing Sander will remove old surface finishes and prepare the floor for re-
finishing. Sand the floor using the same method as a strip, plank, or parquet floor. If the floor has
deeper scratches or marks these should be sanded out by hand and blended in with the main floor.
To check the wood depth in the floor remove a baseboard or moulding from around the edge of the
floor. This should provide access to the edge of the floor for inspection.
Parquet and Block Floors
The grain of the wood will run in a number of directions so sand the floor in the direction of the
main source of natural light in the room. If there is no source of natural light sand in the direction of
the longest side of the room or, if the room is square, in the direction the furniture is laid out and
how people normally use and view the room. This technique will help mask any imperfections in the
floor.
Table of contents
Popular Sander manuals by other brands

Demco
Demco E96-230 instruction manual

Dynabrade
Dynabrade Dynorbital-Spirit 21000 Operating and maintenance instructions

Bosch
Bosch 0 601 372 101 Original instructions

Taurus
Taurus RT-XS 28 instruction manual

Gern Pro
Gern Pro DAN0749 instruction manual
Campbell Hausfeld
Campbell Hausfeld FHT504 operating instructions
