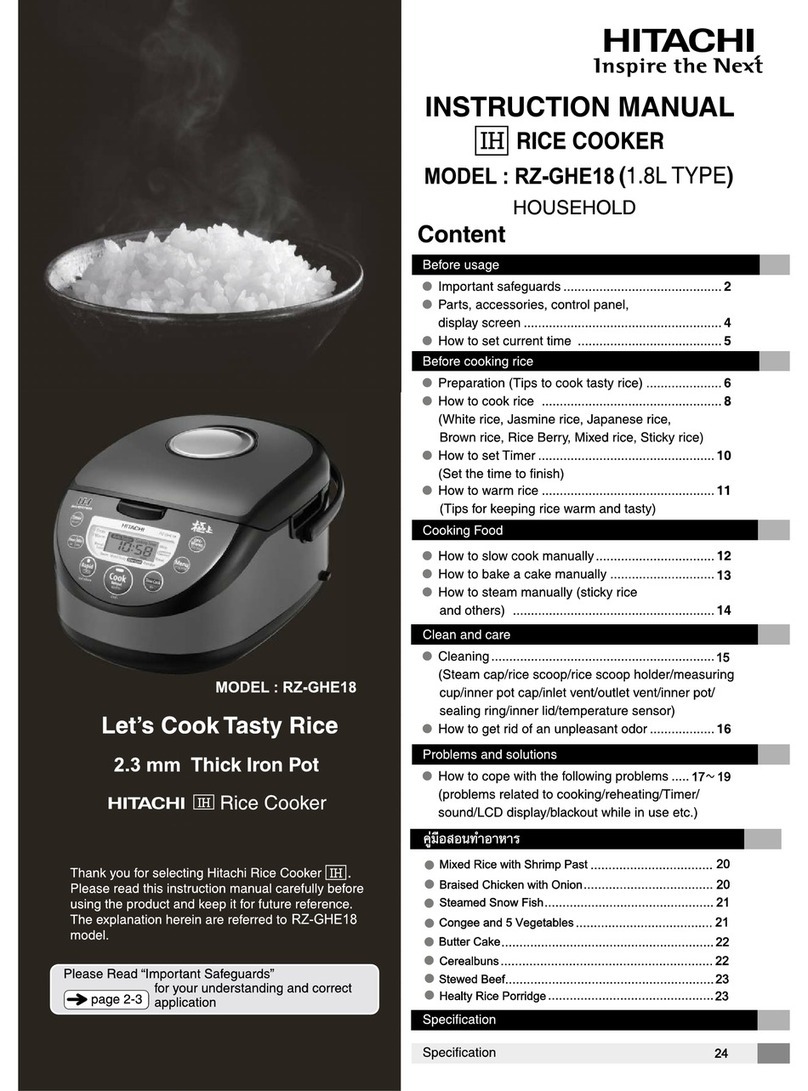
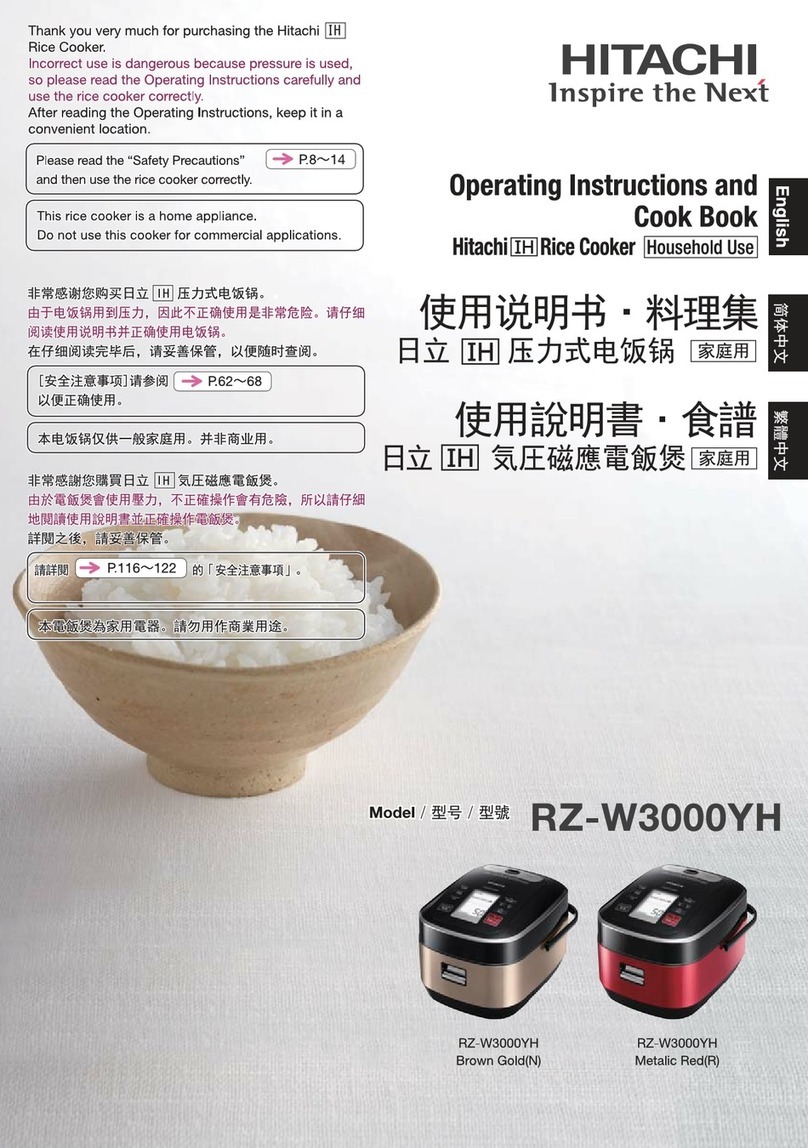
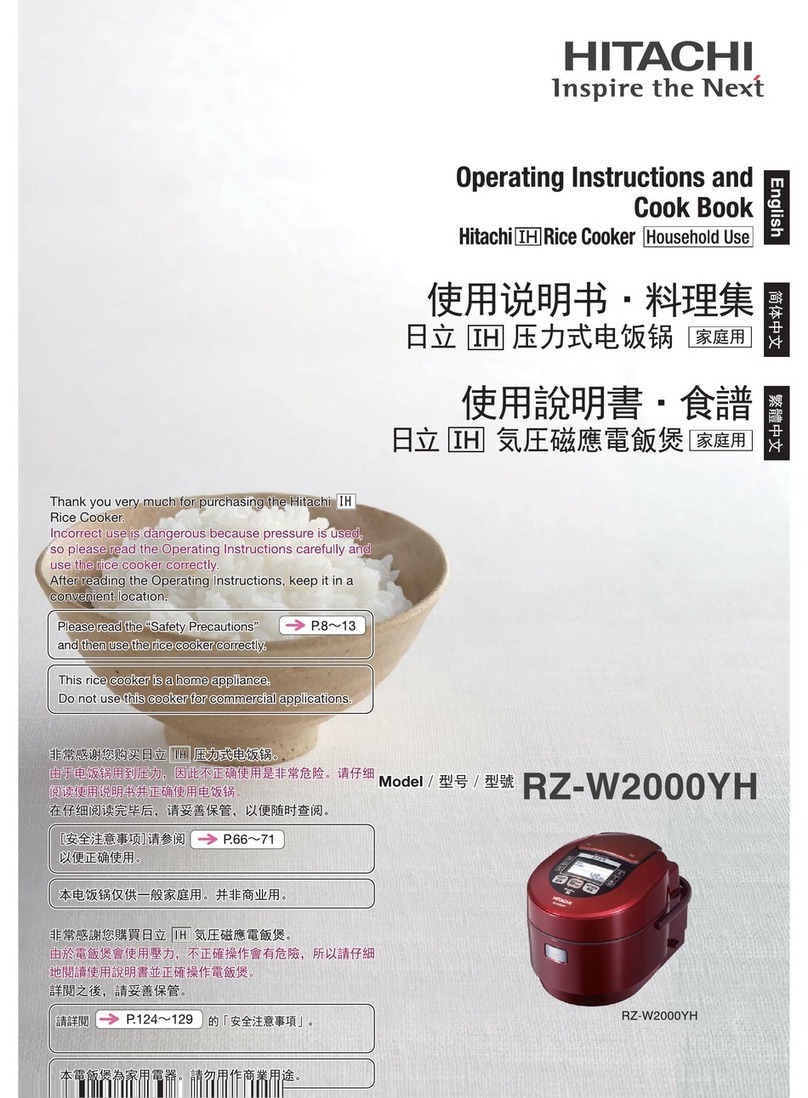
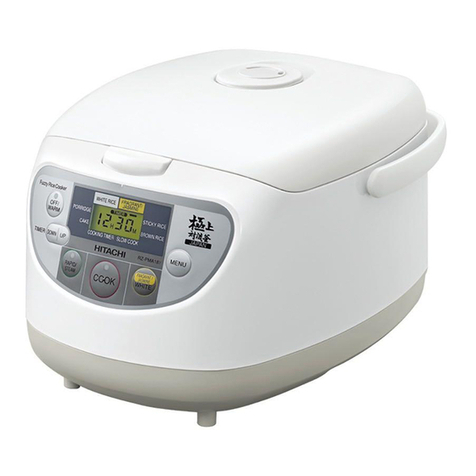
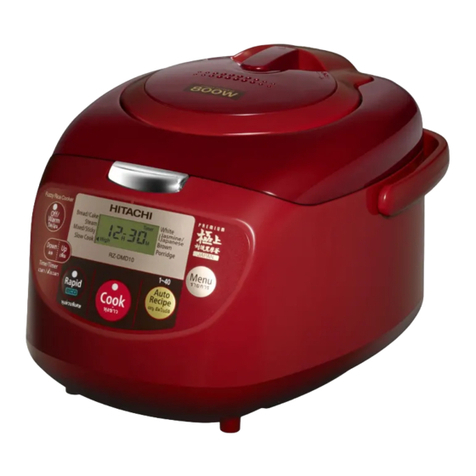
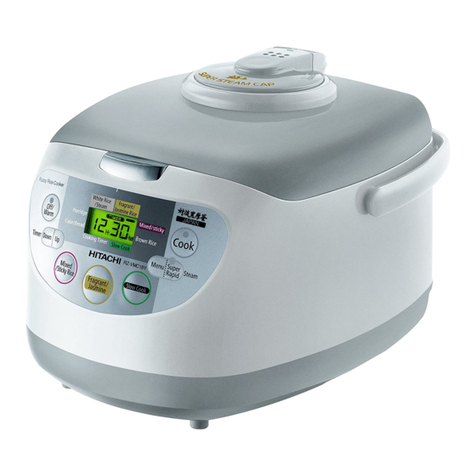
Hitachi RZ-V100CYH Operating instructions

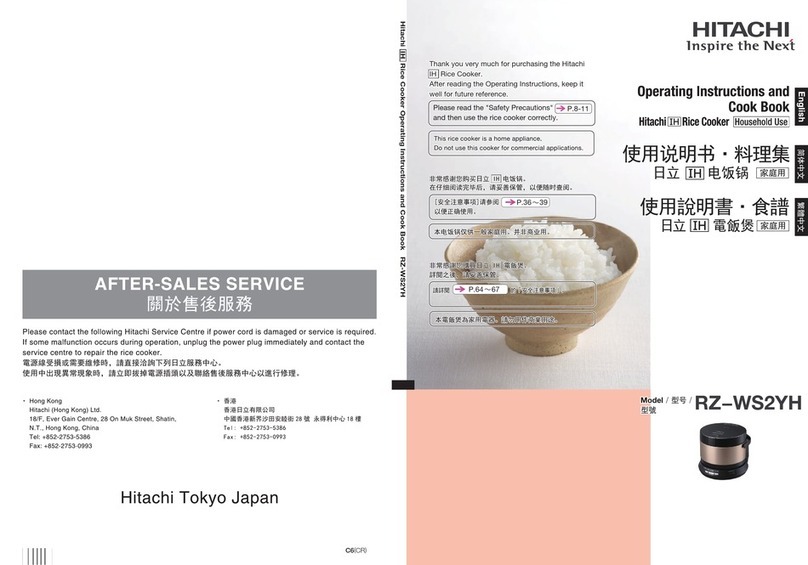
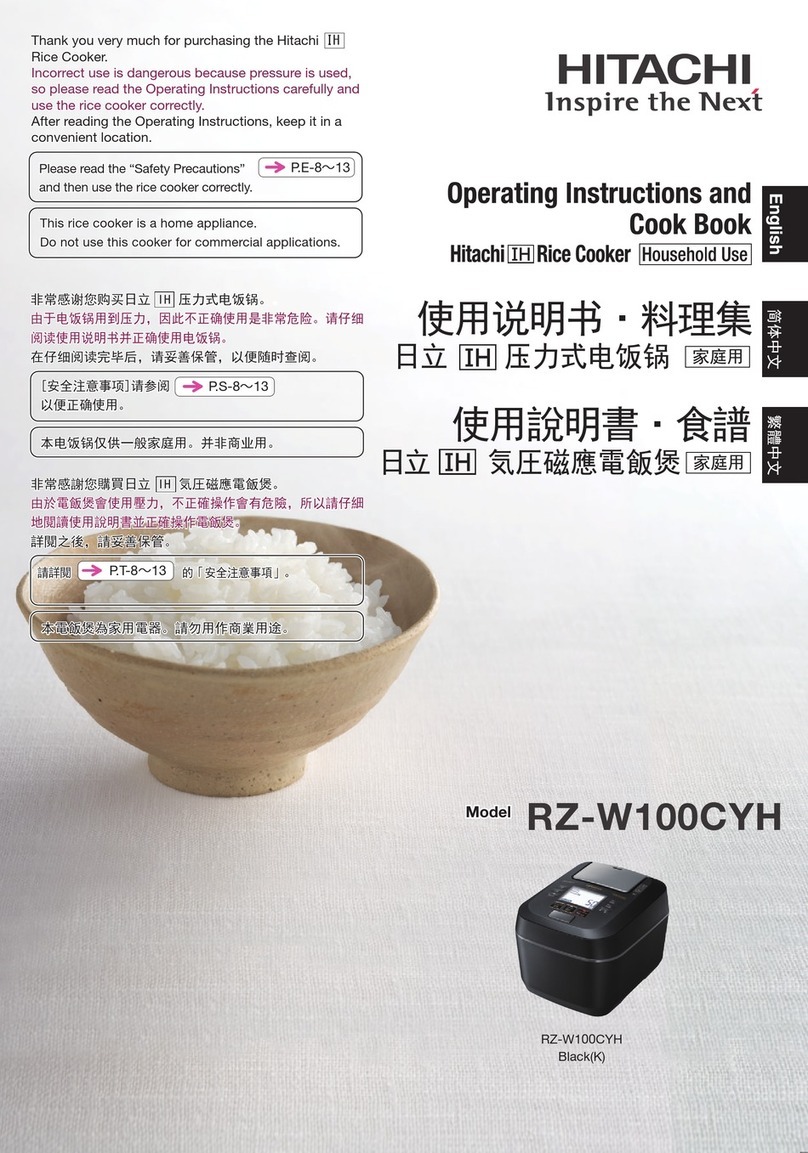
Hitachi Rice Cooker Operating Instructions and Cook Book RZ-V100CYH
RZ-V100CYH
2-M8867-1 J0(CR)
RZ-V100CYH
Red(R)
非常感謝您購買日立 IH 気圧磁應電飯煲。
由於電飯煲會使用壓力,不正確操作會有危險,所以請仔細
地閱讀使用說明書並正確操作電飯煲。
詳閱之後,請妥善保管。
請詳閱 的「安全注意事項」。請詳閱 的「安全注意事項」
。
本電飯煲為家用電器。請勿用作商業用途。本電飯煲為家用電器。請勿用作商業用途。
非常感謝您購買日立 IH 気圧磁應電飯煲。
由於電飯煲會使用壓力,不正確操作會有危險,所以請仔細
地閱讀使用說明書並正確操作電飯煲。
詳閱之後,請妥善保管。
P.T-8
13
[安全注意事项]请参阅
以便正确使用。
本电饭锅仅供一般家庭用。并非商业用。
[安全注意事项]请参阅
以便正确使用。
本电饭锅仅供一般家庭用。并非商业用。
非常感谢您购买日立 IH 压力式电饭锅。。
由于电饭锅用到压力,因此不正确使用是非常危险。请仔细
阅读使用说明书并正确使用电饭锅。
在仔细阅读完毕后,请妥善保管,以便随时查阅。
非常感谢您购买日立 IH 压力式电饭锅。
由于电饭锅用到压力,因此不正确使用是非常危险。请仔细
阅读使用说明书并正确使用电饭锅。
在仔细阅读完毕后,请妥善保管,以便随时查阅。
P.S-8
13
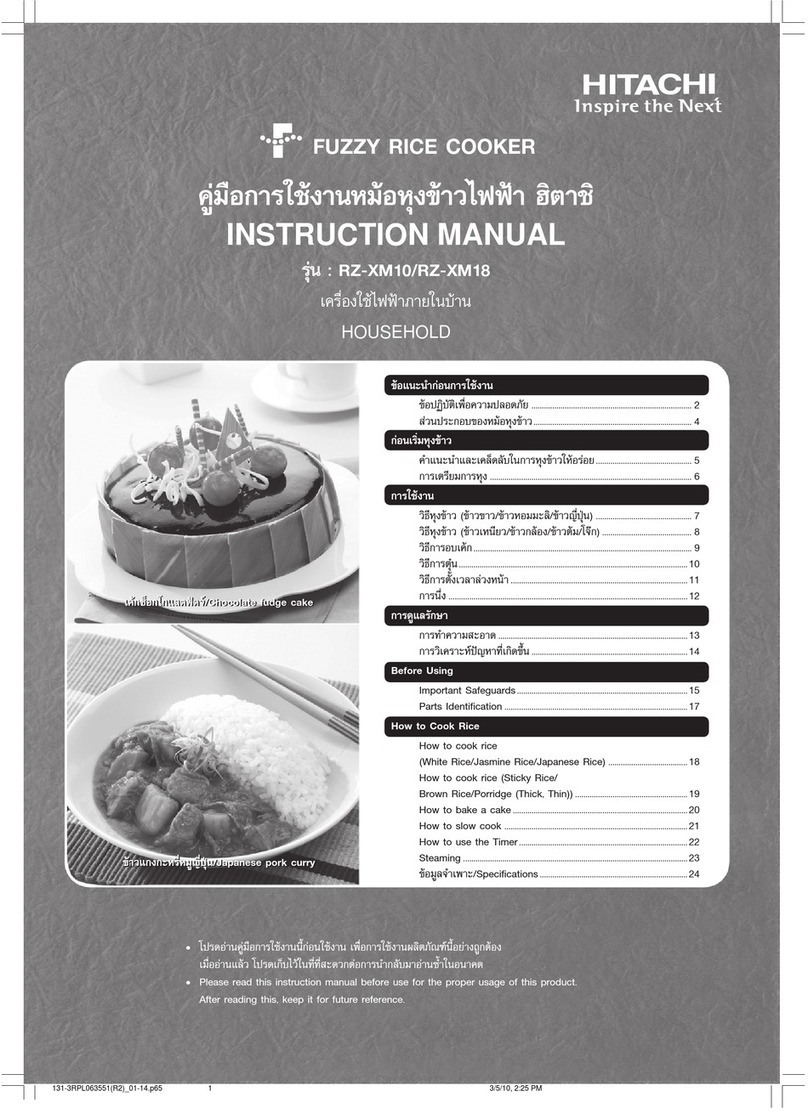
Thank you very much for purchasing the Hitachi IH
Rice Cooker.
Incorrect use is dangerous because pressure is used,
so please read the Operating Instructions carefully and
use the rice cooker correctly.
After reading the Operating Instructions, keep it in a
convenient location.
Thank you very much for purchasing the Hitachi IH
Rice Cooker.
Incorrect use is dangerous because pressure is used,
so please read the Operating Instructions carefully and
use the rice cooker correctly.
After reading the Operating Instructions, keep it in a
convenient location.
Please read the “Safety Precautions”
and then use the rice cooker correctly.
Please read the “Safety Precautions”
and then use the rice cooker correctly.
This rice cooker is a home appliance.
Do not use this cooker for commercial applications.
This rice cooker is a home appliance.
Do not use this cooker for commercial applications.
P.E-8
13

E-2
Before Use
Contents
Non-water supply auto steamer
.......E-18
Tips for Cooking Delicious Rice
.......E-19
Using Suitable Cooking Programs
..........E-20
Preparing the Rice Cooker
.............E-22
Rice Cooking E-18-27
E-4-17
Component Names ...................... E-4
(Body, Accessories, Operation Panel,
Display Window, Water Level Indications)
Safety Precautions ....................... E-8
Usage Safety Precautions ......... E-12
Setting the Current Time ........... E-14
How to Switch LCD Displays..... E-15
How to Change the Melody ....... E-16
How to Switch to Plate Condensation
Mode Immediately after Cooking
..... E-17
Operating Steps and How to Select the
Type of Rice and Cooking Program
........ E-23
Cooking Rice .............................. E-24
Using Timer Cooking ................. E-26
Using Timer Soaking.................. E-27
Keep Warm E-28-29
Keeping Rice Warm.................... E-28
Using Keep Warm Depending on
Temperature .............................. E-28
How to Switch between "Warm-High"
and "Warm-Low"
.......................... E-28
Rice not Suitable for Using Keep Warm
...... E-29
Stopping Keep Warm ................ E-29
Switching from "OFF" to Keep Warm
..... E-29
Reheating Rice during Keep Warm
..... E-29
RZ-V100CYH
1.0L Type
0.09 L - 1.0 L
220 VAC
50 Hz
1200 W
1.0 m
24.8 cm
30.2 cm
23.2 cm
Approximately 6.0 kg
Rice cooking capacity
Power
Rated frequency
Rated power
Cord length
Model
Size
Weight
Specifications
Colors and forms of products and components are subject to change
due to improvements, and may differ from catalogue or product samples.
Width
Depth
Height

E-3
Cleaning and Maintenance........ E-30
Body and body interior.............. E-30
Intake vent, exhaust vent.......... E-30
Temperature sensor .................. E-30
Hook area................................... E-30
Rice scoop, measuring cup...... E-30
Inner pot ..................................... E-31
Non-water supply auto steamer
....... E-31
Steam cap .................................. E-33
If you are concerned about odors
...... E-34
Troubleshooting
Cook book 40-61
Cook book E-43-51
E-35-42
Cleaning and Maintenance E-30-34
Troubleshooting.......................... E-35
If rice does not cook properly
(points to check)................................. E-35
Cooking Rice.................................E-36-38
Timer Cooking .................................... E-38
Keeping Rice Warm...................... E-39, 40
LCD Display.................................. E-40, 41
Fluorine-Coated Finish on the Inner Pot
......... E-41
Power Failure...................................... E-41
Lid....................................................... E-41
Gap between Body and Lid, Etc.
......... E-42
If you are concerned about sounds
.......... E-42
Features of Pressure Rice Cooker
Do not open the lid during cooking.
●
Do not open the lid during cooking. (There is a risk
of burns.)
Steam may rush out during cooking.
●
Keep your hands and face away from the steam vent
when the cooker is operating. Steam may spray out
when the cooker is operating depending on the
cooking program.
●
Steam may rush out if the cooker is moved or
shaken when it is operating.
●
Steam may come out of the cooker depending on
the cooking program. Do not use the cooker near
walls or furniture to prevent steam from hitting them.
Ensure that the lid is correctly secured.
●
The lid might feel heavier when closing before or
after cooking. Be sure to close it slowly until it clicks
into position.
●
After cooking, the user may need to wait a short
period of time before opening the lid.
Be sure to follow the water level indications.
●
Adding water above the indicated water level may
cause hot water to boil over when pressure is
released. Be sure to follow the indicated water level.
(Regulator valve, inner lid, lid packing, vacuum valve,
safety valve, steam sensor, pressure regulator)

E-4
Component Names, Body, Accessories, Operation Panel, Display Window, Water Level Indications
Inner pot
Release lever
Flanges
Safety valve
Regulator valve
Vacuum valve
Lid packing
Inner lid
Plate
P.E-10, P.E-13, P.E-18, and P.E-31-P.E-32
P.E-8, P.E-11-P.E-13, and P.E-31
Body
P.E-32
Non-water supply auto steamer
P.E-7 and P.E-11
Water level indications (three locations)
Caution
When removing the inner pot from
the body, pull it up towards the front
so that it does not come into contact
with the lid packing. When placing
the inner pot into the body, pull it
towards you so that it does not come
into contact with the lid packing.
Exercise care as water droplets may splash
if you touch the lid packing when putting
the inner pot in and out of the cooker.
Accessories
Measuring cup
Approximately 180 ml
Compact rice scoop (self-standing type)
P.E-10 and P.E-31
P.E-13 and P.E-31
P.E-13 and P.E-32
P.E-10 and P.E-31
Pull the lever up
when attaching
or removing the
inner lid.
Provided for the user
to easily hook their
fingers when lifting
the inner pot up.

E-5
Power plug
Operation panel
and display window
Denotes the page containing related explanations.
Lid
Intake vent (bottom of the body)
Keep your hands and face away from
the vent, as steam comes out during
cooking. (There is a risk of burns.)
To attach the steam cap, align it with
the depression in the lid and press
down on the front center of the
steam cap until it clicks into position.
Steam cap
Back of the body
Bottom of the body
P.E-OO
P.E-8 and P.E-30
Exhaust vent
(bottom of the body)
P.E-8
P.E-8, P.E-9, and P.E-12
Press this button
to open the lid.
P.E-6 and P.E-7
Hook button Steam vent
P.E-10 and P.E-33
Before opening the lid,
make sure that
is no longer displayed
and that no steam is
coming out of the
steam vent, and slowly
press the hook button.
Do not open the lid
during cooking. (There
is a risk of burns!)
Warning
ATTENTION
Because the pressure rice
cooker has a tight seal that does
not allow steam to easily escape
from it, it may be difficult to close
the lid immediately after cooking.
Slowly close the lid by pushing it
a little harder.
ATTENTION
Because the pressure rice
cooker has a tight seal that
does not allow steam to easily
escape from it, you may find
that more force is required to
press the hook button
immediately after cooking. Push
the hook button a little harder.
See "Operation Panel, Display Window, Water Level Indications" on the next page.
Exhaust vent
Intake vent
Grips
P.E-10 and P.E-11
P.E-8
P.E-9
●
C
olors shown in the
O
perating Instructions differ from what you see on the actual product to help
u
n
de
r
s
t
a
n
d
t
he
i
n
s
tr
uc
t
io
n
s
.
When closing the lid, slowly
push down the sides of the
hook button with both hands
until the lid clicks into position.
The shape of the
dedicated 220V
power plug may
differ from that
shown in the picture.
Power cord

E-6
Component Names, Body, Accessories, Operation Panel, Display Window, Water Level Indications (continued)
For explanatory purposes, the figure shows all of the displays lit up.
Convex symbol
Beep sound Different beeping sounds may be emitted when the menu or the time on the clock is at its initial value.
The clock can also be returned to its initial value.
Features for visually impaired users:
P.E-14
The convex symbols are provided for Cook/Reheat button with “ ” and Cancel/Off button with “ ”.
Display window P.E-7
Operation panel
Steam Warm button
Used to start Keep Warm
or to select "Warm-High"
or "Warm-Low".
1-2 person button
Select this button to cook a
small amount of rice (up to
two cups).
Texture button
Used to select your preferred
texture of cooked rice.
Texture : Hard
Texture : Normal
Texture : Soft
Rice button
Used to select the type
of rice, to switch to a
mode in which you can
change settings, or to
accept setting changes.
Menu button
Used to select a
cooking program.
Cancel/Off button
Used to stop the Cooking or
Keep Warm process, or to
cancel Timer Cooking or Timer
Soaking.
Timer button
Used to select
Timer Cooking or
Timer Soaking.
Cook/Reheat button
Used to start Cooking,
Timer Cooking or Timer
Soaking.
Used to start Reheating
during Keep Warm.
Setting/Time buttons
Used to set the current time or to
specify the time set for Timer Cooking.
Used to set the soaking time or to
change the setting item to display in a
mode in which you can change settings.

E-7
Cooking Program display
Flashing text indicates the
selected cooking program.
Keep Warm display
The setting for Keep Warm
you selected is indicated by
the text that lights up (i.e.,
"Warm-High" or "Warm-Low").
Rice display
The selected type of rice is
indicated by flashing the text
corresponding to the type of rice.
Time display
The time it will take until the rice is
cooked, elapsed warming time,
current time, preset time for cooking,
soaking time, etc. are displayed.
Adjust the amount of water to the level for "Soft" or "Hard" depending on your preference.
Do not exceed the water level marked for "Soft". (Otherwise, water may boil over)
Adjust the amount of water according to the type of rice and program.
Water levels marked inside the inner pot
■When cooking white rice (rinse-free rice) or mixed grain
● For Mix, up to four cups of rice (up to level 4) can be cooked.
● Use the water level for "Hard" when you want to cook rice with a little less water (e.g., for sushi or curry).
Do not put water above this line
■When cooking brown rice, porridge, or sticky rice, follow the specified water level.
P.E-11
Display window
●
The display will be disabled by default when the appliance
is unplugged.
●
How to switch the settings to be displayed P.E-15
Small Amount Cooking display
"1-2 person" lights up to show
the setting for cooking a small
amount of rice.
Texture display
The number of dots indicates
the selected texture of rice.
Timer Cooking display
"Timer1" or "Timer2" lights up
to show Timer Cooking mode
that is selected.
Pressure display
is displayed during a
pressure cooking process.

E-8
Warning
Safety Precautions
To prevent electric shocks, short circuits, ignition, electrical fires, or injuries
●
Do not modify the rice cooker.
●
The rice cooker should only be disassembled or repaired by a service
engineer.
Bottom of the body
(Be sure to follow the safety precautions.)
●
Do not use the appliance if it has been immersed in water.
●
Keep the appliance away from water. Do not immerse it in water. Never
pour water on the appliance.
●
Do not insert metallic objects or foreign substances (e.g., pins or needles) into the
intake or exhaust vent on the bottom of the body, or into gaps between components
.
●
Do not allow unsupervised children to use the appliance. Keep out of the reach of children.
Disassembly prohibited
Prohibition
Instruction
Fire, electric shock, or injuries may result if:
●
Immediately unplug the cooker, discontinue using it, and
contact our local representative for inspections or repairs.
- The power cord or power plug becomes abnormally hot during use.
-
An abnormal sound(s) is heard during operation.
-
The power turns on or off when the power cord is bent.
- The appliance becomes abnormally hot or emits a burning smell.
- Water leaks out.
- You experience an electric shock when you touch the appliance.
- The power sometimes does not turn off automatically.
- The motor sometimes stops, or runs slowly or at irregular intervals.
- Any other abnormality or malfunction occurs.
Prohibition
●
When carrying the rice cooker, do not hold it by the lid. Be sure to hold its grips.
●
When carrying the rice cooker, do not touch the hook button.
●
Do not use the rice cooker with small metallic objects or aluminum foil left inside it.
●
Only use the inner pot supplied with the rice cooker.
●
Do not use the inner pot if it has been cracked or deformed by being dropped on the oor or
hit against something.
●
Do not use the appliance in the following locations:
- Locations where it may be splashed with water or near a heat source (stoves, etc.).
- On an uneven surface or non-heat resistant carpet.
- On a slide tabletop that is not sturdy enough to support the weight of the appliance.
- On a carpet that may block the exhaust or intake vent.
- On an aluminum sheet.
- Locations where the lid does not fully open.
Exhaust
vent
Intake vent
This appliance is intended for household use only. Do not use it for professional catering purposes.
To prevent injuries to the user and other people and damage to property, follow the instructions below. Be
sure to thoroughly read the "Safety Precautions" given below to ensure that the product is correctly used.
The symbols used for the precautions are classified and explained as follows. In
order to prevent personal injuries and property damage, please follow the
instructions below. Be sure to carefully read the precautions provided throughout
this manual in order to use the rice cooker correctly.
When a failure
or problem
occurs
●
Keep the rice cooker away from objects vulnerable to magnetic elds.
●
When using the rice cooker near a wall or furniture, or in a cupboard, prevent steam from being trapped inside.
●
Consult your doctor before using this product if you have an implanted pacemaker.
Instruction
Caution
E-9
Indicates mandatory actions that you must do.
Indicates actions that you must not do.
Warning
Caution
To prevent the power plug, power cord or power outlet from ignition or short-circuiting
(A risk of electric shocks, injuries, smoke emission, ignition, or res)
Warning
Outlet
Caution
Power plug
and
power cord
●
Use a dedicated 220 VAC power socket. Do not connect any other appliances
to the same outlet.
●
Do not plug or unplug the power cord with wet hands.
●
Do not immerse the power plug or power cord in water or pour water on them.
●
If the power plug has been immersed in water, do not use it under any circumstances.
●
If the supply cord is damaged, it must be replaced by the manufacturer, its service
agent or similarly qualied persons in order to avoid a hazard.
●
Do not damage the power plug or cord.
●
Do not use an electrical outlet that is damaged or loose.
- Do not alter or rework the power plug or cord.
- Do not bend the power plug or cord.
- Do not pull the power cord.
- Do not twist or bundle the power cord.
- Do not apply load to the power cord.
- Do not place any heavy object on the power cord.
- Do not allow the power cord to be pinched.
-
Do not place the power plug or cord near hot parts.
●
Insert the power plug all the way into the power outlet.
●
Wipe off any dust on the power plug.
●
When not in use, remove the power plug from the power outlet.
●
Do not pull the power cord when disconnecting the power plug.
Be sure to hold the power plug when disconnecting it.
Unplug
after use
Instruction
Instruction
Prohibition
Instruction
Indicates a hazard that
may result in death or
serious injury.
Indicates a risk of
injury or property
damage.
Warning
■
This appliance is not intended for use by persons (including children) with reduced physical, sensory or mental capabilities, or lack of experience
and knowledge, unless they have been given supervision or instruction concerning use of the appliance by a person responsible for their safety.
■Children should be supervised to ensure that they do not play with the appliance.

E-10
Hook button
●
I
f
you have no other choice but to open the lid when the cooker is operatin
g
, press the
"
C
ancel
/
off" button to stop the cookin
g
operation, and wait for approximately 30 seconds
until stops ashin
g
and
g
oes off. Then, open the lid.
·
Be care
f
ul that pressure will be released, causin
g
steam to rush out o
f
the steam vent
.
Warning
Plate
Regulator valve
Safety valve
●
Wh
en c
l
os
i
n
g
t
h
e
lid
, press
b
ot
h
s
id
es
of
the hook button and
p
ress down the
lid
unt
il
i
t c
li
c
k
s
i
nto
p
os
i
t
i
on.
●
I
f
rice or other objects have stuck to the hook area, use a toothpick or a similar tool to remove them.
(O
therwise, they may prevent the lid from closin
g
securely, thereby causin
g
it to open unexpectedly, presentin
g
a risk of burns.
)
Inner lid (back)
T
o prevent
i
n
j
ur
i
es or
b
urns w
hil
e coo
ki
n
g
r
i
ce
T
here is a risk of burns or injuries.
(
The rice cooker can be dangerous when used incorrectly because pressure builds up when the cooker is operating.
)
●
Be sure to attach the steam cap. (There is a
risk that burns may result from boiling over or
hot steam rushing out of the cooker.)
●
Be
f
ore startin
g
cookin
g
, remove the inner lid and plate to make sure that there are no
g
rains o
f
rice or other
f
orei
g
n substances that have stuck to the re
g
ulator or sa
f
ety valve.
B
e sure to attac
h
t
h
e p
l
ate.
(O
therwise, hot water may spout out or the lid may open, causing burns.
)
Safety valve
●
Make sure that it is
not clogged.
Ball
P.E-22
Click
Lid
Steam vent
●
Make sure that the
ball moves.
●
Be
f
ore openin
g
the lid, make sure that is no
lon
g
er displayed and that no steam is comin
g
out o
f
the steam vent, and slowl
y
press the hook button.
Do not open the lid durin
g
cookin
g
.
Safety Precautions - continued
Instruction
To attach the steam cap,
align it with the
depression in the lid and
press down on the front
center of the steam cap
until it clicks into position.
Regulator valve
●
Make sure that the
hole is not clogged.
Press both
sides of the
hook button.
Lid hook area
Check for rice
grains or any other
foreign objects.
Body hook area
Check for rice
grains or any other
foreign objects.

E-11
T
o prevent
i
n
j
ur
i
es or
b
urns w
hil
e coo
ki
ng r
i
ce - cont
i
nue
d
There is a risk of burns, injuries, or sanitary-related problems.
(
The rice cooker can be
d
angerous when used incorrectly because pressure builds up when it is operating.
)
Warning
B
eware o
f
h
ot steam com
i
ng out o
f
t
h
e steam vent.
E
xposure
t
o
h
ot steam ma
y
resu
l
t
i
n
b
urns.
●
Do not open the lid when pressure cooking is being carried out (when is displayed).
●
Keep your hands and face away from the steam vent.
· Never allow young children to touch it.
●
Do not open the lid, rock the body, or carry the rice cooker when it is operating.
●
Do not allow unsupervised use by children, and keep it out of reach of children.
●
Check the program before cooking rice.
· There is a risk that water will boil over if you cook porridge using a program other than "Porridge".
●
If you need to open the lid for unavoidable reasons, press the "Cancel/Off" button to stop the cooking operation,
and wait for approximately 30 seconds until stops ashing and goes off. Then, open the lid.
·
Be careful that pressure will be released, causing steam to rush out of the steam vent.
· To continue the cooking operation, check the type of rice and cooking program you have selected, and then
press the "Cook/Reheat" button. Depending on the conditions in which you stopped the cooking operation,
the rice may not cook well after the cooking operation is restarted.
●
Fully open the lid before serving.
●
Do not use the rice cooker
f
or an
y
purposes other than those expressl
y
stated in the
O
peratin
g
Instructions or the
C
ook book. Do not cook the followin
g
types of foods
.
·
Pasty foods
(
liquid-absorbin
g
spon
g
y food, etc.
)
or stewin
g
items that swell when heated,
such as beans and noodles.
(
Refer to the Reci
p
es for details.
)
·
C
ookin
g
that uses in
g
redients that suddenly foam up, e.
g
., bakin
g
sod
a
·
C
ookin
g
that uses lots of oil
·
Cookin
g
that uses starchy in
g
redients, such as the base
f
or curry or ste
w
·
In
g
redients that bubble, such as ja
m
·
Cooking that requires plastic or other bags containing food to be heated in the rice cooker.
●
Do not cook ve
g
etables with thin skins that can
oat up, such as
g
reens and tomatoes, cookin
g
containin
g
chunky in
g
redients, or cookin
g
that uses cookin
g
sheets, aluminum
f
oil, or plastic wrap
.
●
Do not
ll the inner
p
ot with water above the "Max Water Level" level
.
Instruction
Prohibition
Prohibition
MAX WATER
LEVEL
F
oo
d
ma
y
p
our out,
h
ot water ma
y
s
p
urt out, or t
h
e
lid
ma
y
open su
dd
en
l
y, caus
i
ng
b
urns.

E-12
Safety Precautions - continued
Caution
●
Do not use Keep Warm for more than 40 hours when "Warm - Low" is selected. Do not use Keep
Warm for more than 12 hours when "Warm - High" is selected.
●
Do not use the Reheat function repeatedly.
●
Do not use Keep Warm when the "Brown", "Sticky", "Mix" or "Porridge" program is selected.
H
an
dli
n
g
o
f
t
h
e
B
o
dy
●
Do not place the rice cooker on an IH cooking heater.
(There is a risk of failure caused by an IH cooking heater.)
Usage Safety Precautions
To prevent failures or malfunctions, please observe the following.
T
o prevent acc
id
ents, e
l
ectr
i
c s
h
oc
k
s an
d
fi
res
d
ur
i
n
g
c
l
ean
i
n
g
There is a risk o
f
burns, injuries,
res, smoke emission, or i
g
nition
.
Caution
● Do not touch high-temperature surfaces of the inner pot, inner lid, or plate during use or
immediately after use.
● Remove the power plug from the outlet and let the body to cool down before cleaning.
● Allow the inner lid to cool down before removing it.
● Allow the plate to cool down before removing it.
T
o prevent
i
n
j
ur
i
es or
b
urns w
hil
e coo
ki
n
g
r
i
ce - cont
i
nue
d
There is a risk of burns, injuries, or sanitary-related problems.
(
The rice cooker can be dan
g
erous when
u
sed incorrectly because pressure builds up when it is operating.
)
Temperature sensor
Seat on which the
rim of the inner pot
rests
Prohibition
Instruction
●
Do not use the rice cooker with its lid covered with a dish
cloth or towel.
(This may cause discoloration, deformation, or malfunction.)
●
Do not use the inner pot if any debris that
has stuck to the rice cooker is left uncleaned.
In particular, keep clean the area shown in
the diagram on the right.
(Failure to observe this precaution could cause the rice
cooker to fail or become unable to cook rice correctly.)
The rim and bottom
of the inner pot
●
Do not use the appliance near a TV, radio, intercom, or cordless telephone because doing so may result
in noise adversely affecting the picture and/or sound quality.
●
Do not cook when the
inner pot is empty.
(Doing so may result in overheating.)
●
Discontinue using the rice cooker if it has been dropped or damaged,
and contact your local dealer for inspections and repairs.

E-13
Vacuum valve Lid packing
Inner lid
Plate
Ab
out t
h
e
h
an
dli
ng o
f
t
h
e
i
nner po
t
H
an
dli
n
g
o
f
t
h
e non-water supp
l
y auto steame
r
Non-water supply auto steamer
Cleaning
· Do not use the inner pot as a dishpan. Do not put spoons, plates,
or other utensils in it.
· Clean the inner pot gently using a soft sponge. Never use metallic
or nylon scrubbers.
· Only use neutral dishwashing detergents. Do not use bleach,
abrasive cleaners, or scouring power.
· When drying a washed inner pot, do not place it upside down on
plates or utensils.
· Do not use a dishwasher and dryer or dish dryer.
Do not wash with
abrasive surfaces.
●
R
emove and wash the inner lid
(
lid packin
g)
, plate, and steam
vent top casin
g
each time cookin
g
is
nished
.
(
Failure to do so ma
y
cause dried and discolored stick
y
p
aste of rice to accumulate on them.
)
(
When the cooked rice is not kept warm, excessive water could collect on them and drip onto the rice.)
●
D
o not pu
ll
t
h
e
lid
pac
ki
n
g
or vacuum va
l
ve
b
ecause t
h
ey are not
d
etac
h
a
bl
e
.
(
If they are dama
g
ed or deformed, pressure will not be applied, which may
c
ause the rice to be cooked unsuccessfull
y
.
)
●
I
f
y
ou
f
ail to attach the plate, the intended humidi
cation e
ff
ects
w
ill
not
b
e ac
hi
eve
d
by
steam.
Observe the following to keep the fluorine-coated finish from
being scratched or peeling off.
●
Do not heat the inner pot directly over an open re, in a microwave oven, or over an
electromagnetic cooker.
●
Do not use metallic whisks to wash rice in the inner pot. Do not allow a sieve or
similar utensils to come into contact with the inner pot.
●
Do not use vinegar in the inner pot. Avoid keeping rice warm when you used any
seasonings to cook it. Instead, wash the inner pot as soon as possible.
●
Do not use metallic scoops or similar utensils to scoop out rice or porridge.
●
Only use the scoop supplied with the appliance.

E-14
1
4
2
3
1 4 2 3
Pressing the "1-2 person" button
for approximately three seconds
while the current time is flashing
will cause the clock to display
"12:00" (12:00 noon) and the clock
returns to the initial value.
To check the current time
during Cooking, Keep Warm,
Timer Cooking, or Reheating:
The current time is displayed for
three seconds when or
is pressed, and then the clock
returns to the original display.
● The time adjustment will be
automatically completed after
approximately one minute
unless you press the
"Cancel/off" button.
● The clock displays time in a
24-hour format, in which 12
a.m. is 0:00, 12 p.m. is 12:00,
and so on.
Setting the Current Time
Example: To change "7:00" to "20:30" *The indication of the type of rice and program is provided as an example.
●
The selected cooking program
and the current time are
displayed.
● When the appliance is unplugged, the display will be disabled, however, the clock operates on a built-in battery.
●
You can congure the display to show the current time on the LCD display even when the power plug is disconnected.
● The clock may lose time by approximately two minutes per month, depending on the room temperature. If this is
the case, use the following steps to set the clock to the current time.
Insert the power plug into a
power outlet
●
The time cannot be adjusted
during Cooking, Keep Warm,
Timer Cooking, or Reheating.
Press or for
approximately one second to
flash the time display.
Press or to set the time to "20:30"
●
The time changes each time you press or .
·
The clock goes back in one-minute increments
each time is pressed. It moves forward in
one-minute increments each time is pressed.
·
Continuously pressing either of these buttons turns the
clock forward or backward in 10-minute increments.
Press to finish setting the
time.
●The time display changes from blinking to
always on.
Hour
Minute
Lights up
A beep is emitted and
the display ashes

E-15
1
4
5
6
2
3
1 3 5 2 4 6
●
If no operation is performed for
approximately three minutes,
your setting is automatically
accepted.
●
Pressing the "Cancel/Off"
button enables you to return to
the initial view even during
setup. Any settings you have
not confirmed will be reset.
The display shown after enabling
the clock display
(When the rice cooker is unplugged)
How to Switch LCD Displays
Insert the power plug into a power
outlet
*The indication of the type of rice and program is provided as an example.
(To display the clock even when the power plug is disconnected from the power outlet)
● By default, the clock display is disabled.
Use the following steps to enable it.
●
If the rice cooker is unplugged when the LCD display is operated on the built-in battery, the display may become dim
and then return to normal. This is because the power source is switching to its built-in battery, and is not a malfunction.
Press for approximately
five seconds to switch to a mode
in which to change settings.
Press or to show "P2-"
on the display.
●
Press to move to the next item. Press
to move back to the previous item.
Press .
●
Press to change the LCD display setting.
Press or to switch the
settings.
●
The display changes each time you press or .
Press to confirm your settings.
●
Pressing enters your settings and the
screen returns to the initial display.
(Setting the melody
of an alarm)
(Setting the
LCD display)
(Setting Plate Condensation
Reduction mode)
(If you are concerned
about odors)
P.E-16 P.E-17 P.E-34
(Goes off) (Lights up)
Lights up
Lights up

E-16
1
4
5
6
2
3
1 3 5 2 64
●
Pressing the "Cancel/off"
button enables you to return to
the initial view even during
setup. Any settings you have
not confirmed will be reset.
●
The melody corresponding to the displayed
number sounds each time the option is changed.
●
If no operation is performed for
approximately three minutes,
your setting is automatically
accepted.
How to Change the Melody
*The indication of the type of rice and program is provided as an example.
Insert the power plug into a
power outlet
Press .
●
A melody noties you that the rice cooking process has been started and completed.
●
The default sound is "Melody (Standard)".
The sound can be switched to "Melody (Low)", "Beep", or "Silent". Use the following steps to change the sound.
●
If you select "Silent", a notication sound that noties you of incorrect operations cannot be put on mute.
Press for approximately
five seconds to switch to a mode
in which to change settings.
Press or to show "P1-" on the display.
●
The display will be switched each time you press or .
●
Press to move to the next setting. Press to
move back to the previous setting.
●
Press to change the alarm melody setting.
Press or to switch the settings.
●
The display changes each time you press or .
●
Press to move to the next setting. Press to
move back to the previous setting.
Press to confirm your settings.
●
Pressing enters your settings and the
screen returns to the initial display.
(Setting the
melody of an
alarm)
(Setting the
LCD display)
(Setting Plate Condensation
Reduction mode)
(If you are concerned
about odors)
P.E-15 P.E-17 P.E-34
(Melody -
Standard)
(Melody -
Low)
(Beep) (Silent)
Lights up
Lights up

E-17
1
4
5
6
2
3
1 3 5 2 4 6
●
Pressing the "Cancel/off"
button enables you to return to
the initial view even during
setup. Any settings you have
not confirmed will be reset.
P.E-28
●
If no operation is performed for
approximately three minutes,
your setting is automatically
accepted.
Press .
●
Press to change the "Plate Condensation
Reduction mode" setting.
Insert the power plug into a
power outlet
How to switch to Plate Condensation Reduction mode immediately after cooking
●
Condensation collects on the inner lid and other plate immediately after cooking is completed in order to keep the surface of the rice from drying. If
you are concerned about condensation, you can switch to Plate Condensation Reduction mode in which the length of steaming time is increased.
Once the mode is switched, the setting is remembered until you switch it back to the original mode.
Press for approximately five
seconds to switch to a mode in
which to change settings.
Press or to show "P3-" on
the display.
●
The display will be switched each time you press or .
●
Press to move to the next setting. Press to
move back to the previous setting.
Press or to switch the
settings.
●
The display changes each time you press
or .
Press to confirm your
settings.
●
Pressing enters your settings and the
screen returns to the initial display.
When switching to Plate
Condensation Reduction mode
●
Approximately ve more minutes
of cooking time will be required.
●
The amount of water droplets that
collect in the plate will reduce.
●
The rice cooker uses high pressure and
thus it has a tight seal, so there will be
some condensation even after switching
to Plate Condensation Reduction mode.
Select "Warm-High" if you are
concerned about condensation
during Keep Warm.
(Setting the melody
of an alarm)
(Setting the
LCD display)
(Setting Plate Condensation
Reduction mode)
(If you are concerned
about odors)
P.E-16 P.E-15 P.E-34
Regular mode
Plate
Condensation
Reduction mode
Lights up
Lights up

E-18
Moisture trap
Do not touch
Caution
●
Allo
w t
he
i
nn
e
r
lid
t
o
cool
do
wn
before removin
g
.
●
All
ow t
h
e p
l
ate to coo
l
d
own
be
f
ore removin
g
.
(
Hot water ma
y
s
p
ill over.
)
●
D
o not touc
h
h
ot com
p
onents, suc
h
as the inner
p
ot, inner lid, or
p
late
during or immediately a
f
ter use
.
Inner lidPlate
Non-water supply auto steamer
●
After cooking (steaming) is nished and during Keep Warm, the rice is kept moist with steam, so condensation also
forms on the surface of the non-water supply auto steamer, however, this is not a malfunction. In addition, when the
lid is opened, the condensation runs down into the moisture trap. This condensation has no effect on the quality of
the rice during Cooking or Keep Warm. If you are concerned about it, wipe it off using a cloth.
●
The amount of water that collects in the non-water supply auto steamer differs depending on the menu, the amount
of rice being cooked, the quantity of water, etc.
●
When 1 ml of water in the non-water supply auto steamer evaporates, it changes into approximately 1,700 ml of
steam. During steaming, the vent is closed to trap the steam, and the inner pot is sufciently lled with steam.
●
If the plate is not attached, the intended humidication effects will not be achieved by steam, and the rice may be
cooked a little hard.
●
Remove and wash the inner lid and plate each time cooking is nished.
(To prevent food debris on these parts from drying and discoloring.) (To prevent too much water from collecting and
getting on the rice when not keeping it warm.)
●
To maintain the rice cooker, allow it to cool down and then use a sponge or soft cloth, etc. to wipe it. Do not use a
scrubber made of plastic or other hard materials.
The non-water supply auto steamer collects steam generated during cooking as distilled water and emits it as steam during
Cooking, Keep Warm, and Reheating to bring out the taste of the rice and keep it moist. (There is no need to add water.)

E-19
Tips for Cooking Delicious Rice
See "Using Suitable Cooking Programs" on the next page.
Measure rice.
● Use the measuring cup suppled with the
appliance to measure rice correctly.
Level off the rice in
the measuring cup.
Approximately 180 ml
The measuring cup (supplied with the
appliance) lled to the top provides:
ATTENTION
Adjust the amount of water.
● Level off the rice in the inner pot and place the pot on a at surface,
then adjust the amount of water based on the type of rice and
program you selected.
∙ The water level lines are guidelines. - You can adjust the amount of
water according to your preference.
∙ Use the water level for "Hard" when you want to cook rice with a little
less water (e.g., for sushi or curry).
∙ Use the water level for "Soft" when you want to cook rice softer.
∙ Do not put water above the line marked "Soft".
Otherwise, hot water may spill over.
(Water level indications )
P.E-7
Water level marked for "Normal"
Water level marked for "Soft"
Water level marked for "Hard"
Water level scale on the inner
pot (for three cups of rice)
ATTENTION
●
Do not use hot water. (It will make the rice sticky.)
●
Cooking rice using water with high alkalinity may cause the rice to become sticky or yellow. Also, cooking rice in
hard water (mineral water, etc.) could cause the rice to become mealy or hard. Adjust the amount of water
according to your preference.
●
When cooking freshly harvested rice, use somewhat less water (put water up to the level marked "Hard"). This is to
make freshly harvested rice that has a higher moisture content less sticky when cooked.
●
For information about water amount adjustment when cooking mixed grain rice, refer to the mixed variety rice
cooking manuals (written on the bag, etc.) available in stores.
● Gently wash the rice.
● Wash rinse-free rice as if you were
digging up from the bottom.
Rinse it if the water gets cloudy as it may lead
to poor cooking.
Repeat this step until the
water runs clear.
ATTENTION When washing the rice in the inner pot, do not use a metallic whisks or similar utensils. (They may damage or
peel off the fluorine-coated finish.)
Wash the rice. First rinse the rice with plenty of water,
stir it several times, then immediately
discard the water.
The rice easily absorbs
the first amount of
water, so discard it
right away to keep the
rice bran from sticking
to the rice grains.
Rinse the rice well to
prevent the rice from
absorbing the odor of
rice brain or to prevent
the rice from scorching.
Do not use commercially available measuring cups or measuring rice bins.
(The amount of rice may differ.)
When cooked
●
Loosen the rice immediately.
Releasing steam prevents the rice from becoming sticky or getting hard.
Turn the rice
upside down as
if you were
digging up from
the bottom.
Loosen the
rice while
exercising care
not to mash it.

0.5-5.5 40-60
Available
Using Suitable Cooking Programs
0.5-5.5 30-45
Available
Select your preferred finish
0.5-5.5
80-100
Available
1-5.5 25-35
Not
available
Not
available
1-4 45-60
0.5-1.5 65-85
Not
available
Available
1-5.5 40-60
● When cooking a small amount of rice, use the "1-2 person" button.
Rice
selection
Program
When you want to:
Water line
Amount to
be cooked
(number of cups)
Estimated
cooking
time (min)
Small
amount
cooking
White
White
Rice
White
Rice
White
Rice
White
Rice
White
Rice
White
Porridge
White
Rice
Normal
Rapid
Mix
Porridge
Eco
When you want to enjoy the
feel of grains and sweetness
When you want to cook rice quickly
·
"Rapid" is a cooking program that
places priority on time, so the surface
of the rice may be a little watery and
the texture may be a little hard.
·
If you prefer a harder and plain texture
·
When cooking freshly harvested rice or rice
that absorbs water quickly and easily becomes
sticky, select "Texture " and fill the inner pot
with water to the level for "Hard".
Rice with a high moisture content will
be cooked less sticky.
·
Hard rice for sushi, curry, Chinese
fried rice, etc.
·
When you want to enjoy a softer and clingy
texture and sweetness
·
When you intend to cook rice for box lunches and rice balls
·
When you intend to cook rice to be frozen for storage
For rice that has been mixed
(with other ingredients)
·
When using a store-bought flavoring for
mixed rice, place the other ingredients
on top of the rice without stirring them in.
100% rice porridge
·
If you cook porridge with a rice-to-water
ratio of 1:5, be sure not to add water
above the water level for "Porridge".
When you want to cook rice using less electricity
·
The rice will be a little hard when cooked.
·
The rice may not cook evenly if a large
volume of rice is used.
Texture
Texture
Texture
Texture
Not
available
Texture
Texture
Texture
E-20
Table of contents
Other Hitachi Rice Cooker manuals

Hitachi
Hitachi RZ-W100CYH User manual

Hitachi
Hitachi RZ-PMA10 User manual

Hitachi
Hitachi RZ-DMD18 User manual

Hitachi
Hitachi RZ-PMA10Y User manual

Hitachi
Hitachi RZ-EMA5 User manual

Hitachi
Hitachi RZ-W3000YH Operating instructions

Hitachi
Hitachi RZ-W2000YH User manual

Hitachi
Hitachi RZ-GHE18 User manual

Hitachi
Hitachi RZWS4YH User manual

Hitachi
Hitachi RZ-WS2YH Assembly Instructions
Popular Rice Cooker manuals by other brands

Panasonic
Panasonic SR-SPX188 operating instructions

Panasonic
Panasonic SRMS102 - RICE COOKER - MULTI LANGUAGE operating instructions

SQ Professional
SQ Professional 3157 instruction manual

Cuchen
Cuchen VEA062 Series manual

Sanyo
Sanyo ECJ-N100F - Electronic Rice Cooker instruction manual

TIGMON
TIGMON lauben 600BC user manual