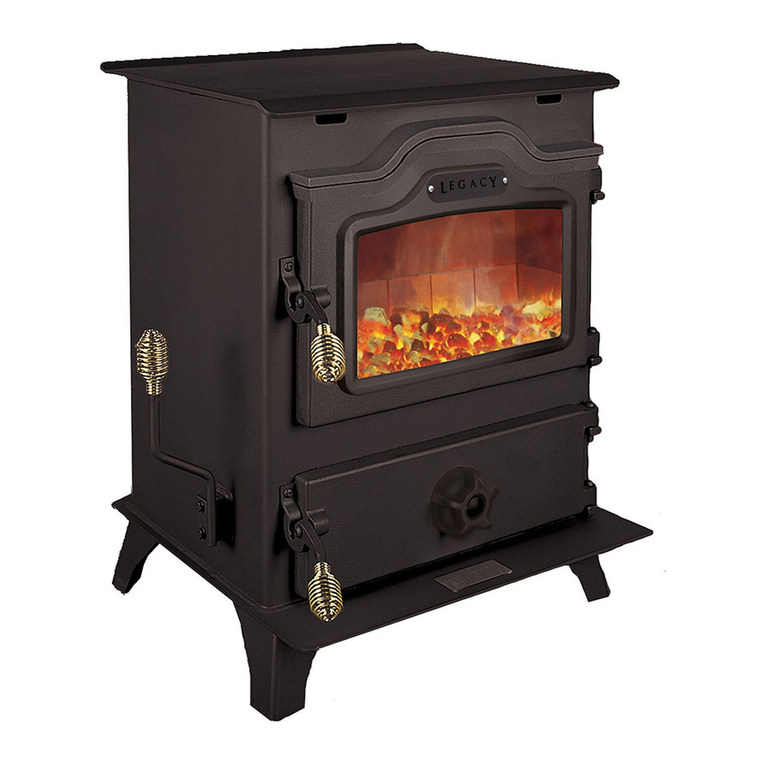
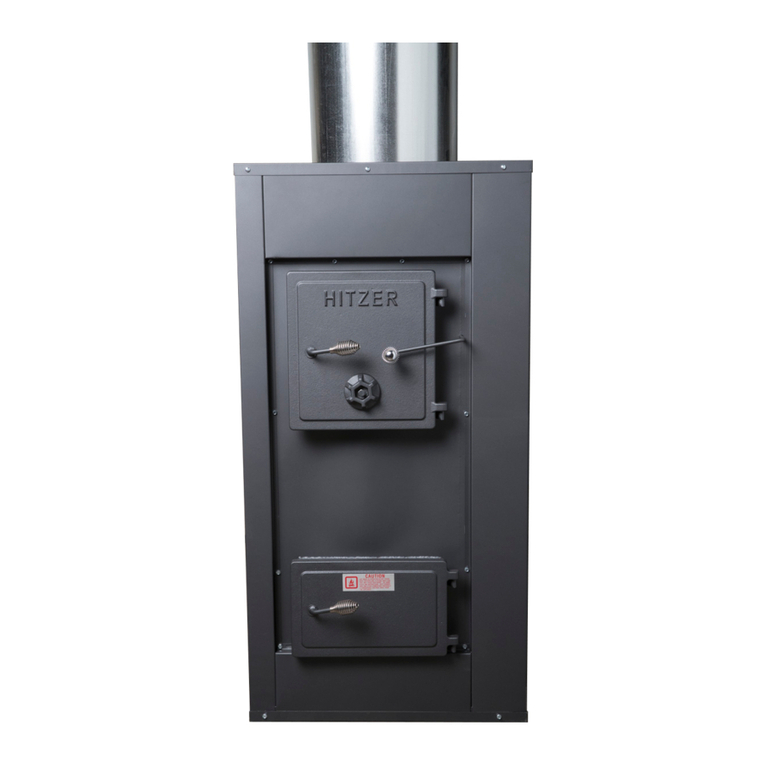
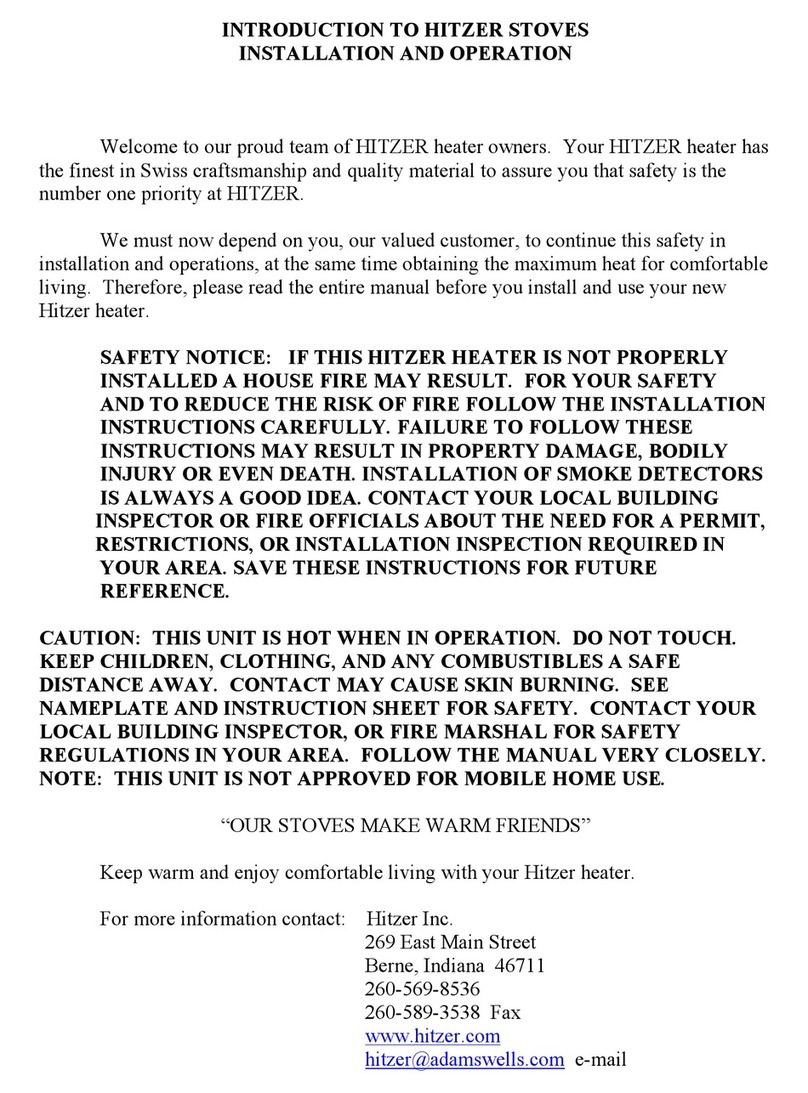
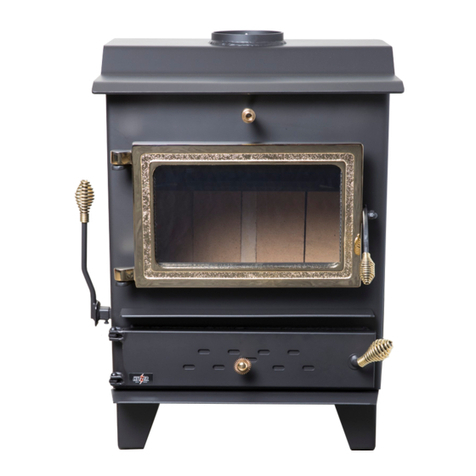
Hitzer 55 User manual

Page 1
INSTRUCTIONS
FOR HITZER MODEL 55
I. LOCATION OF STOVE:
A. In order to achieve maximum circulation of heat produced by the stove, it is recommended
that the stove be centrally located. Remember that the heat will rise. Therefore, if the stove
is put next to a stairwell, much of the heat will rise to the second floor before the ground
floors are warm. One should consider the construction and layout of the home to be heated
and, therefore, make placement so as to achieve maximum benefit from the stove.
II. CHIMNEY CONSTRUCTION AND MAINTENANCE:
A. A good chimney is essential. A chimney may be either masonry or factory built. Should a
factory built chimney be utilized, make sure that the chimney is listed as U.L. approved
standards and its construction can safely handle the heat produced by the HITZER model
stove. Should you intend to use an existing chimney for your stove, make sure that it is
sound and has a flue lining. Should the chimney lack flue tiles or if the masonry is cracked,
consult a mason about repairs. Fire in an unlined or cracked chimney can spread into the
house.
B. Your chimney and chimney connectors should be inspected at least twice monthly during
heating season to determine if a creosote or soot build-up has occurred. If material has
accumulated, it should be removed to reduce the risk of a chimney fire. Your chimney
should be cleaned at least once a year. REMEMBER, a clean chimney and a controlled fire
will eliminate almost any chance of a chimney fire. Above all, REMEMBER, if a chimney
fire does occur, the fire department should be called immediately and the draft control on the
stove closed. DO NOT TAKE CHANCES BY LETTING THE CHIMNEY BURN ITSELF
OUT.
C. For HITZER models the chimney should be 6 inches by 6 inches of a tile lined masonry
construction or a metal manufactured UL listed CLASS A chimney. An effective height of
20 feet or more is desired, and 15 feet would be considered minimum. The top of the
chimney should be at least 3 feet higher than the roof at the point of exit. With pitched roofs,
the top of the chimney must be at least 2 feet higher than any point on the roof within 10 feet
of the chimney. Check with your local building inspector for local building code
compliances. The ideal insulation would be for the chimney to extend below the thimble
with a clean out door.
D. The uses of aluminum Type B gas vent for solid fuel is unsafe and prohibited by the National
Fire Protection Association Code.

Page 2
III INSTALLATION OF STOVE:
A. WARNING: The installation of these stoves must comply with state and local requirements and be inspected
by the state or local inspector if required. NOTE: These stoves are not approved or recommended for use in
mobile homes.
B. Please not the following illustration on page three.
a. Connection must extend at least 2 inches into the chimney but
does not extend so far into the chimney that it blocks airflow.
b. At least 2 inches clearance of fireproof material is required for
protection through the wall thimble or your insulated pipe.
c. Stovepipe must be at least 18 inches from combustible ceiling
and walls.
d. Floor protection must provide
insulation equal to at least 3/8
inch fiberglass Millboard and
equal or have an insulation
Factor or K-O 84
and must extend at least 8 inches
on both sides of the ash door
and 16 inches in front of ash door.
e. Stove must be located
at least 36 inches from
combustible wall on all
sides, unless otherwise
specified on the plate on
the stove.
f. Stovepipe connection must
have at least 3 screws per
joint.

Page 3
C. The most important consideration in installing
your stove is adequate clearance between the
stove and any combustible surface. A stove that
is placed too close to a wall or to furniture can
cause a fire.
D It is also important to remember that a protective pad beneath the stove is recommended.
This pad must have an insulating factor of K-O-84. A variety of pads may be used under the
stove. The most common would be a metal covered (3/8 inch minimum) fiberglass stove
board that would be available in most hardware stores. A layer of brick or tile set in place by
a mason is also acceptable. It is also recommended that the protective pad extend at least 16
inches in the front of the ash door and 8 inches on both sides of the ash door.
E. Connection of stove to the chimney should be made as directly as possible and not more than
two bends when needed should be used. No reduction in flue pipe below 6 inches diameter
heater outlet should be used. The pipe connecting the stove to the chimney should be at least
24 gauge. Thicker gauges may be available and will resist corrosion longer and need fewer
replacements. Slope the flue pipe back towards the heater, `1/4 inch per foot of horizontal
run, so that any condensation forming in the pipe will be carried back into the heater. The
connector pipe should be installed so that the upper pipe section fits inside the lower section.
This way the creosote or soot building up inside the pipe will stay inside the pipe as it flows
down the inside surface. Horizontal pipe runs should have the pipe seams turned up.
Particular attention should be paid to the point where the flue passes through a wall or
ceiling. This penetration should always be made with insulated pipe and the proper
accessories. Chimney connectors must not pass through the ceiling, concealed spaces, or
enter the chimney in the attic, unless proper clearance or insulated pipe used with
manufactured clearance. REMEMBER, that all pipe sections should be connected with at
least three sheet metal screws per joint. A fire in the stack may cause vibrations and poorly
fastened piping may fall. Assure that the chimney connection pipe extends at least two
inches into the chimney, but does not extent so far into the chimney flue that it blocks air
flow. Where the pipe connects to a masonry chimney, it must be cemented to the chimney,
or a thimble must be connected to the chimney and the pipe should be tightly inserted into
the thimble without cementing. A manual damper or an automatic damper is recommended.
IV. OPERATING YOUR HITZER
Air can enter the HITZER heater in two ways.
1. Primary air for combustion enters through the draft box, the opening of which is controlled
by the Dial heat Regulator. This air passes up to the fuel bed through two draft louvers in the
linings. Flames and gases from the burning fuel pass under the down draft flue baffle and up
and out the stack.
2. Secondary air to insure complete combustion enters the flue through holes under the baffle
and mixes with the hot flue gases just behind the down draft flue baffle where it finishes
burning any unburned gases present.

Page 4
Air can also enter the fuel magazine through the spinner draft on the fuel door. When burning,
the draft should be open some to eliminate the possibility of the heater puffing and blowing out
smoke.
DIRECT DRAFT DAMPER
In front of the fuel door is the operating handle for the direct damper. When this rod is
turned up, the damper is opened connecting the top of the fuel chamber to the flue. This direct
damper should normally be closed except when the door is opened for fueling. It may be wise to
leave the direct damper open at times in the fall and early spring to help prevent creosote or soot.
The direct damper’s purpose is to reduce smoking from the open fuel door. If the direct draft is
not closed during regular operation, the benefit of the complete combustion design will be lost.
INSTRUCTIONS FOR BURNING
Fuel to be used is coal. It is essential to control your fire properly, that your ash and fuel
door be closed at all times when burning your HITZER HEATER. These doors are gasketed to
insure proper seals.
Set your dial heat regulator to open the draft damper. Start your fire by placing a small
amount of crumbled paper in the firebox, place a small amount of kindling and ignite the paper.
When kindling is burning add approximately 2 inches of coal over the entire grate area. When
the coal is burning good and glowing red add 2 inches of coal. Once this deeper coal is burning
good you can add as much as you want to extend the burn time. Make sure your dial heat is set
to keep the fire burning properly.
NEVER USE Gasoline, Kerosene, Charcoal Lighter Fluid, or any type of flammable fluid
to start your fire. Keep all such liquids well away form the heater while it is in use.
Your HITZER heater is designed to burn coal with the same heavy-duty cast iron grate.
When burning hard coal, we suggest the use of the nut size coal. If the chimney provides poor
draft, stove size coal should be used. When burning soft coal, use either nut or stove size coal.
When refueling the heater, add approximately 20 lbs. coal covering lightly the live coals
with fresh coal.
After adding fuel, it is best not to open the heater again for several hours, or until the coal
has been burning good. This will help prevent smoke from being discharged into the room.
When burning coal, it will be necessary to shake the grates morning and evening. Shake
until live coals begin to fall. If the fire does not promptly respond when the regulator damper is
opened, it may be necessary to shake the grate again to remove more of the ashes. Be sure that
the grate bars are in a level position. Do not permit ashes to pile high in the pan. THERE
MUST BE AN AIR SPACE OF A FEW INCHES BETWEEN THE ASHES AND THE GRATE
BARS TO PREVENT DAMAGE SUCH AS WARPING TO THE GRATE BARS THROUGH
OVERHEATING. REMEMBER, WHEN BURNING COAL THE ASH PAN SHOULD BE
EMPTIED DAILY.
Likewise, when burning coal, the spinner draft damper in the fuel door should be opened
slightly at all times to purge the magazine from gas and prevent puffing.
When coal is burned, the products of combustion combine with moisture to form a soot residue,
which accumulates on the flue lining. When ignited, this soot makes an extremely hot fire. The

Page 5
chimney connector and chimney should be inspected at least twice monthly during the heating
season to determine if a soot build-up has occurred. If soot has accumulated, it should be
removed to reduce the risk of a chimney fire.
ADJUSTING THE CONTROL
When the room temperature reaches the desired degree, turn the control knob on the
regulator until the draft damper just closes. The heater should then maintain a uniform
temperature without further attention so long as fuel is available. Sudden changes in outside
temperature may make it necessary to turn the control knob slightly toward warmer or cooler
from time to time. We do not advise turning the regulator back more than one position at night
and usually it is more satisfactory to allow the heater to operate with the regulator in the same
position day and night. It takes no more fuel to maintain the temperature back to normal in the
morning.
SNAP ACTION DAMPER
This HITZER heater is furnished with our exclusive magnetic snap action damper. In
cases where ideal chimney and draft condition are lacking, this damper will substantially reduce
creosote and soot problems due to poor draft. The action is adjustable over a wide range and can
be set to suit particular conditions.
The magnet should never be brought forward so far that the damper lid actually contracts
it, as this causes too much snap action and may give trouble with creosote or soot sticking the lid
to the damper.
Once a year, or more often, if needed, any tar material that deposits on the underside of
the damper lid, should be scraped off.
REMOVING ASHES
Ashes should be placed in a metal container with a tight fitting lid. The closed container
of ashes should be placed on a noncombustible floor or on the ground, well away from all
combustible materials, pending final disposal. If the ashes are dispersed, they should be retained
in the closed container until all cinders have thoroughly cooled or been properly disposed.
HELPFUL SUGGESTIONS
If trouble is experienced with smoke being discharged into the room when the fuel door
is opened, it usually indicates that the previous charge of fuel has not been completely charred,
or that the chimney provides too little of draft. Always turn the regulator knob to open the direct
draft dampers.
CREOSOTE AND SOOT FORMATION AND NEED FOR REMOVAL
If your HITZER heater is operated according to these instructions, and you have a good
chimney, very little, if any creosote or soot should be formed in the pipe or chimney. If you are
experiencing creosote or soot problems try the following:

Page 6
g. Opening the draft dampers for 20 to 30 minutes before adding fuel. This will increase the
stack temperature and cause any creosote and soot in the pipe to dry. In the process of the
drying, the creosote and soot shrinks and the scales fall from the inner walls of the pipe. If a
small amount of ATTACK is thrown over the glowing bed of coal at this time, it will greatly
assist in elimination any creosote and soot present. (ATTACK can be purchased from your
manufacturer if your local dealer does not have any.)
h. Regularly, and preferably once or twice a week, open the direct draft damper and place
several sheets of crumbled newspaper in the stove and allow the fuel door to remain open
about one inch to give plenty of draft. This will cause the flame to be carried out into the
smoke pipe and warm your chimney, which eliminates material build up.
FURTHER INFORMATION
For further information on using your heater safely, obtain a copy of the National Fire
Production Association Publication. Using Coal and Wood Safety, NEPA Number
HS-8-1974. The address of the NEPA is:
NFPA
Batterymarch Park
Quincy, MA. 02269
You may also contact HITZER, Inc., for more information in the proper installation and
operation of your quality HITZER heater.
Hitzer Inc.
269 East Main ST
Berne In 46711
260-589-8536
Other manuals for 55
1
Table of contents
Other Hitzer Stove manuals
Popular Stove manuals by other brands

RIKA
RIKA E16705 operating manual

Vermont Castings
Vermont Castings 5927 installation instructions

EdilKamin
EdilKamin Italiana Camini IDROPOLIS Installation, use and maintenance

Defy
Defy 620 Kitchenaire owner's manual

Extraflame
Extraflame GABRIELLA PLUS user manual

Kuma Stoves
Kuma Stoves SHASTA user manual

CARRON
CARRON 11KW SE Installation and operating instructions

Mendip Stoves
Mendip Stoves Ashcott Operation and instruction manual

Clas Ohlson
Clas Ohlson BDZ.180-A manual

ISLAND PELLET STOVES
ISLAND PELLET STOVES LUNDY 5 Operation manual

Superior
Superior BXI2518MN Installation and operation instructions

Dovre
Dovre VINTAGE 35GA Installation instructions and operating manual