(continued)
©McDonald’s Corporation · Planned Maintenance Manual · Revised December 2015 Page 2 of 2
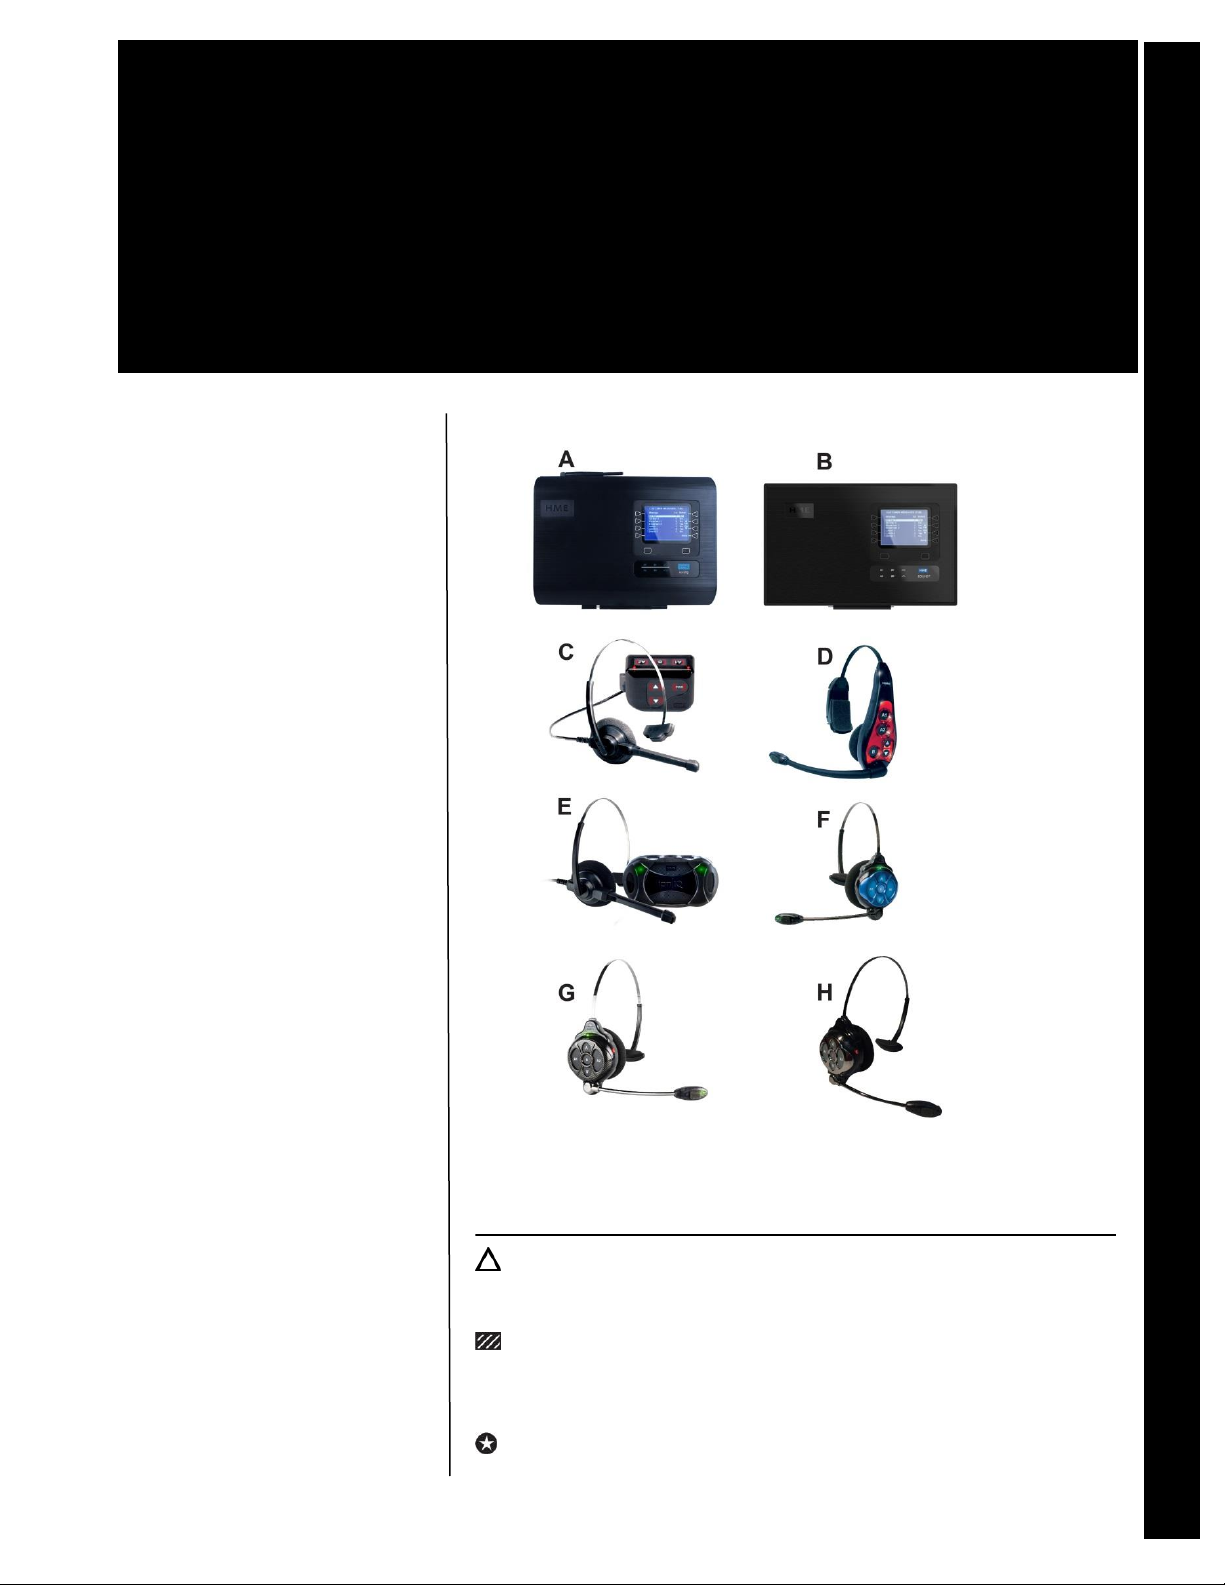
HM Electronics Drive-thru Audio Headsets (HS6000, COM6000 with HS12, HS6100, HS6200, HS6300)
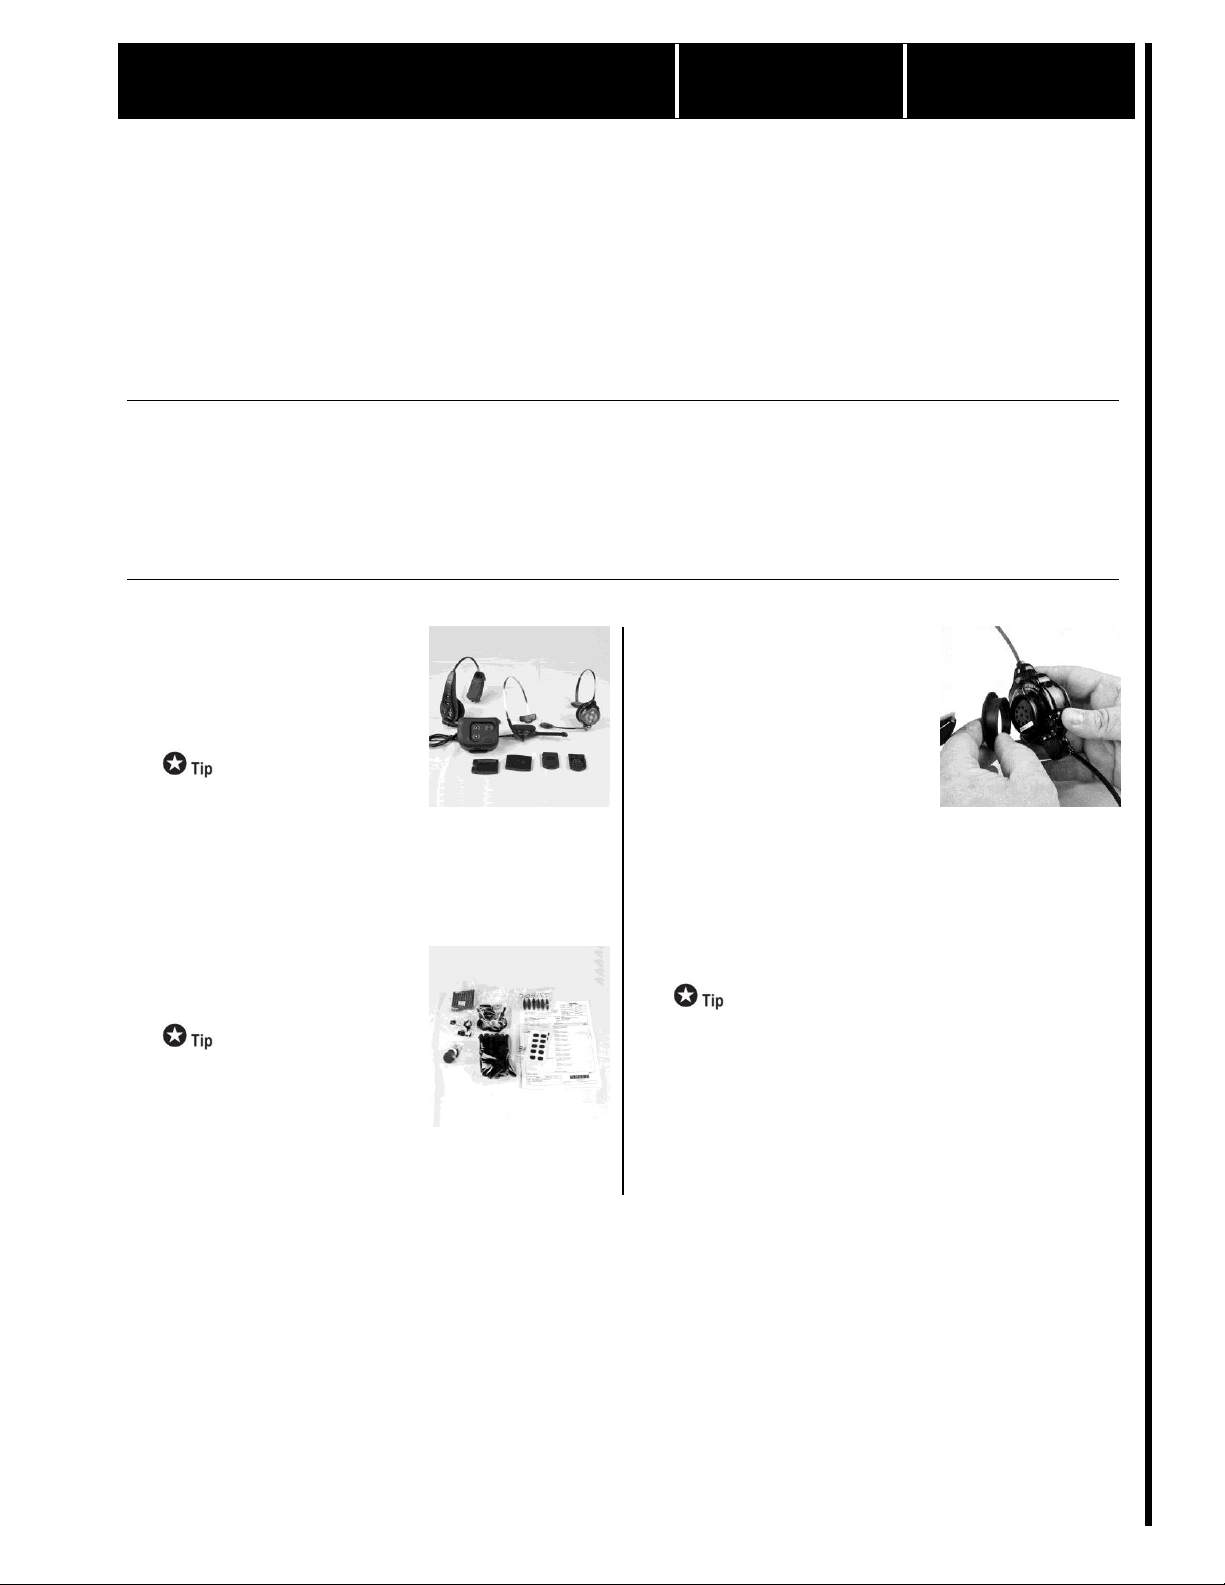
Replace HS6000 inner ear pad,
slider pad and small cushion
(not applicable for HS6100,
HS6200, HS6300 and/or HS12).
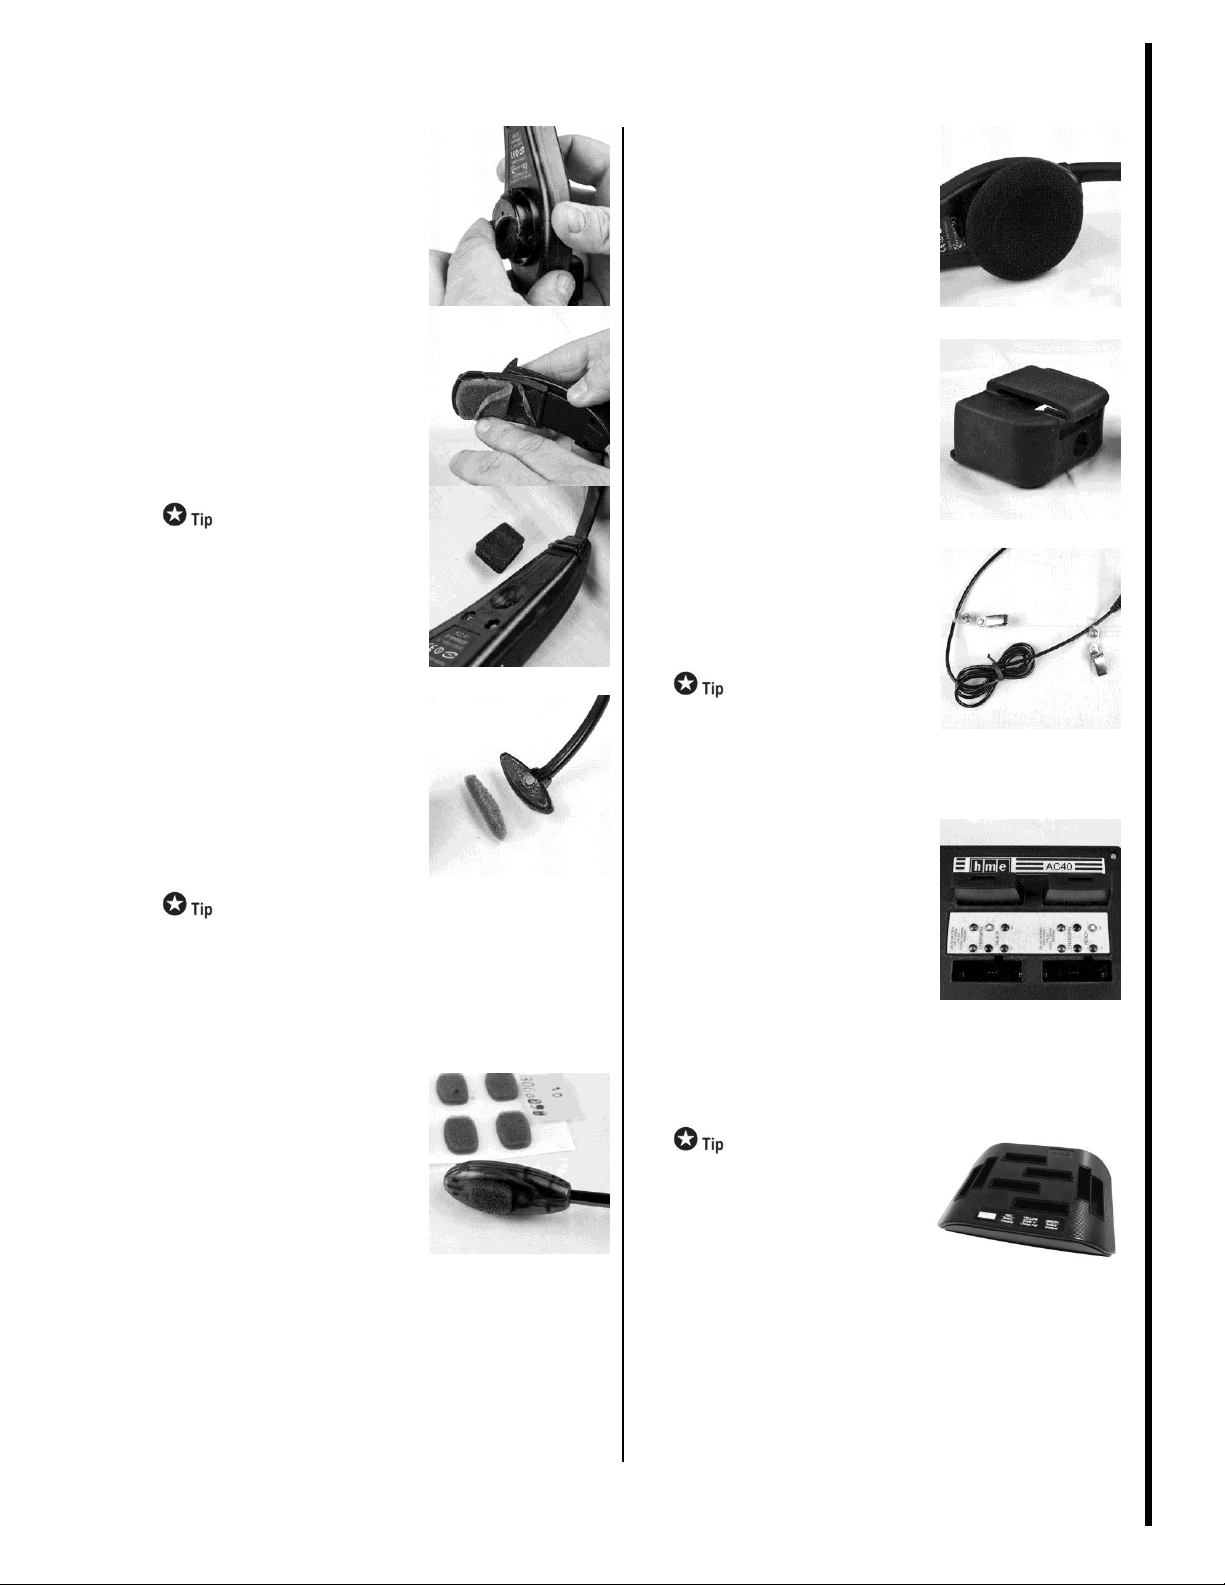
Peel off old inner ear pad.
Peel off slider pad from the
side where the battery is
located. Peel off small
cushion located above the ear
foam pad on the side opposite
the battery. Remove all
adhesive residue from plastic.
Replace inner ear pad, slider
pad and small foam pad with
one each from the manager’s
kit.
Remove adhesive residue
from plastic by rubbing with
finger or finger nail.
Replace HS6100, HS6200 and
HS6300 headset pad (not
applicable for HS6000 and/or
HS12).
Remove old pad. Remove all
adhesive residue from plastic.
Install new headset pad from
manager’s kit.
Remove adhesive residue
from plastic by rubbing with
finger or finger nail.
Replace windscreen on
HS6000, /HS6100, HS6200,
HS6300 and/or HS12.
Peel off the old windscreen(s)
from the headset. Remove all
adhesive residue from the
plastic. Install replacement
windscreen from the
manager’s kit.
Note: The HS6000, HS6100
and HS6200 have two (2)
windscreens, one on each side
of the microphone.
Replace ear foam on HS6000,
HS6100, HS6200, HS6300
and/or HS12.
Remove the old ear foam if
not already removed from
Step 3. Wrap new ear foam
around speaker housing.
Check the COM6000 pouch.
Check each pouch to ensure
the belt clip is functional. If
not, discard pouch and
replace with new pouch.
Check HS12 clothing clips.
Each HS12 should have two
(2) clothing clips. If clips are
missing, replace by snapping
new clip(s) on to cable.
Clothing clips help the
headsets last longer by
avoiding cable snags or burns.
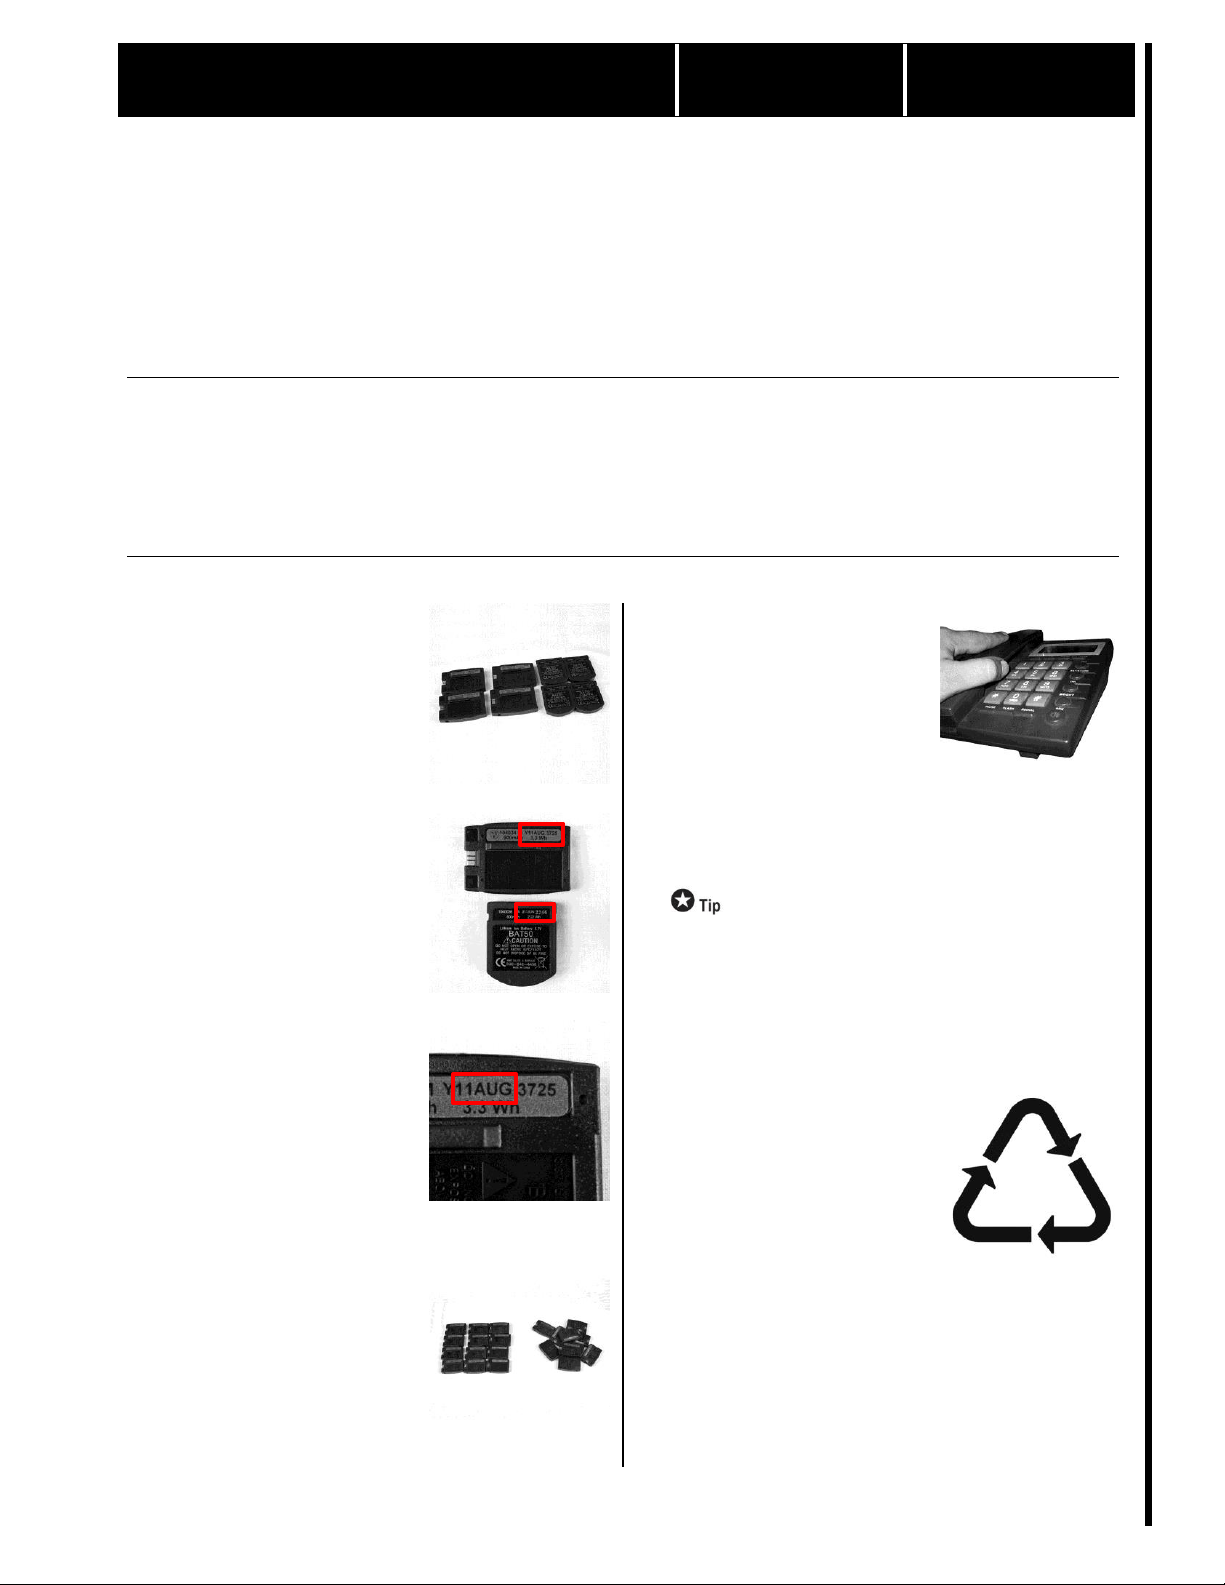
Ensure battery charger is
functioning properly.
Batteries should fit tightly in
the charger. When a battery is
placed into the slot, a red light
will come on. A green light
indicates when the battery is
charged. If the charger does
not perform as stated or if a
yellow light appears when the
battery is placed into the slot,
please call 1-800-848-4468
for HME Technical Support.
Charging the batteries only
when the “battery low”
message is played in the
headset will extend battery
life.