205 Hardman Avenue South, South Saint Paul, MN 55075
Voice: (800) 899-5444 • Fax: (888) 552-8661
e-mail: customerservice@holtkoetter.com
www.holtkoetter.com
ASSEMBLY INSTRUCTIONS FOR
Major lamp parts manufactured in Germany by Holtkötter Leuchten GmbH.
Bulbs manufactured in Germany by Osram GmbH. Final assembly by Holtkötter in South Saint Paul, MN.
Holtkötter ®and Holtkötter Leuchten®are registered trademarks of Holtkötter. All Rights Reserved.
© Holtkötter
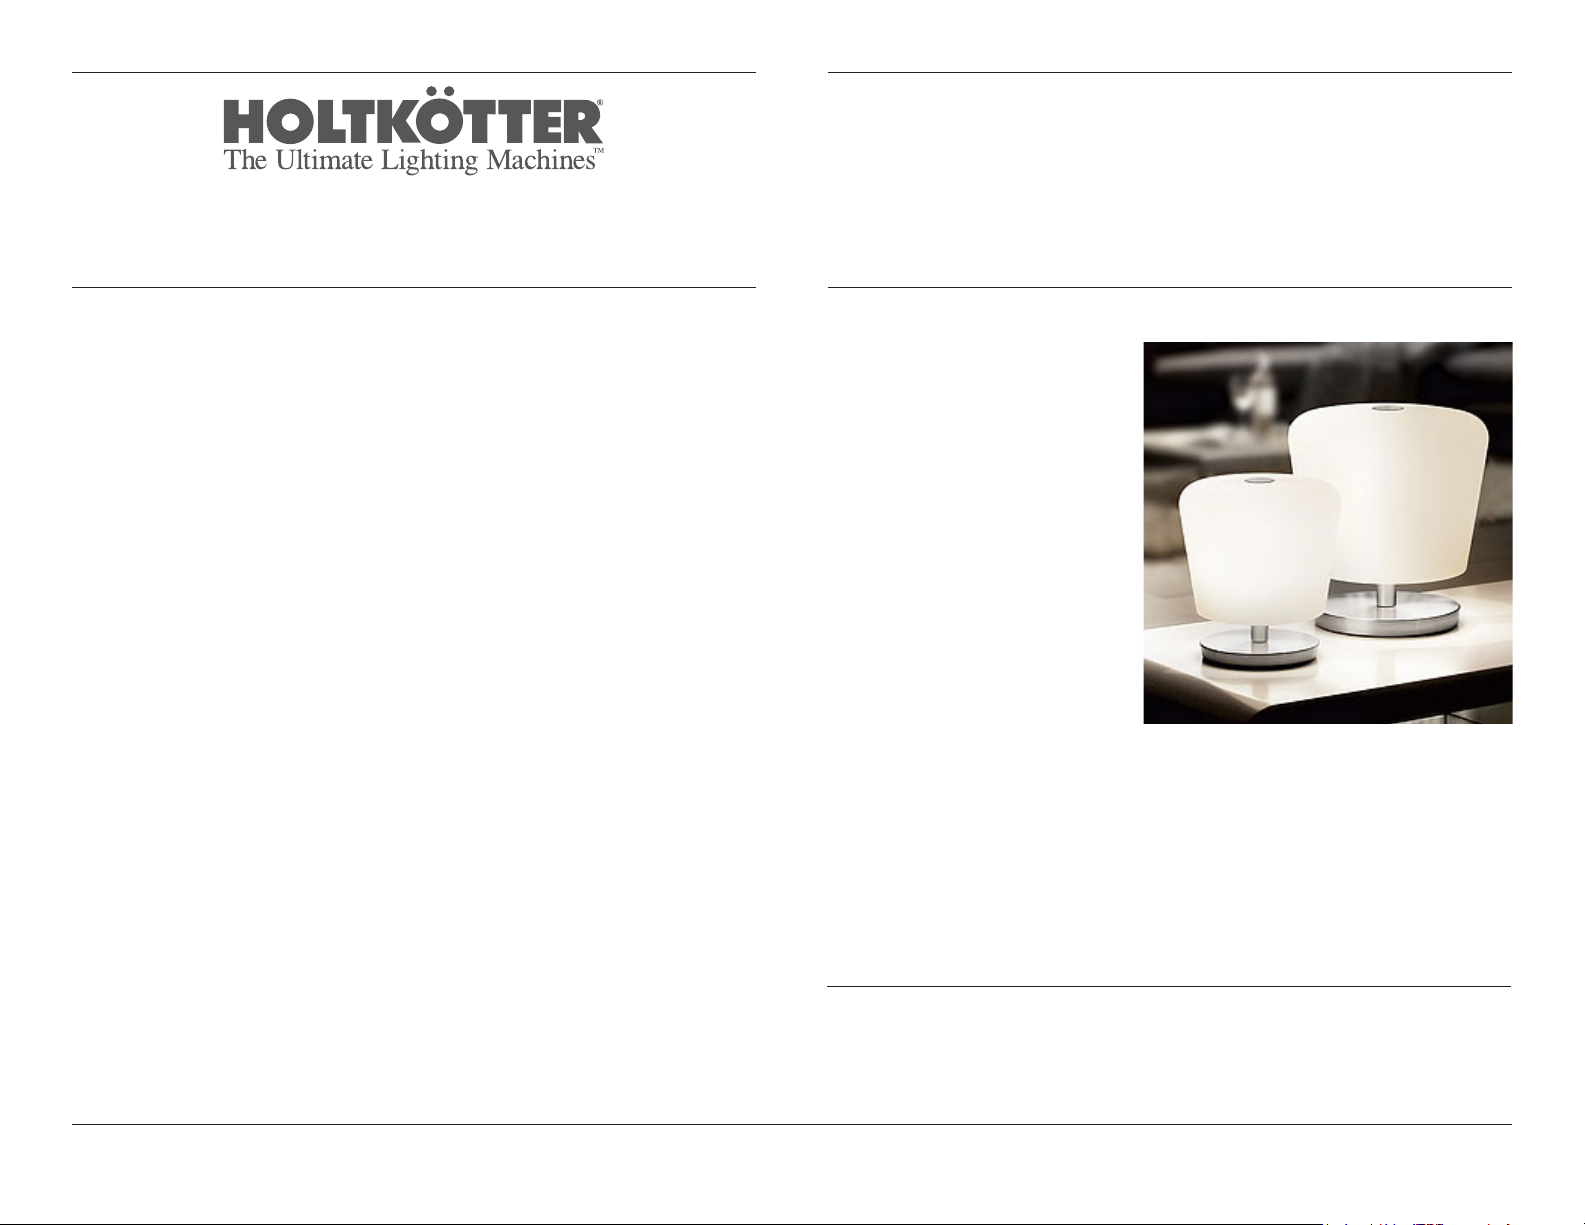
Touch Table Lamp
No. 6415*P1 & No. 6416*P1
Congratulations, you have just purchased
the leading-edge dimming technology
from Holtkötter International, Inc. Our
“Dimm-System Punkt 1” (Dimming System
Point 1 (*P1)) is specifically designed to
provide specialized features for ease and
convenience of use.
Features of “Dimm System Punkt 1”
include:
Point Dimming - the lamp may be turned
on with a single click of the P1 dimmer.
Located on the base.
Soft On - the lamp will come on low and
continue to brighten to full brightness.
This allows the eye to adjust to a gradual
increase in light.
Soft / Delayed Off - turn the lamp off with
a single click of the P1 dimmer. The lamp
will dim to 60% brightness of the original
setting, remaining briefly at that level to allow you to exit the room; then the lamp gradually turns
itself off. This “soft” off provides a few moments of light after turning the lamp off, rather than
immediate darkness as is the case with other switches.
Dimming Cycle - to adjust the lamp to the perfect light level for any situation, press and hold
the P1 dimmer. The dimmer will cycle through all dimming levels. When the lamp achieves the
light level of your choice, release the P1 dimmer.
Care Instructions
Use only a soft, dry cloth to clean. If necessary, a slightly damp, soft cloth can be used to spot
clean. Do not use common household cleaners on lamps or fixtures, as the lacquer on the
outside of the brass may be damaged as a result.
CAUTION, IMPORTANT SAFETY INSTRUCTIONS
This portable luminaire has a polarized plug (one blade is wider than the other) as a feature to
reduce the risk of electrical shock. This plug will fit a polarized outlet only one way. If the plug does
not fit fully into the outlet, reverse the plug. If it still does not fit, contact a qualified electrician.
Never use with an extension cord unless plug can be fully inserted. Do not alter the plug.
INSTRUCTIONS PERTAINING TO A RISK OF FIRE, ELECTRIC
SHOCK, EXPOSURE TO EXCESSIVE UV RADIATION OR
INJURY TO PERSONS
WARNING - To reduce the risk of FIRE, ELECTRIC SHOCK,
EXPOSURE TO EXCESSIVE UV RADIATION OR INJURY TO
PERSONS:
1. Turn off power/unplug and allow to cool before replacing bulb.
2. Bulb gets HOT quickly. Contact only switch/plug when turning on.
3. Do not remain in light if skin feels warm.
4. Do not look directly at lighted lamp.
5. Keep lamp away from materials that burn.
6. Use only with a 75 Watt or smaller bulb.
7. Do not touch the bulb at any time. Use a soft cloth. Oil from skin may damage bulb.
8. Do not operate the portable luminaire with a missing or damaged guard, lamp containment
barrier or UV filter.
SAVE THESE INSTRUCTIONS
6415/1*P1 (l) 6416/1*P1 (r)


