Home HME030362N User manual

REFRIGERATOR
4.6 cu
HME030362N
Thank you for selecting our quality appliance. Please be sure to read this user manual
carefully before using. Any question, please contact the professional service for help.

BEFORE FIRST USE:
To prevent any internal damage, it is very important to keep
refrigeration units (like this one) upright throughout their journey.
Please leave it standing upright and outside the box for 24 HOURS
before plugging it in.

Important Satety Instructions
Operating Instructions
Cleaning and Maintenance
Troubleshooting
Specications
Warranty
Manufacturing Info
Warning
Contact Us
6-7
8-10
11-12
13
14
15
15
15
15
TABLE OF CONTENTS


on bringing home your new appliance!
Congratulations
Don’t forget to register your product at homelabs.com/reg
for updates, coupons, and other relevant information.
Although greatly appreciated, product registration is not
required to activate any warranty.

6
Important Safety Instructions
SAVE THESE INSTRUCTIONS
For Household Use Only
When using your appliance, basic safety precautions should always be followed to reduce
the risk of re, electrical shock, and/or injury to persons. Incorrect operation due to ignoring
instructions may cause harm or damage.
1. This appliance must be grounded. Connect only to properly grounded outlet. This appliance must
be grounded due to the event of an electrical short circuit. This appliance is equipped with a cord
having a grounding wire with a grounding plug. The plug must be plugged into an outlet that is
properly installed and grounded.
2. Install or locate this refrigerator only in accordance with the provided Installation Instructions.
3. To protect against electric shock, do not place cord, plug, or refrigerator in water or other liquid.
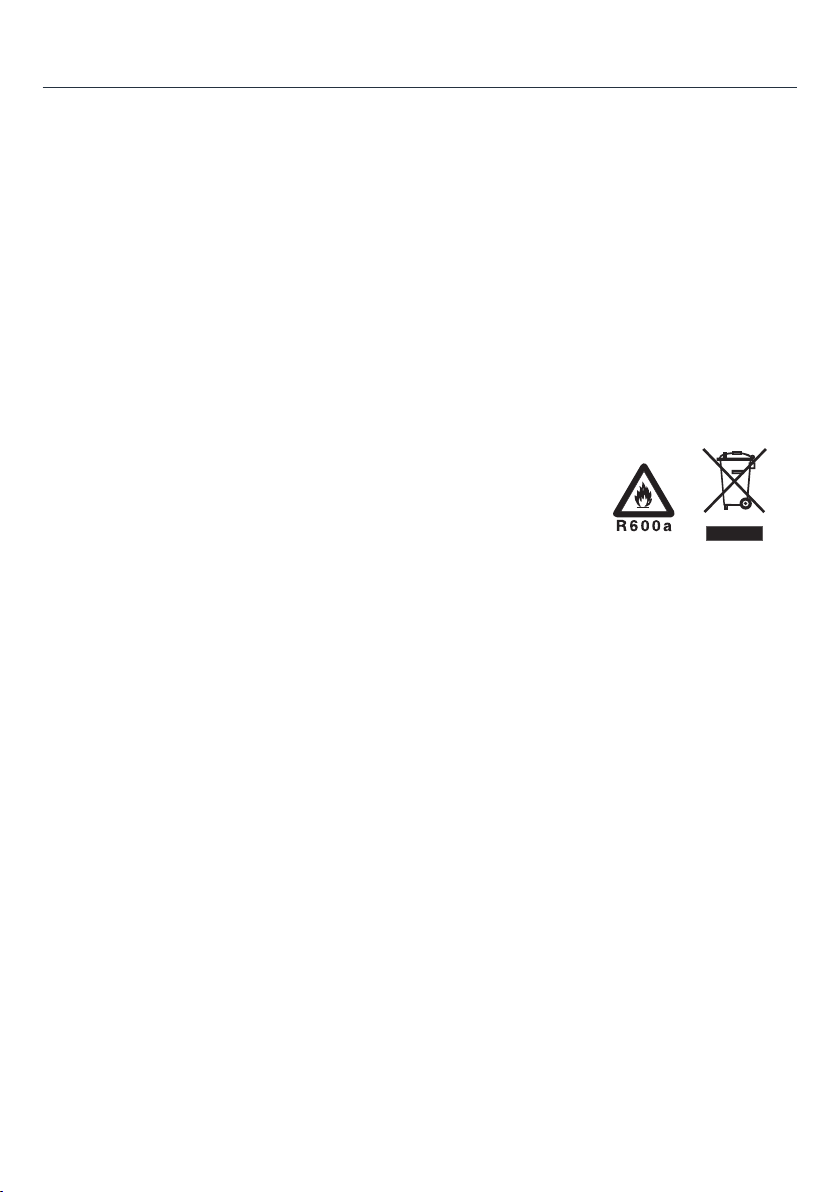
4. The refrigerant of this product is R600a, which is ammable. Make sure not to damage the cooling
system during the transportation and installation.
5. Please note that servicing shall be done by factory authorized service personnel, so as to minimize
the risk of possible ignition due to incorrect parts or improper service.
6. This appliance can be used by children aged from 8 years and above and persons with reduced
physical, sensory or mental capabilities or lack of experience and knowledge if they have been given
supervision or instruction concerning use of the appliance in a safe way and understand the hazards
involved. Children shall not play with the appliance. Cleaning and user maintenance shall not be
made by children without supervision.
Warnings related to disposal
Suffocation Hazard: Remove doors from your old refrigerator. Failure to do so can result in death or brain
damage.
Before you throw away your old refrigerator or freezer.
- Take off the doors;
- Leave the shelves in place so that children may not easily climb inside.
All refrigeration products contain refrigerants, which under federal law must be removed prior
to product disposal. If you are getting rid of an old refrigeration product, check with a qualied
disposal company for instructions.
Warnings related to Electrical Shock Hazard
- Plug into a grounded 3 prong outlet.
- Do not remove ground prong.
- Do not use an adapter.
- Do not use an extension cord.
- Failure to follow these instructions can result in death, re, or
electrical shock.
Three-pronged
(grounding) plug
Properly polarized and
grounded outlet

7
Location requirements
It is recommended that you do not install the refrigerator near an oven, radiator, or other heat
source.
Do not install in a location where the temperature will fall below 55°F (13°C). For best performance,
do not install the refrigerator behind a cabinet door.
Warnings related to Explosion Hazard
Keep ammable materials and vapors, such as gasoline away from refrigerator. Failure to do so can
result in death, explosion, or re.
Do not store explosive substances such as aerosol cans with a ammable propellant in this
appliance. Do not use electrical appliance inside the food storage compartments of the appliance,
unless they are of the type recommended by the manufacture.
Note:
• When there is gas leak, do not pull the plug out or in. It may cause
sparks and re calamities.
• Don’t splash water on the rear of the appliance. It may cause
malfunction or electric shock.
• Do not place bottled beverage in the freezer. It might break.
• Do not place object on the top of appliance which is magnetic, heavy,
or lled with water. Electronic components may not work steadily if
water gets inside.
Important Safety Instructions

8
11.8inch
2inch
2inch
1Freezer
2Lamp and temperature control knob
3Shelf
4Crisper glass cover
5Vegetable crisper
6Lamp switch
7Door bar
• Remove the tape of the drawers, balconies, egg tray, and the drain tube plug. Clean the inside of
the refrigerator.
• Do not pull or push the drawers and balconies ercely during use to prevent possible damage.
• Do not open the refrigerator door continually if it is in the normal working situation.
• Keep the combination of drawers, baskets and shelves of the refrigerator in its original place.
INSTALLATION
1. Choose a location where it is not exposed to sunlight, heat source or
humidity, as humidity may cause stain.
2. Pull out the bottom panel before installation.
3. Make sure the refrigerator is placed in a well-ventilated, indoor environment
on at, sturdy ground (turning the leveling legs clockwise to raise the
appliance, and counter-clockwise to lower the appliance). Put a sheet under
the appliance to isolate the heat emission if it is located onto a carpet.
4. Make sure the leveling legs are clung to the oor. Set the appliance slope
backward slightly to keep the doors closed tightly.
Operating Instructions
PARTS DESCRIPTION
1
2
3
4
5
6
7

9
REVERSING THE DOOR
1Top Hinge Cover
2Top Hinge Screws
3Top Hinge
4Freezer Door
5Cabinet Plugs
6Refrigerator Door
7Middle Plug
8Middle Hinge
9Refrigerator Door Plug
10
Middle Hinge Screws
11
Leveling Legs
12
Bottom Hinge Screws
13
Bottom Hinge
Follow steps below if you want to change the door orientation:
1. Remove top hinge cover and 3 top hinge screws which are below it. Then remove top hinge.
2. Remove Freezer Door
3. Remove 2 cabinet plugs and 1 door handle plug.
4. Remove middle hinge screws and middle hinge
5. Remove the refrigerator door.
6. Remove right and left leveling legs.
7. Remove 3 bottom hinge screws and the bottom hinge.
8. Install the bottom hinge on the other side of the leveling legs with 3 bottom hinge screws.
9. Install right and left leveling legs. There are two holes below the refrigerator to t the two leveling legs.
10. Install the refrigerator door.
11. Install the middle hinge on the other side.
12. Install freezer door and x the top hinge with 3 top hinge screws and x the top hinge cover.
13. Adjust the leveling legs.
Operating Instructions

10
Operating Instructions
PLACEMENT OF FOOD
1. Leave free space between food items inside for proper air circulation.
2. It is recommended to keep fresh food in sealed package to avoid becoming dry or catching odor.
3. Hot food should be cooled down before placing into the appliance. Otherwise, interior temperature
and electronic consumption will increase.
4. Reduce the frequency of door opening will efciently save electronic consumption.
TEMPERATURE CONTROL
The temperature of refrigerator can be controlled manually by the knob.
However, the number shown on the knob does not directly represent the
temperature. The larger the number, the lower the temperature. 0 stops the
cooling but does not turn off the power. Usually, turn the knob to level 4 in a
normal condition. Turn to level 5-7 if a lower interior temperature is required.
Turn to level 1-3 for a higher temperature.
MOVING
WARNING:
Excessive Weight Hazard
Use two or more people to move and install refrigerator. Failure to do so can result in back or other injury.
1. Before using the refrigerator for the rst time, remove all of the packing materials, including the
foam base and adhesive tape holding accessories in place.
2. The refrigerator should be located on a rm, at surface that is strong enough to support the
refrigerator when it is fully loaded.
3. Leave a minimum of ½” between each side of the appliance and the wall. The top and back of the
appliance should have a minimum of 1 ½” clearance. This allows for proper air circulation. This
appliance is intended to be free-standing and should not be built-in or placed in a recessed area.
4. The refrigerator legs must be adjusted during installation in order to function properly. The leveling
legs on the front corners can be adjusted by turning clockwise to raise the appliance, and counter-
clockwise to lower it. Be sure to have the appliance slope slightly backward to ensure that the door
closes tightly.
3
2
1
7
6
5
4

11
Cleaning and Maintenance
The appliance should be maintained and cleaned frequently. For your safety, pull the plug out of the
socket before cleaning.
CLEANING YOUR APPLIANCE
Dusting behind the refrigerator and on the ground will improve the cooling effect and save energy. The
interior of the refrigerator should be cleaned to avoid any odor. Follow the cleaning procedure below:
1. Unplug the refrigerator.
2. Wipe the door and door seal with warm water and mild detergent. Rinse thoroughly and dry with a
clean, soft cloth.
3. Use a mixture of warm water and baking soda (about 1-2 tablespoons per quart of water) to clean
the interior of the refrigerator.
4. Use a sponge or soft cloth and make sure to wipe excess moisture out before cleaning around the
controls.
5. Rinse thoroughly with warm water and dry with a clean soft cloth.
6. Reconnect the refrigerator when it is clean and dry.
Note:
Do not use hard brushes, wire brushes, abrasives, organic solvents, boiling water, acid, or alkaline items as
this may damage the refrigerator surface and interior. Cleansers such as soap powder, abrasive cleaning
powder, alkali cleansers, chemical cloth, thinner, alcohol, acid petroleum product and hot water may
damage the painted cover and plastics.
REPLACING INTERIOR LIGHT
To replace interior light, uninstall the cover and replace with a new lamp of 120V/10W. Check following
pictures for replacement:
1) Slide the lamp cover 1.2-2 inch
according to arrow direction.
2) Take out the lamp cover.
3) Rotate and take out the bullb in
counterclockwise direction.
4) Replace the bulb and reinstall the
lamp cover.

12
Cleaning and Maintenance
DEFROST
The heavy frost will inuence the refrigerating effect and increase the energy consumption. Defrosting is
needed when the frost is as thick as 0.2 inch.
For manual defrosting, please follow these steps:
1. Take all the food and ice cube tray out of the compartments.
2. Unplug the refrigerator.
3. Defrosting may take several hours. Open the door to speed up the process.
4. Wipe out the water with dry cloth when defrosting is completed.
WARNING:
Do not use sharp objects to accelerate the defrosting process. It may destroy the compartment walls and
cooling system. This will void warranty.
POWER FAILURE
After power failure, the refrigerator is still able to store food for several hours.
1. Discontinuation during power failure
After power failure, do not put additional food in the appliance and reduce the frequency of door opening.
Put some ice cubes in a container in the top part of the fridge if the power failure was known beforehand.
2. Discontinuation during vacation
Take out perishable food before short vacation. Close the door rmly. Take out all food and cut off
the power during long vacations.
3. Stop using
If you do not want to use the refrigerator for a long time, unplug it and clean up the appliance. The door
should be kept open in order to prevent unpleasant smell caused by food residuals.
ATTENTION:
Get rid of the gasket of the door before the disposal. The disposed parts should be handled by
professional staff, as it may be harmful to the environment.
WARNING:
1. Do not splash water on the refrigerator, as it will cause oxidation and malfunction. Electronic
component such as On/off button should be kept dry.
2. Smear can damage the interior plastic component, so wipe it as soon as possible.

13
Troubleshooting
Problem Possible Causes & Solutions
The refrigerator does not work It may not be connected to the power supply (plug,
power cut or fuse); Voltage is too low.
Unplug, wait for 10 seconds and plug again. Or consult a
professional service provider.
The refrigerator does not work
efciently as expected
It may be caused by heavy frost, or by warm
temperature setting, or by frequently door operating.
Lower the temperature. Make sure the door is closed.
Vibration noise The appliance is placed on uneven ground, or by
resonation between the appliance and other ambient
objects.
Adjust the leveling legs, or move away from the object.
The compressor runs too long or cycles
on/off frequently
The environment temperature may be too high. The
doors may be opened frequently or they are left
open. The temperature setting in high level (4-7) can
also increase the working time of compressor. Adjust
temperature to a warmer setting.
Odor in the refrigerator Food with strong odor should be packed tightly before
putting inside the appliance. Check whether there is any
deteriorated food or whether the liners are left dirty for
a long time.
Heavy frost occurs on the rear of the
appliance
Putting humid or hot food into the appliance may cause
this problem.
Water leaks from the bottom of the
refrigerator
The drain tube is jammed. Use a proper tool to clean it.
It is normal that:
• Moisture may form dew on the outside of the product during the humid season.
• The sides of product get warm as a result of the cooling pipeline working.
• The ow of refrigerant through the coils causes noise.
If the supply cord is damaged, it must be replaced by the manufacturer, its service agent or similarly
qualied persons in order to avoid a hazard.

14
Specications
Climate class N/ST
Electric shock protection type I
Voltage (V) 120
Frequency (Hz) 60
Current (A) 0.96
Voice [dB(A)] ≤42
Energy consumption (kW.h/24 hours) 0.89
Refrigerant R600a/1.06oz
Net Weight (lbs) 70.4
Interior temperature (°F)
Freezer ≤5
Refrigerator 32~46.4
Dimension (inch)
Width 19.13
Depth 21.61
Height 48.09

15
hOme™offers a limited two-year warranty (“warranty period”) on all of our products purchased new
and unused from hOme Technologies, LLC or an authorized reseller, with an original proof of purchase
and where a defect has arisen, wholly or substantially, as a result of faulty manufacture, parts or
workmanship during the warranty period. The warranty does not apply where damage is caused by
other factors, including without limitation: (a) normal wear and tear; (b) abuse, mishandling, accident,
or failure to follow operating instructions; (c) exposure to liquid or inltration of foreign particles; (d)
servicing or modications of the product other than by hOme™ ; (e) commercial or non-household use.
The hOme™ warranty covers all costs related to restoring the proven defective product through repair or
replacement of any defective part and necessary labor so that it conforms to its original specications.
A replacement product may be provided instead of repairing a defective product. hOme™ ’s exclusive
obligation under this warranty is limited to such repair or replacement.
A receipt indicating the purchase date is required for any claim, so please keep all receipts in a safe
place. We recommend that you register your product on our website, homelabs.com/reg. Although
greatly appreciated, the product registration is not required to activate any warranty and product
registration does not eliminate the need for the original proof of purchase. The warranty becomes
void if attempts at repair are made by non-authorized third parties and/or if spare parts, other than
those provided by hOme™ , are used. You may also arrange for service after the warranty expires at an
additional cost.
These are our general terms for warranty service, but we always urge our customers to reach out to us
with any issue, regardless of warranty terms. If you have an issue with a hOme™ product, please contact
us at 1-800-898-3002, and we will do our best to resolve it for you.
This warranty gives you specic legal rights, and you may have other legal rights which vary from state
to state, country to country or province to province. The customer may assert any such rights at their
sole discretion.
HME030362N
Warranty
Manufacturing Info
This manual is to be used with all items with the model number
SKU# : HME030362N
Rated voltage/Frequency: 120V~ 60Hz 0.96A
Keep all plastic bags away from children.
Warning
Contact Us
homelabs.com/chat 1-(800)-898-3002 [email protected]
CHAT W ITH US CALL U S EMAIL US

© 2016 hOme Technologies, LLC
37 East 18 Street, 7th Floor
New York, NY 10003
For household
Use Only
1-800-898-3002
homelabs.com/help
All rights reserved, hOme®. Printed in China.
Table of contents
Other Home Refrigerator manuals
Popular Refrigerator manuals by other brands

Kuppersbusch
Kuppersbusch IKEF2380-0 user manual

Electrolux
Electrolux ERB 3425 Installation and instruction manual

KitchenAid
KitchenAid KURR214KSB Use and care guide and installation instructions

Whirlpool
Whirlpool WRS555SIHZ owner's manual

Beko
Beko CN228220 Instructions for use

Zanussi
Zanussi ZPL 5233 Instruction booklet