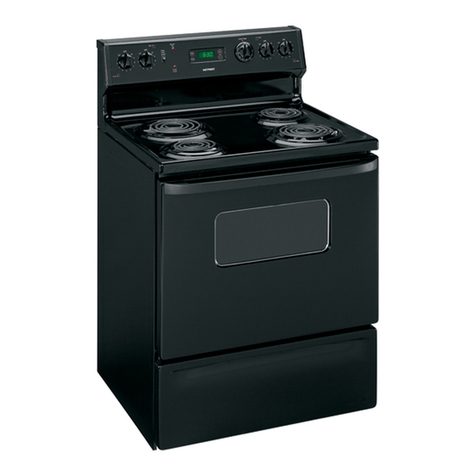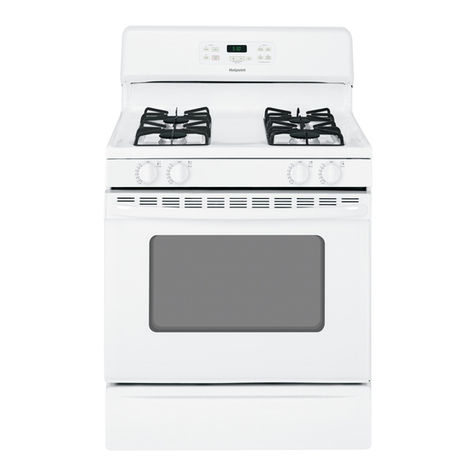
,r--,-- “s This book was written for you. It is aguide for using and
i‘- ‘?~ “~. caring for your new Hotpoint Range with Self-Clean oven. (See
f...\Feature Chart on the following page.)
II ‘‘, “:-” ~ ~ This appliance was designed to give you years of dependable
and efficient service. For best results, read the instructions
t“ .~‘“), ‘~ ~‘
\
carefully and refer to them when necessary.
!;,“,, .:4 ~‘#4
“,//” Remember, as the range does its
‘7}
N>“ ‘“’L -L “
.... .
/
work of cookin a,nd cleaning,
y> -;’-
““V &
t“
a\)q’, -’~;L-&22i$ ‘my =~$f~r P~~:&~d;~‘“:/-- ~,‘- “-–2. _
~->-
1.’ i..’*#. .34 .
SURFACE COOKING
Calrod@ Surface Units, Controls,
Reflector Pans, Use of Aluminum Foil. .4-7
Cooking Guide and Information . . . . ...7-8
Cooking Heats-How to Use ............5
Cooking Utensils-Materials and Sizes ..5
Fluorescent Lamp-How To Start .......7
Common Sense Rules . . . . . . . . . . . . . ...6-7
3-in-l unit . . . . . . . . . . . . . . . . . . . . . . . . . ..9
3-in-1 Super-Matic Unit . . . . . . . . . . ...9-11
USING YOUR OVEN
Baking, Guide . . . . . . . . . . . . . . . . . . . . . ..15
Broiling, Guide . . . . . . . . . . . . . . . . . . . ...17
Minute Timer, Clock, Automatic Oven
Timer, Timed Appliance Outlet ....12-13
Roasting, Guide . . . . . . . . . . . . . . . . . . ...16
Roast-Right Meat Thermometer . . ...18-19
Rota-Grill Rotisserie, Use of
AluminumFoil . . . . . . . . . . . . . . . . . ..20-21
2
trim rings, reflector pans and other surfaces
cool before touching them.
In case you have any special questions,
we hope you will write us, and we’ll be glad to help.
Sincerely, ._._. ~ >
,. ‘* /’
Hotpoint Home Economics Institute
“’ 5600 West Taylor Street, Chicago, Illinois 60644
j“4
--L-i b+..L ALL’
Rota-Grill Cooking Guide .............22
Using Your Oven, Aluminum Foil ......14
HOW TO CARE FOR YOUR RANGE
Appliance Outlet (s) —Fuse . . . . . . . . ...24
Broiler Pan, Use of Aluminum Foil .....25
Careof Your Range . . . . . . . . . . . . . . ..23-26
Cleaning Charts, Parts, All Finishes ..29-30
Lamps, How To Replace . . . . . . . . . . . ...25
Oven Thermostat, Adjusting . . . . . . . . ...24
Oven Vent, Duct, Use of Aluminum Foil, 24
Porcelain Enamel . . . . . . . . . . . . . . . . . ...23
Surface Units, Stand-Up Feature,
Removable Trim Rings . . . . . . . . . . . . ...23
Self-Clean Oven ...................26-29
GENERAL
Before You Call For Service . . . . . . . . ...31
Model and Serial Number Location . . ...31
Warranty Information ................32
