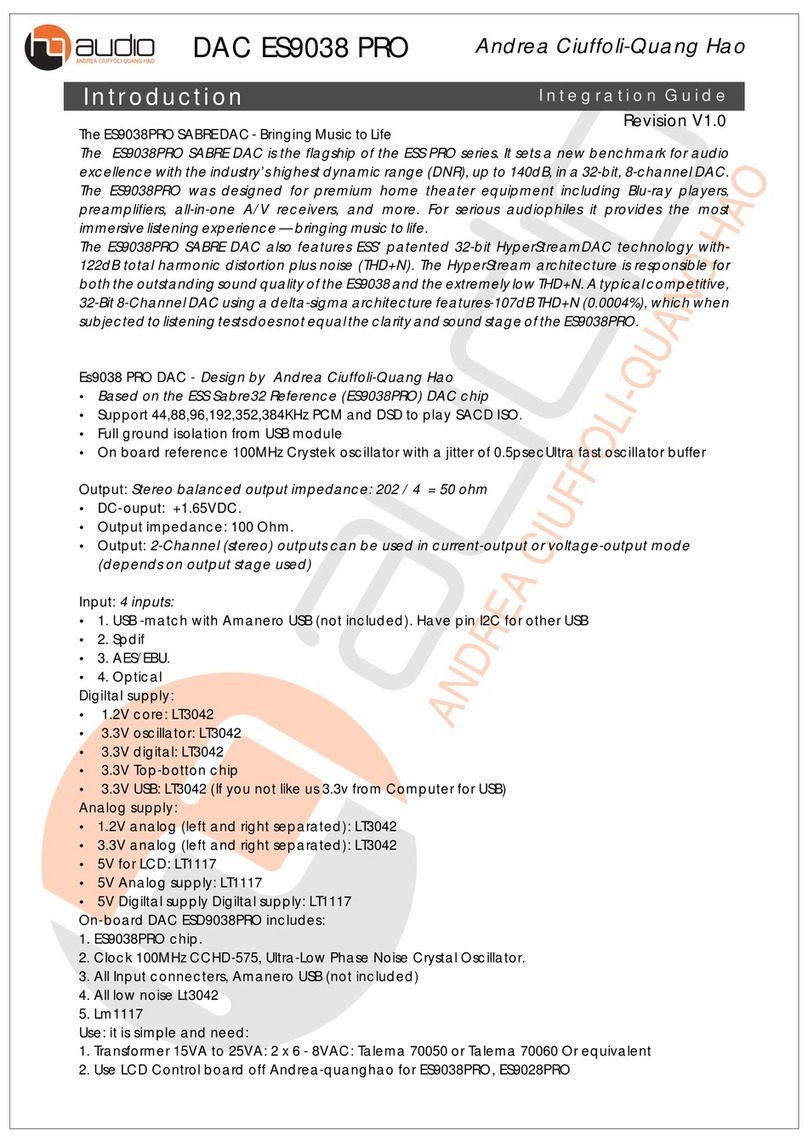
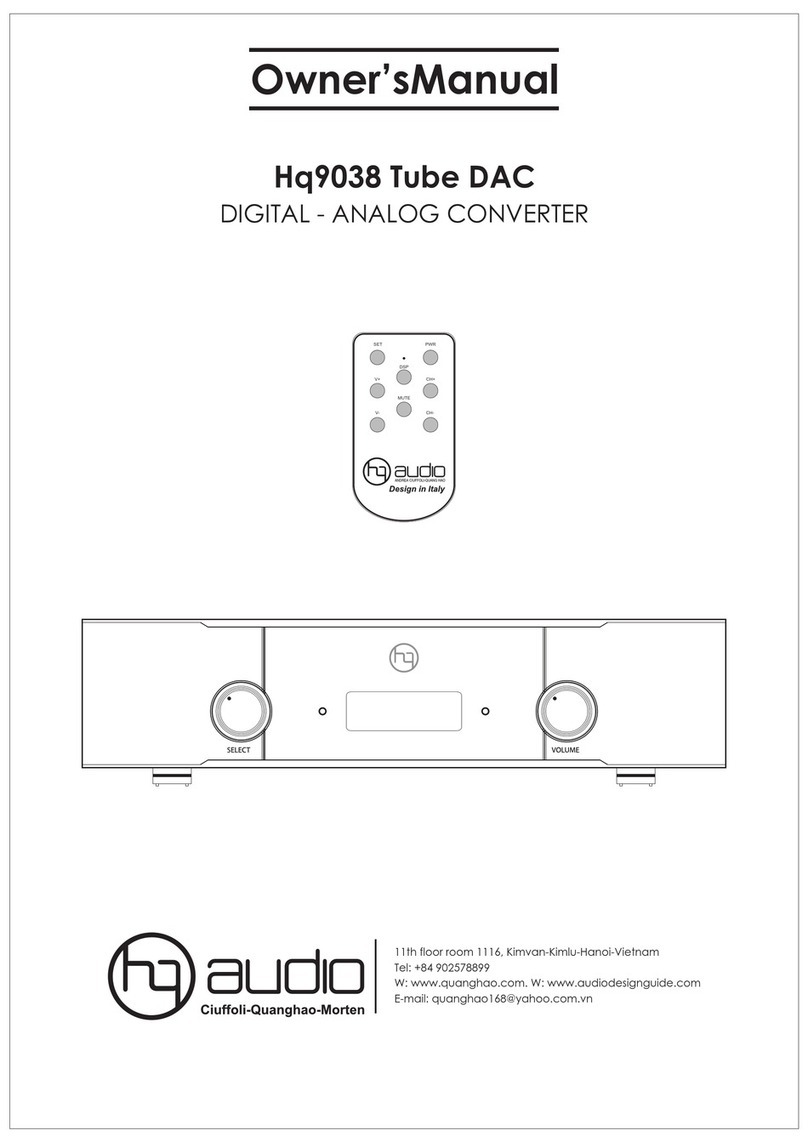
HQ Audio HQ REFERENCE DAC User manual

hq AUDIO by ANDREA CIUFFOLI-QUANG HAO.
User Manual HQ - REFERENCE DAC

Operational
Installation and Setup.
Connecting Directly to a Power Amplifier:
Avoid allowing static shocks to be applied to the inputs or outputs. To
prevent static shocks, touch any grounded surface, such as the DACs
chassis, before connecting or removing a cable. It is unlikely that a
static shock will damage the unit, but it may cause circuitry to “lock-
up”.
Inputs and outputs can be safely connected to the DAC unit before it is
powered up
We strongly recommend that you use your DAC unit directly to your
power amplifier. Even if you purchased your DAC unit with the
intention of connecting it to your preamplifier, we suggest that you try
direct connection to your amplifier. Many listeners are surprised by the
improvement in performance over even the most expensive
preamplifiers.
To connect your DAC unit to a power amplifier, ensure that your power
amplifier is turned off then connect your analog interconnects from
the DACs analog outputs to the amplifier’s inputs.
Using with a Preamplifier:
While the DAC unit was designed to be used without a preamplifier, no
compromises were made in its design that will prevent excellent
operation in a conventional system with a preamplifier.
When using a preamplifier, set the DAC units volume control to its
maximum level.
Unpacking:
The content should include:
•HQ - REFERENCE DAC
•Remote Control
•This User Manual
Retain the packing for safe transport of your unit.
Connecting to the Mains:
Check to make sure your DAC unit has been manufactured for
operation at your AC line Voltage. Attempting to use the DAC
at any voltage other than the specified on the rear of the unit
may damage the unit. Damage caused by improper operation
is not covered by warranty. If the voltage specified is different
from your AC voltage, contact your dealer..
Placement:
The unit is designed to run warm during normal operation but
ensure you do block any ventilation openings.
Place the unit on a shelf or table. If you use an equipment Rack
ensure the unit has adequate ventilation and is on its own
shelf. Ensure your mains voltage corresponds to the rating
plate on the rear of the unit.

Description.
The HQ Reference DAC is a Stereo High fidelity DAC unit and
includes advanced specification with high performance. There
are several of customizable settings within the HQ Reference
DAC to optimize sound quality for a wide range of setups.
Please read this Manual before installing and operating the
unit to take full advantage of all the features of this unit.
Signal input:
•Coaxial S/PDIF
•Optical (TOSLINK)
•AES/EBU (balanced)
•USB 2.0
Signal output:
•Unbalanced/balanced stereo analog output
•32-bit Digital Volume Control
Operating features:
•Automatic detect / decode of external digital input
source.
•Multiple selectable digital filer settings with preset
selection.
•Analog output level and input preset selection.
•Full featured aluminium IR remote control
•Discrete Class A output amplifiers to drive almost any
headphone.
Digital circuits:
The DAC unit is based on the ES9018 Sabre32 reference DAC chip from ESS
Technologies. It has a patented 32-bit hyberstream DAC architecture and Time
Domain Jitter elimiminator. The Dac chip has build in filters for both PCM and
DSD and these filters can be adjusted by the user. The Dac board is supplied
from 9 low noise regulators where 5pcs are discrete extreme low noise shunt
regulators are used for the most critical circuits. The analog output is true
balanced.
Analog circuits:
The DAC unit can be delivered with two different Analog circuits.
The Analog circuits are designed as a real balanced discrete differential current
amplifier with low distortion, no feedback and a class A output stage with the
ability to drive any cable loads. The Analog circuit will also drive any low
impedance headphone. The analog circuits are DC coupled and supplied by
separate dedicated High current low noise discrete shunt regulators.

Controls and Connectors
POWER
COAX input Vol -dB
NO LOCK
Fi. Fast Bal
Band 70k Ph+ 20
HQ –REFERENCE DAC
V+
V-
S- S+
POWER
HQ –REFERENCE DAC
RIGHT OUTPUTLEFT OUTPUT DIGITAL INPUTS
USB
AESOPT
COAX
MADE IN VEITNAM

Switching On and Off:
Connect power to the unit and switch the mains on. Switch on the unit.
When switching off the unit: switch off the amplifier first.
When switching on the unit: The display shows the welcome screen.
After a short period the display menu shows.
Selecting input:
Push S+ or S- buttons on the front panel to select the wanted input.
When the input is selected and locked, the front panel displays input
type, which can be either PCM or DSD. For PCM input the sampling
frequency shows and for DSD input the sampling rate shows.
Altering the Volume Level
The volume can be adjusted by using the front panel buttons V+ or V-.
The front panel displays the volume level.
Mute:
To mute the analog output, push the Mute button. Push the
Mute again for unmute the analog output. The Front panel will
display the Mute status.
Features:
The front panel features the Bal/unbal function by pushing both
S+ and S- at the same time. This feature will improve the analog output
sound performance on the RCA connector only. If you are using the
balanced output then the analog output signal will silence.
Operational
Operational

Operational
Operational using the Remote Control.
Custom default start up setting:
It is possible to change the default start up setting. E.g. if the optical
input is often used, it can be a nice feature to have the DAC unit start
up with the Optical input as default.
By pushing the DSP button in the "setting state” the unit will save the
status for next switch-on.
Phase invert, Digital filter selections, volume level and input selection.
Selecting input:
Push CH+ or CH-buttons on the Remote Control to select the wanted
input.
When the input is selected and locked, the front panel displays input
type, which can be either PCM or DSD. For PCM input the sampling
frequency shows and for DSD input the sampling rate shows.
Volume Level:
The volume can be adjusted by using the Remote Control buttons V+
or V-. The front panel displays the volume level.
MUTE:
To mute the analog output, push the Mute button. Push the Mute
again for unmute the analog output. The Front panel will display the
Mute status.
Digital filter selection:
The unit offers a wide choice of filters to enhance your listening
experience. Two digital filter settings are possible, sharp roll-off and a
slow roll-off for PCM mode. For DSD mode, there are 4 available filters
with cut off at 47kHz, 50kHz, 60kHz and 70kHz.
For filter selection use the Remote Control.
Enter the programming mode by Pushing the SET button.
PCM filters: Select sharp roll-off or slow roll-off by pushing the buttons
V+ or V-
DSD filters: Select cut off at 47kHz, 50kHz, 60kHz or 70kHz by pushing
the buttons CH+ or CH-
Select the desired filter setting and Save the new setting by pushing the
DSP button followed by the SET button
DISPLAY Light:
Push the PWR button on the
Remote Control for switching
On and Off the display backlight.
Phase invert:
Note: Phase invert is only possible
when using following inputs:
AES, COAX, OPTICAL.
Change phase by pushing SET for
stepping in to the setting state, push
the MUTE button for Phase invert.
For saving the new setting: push the DSP button followed by SET.
SET PWR
V- CH-
V+ CH+
MUTE
DSP

Windows ASIO Driver Installation:
•The first step required in the Windows setup process is to install
the ASIO driver:
•Don’t connect the DAC unit to the PC until the driver is installed.
Don’t worry if you’ve connected the device already. Just
disconnect it.
•Download the latest driver from
http://www.amanero.com/drivers.htm
•Don't use setup packages downloaded from other websites.
•Unzip the installation package and double-click on Install.exe to
start the installation. Follow the instructions. In most cases you
just need to accept the defaults on the following screens.
Operational
Drivers Setup
MAC/Linux ASIO Driver Installation:
•No Drivers for these operating systems is needed.
•See limitations in specification.

The Music player:
To use hq Reference DAC with all the PCM sampling frequency and DSD
sample rates, it is necessary configure the Music player (Foobar2000,
Jriver or similar ) to use: Windows Audio Session API (WASAPI), Kernel
streaming (KS) or Audio Streaming Input Output (ASIO ).
Using the default Windows driver called Direct Sound (DS) the DAC unit
will work only at a specific frequency set in the Windows Audio control
panel.
To work with the Kernel streaming (KS) and the Audio Streaming Input
Output (ASIO ) it is necessary set as predefined a different sound device
on Windows Audio control panel to keep the Amanero free for the
application control.
The Kernel streaming (KS) is the lower level mode to operate on Audio
device so there are lower stratification in the software stack.
The Windows Audio Session API (WASAPI) give less problems and it
work very good with PCM and DSD tracks.
Set the Windows with no sound to avoid that the system messages
interference during the reproduction.
Foobar2000 player is not easy to configure for playing DSD tracks but it
is free, JRiver player is not free but very simple to use with PCM and
DSD tracks.
Follow the images to configure JRiver media center 19 and make sure to
use the latest version of the download.
Operational
Music player setup ”1”

Operational
Music player setup ”2”
(select Amanero KS, WASAPI or ASIO)

Operational
Frequency Asked Questions.
Bypassing the Volume Control?
Because the Digital Volume control does not include any analog
circuitry, there is none to be bypassed. Even the mathematical program
step that performs the Digital Volume Control calculation is an integral
part of the HQ Reference DAC filter algorithm and therefore cannot be
bypassed. If you do not need the Volume Control, set it to its maximum
level of -0dB on the display. and save this level for the next switch-on
using the remote command (SET + DSP).
Does the Volume Control compromise resolution?
The unit uses the latest generation proprietary digital volume control.
The volume level can be varied in the digital domain by means of
mathematical manipulation of the signal, eliminating the distortion and
noise that are inevitable with even the best analog volume controls.
While conventional thinking indicates that reducing the volume digitally
can sacrifice low level resolution, the DAC unit uses an innovative digital
filtering algorithm produces a 32 bit output rather than the 16 bits
stored on the CD. This high-resolution signal is then used in the
computations which in turn reduce the volume level. This new signal is
fed directly to the DAC inside the chip. Through this innovative method,
the DAC unit maintains high resolution even at the lowest volume
control settings.
Balanced or Unbalanced connection?
If your amplifier has a true balanced input, we recommend to use
the balanced analog output from your New DAC. All things being
equal, properly implemented balanced (also called differential)
circuitry sounds better than unbalanced circuitry. The DAC unit is
a true balanced design. It generates the inverted signal in the
digital domain and all subsequent processing is done in balanced
mode. The DAC is designed to maintain many of the advantages
of true balanced design when using the unbalanced outputs. In
addition, the DAC analog output stage is capable of driving both
types of outputs simultaneously.
Bypass the Preamplifier?
A preamplifier is unnecessary when using your DAC unit. The DAC
Unit provides all the necessary control functions of a preamp
while the signal is still in the digital domain. This avoids the sonic
degradation caused by analog circuitry, switches, and wire. The
DAC units Analog output stage can drive any power amplifier and
any interconnects, even at very long lengths.
Leave the DAC unit with the power on?
The DAC unit is designed to be left with the power on with no
harm or wear to the unit. If desired, the front display can be
turned off (see Turning off the Display under Remote Operation).
Leaving the power on allows the circuitry to remain in thermally
stable, which provides better performance and longer life.
Careful listeners will notice that the sound of the DAC unit will
improve steadily after the unit is powered up. A new unit will
undergo more dramatic changes when power is applied for the
first time. If you turn off your DAC unit for more than an hour,
you will find that the unit will undergo similar, but less dramatic
improvement once power is reapplied.

Adjustment of Maximum Output level:
The Maximum output level can be pre-set by the internal changing the internal jumpers on the analog
boards.
First unplug the DAC unit from Mains before changing the jumper setting.
Unscrew the topcover using a Torx screwdriver.
Set the Jumpers J1 to J6 for the desired Maximum output level as described in the table below and the
drawing of the analog modules to the right.
Remember to change the jumpers in both channels.
After changing the jumper setting in both channels, mount the topcover again and connect to the
Mains. The DAC has now a new Maximum output level and make sure that the volume is below -50dB
before turning on the Power amplifier/preamplifier.
Adjustment of DC-offset on Line outputs:
DC offset on the Analog outputs can be minimized with following adjustmint.
1) Turn off the DAC unit
2) Unscrew the topcover
3) Connect a DC voltmeter between pin 1 and pin2 on the Balanced output connector.
4) Disconnect the 2pcs jumpers J+ and J-
5) Turn on the mains
6) “Mute” the Output
7) Adjust VR1 to offset <5mV
8) Connect a DC voltmeter between pin 1 and pin3 on the Balanced output connector.
9) Adjust VR2 to offset <5mV
10) Repeat the adjustment with the other channel
11) After Adjust, turn off the Mains
12) Connect the 2pcs jumpers J+ and J-
13) Mount the Topcover again
14) The DC offset has now been adjusted, Connect the Amplifier again and play music.
Please note: These adjustments only awalble when the discrete analog module is installed. There are
NO adjustments when using a Analog module with a Transformer output
Operational
Ajustments:
Output level J1 J2 J3 J4 J5 J6
Unbal. output: 3.2Vrms
Bal. output 6.4Vrms
Not
used
Insert
Jumper
__ Not
used
Insert
Jumper
__
Unbal. output: 2.8Vrms
Bal. output 5.6Vrms
Not
used
__ Insert
Jumper
Not
used
__ Insert
Jumper

PCM Sampling Rates
Coaxial
S/PDIF
44.1kHz, 48 kHz, 88.2 kHz, 96 kHz, 176.4 kHz, 192 kHz up to 24bit
Optical (TOSLINK)
44.1kHz, 48 kHz, 88.2 kHz, 96 kHz up to 24bit
Asynchronous
Bit Perfect USB
44.1kHz, 48 kHz, 88.2 kHz, 96 kHz, 176.4 kHz, 192 kHz, 352.8 kHz,
384 kHz up to 32bit
DSD Sampling Rates
Asynchronous USB
2.8224 MHz (64Fs) 3.072 MHz (64Fs)
5.6448 MHz (128 Fs) 6.144 MHz (128 Fs)
11.2896 MHz (256Fs) 12.288 MHz (256Fs) Windows only
22.5792 MHz (512Fs) 24.576 MHz (512Fs) Windows only
DAC Master
Clock Jitter (10Hz - 100kHz)
< 0,01pSec (10fSec) rms
Digital Volume Control Steps
1 dB
Digital Volume
Matching between Channels
< 0.1 dB
Digital inputs
1pcs. USB Connector
Classic USB B, USB 2.0
1pcs. S/PDIF
75 Ohm,
Coaxial RCA
1pcs. S/PDIF
Optical
Toslink
1pcs. AES/EBU (
balanced)
110 Ohm, XLR
Number
of channels USB
2 channels PCM, DSD
Number
of channels SP/DIF
2
channels PCM
Operating System
Requirements
MS OS XP to Win8 32
-64bit: KS/Wasapi/WDM/ASIO Drivers
MAC OSX 10.6 + (No drivers
needed)
Linux with UAC2
compliant kernel (No drivers needed) "eg
Squeezebox
Touch"
Operational
Specifications: Digital

Operational
Specifications: General.
Total Harmonic Distortion + Noise,1KHz, 0dBFS
Balanced output
0.0045%
RCA output
0.035%
Signal
-to-Noise Ratio
A
-weighted,
128 dB
Frequency Response
0 Hz
- 20 KHz (<0.1dB)
Channel balance
<0.02dB
Channel Separation
>130 dB @ 1KHz
Phase
AES/EBU, SP/DIF:
Non
-inverting / Inverting
USB:
Non
-inverting
Digital Filter
PCM
Sharp / Slow Roll off
DSD
47kHz/50kHz/60kHz/70kHz
Line Output
Unbalanced
RCA (gold
-plated contacts)
Balanced
XLR (gold
-plated contacts)
(XLR and RCA line outputs can be used simultaneously)
Max Level Unbalanced
3.2
Vrms
Max Level Balanced
6.4
Vrms
Impedance
< 25 ohms
Offset
< 3 mV
General Specifications:
Mains Input
115V AC / 230V AC 50Hz/60Hz
Power Consumption
< 35 W
Dimensions
(W x H x D)
TBD
Weight
X.X
lbs (X.XKg)

Operational
Contact information
HQ-Audio
11th floor room 1116
Urban Golden Silk
Hoang Mai District
Hanoi
Vietnam
Tel: +84902578899
E-mail: quanghao168@yahoo.com.vn
Web: quanghao.com
Table of contents
Other HQ Audio Media Converter manuals
Popular Media Converter manuals by other brands

Arcam
Arcam irDAC Connections and quickstart guide

Moxa Technologies
Moxa Technologies ICF-1280I Series Hardware installation guide

Leybold vacuum
Leybold vacuum TURBO.DRIVE 400 operating instructions

TR-Electronic
TR-Electronic PROFI BUS QDH Series user manual

TransLite
TransLite TL-9228S manual

Crane Song
Crane Song HEDD QUANTUM Operator's manual

Nidec
Nidec Avtron HS45 Series instructions

StarTech.com
StarTech.com VID2HDCON instruction manual

Uhlenbrock Elektronik
Uhlenbrock Elektronik 67810 user manual

SYP
SYP SY-4KS Operation manual

Involve Audio
Involve Audio Surround Master V2 user manual

Radyne ComStream
Radyne ComStream TIERNAN SE4000 Installation and operation manual