Hudson Oscar 330 Pro User manual

WWW.HUD-SON.COM

2
Thank you for your purchase of a sawmill from Hud-Son Forest Equipment. We are
pleased that you chose us as your supplier of your forestry equipment.
Hud-Son Forest Equipment has been in the forestry business since 1965 and prides itself
on developing new and innovative products for the forestry business.
Our product line is always transforming so please check us out on the web at www.hud-
son.com for the up and coming developments we are making.
Should you have any questions with the setup of your mill or have any technical questions
please feel free to contact our onsite technician Monday - Friday, 8 to 4:30 and Saturdays
from 8 to noon eastern time at 800-765-7297. We are always available to our customers
for any questions or concerns they may have about their equipment. You can also contact
the dealer you purchased your equipment from.
C O N T E N T S
2 . . . . . . . . . . . . . . . . . . . . . . . . . . . . . . . . .A note from Hud-Son
3 . . . . . . . . . . . . . . . . . . . . . . . . . . . . . . . . . . . . . . .Introduction
4 . . . . . . . . . . . . . . . . . . . . . . . . . . . . . . . . . . . . . . . . . . .Safety
7 . . . . . . . . . . . . . . . . . . . . . . . . . . . . . . . . . . . . . . . . . . .Set Up
7 . . . . . . . . . . . . . . . . . . . . . . . . . . . . . . . .Set Up Track Assembly
16 . . . . . . . . . . . . . . . . . . . . . . . . . . . . . . . . . . . . . . . .Transport
19 . . . . . . . . . . . . . . . . . . . . . . . . . . . . . . . . . .Replacement Parts
27- . . . . . . . . . . . . . . . . . . . . . . . . . . . . . . . . . . . . . . .Warranty
29 . . . . . . . . . . . . . . . . . . . . . . . . . . . . . . .Lift Cable Instructions

3
INTRODUCTION - Purchaser Agreement
By accepting the delivery of your sawmill by Hud-Son Forest Equipment you
agree that you will not modify your mill from it’s original assembly. This
will VOID any warranty from Hud-Son Forest Equipment.
Dealer: ___________________________________________________________
Phone Number: ____________________________________________________
Address: _________________________________________________________
Purchase Date: _____________________________________________________
Model: ___________________________________________
Serial Number: _____________________________________________
This manual is filled with the latest information and specifications at the time of publica-
tion. We have the right to make changes as they are needed. Any of the changes in our
product may cause a variation between the illustrations and explanations in the manual
and the item that you have purchased.
Please fill out the information for quick reference:

4
2. Keep all body parts and foreign objects away from all moving parts. Do not
reach into the machine while it is still operating. (Be Sure The Machine Is OFF.)
3. Do not attempt to override any safety features on the machine.
4. Inspect the machine before every use for wear, damage, and that it’s functioning
correctly. If the machine has been damaged or is not running correctly, DO NOT
attempt to operate the machine. Repair or replace all parts when necessary.
5. Do not wear loose clothing or jewelry while operating or servicing the machine.
6. All replacement parts should be of the same specifications as the original parts
on your Hud-Son machine.
7. All guards and covers must be in place before operating the machine.
8. Before starting the machine be sure that it is set up properly.
9. DO NOT operate or service any machinery while under the influence of drugs or
alcohol, while tired or if you are unable to control your movements.
10. All worn or damaged decals should be replaced.
11. Any modifications to the machine requires written approval from Hud-Son Forest
Equipment.
12. The sawmill should only be used when it is on level stable ground.
Safety Guidelines
The reason for the safety section is to inform the operators and maintenance personnel,
the precautions that should be taken while operating or servicing the Hud-Son Mills.
Please use good judgement and keep safety in mind when operating Hud-Son machinery.
Please read and follow ALL the instructions in this manual before operating the Hud-Son
Mill safely at all times. These instructions were produced for your benefit. Your ability
to understand and follow the instructions is essential for the safe operation of this product.
Always call your servicing dealer if you are in doubt before operation of any kind.
General Safety Procedures
1 - Always wear safety glasses, ear protection, and gloves while operating or servicing the
machine.

5
The safety rules are made for the benefit of the persons operating and servicing the
machine, to prevent injury to oneself or others. Please review all setup and operating
procedures before attempting to run the machine, whether covered in this manual
or not, to ensure the safest operation of this product.
Hud-Son Forest Equipment is not liable for damage to property or personal injury due to
the failure of any person and/or operator to follow the instructions and recommendations
set forth in this manual or any other instructions or recommendations contained in other
literature issued by other vendor manuals in the owner's kit.
Product Safety Decals
The decals below are used on the Hud-Son Saw Mills to identify warnings and prohibited
actions. It is very important that you understand the meaning of the decals for your safety
and the safety of others. Decals are to be replaced if worn or illegible.
CAUTION - Be EXTRA careful around
these areas, unsafe practices may cause
personnel injury or damage.
DANGER - Be careful around any rotat-
ing parts, they may cause personnel injury
or damage.
DANGER - Be sure to be very cautious
and alert, these areas may cause personnel
injury or damage.
CAUTION - Operating equipment with-
out guards may cause personnel injury or
damage.
BLADE LUBE TANK - Be sure to use
the correct lubrication, if incorrect lube is
used it may cause personnel injury or
damage.
NOTICE - Please remember to send in
warranty card and information.
CAUTION - All debris need to be
removed from machine before transport-
ing, failure to do so may cause personnel
injury or damage.

6
Receiving and Unit Inspection
Note: All equipment is assembled, tested and inspected before shipping. Damage can
occur during transit, which could cause the unit to not operate correctly.
Unpacking Unit
1. Flat bed trailer delivery: remove straps or chains securing the unit.
2. Remove lag screws and strapping that secures the machine to the skid.
1. Check oil and fuel levels
2. Check blade lubrication and hydraulic
levels (if applicable)
2-A Check blade lubrication
DO NOT USE: petroleum products, petro-
leum based products, flammable products,
a vegetable oil based product. The above
products mixed with water or straight will
cause damage to your mill. The fluid will
be slippery between the blade and wheel
belting causing blade to come off.
DO USE: In the summer months use tap
water. If there is a problem with pitch build
up on the blade, add 1 oz. of dish soap or
pinesol to 1 gallon of tap water. This will
help keep the blade clean and less heat.
In the Winter Months water will freeze in
the lube tank. Use regular windshield
washer fluid (usually blue in color) If there
is a pitch build up problem add the 1 oz. of
dish soap or pinesol.
Adjustment: Before starting the engine,
adjust the flow of lube to the blade by
adjusting the flow shut off valve so there is
a constant drip. If more lube is necessary,
continue to adjust the valve until the
desired flow is acquired.
3. Be sure the blade is sharp and tight
4. Be sure all levers and switches are in
the neutral/center position before
starting the engine (if applicable)
5. Be sure all persons are clear of
the equipment
6. Make sure the unit is level and stable.
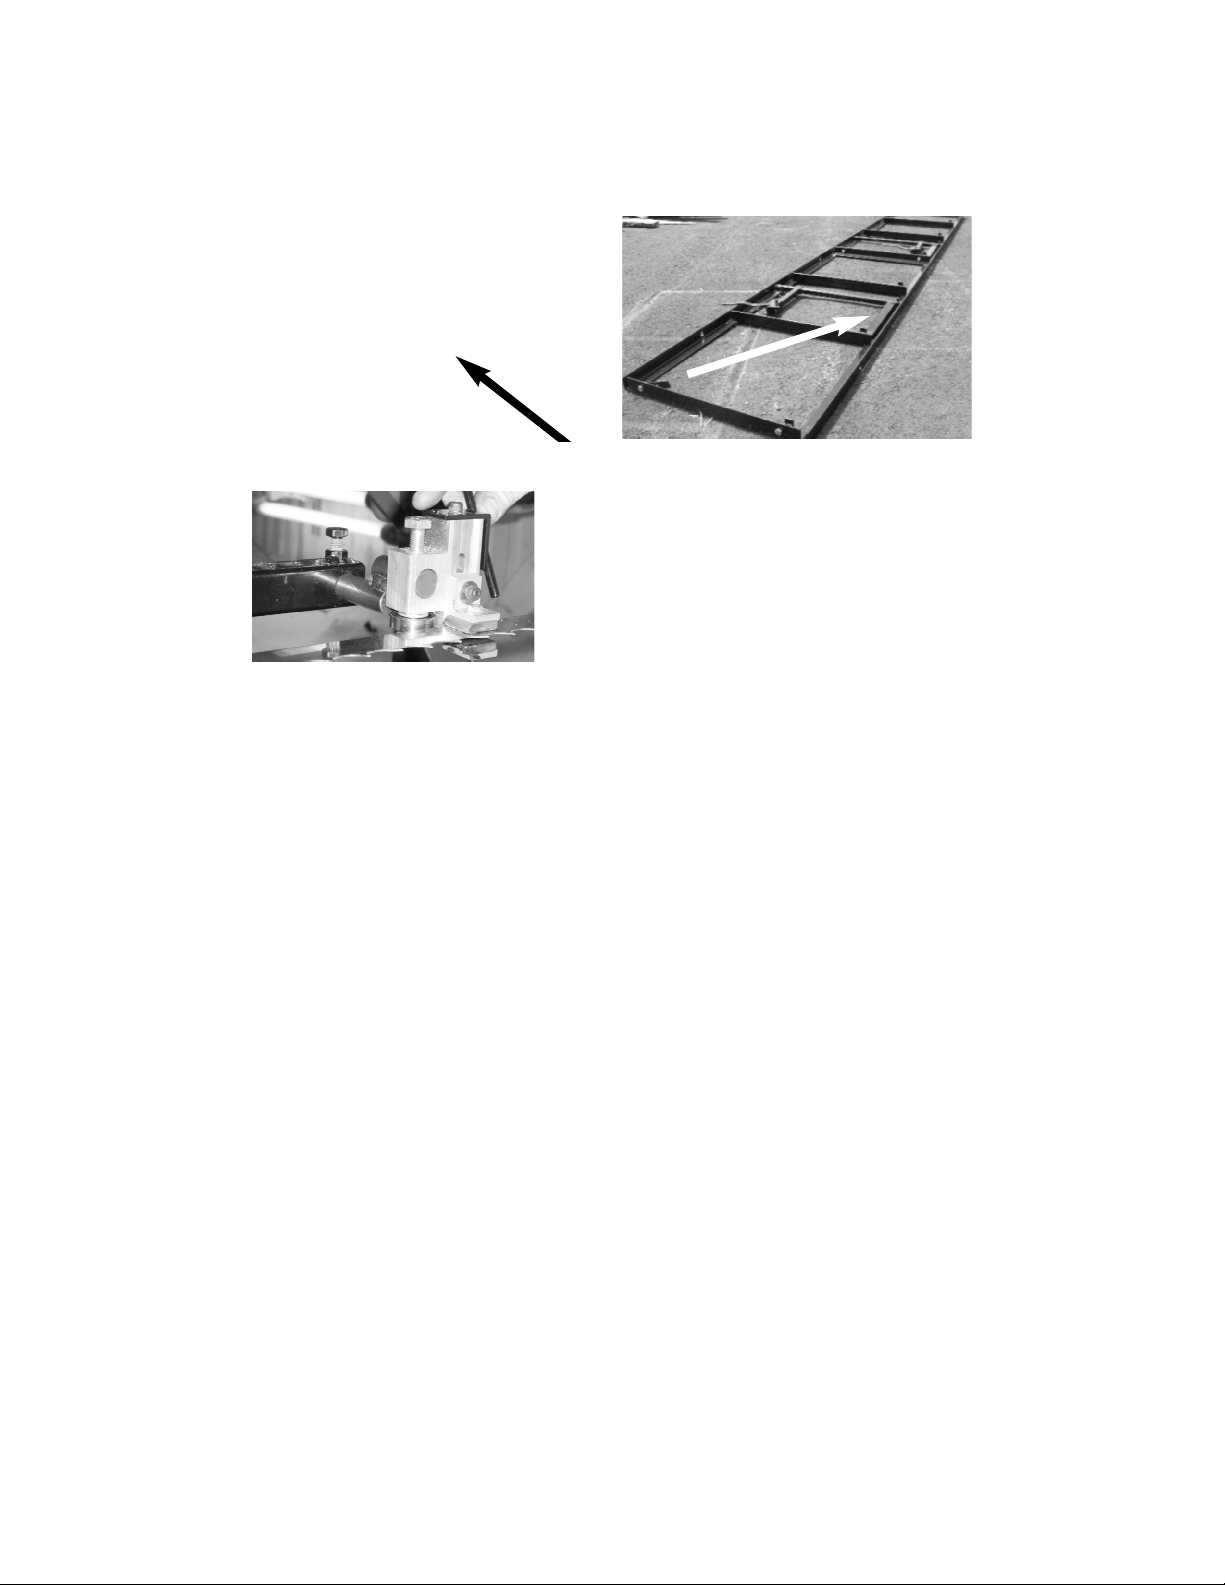
Moving the Unit
(Forklift is needed for track units)
1. Machine needs to be lifted at the lift point, see picture
for points.
a. Use a safety device for lifting to avoid any
damage/injury.
2. Move unit to operator's site, lower unit and remove
unit from forks.
Before operating the Hud-Son Saw Mill
the following procedures need to be performed:
Start Engine Procedure
1. Summer Use: Be sure to let the unit idle for at least 5 minutes before any use.
2. Winter Use: Be sure to let the unit idle for at least 15 minutes before any use.
3. If the unit has been sitting for a period of time, allow the unit to run long enough to
have the oil do a complete circulation before use.

Steps for Setting-Up the Hud-Son Saw Mill
A. Machine Set-Up (ground track unit)
1. For best results and easier set-up, the mill location should be level and free of
obstructions.
2. A level cement pad is the best option, but square timbers also work well. You will
need to support the track at each joint and under each cross member.
3. You will need to be sure that the mill is level from front to back and side to side.
The better the mill is supported the better the mill work.
4. There should be a 4 ft. clear work area around the entire mill.
B. Welded Track Assembly
1. Dogs needs to be facing in the same direction, the moveable dogs need to be on the
same side of the track which is on the operator's side of the mill head.
2. There are additional holes in the track so that the dogs can be moved to different
positions.
3. The tracks are bolted together using bolt and nuts. The Oscar 221 and 428 mills will
have 2 bolt/nuts: the Oscar 330/236 and 52 mills will have 3 bolts/nuts. Line up the
tracks so that the center holes align. Using the provided bolts put them through the
holes and finger tighten the nuts. Adjust the track height so that the 2 pieces of
track meet flush and level. Work one side then the other, once level has been
achieved, check the track to see if it aligns vertically. If the track is not aligned
correctly use a hammer to tap it into position. Never tap on vertical surface of track.
Once this is accomplished tighten the bolts securely.
Bolted together Track
Flush & Level
Track on level ground, free of
obstructions
Moveable dogs on one side
Track Stops
Squaring Pin
Operator’s Side
4. The track comes with four
track stop tabs. They consist
of the track stop tab bolt and
nut. Place the tracks stops in
the four end corners of on the
inside of the track. Place them
on the inside of the track
secure them into place with the
bolt and nut. The trackstop tabs
are placed at an angle over the
track to preventany further
travel of the mill head.
Bolts
Set-Up and Operation
Moveable Log Dog
7

8
5. To saw a board accurately, the track needs to be straight and flat. To obtain this, use
a string tied tight from end to end or a level. If the track/trailer has a crown or dip,
you will not be able to saw a straight board.
Correct Track
Incorrect
Dipped Track
C. Machine Set-Up (trailer unit) 20' or 24' Torsion Axle Trailers, (330, 236, 36 Farm
Boss, H360)
1. Set-up area should be relatively level and clear of debris. The head will need to roll
down the track so be sure the area is free of obstructions.
2. Lower the trailer jack and raise the jack until the coupler is free of the hitch. Once
this is done remove the unit from the vehicle. Using the "T" handles, loosen the
bolts and lower the front 2 legs.
3. Do the same to lower back 2 legs, and level the trailer.
4. Lower the center 2 legs last, the track should already be level.
5. Once the head is unbolted from travel position, roll it down the track to be sure it is
level. If your head rolls on its own you will need to adjust your leveling legs.
Return the head to the center of the trailer and re-bolt or raise the center legs to lock
head into place. Once the head is secure you can reset the leveling legs.
**Always secure the head before re-leveling the trailer***
6. Once the trailer is level, the head should not roll on its own. If your trailer is not
level, it will not saw your boards correctly. Refer to previous instructions for
proper set-up.
Correct
trailer set
up. All legs
are level;
head should
not move on
its own.
D. Setting Head on Track (If Applicable) Ground Models
Once your track is level, you are ready to set the head on the track. Once again, be
sure the area is still free and clear of obstructions. You will want the head to roll
freely down the track.
1. Install the head with operator's side on the same side as the moveable dog. The
discharge side is the side with the squaring pins.
2. Raise the head 3 inches and roll from one end to the other. The head should roll
smoothly along the track. If the head "thumps" when it passes over the track
joint, check to make sure the tracks are level. Re-level the track and try rolling the
head again. Also be sure to watch the track as you roll the head, if the track
moves, you will need to support the track in that area.

9
Squaring arm on right, adjustable dog on left.
Correct head placement; Operators side is on side
with the scale stick.
Pictured is a close-up of the guide
It shows all the bolts and bearings that can possibly be
adjusted. Note how the teeth are outside of the guide.
Set-Up and Operation
E. Tensioning the Blade on all Models
NEVER tension your blade with the engine running. Your mill is shipped to you with
minimal, if it is too loose it falls off during transit. If there is tension left on the blade
for a period of time, it can cause flat spots in the bandwheel belt. After putting a new
blade on, check tension after the first cut.
This will cause the blade to fall off the wheel. Always remember to de-tension your
blade when you are done sawing for the day.
1. Make sure blade is flush with back of bandwheel.
2. To tension or loosen the blade, see figure below.
3. Turn the adjusting bolt or stud, clockwise until 30-35 pounds of torque is achieved.
The recommended tool for this is a torque wrench. By hand, rotate blade 3-4 full
revolutions; this centers the blade on the wheels.
4. With gloves on, pull up on the blade at the center guard. Allow for no more than a
¼" movement up or down on the blade.
5. Blade guides must not be so tight they cause the blade to heat up. If this occurs re-
adjust guides.
6. Perform a simple test call the "Flutter" test. Put the guards on and then run the
engine at full RPM's (be sure the blade is not in a cut during this test) and watch the
blade under the blade guard. The blade must run straight, if it does not, shut the
engine down and apply more tension. Keep in mind that over tensioning will also
cause the blade to flutter. You should have attained proper tension around 30-35
pounds.

10
7. A tensioned blade should come off the bottom of the band wheel and run straight
across to the other band wheel, so there is NO sag in the blade between the
two wheels.
Tension nut for
larger units
(330/336)
1 3/8” nut size
F Setting Logs
Once the track is set, the head is in place and the blade is tensioned correctly, you are
almost ready to cut.
1. Place the log determined by the mills size, on the center of the track. Using the log
dogs secure the log to the track. Be sure to dog the log high enough
(1/2" way up the log) to ensure the log does not move.
Squaring Arm and Adjustable Dog
G. Getting Ready to Cut
Now is the time to debark or clean your log. This can be achieved by the simple chain-
saw attachment, called a Log Debarker (available through Hud-Son Forest Equipment
Inc.) or you can pressure wash or use whatever method available to remove any mud
or bark from the logs. By debarking and cleaning your log it will extend the life of your
blade.
1. Adjust the Hud-Son guides so that they are slightly (no more than 2 inches) wider
than the maximum width of the log.
Use 2x4 method or wooden wedge for full 36” logs.
If it is unstable to make your first cut.

(Note: as you cut slabs, boards or squares you may need to adjust the guide to ensure
the best performance and quality cuts)
2. Find the top of the log with the blade. Remember, that you may have dogs or back
stops in place so be sure these are clear when making the first cut. You will be
removing the top portion of the log. (top slab)
3. Using the power winch lower your head down to the desired height and click the
switch to the up position to set the head.
4. Start your engine, let it idle for at least 5 minutes. (Refer to the engine manual for
proper engine maintenance)
5. With the engine in idle position, increase the throttle to start the blade. Sawing
should always be done with the engine in full throttle.
6. Gently push the saw head through the log, pushing on the head frame. If the engine
starts to labor, you are going to fast, slow down. Go slow through burls and knots
as the engine may bog down through these parts of a log.
7. When you are at the end of the log, power down the engine, crank the head up so
that will clear the log and roll back to the front of the log. For ease of operation, put
the slabs on the operator's side of the mill, this way you will not have to dig through
sawdust for your lumber.
8. You now have a flat surface on top of your log, remove the cheaters (if applicable),
you will no longer need them, as long as the log dogs will hold the log in place.
9. Set your log dog assembly so that they are standing in the track. Turn the cut side
of the log, using a cant hook, ¼ of a turn. The flat side must be flush against the
squaring pin to assure a square cant.
10. Adjust the log dog at an angle to the track so that the blade can pass over the top,
but so that the dogs are effective in securing the log.
11. Once again, increase the engine throttle to start the blade, and saw another slab.
You will repeat step 9 until your log is squared into a cant. You may now saw
your dimensional lumber.
Debark the log.
Guide location
- log width
11

12
Adjustable dog, set at an angle so that log can be
sawed without interference.
Place flat side, flush against squaring pin to
ensure a square cant.
H. Cutting Dimensional Lumber
You can cut down to a 1" thick bottom board. To achieve this you will use the moveable
side of the dog and the short squaring pins welded in the track.
1. You will need to determine the size lumber that can be cut and how many, then using
the scale start sawing your lumber. Lower the blade to desired thickness and saw
your board. Repeat this process unit all lumber is cut.
2. You may need to turn your cant to make the desired lumber.
I. Replacing the Blade
No matter how well you care for your blade, they will dull after time and need to be
changed. Longevity of your blade depends on how well you maintain it.
1. The engine needs to be stopped, turned off and the key removed, this ensures that
the engine can not be accidentally turned back on. On engines with manual start,
you will need to remove the spark plug wire prior to servicing. On electric motors
a lockout/tagout should be used.
2. Loosen and remove retainer nuts so you can remove the outside and center guards
on all models.
3. Loosen band blade tensioner bolt until adjusting bolt is flush with threaded plate.
4. With a gloved hand, put hand on the top of the band blade and push down. (Use
extreme CAUTION, dull blades are still sharp and may be hot).
5. Remove band blade from both band wheels and take out of carriage.
6. Inspect new or sharpened blade, be sure blade teeth are facing in correct direction.
Teeth should always point away from the operator. (Towards discharge chute). Be
sure to wipe blade clean of all oily substance prior to installing. A clean, dry rag or
cloth works best.
7. Starting from your stationary wheel set the blade on the wheel then thread though
your guides. Work the blade over the tensioning wheel until the blade is set.
8. Lightly tension the blade to remove the slack, and then turn the wheel in the
direction of travel (towards the operator) 3-4 rotations to be sure the blade is
tracking properly on the bandwheel.
9. Once the new blade is tracking properly, replace the guards and re-tension the blade
as previously stated.

13
J. End of Processing Lumber
1. Completely decrease engine throttle and turn engine switch to off position.
2. The blade will continue to turn automatically and will coast to a stop.
3. If you are done sawing for the day, de-tension the blade, so that you do not have
flat spots. Lower the mill head so that the lift cable has slack.
K. Blade Maintenance
Longevity of band blades depends on how well they are cared for. Using a lube tank,
Log Debarker, band blade sharpener, tooth setter, all will help keep your blade in top
condition. Be sure to clean your logs by using a pressure washer or debarker to keep
them free of mud and debris. Refer to 2A on page 6
L. Blade suggestions
1. Never force a dull blade, this will result in overheating of the blade and result in
wavy lumber.
2. Overuse of a blade jeopardizes the ability of the saw blade to be re-sharpened.
3. A new blade may stretch after cutting and may have to be re-tensioned to assure
quality lumber.
4. De-tension the band blade after each day of cutting.
5. Never operate the mill without the guards in place.
The Hud-Son Forest Equipment, Inc sawmill comes with a band blade and we have an
excellent re-sharpening program for your band blade.
M. Adjusting Sawmill Guides
1. Purpose of the Guides
Superior Hud-Son guide design. Supports on the top, bottom and back of the
blade, where can the blade go? This guide design limits the chance of blade
wander.
The lower guide holds the blade up and decreases the chance of "diving".
Most companies only use a top support.
The closer to the log the guides are the better support the blade has as it cuts.
2. Adjusting the guides
• Tools that will be needed:
• 3/4” wrench
• 3/4” socket
• 9/16" wrench
• 3/16" Allen wrench

14
Scale Resulting Thickness
4/4 1”
5/4 1 - 1/4”
6/4 1 - 1/2”
8/4 2”
All guides are aligned and set at the factory, but occasionally they get moved out of
adjustment in shipping or after a period of usage. It is important that they be checked often
for proper alignment and adjusted correctly.To adjust your guides correctly you must first
tension the blade properly as previously described. A tensioned blade should come off
the bottom of the band wheel and run straight across to the other, so there is NO sag
between the two wheels.
3. Now that the blade is tight, slightly loosen the Allen head that holds the guide shoes,
so that they slide up and down freely. Now loosen the bolt that fastens the
aluminum guide bracket to the guide rod, so that the guide bracket can be moved
and it can be rotated in either direction.
4. Set the guide bracket so that the back bearing is on the same plane as the blade, so
that if the blade were to wander back it would hit the back bearing evenly across
the middle of the roller. If the bearing needs to be adjusted up or down, loosen the
bolt that holds it to the guide bracket and space it in either direction using the
washers that are on either side of the bearings.
5. Once the bearing is set, position the guide bracket so that the bearing is 3/16" behind
the back of the blade. Once the bearing is in position, tighten the bolt on top of the
guide bracket in to place. Be sure the guide is 90oto the blade.
6. The guide shoes are to be set using a sheet of paper to gauge the spacing. Place the
paper between the shoe and the blade, slide the shoe so that it is pinching paper and
tighten the bolt so that the shoe is set in place. Do the same on the bottom of the
blade. Note that you do not want the shoe to be pinching the blade so hard that it
is prohibiting blade travel.
7. Make sure that all nuts and bolts are tightened firmly.
N. Using the Lumber Scale
1. All Hud-Son sawmills are equipped with a Lumber Scale. The scale is used to make
the dimensioning process simple. The scale incorporates 4 separate scales with the
blade kerf factored in for each increment.
Note:
The 1" standard ruler does NOT account for kerf. When using this scale be sure to
plan on kerf. 1" increments will result in approximately a 7/8" end result, depending
on what blade is being used.

15
Actual Blade Height
Used For Scaling
Regular Inch Scale
8/4 Scale Row = 2”
Lumber
6/4 Scale Row =
1 - 1/2” Lumber
5/4 Scale Row =
1 - 1/4” Lumber
4/4 Scale Row
= 1” Lumber

16
Installed with Adjustable Lift and Sight Gauge
Your mill has been equipped with an adjustable lift and sight gauge for ease of use. Prior
to using your mill be sure that all bolts and locks are securely in place on both the Winch
Plate (Oscar-330 only) and Sight Gauge (both Oscar-330 and Oscar-236).
To adjust the Winch position of the Oscar-330 Pro:
**MAKE SURE THE HEAD IS COMPLETELY IN THE DOWN POSITION
BEFORE ADJUSTING THE WINCH**
The Oscar-330 Pro Winch Plate located at the operators side of the mill will have 2 posi-
tions for the Winch to lock in place, one at the top of the plate and the other at the bottom.
Do not loosen bolts unless the head is completely lowered. To move the winch to a differ-
ent position, first completely lower the mill head relieving any pressure from the winch.
Once the pressure has been released loosen the winch bolts then remove the safety bolt
completely. Move the winch to the desired position then reinstall the safety bolt. Finally
retighten the winch bolts and safely test the winch.
To adjust the sight gauge on either the Oscar-330 Pro or Oscar-236:
First completely lower the mill head. Next loosen the Allen screws (2) on the sight gauge
then move the sight gauge up or down to desired location. Note that the sight gage can be
completely removed and flipped for greater height or depth if desired. Once positioned,
retighten the Allen screw and test that the sight gauge is secure. Next the scale stick will
have to be adjusted to the sight gauge. First loosen the bolts on the scale stick then move
the scale stick until the 1 inch marking is level with the center marking on the sight gauge.
Once in place retighten the scale stick and test that it is secure. Always set your sight glass
and scale stick to 1 inch off deck (when the head is completely down).
Follow all the steps to safely transport the Hud-Son Saw Mill Trailer Model
1. Lock head into travel position.
2. Raise extension legs and lock in upright positions.
3. Raise rear legs of frame and pin in raised position.
4. Raise jack to desired height, remove pin and rotate to horizontal position, hook hitch
to vehicle. Plug in lights and brakes. Hook-up safety chains and break-away switch.
(If applicable)
5. Lift front legs and lock in transport position.
6. Be sure to clean unit of all loose debris, including all bark, sawdust and dirt.
Transport Instructions

17
Cleaning your Saw Mill
Using an air hose, blow off all loose debris that builds around the unit.
Use extreme caution when cleaning the mechanism.
Never use flammable or combustible materials to clean the mill.
Be in a well ventilated area. Always wear protective equipment to
prevent injury.
Use proper procedure to dispose of waste materials.
Wipe down the idler and pulley wheels using an air hose, brush or rag.
Clean and inspect blade guides.
Preventative Maintenance
For electrical engine follow the correct Lockout/Tagout procedures.
Check for correct blade tension guaranteeing that 30-35 pounds of torque is
on tensioning bolt/nut.
Check blade tracking, a 1 - ¼" blade should be centered on band wheels.
Check bearing, idler and pulley wheels for wear. Sighs of wear are:
Excessive heat
Squeaking sounds
Looseness
Grease idler, pulley wheels and bearings.
Grease blade tensioner shaft.
Grease the lift tubes.
Check all belts for wear and to make sure the belt tension is "taut".
Belt should have no more than ½" deflection.
Care and Maintenance
Hud-Son Saw Mills require a certain amount of care and maintenance, so that it may
continue to perform at its best. If you are not confident in your ability to perform the
maintenance that is required, please look into having a professional come in and per-
form the work for you.

18
MAINTENANCE SCHEDULE CHART
Service Recommendations for Hud-Son Sawmills
Refer to 2A on page 6
A routine inspection of the entire machine is encouraged. Check to see if all fittings are
tight and secure. Make sure all nuts are tightened. Check to see any damage that may
need to be repaired before further damage occurs. Routinely checking the equipment and
proper maintenance will help in keeping the Hud-Son Saw Mill running to the best of its
ability.

19
Parts and Warranty
Mill Replacement Parts
Out sourced components will be warranted by the respective company for a period equal
to the warranty in place at the time of shipping, as shown below from date of purchase.
Description Part Number Warranty
Gasoline Engine See Engine Manufacturer’s
Manual for Warranty
Electric Motor 1 Years - call your servicing
Hud-Son Dealer.
1.5" Pillow Block Bearing, BEA-01-24 6 Years - call your servicing
Hud-Son Dealer.
Drive Belt
BEL-01-24,
BEL-02-58-077,
BEL-02-58-085,
BEL-02-58-092
1 Year - call your servicing
Hud-Son Dealer.
Rubber Band Wheel Tire BEL-02-58-56.5 1 Year - call your servicing
Hud-Son Dealer.
Urethane Band Wheel Tire BEL-04-58-56.5 1 Year Defect - Not Melted
Tapper Lock, SK Bushing BUS-01-24-44 1 Year
Drive Belt Tensioner
(Idler Pulley) WHE-03-06-48-1250 1 Year
Guide Assembly, Left/Right
(see breakdown for parts list) BLG-02-01 30 Days Call your servicing
Hud-Son Dealer.
Scale Sticker DEC-36-01 1 Year
Site Glass Assembly KIT-001 1 Year
Cable Lift Kit Assembly CAB-01-0532A 1 Year
Band Blade
BLA-167-20
(BLA-LENGTH-WIDTH IN
16THS)
No Warranty
1 -1/2" Shaft SHA-01-12.5
(SHA-01-LENGTH IN INCHES)
6 Years - Call your servicing
Hud-Son Dealer

20
TUB-20-XXX
(XXX=LENGTH IN INCHES) 2 Years
Bolt for Track Wheel 2 Years - call your servicing
Hud-Son Dealer.
TE-30/36 3 Year - call your servicing
Hud-Son Dealer.
1 Year - call your servicing
Hud-Son Dealer.
Winch WIN-01-2000, WIN-02-2500
(ELECTRIC)
1 Years - call your servicing
Hud-Son Dealer.
Winch Switch ELE-08-01-E 1 Years - call your servicing
Hud-Son Dealer.
Winch Solenoid ELE-08-02-A 1 Years - call your servicing
Hud-Son Dealer.
Clutch CLU-02-16 30 days - call your servicing
Hud-Son Dealer.
Band Wheel WHE-02-44-288 1 Year - call your servicing
Hud-Son Dealer.
Log Dog w/Back Stop Dog 30/36 2 Years - call your servicing
Hud-Son Dealer.
Log Dog Only Dog Only 30/36 2 Years - call your servicing
Hud-Son Dealer.
Track Wheel w/Replacement
Bearing WHE-40-12-53 2 Years - call your servicing
Hud-Son Dealer.
Replacement Bearing for Track
Wheel BEA-03-12-24T 2 Years - call your servicing
Hud-Son Dealer.
Pulley for Lift Cable CAB-01-0532 1 Year - call your servicing
Hud-Son Dealer.
Guide Pins DH-1098-2 2 Years - call your servicing
Hud-Son Dealer.
Bolt on Lube Tank MIL-07-001 1 Year - call your servicing
Hud-Son Dealer.
This manual suits for next models
1
Table of contents
Other Hudson Saw manuals
Popular Saw manuals by other brands

Makita
Makita 5017RKB user manual

Parkside
Parkside PHKSA 12 B3 Original instructions

Scheppach
Scheppach PL55 Translation of original instruction manual

KAKA Industrial
KAKA Industrial BS-126G Assembly & Operating Instruction

PrimAster
PrimAster TS1200 Translation from the original instruction manual

Grizzly
Grizzly G0661 owner's manual