Hugyfot User Manual Vision XS For GoPro Hero 9/10
3
In 1953, René Hugenschmidt is introduced
to recreational diving in Nervi, Italy. From
that moment on, he decides to dedicate his
life to Underwater Photography. The young
Swiss Engineer transformed his Zürichzee
workshop into a Hugyfot plant, initially
fabricating underwater housings for Agfa,
Edixa, Exakta, Kodak, Leitz, Voigtländer,
and Zeiss cameras. Meanwhile, the
Cousteau-Gagnan regulator is released and
the worldʼs rst diving magazine is
published in Paris. Professor Hans Hass,
Austrian Marine Biologist and Underwater
lm pioneer, known for his documentaries
Adventures in the Red Sea (1951) and Under
the Caribbean (1954), sparks peopleʼs
interest in the underwater world. The diving
industry is starting to
take shape.
In 2004 Luc Leys, manufacturer
of underwater lighting systems, takes over
the company and moves it to Erembodegem
in Belgium.
The broad experience this company has
built in the eld of metal working and
constructional engineering is implemented
in the
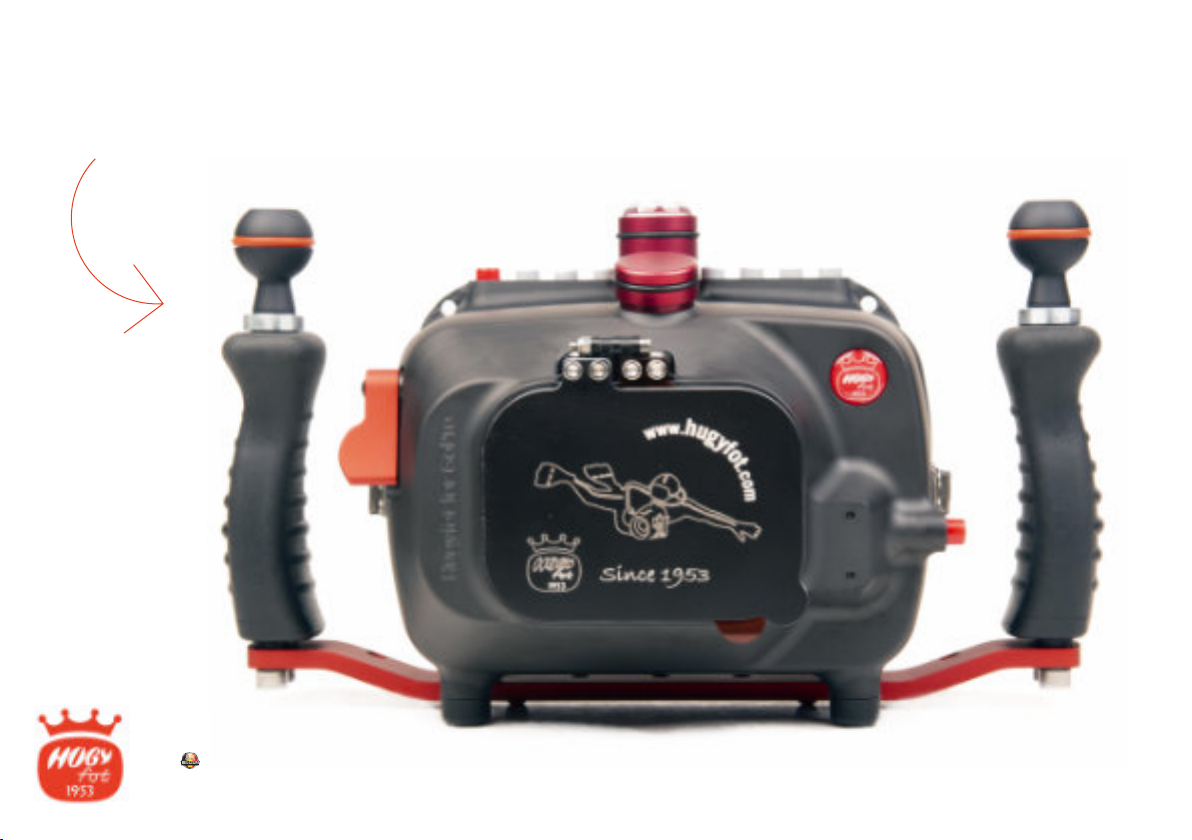
Thank you for purchasing
the Hugyfot Vision Xs
for Hero 9/10 housing.
When traveling to remote areas to capture
exceptional images, leave nothing to chance
what concerns your equipment. Using
reliable gear is particularly important when
shooting underwater photos and videos.
Hugyfot products are renowned for their
ergonomic, functional and innovative
designs. The durable housings are CNC
machined out of solid blocks of marine
grade aluminum, hard anodized and coated
with a durable Surlon®KE non-stick layer
for extra protection. The camera tray inside
the housing is 3D printed using the latest
resin printing technologies. All parts are
hand tted and assembled. Each housing is
carefully inspected and pressure tested to
ensure reliable and awless operation
before
leaving production.
This housing is small, light and easy
to handle, the ideal travel companion
to record your diving adventures.
Depth rating is 150m.
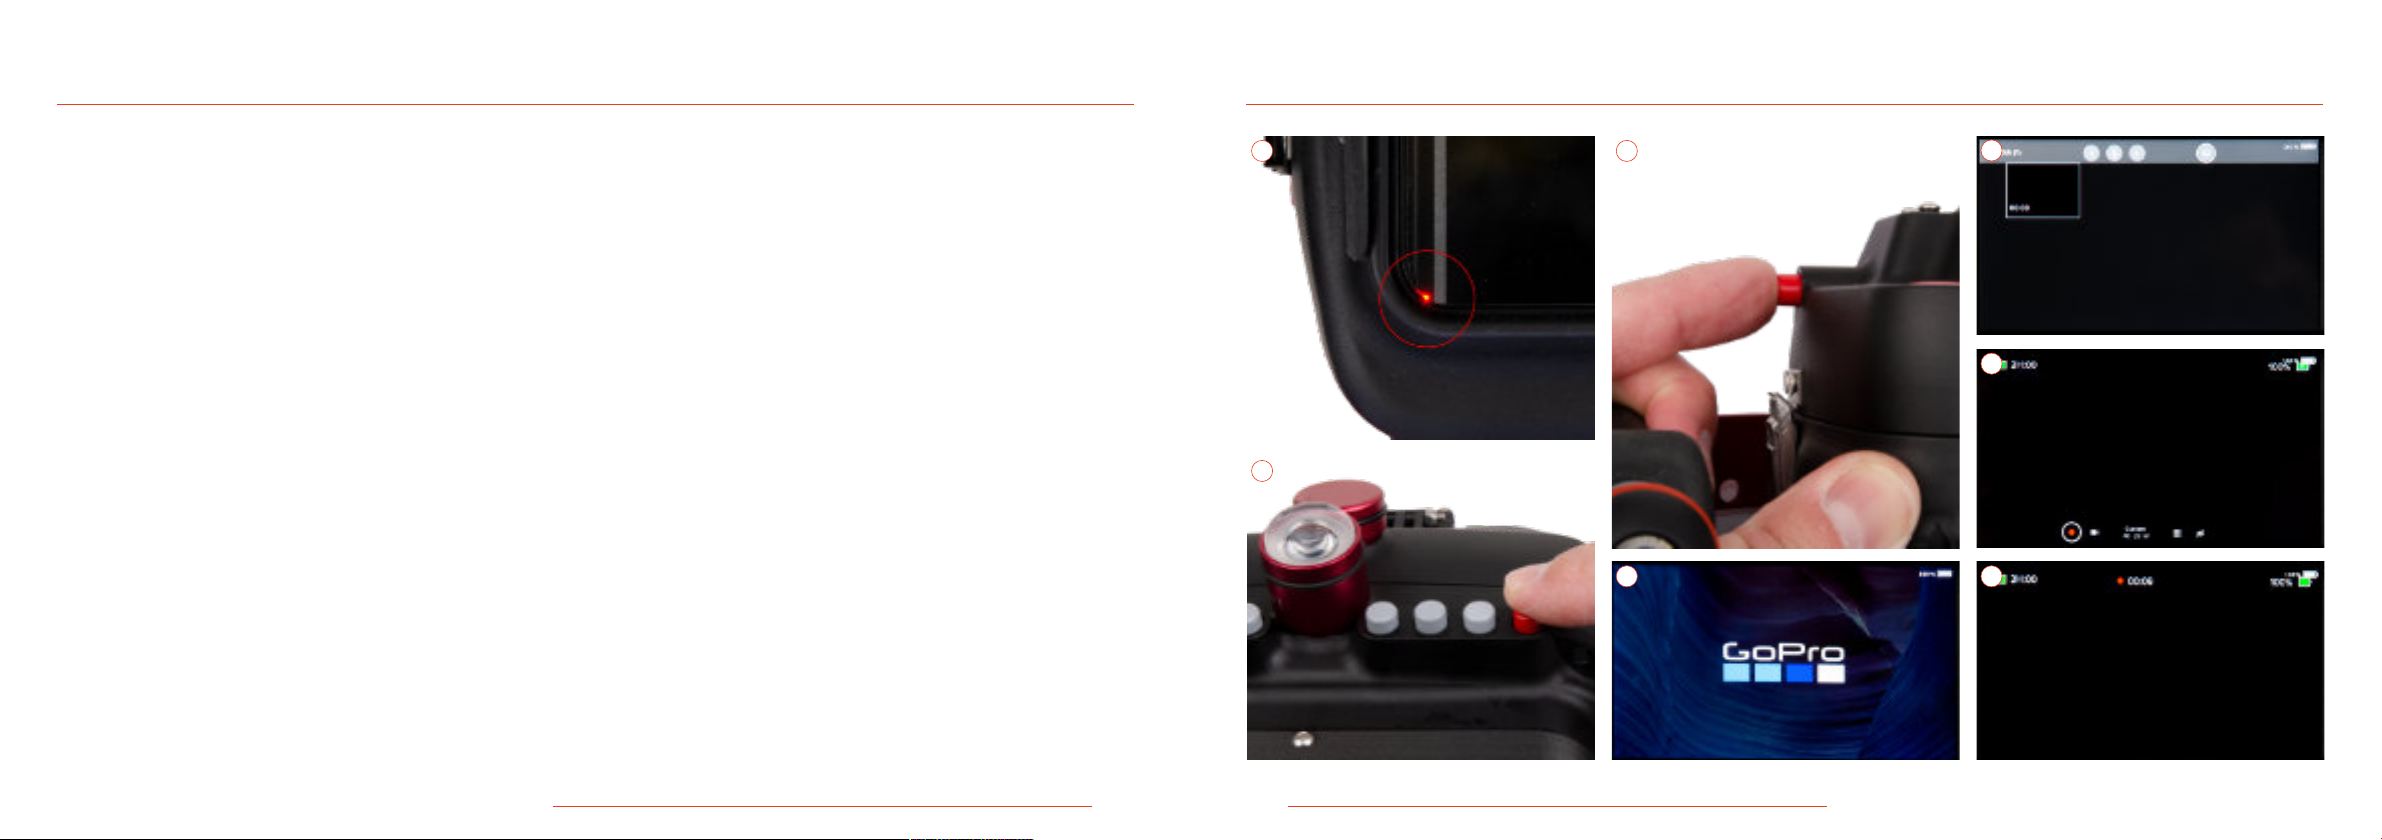
The HDMI monitor used in your
Hugyfot Vison Xs housing has
a bright IPS display of 1920x1080 pixels
that oers stunning colors in a 160° viewing
housingsʼ production process.
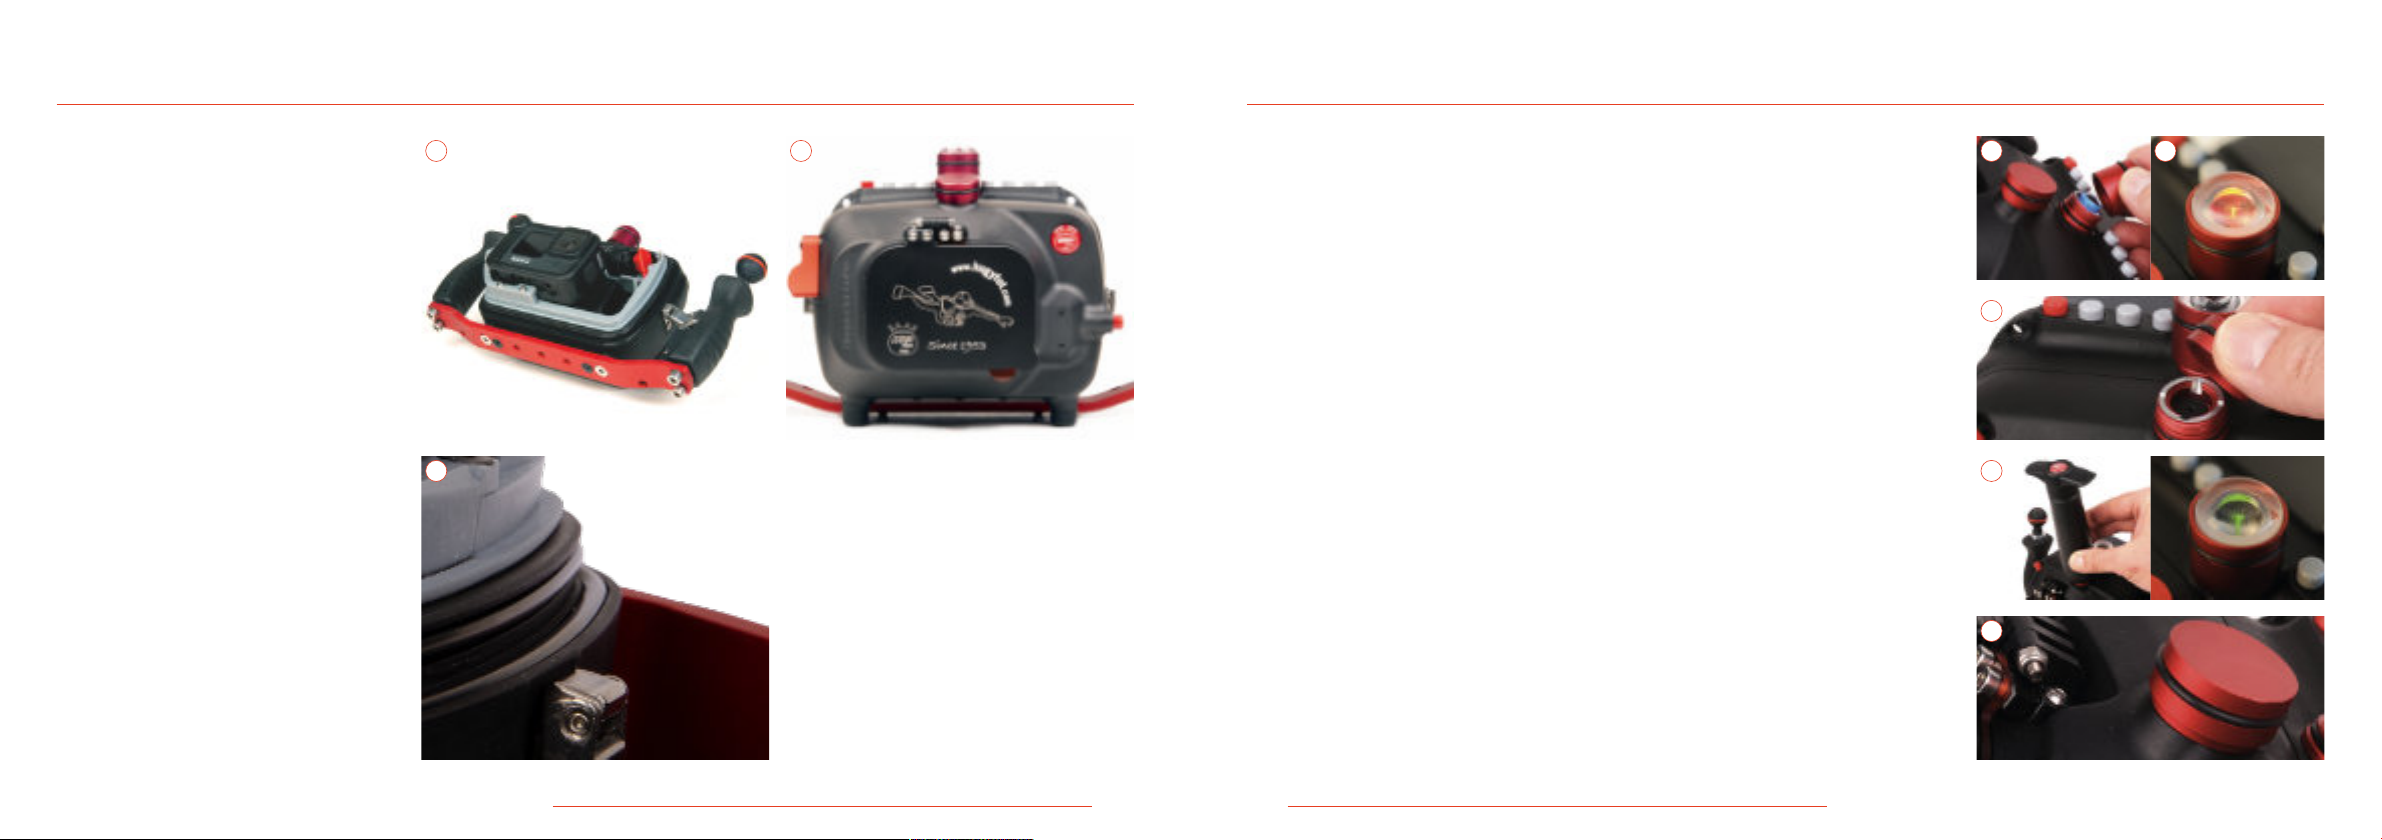
Hugyfot introduces the HugyCheck system
in 2009. This pre-dive check system enables
the photo-graper to perform a vacuum test
prior to entering the water. This test
indicates whether the housing has been
closed properly, and whether the housingsʼ
O-rings are in good condition. The
HugyCheck system is awarded “Innovation
of the year 2009” during the DuikVaker dive
show in Utrecht (Netherlands).
In 2019 Hugyfot BV is founded by
2 former employees of the Hugyfot
production plant. Jutha and Sven
take all sales, marketing and product
development activities for there
account The production unit remains
at Erembodegem (Belgium).
Philosophy
At Hugyfot, our commitment to produce top
quality underwater housings reigns supreme
since 1953, distinguishing ourselves from
the rest, thanks to our ergonomic designs,
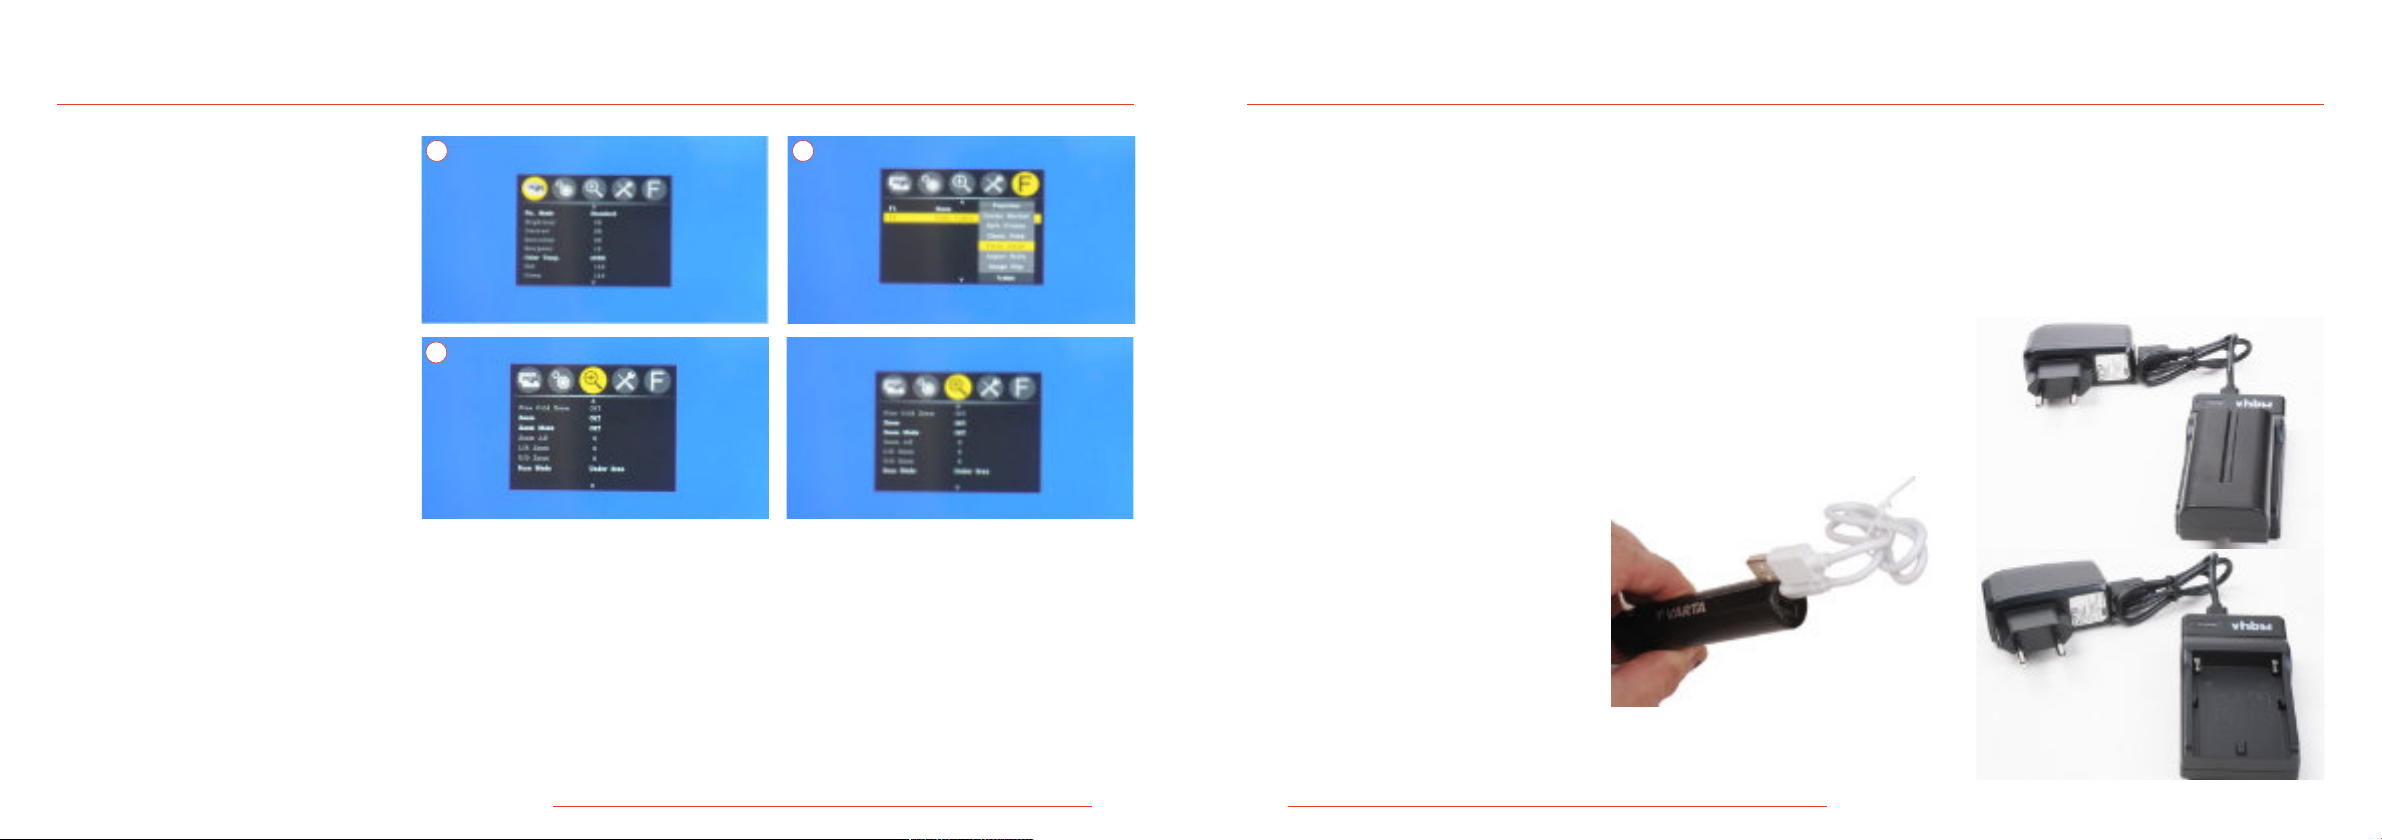
angle (in all directions). The incorporated
Feelworld F5 monitor oers professional
features like Peaking Focus Assist,
Histogram, Zebra exposure, Zoom, …
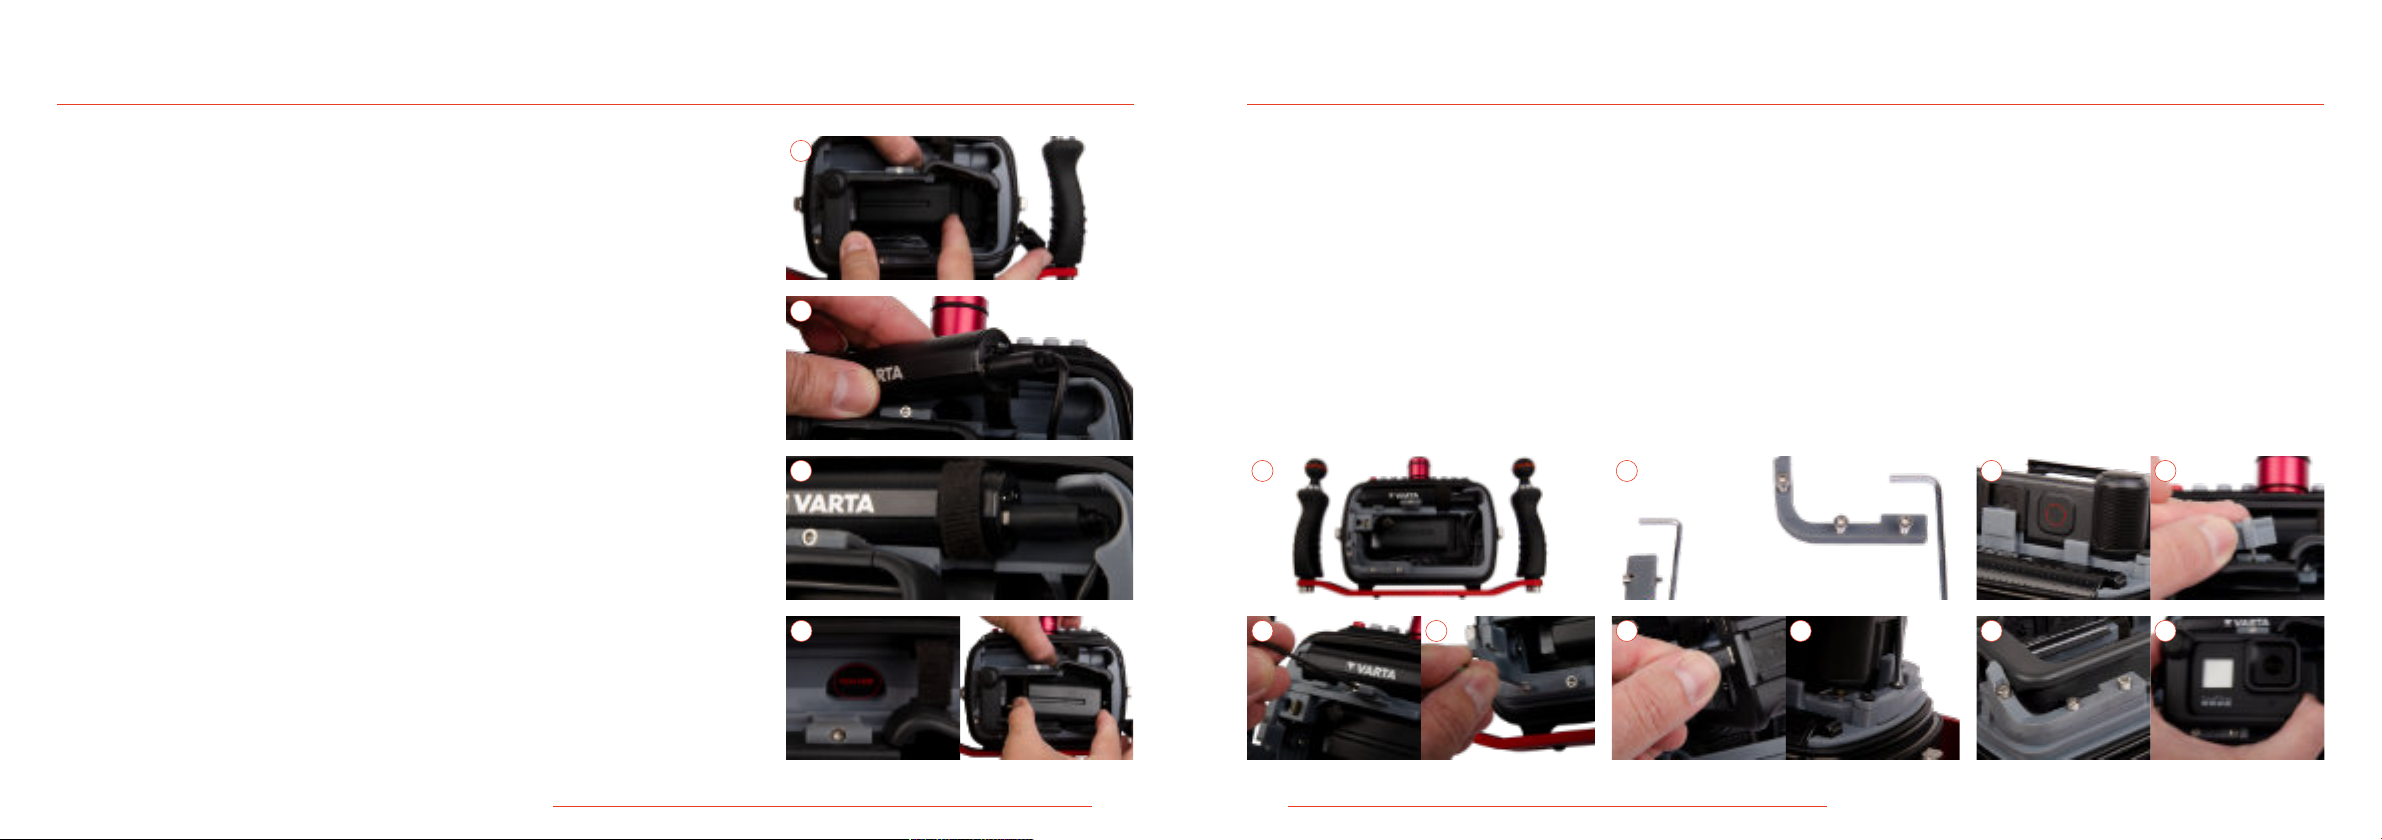
amongst many other. Two supplied
batteries;
one monitor battery and one USB battery
pack to power the GoPro camera oer
approximately 3 hours of battery life to the
housing.
The Hugyfot Vision Xs for Hero 9
comes standard with the Hugy-
Check Xs pre-dive vacuum check system for
maximum protection
of your equipment.
The GoPro Hero 9 camera needs the GoPro
Media Mod accessory to obtain HDMI
output. This accessory is therefore
necessary to operate the housing.
1953 ...
Jutha Heyman &
Sven Van Langenhove
Hugyfot Owners
History Introduction
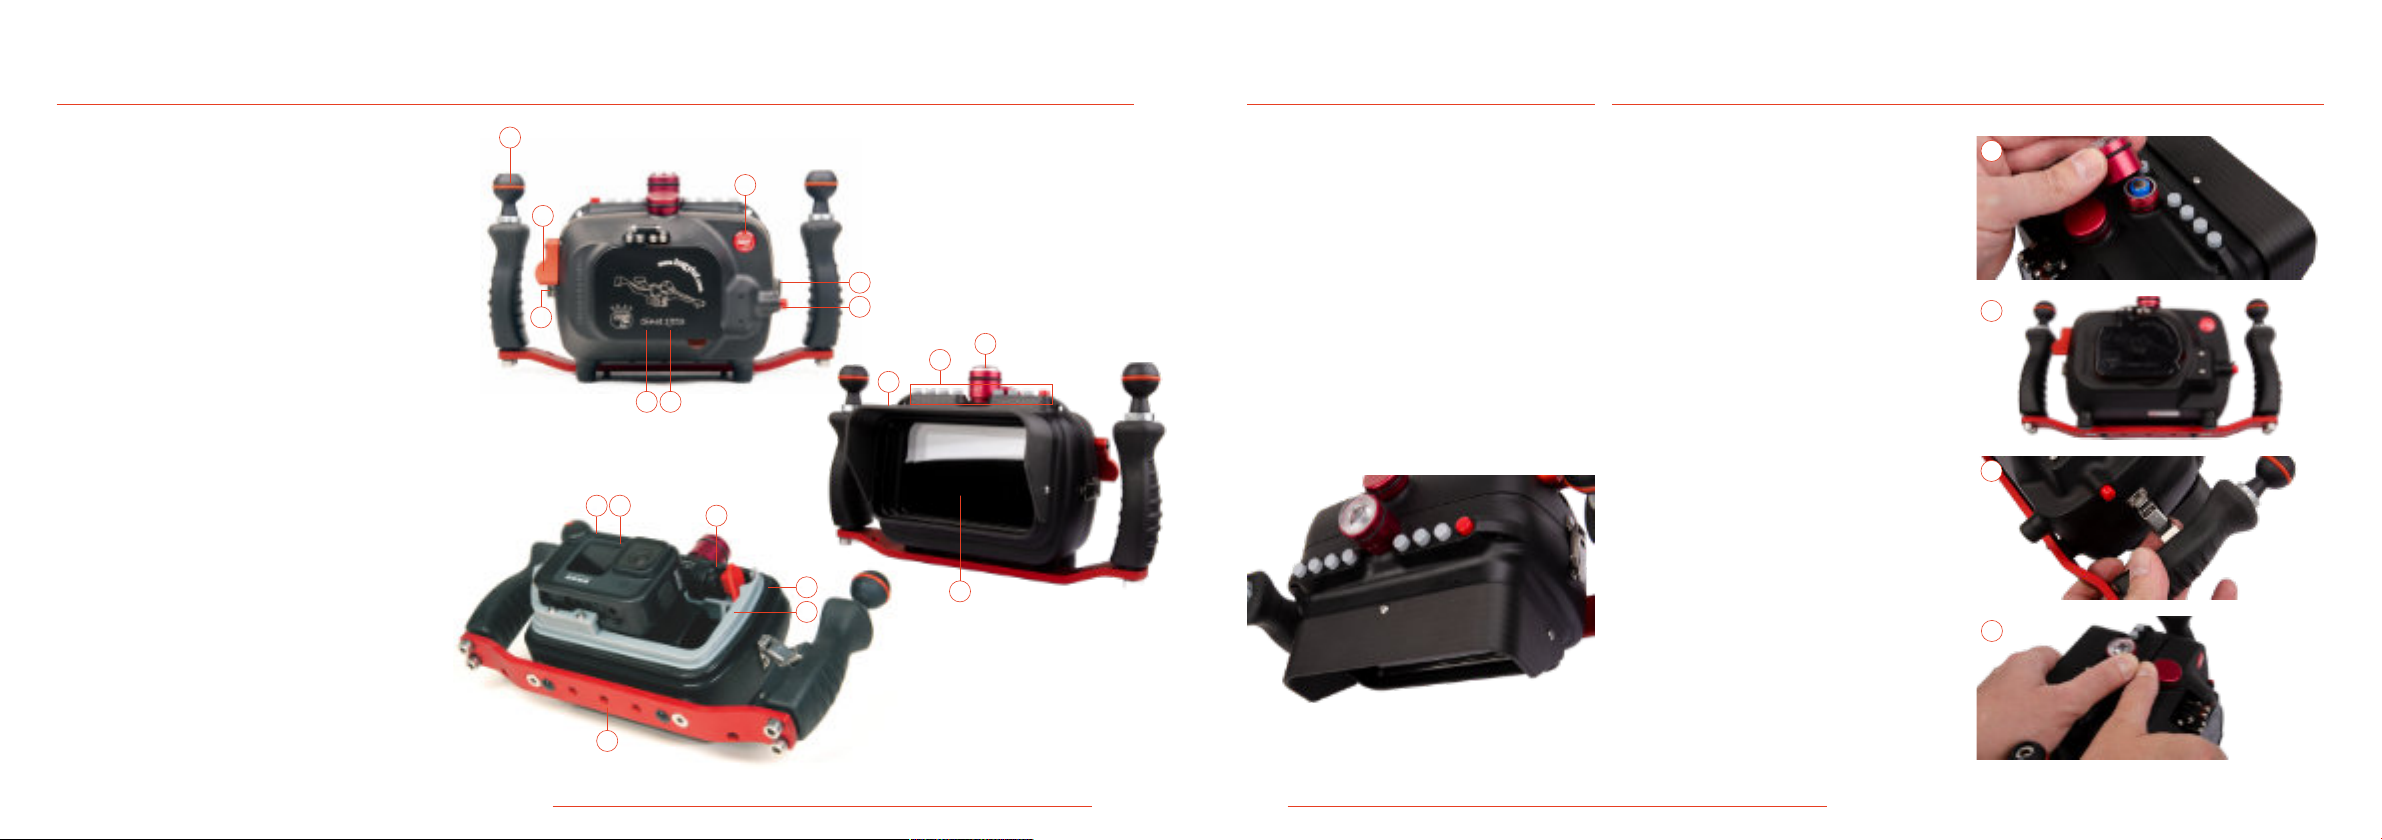
This package includes
• 1 Hugyfot Vision Xs for
Hero 9/10 housing
• 1 Hugyfot HugyCheck Xs pre-dive vacuum
system and its pump
• 1 Red Filter and Protection Kit
• 1 Feelworld F5 monitor with its battery
and charger
• 1 Varta 2600mAh Battery Pack
• 1 Installed HDMI cable
• 1 USB-A to USB-C cable
• 1 Hugyfot 5” Sunhood
• 1 Vision Xs camera tray with 2 handles,
each with its 1” armball and sacricial
Zink Anode
• 1 Vision Xs Service Kit
• User manual