manuals.online logo
Brands
  1. Home
  2. •
  3. Brands
  4. •
  5. Husqvarna
  6. •
  7. Lawn Mower
  8. •
  9. Husqvarna Automower 305 User manual

Husqvarna Automower 305 User manual

Other manuals for Automower 305

30

Other Husqvarna Lawn Mower manuals

Husqvarna LTH 141 User manual

Husqvarna

Husqvarna LTH 141 User manual

Husqvarna ZTH5223A User manual

Husqvarna

Husqvarna ZTH5223A User manual

Husqvarna WH4817EFQ2, WH5219EFQ User manual

Husqvarna

Husqvarna WH4817EFQ2, WH5219EFQ User manual

Husqvarna 967953903-00 User manual

Husqvarna

Husqvarna 967953903-00 User manual

Husqvarna TS 138L User manual

Husqvarna

Husqvarna TS 138L User manual

Husqvarna LT126 Setup guide

Husqvarna

Husqvarna LT126 Setup guide

Husqvarna PZ 29 User manual

Husqvarna

Husqvarna PZ 29 User manual

Husqvarna 917.374422 User manual

Husqvarna

Husqvarna 917.374422 User manual

Husqvarna 532 43 70-40 User manual

Husqvarna

Husqvarna 532 43 70-40 User manual

Husqvarna Rider 155 User manual

Husqvarna

Husqvarna Rider 155 User manual

Husqvarna AUTOMOWER 520 User manual

Husqvarna

Husqvarna AUTOMOWER 520 User manual

Husqvarna LT1538 User manual

Husqvarna

Husqvarna LT1538 User manual

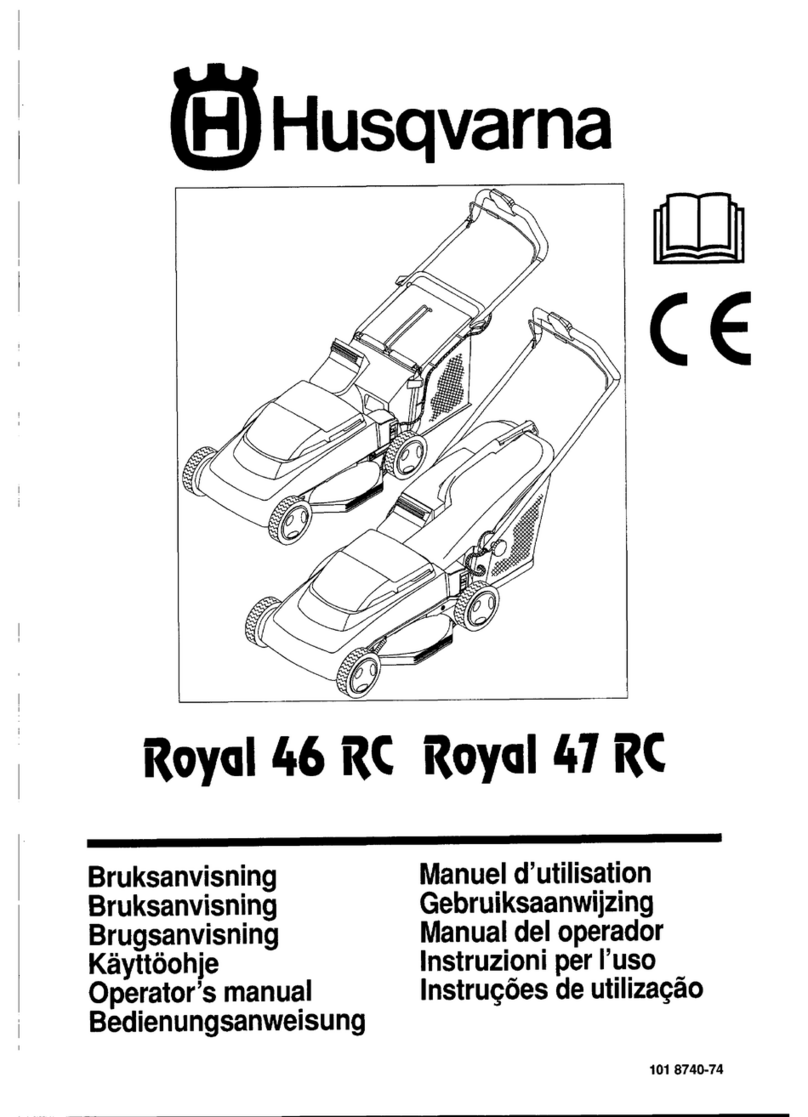
Husqvarna Royal 47RC User manual

Husqvarna

Husqvarna Royal 47RC User manual

Husqvarna TS 146XK User manual

Husqvarna

Husqvarna TS 146XK User manual

Husqvarna 917.279201 User manual

Husqvarna

Husqvarna 917.279201 User manual

Husqvarna YTH18542 User manual

Husqvarna

Husqvarna YTH18542 User manual

Husqvarna Automower 305 User manual

Husqvarna

Husqvarna Automower 305 User manual

Husqvarna YTH1942 User manual

Husqvarna

Husqvarna YTH1942 User manual

Husqvarna AUTOMOWER 550 EPOS User manual

Husqvarna

Husqvarna AUTOMOWER 550 EPOS User manual

Husqvarna MZ52LE User manual

Husqvarna

Husqvarna MZ52LE User manual

Husqvarna PZ5426FX / 966614001 User manual

Husqvarna

Husqvarna PZ5426FX / 966614001 User manual

Husqvarna YTH2548 User manual

Husqvarna

Husqvarna YTH2548 User manual

Husqvarna 55B21HV User manual

Husqvarna

Husqvarna 55B21HV User manual

Husqvarna Z 242E User manual

Husqvarna

Husqvarna Z 242E User manual

Popular Lawn Mower manuals by other brands

Toro 20047 Operator's manual

Toro

Toro 20047 Operator's manual

Toro Greensmaster TriFlex 3300 Operator's manual

Toro

Toro Greensmaster TriFlex 3300 Operator's manual

Global garden products 72 Workshop manual

Global garden products

Global garden products 72 Workshop manual

EINHELL 01045 operating instructions

EINHELL

EINHELL 01045 operating instructions

Toro Greensmaster 3120 Operator's manual

Toro

Toro Greensmaster 3120 Operator's manual

Baroness LM315GC Owner's operating manual

Baroness

Baroness LM315GC Owner's operating manual

GreenWorks Tools 25157 user manual

GreenWorks Tools

GreenWorks Tools 25157 user manual

Etesia MVEHH user manual

Etesia

Etesia MVEHH user manual

Gravely 915034 - ZT1640 Owner's/operator's manual

Gravely

Gravely 915034 - ZT1640 Owner's/operator's manual

Jacobsen 63281 Technical manual

Jacobsen

Jacobsen 63281 Technical manual

GreenWorks Pro MO802524 Operator's manual

GreenWorks Pro

GreenWorks Pro MO802524 Operator's manual

Toro TimeMaster 20976 Operator's manual

Toro

Toro TimeMaster 20976 Operator's manual

Deutz-Allis 3000 Series parts manual

Deutz-Allis

Deutz-Allis 3000 Series parts manual

Craftsman 917.9998C owner's manual

Craftsman

Craftsman 917.9998C owner's manual

jobmate YT9108 user manual

jobmate

jobmate YT9108 user manual

Yard force GM R40A instructions

Yard force

Yard force GM R40A instructions

STERWINS ELM2-36P-3W.4 Assemby - Use - Maintenance Manual

STERWINS

STERWINS ELM2-36P-3W.4 Assemby - Use - Maintenance Manual

Craftsman 917.378770 owner's manual

Craftsman

Craftsman 917.378770 owner's manual

manuals.online logo
manuals.online logoBrands
  • About & Mission
  • Contact us
  • Privacy Policy
  • Terms and Conditions

Copyright 2025 Manuals.Online. All Rights Reserved.

HUSQVARNA AUTOMOWER®
305
QUICK GUIDE
www.automower.com
115 42 54-26
ADJ U S T TH E MOWER TO SUI T TH E SIZE OF YOUR L AW N
The mowing results depend on mowing time. Adjust the
mowing time to suit your garden using the
Timer
function.
Timer func tion.Timer
If the mower cuts too often: The lawn will look trampled.
If the mower cuts too seldom: The lawn will not be properly
mown.
TIMER
ADJ U S TING THE M OWE R FOR NARROW PASS AGES
Narrow passages in the garden make it difcult for the mower
to nd the charging station. Use the Test OUT function to test
if the mower is able to pass through the narrowest passages.
1. Place the mower in the charging station
2.
S
elect
Test OUT
(
Test OUT (Test OUT
Installation - Test OUT
) in the mower’s menu
Installation - Test OUT ) in the mower’s menu Installation - Test OUT
and press OK. Then press the Start button and close the
cover.
3. Check that the mower follows the guide wire through
the passage.
a. If the mower gets through the passage: The test is complete!
b. If the mower does not get through the passage: Change the
Guide width from Wide to Medium. If required, the guide
width can also be changed from Medium to Narrow.
ADJUST THE MOWER TO SUIT YOUR GARDEN
See chapters 6.3 and 6 .4 in the Operator’s Manual .
Here you will nd some tips on important settings for your Automower
®
305.
All settings for your Automower
®
305 are made via the menu functions.
You decide what times during the day and days of the
week the mower is to work. Automower® 305 cuts
around
30 m²
per hour and day. For example; If your garden, for
instance, consists of 300 m² of grass, the mower should
work on average 10 hours per day
.
AUTOMOWER® is a trademark owned by Husqvarna AB. Copyright ©
2012
HUSQVARNA. All rights reserved.
STARTING AND STOPPING AUTOMOWER® 305
See chapters 4.3 and 4.4 in the Operator’s manual.
STAR TING
1.
Open the cover by pressing the
STOP
button.
STOP button.STOP
2.
Set the main switch to position
1
. When you do this for the
rst time, a start up sequence starts where you select a four
digit PIN code among other things.
3.
Press the
START
button.
START button.START
4. Close the cover.
STOPPING
Press the
STOP
button.
1
3
6
5
3
1
234
5
6
7
20 cm
5 cm
30 cm
GETTING STARTED WITH
HUSQVARNA AUTOMOWER® 305
1.
Open the connector and lay the wire ends in the recesses on
each connector.
2.
Press the connectors together using a pair of pliers.
3.
Cut off any surplus boundary wire. Cut 1 to 2 cm above the
connectors.
4.
Press the connectors onto the contact pins, marked A, on the
charging station. It is important that the right-hand wire is
connected to the right-hand contact pin, and the left-hand
wire to the left-hand pin.
1.
Run the guide wire through the slot at the bottom of
the charging station.
2.
Fit the connector to the guide wire in the same way as
for the boundary wire, according to the instructions
above.
3.
Fasten the connector to the contact pin marked Guide
on the charging station.
4.
L
ay the guide wire at least 2 metres straight out from the
front edge of the charging station.
5. Run the guide wire to the point on the boundary loop
the connection will be made. Avoid laying the wire at
tight angles.
6.
C
ut the boundary wire with a wire cutters at the centre
of the eyelet that was made in point 2.3.
7.
C
onnect the guide wire to the boundary wire using the
accompanying couplers. Press the couplers completely
together with a pair of pliers.
PLACEMENT OF AND CONNECTING THE CHARGING STATION
See chapter 3.2 in the Operator’s Manual.
CHARGING THE BATTERY AND PLACEMENT
OF THE BOUNDARY WIRE
See chapters 3.3 and 3.4 in the Operator’s Manual.
1.
Place the charging station at a central position in the work
area, with a lot of open space in front of the charging
station and on a relatively horizontal surface.
2.
Connect the transformer’s low voltage cable to the
charging station and the transformer.
3.
Connect the transformer to a 230 V wall socket.
1.
Place the Automower
®
in the charging station to
charge the battery while the boundary wire is laid.
Set the main switch to position 1.
2.
Run the boundary wire ensuring it forms a loop
around the work area.
3.
M
ake an eyelet at the point where the guide wire
will be connected later (see point 4.5).
Charging station Transformer Low voltage cable Boundary wire and
couplers
Staples Connectors Measurement
gauge
CONNECTING THE BOUNDARY WIRE
See chapter 3.5 in the Operator’s Manual.
PLACEMENT OF AND CONNECTING
THE GUIDE WIRE
See chapter 3.6 in the Operator’s Manual.
1. Main switch
2. STOP button
3. Charging strip
4. LED for function check of the
boundary and guide wires
5. Cutting height indication
6. Display
7. Keypad
0 cm / 0”
5 cm / 2”
30 cm / 12”
min 2 m / 7 ft
20 cm / 8”
10 cm / 4”
3
4
1
2
4
1
1
7
22
3
3
3
4
21