4.
Playback ControlToolbar
Audacity will display acontrol toolbar for you
to
editand manage your recordings.
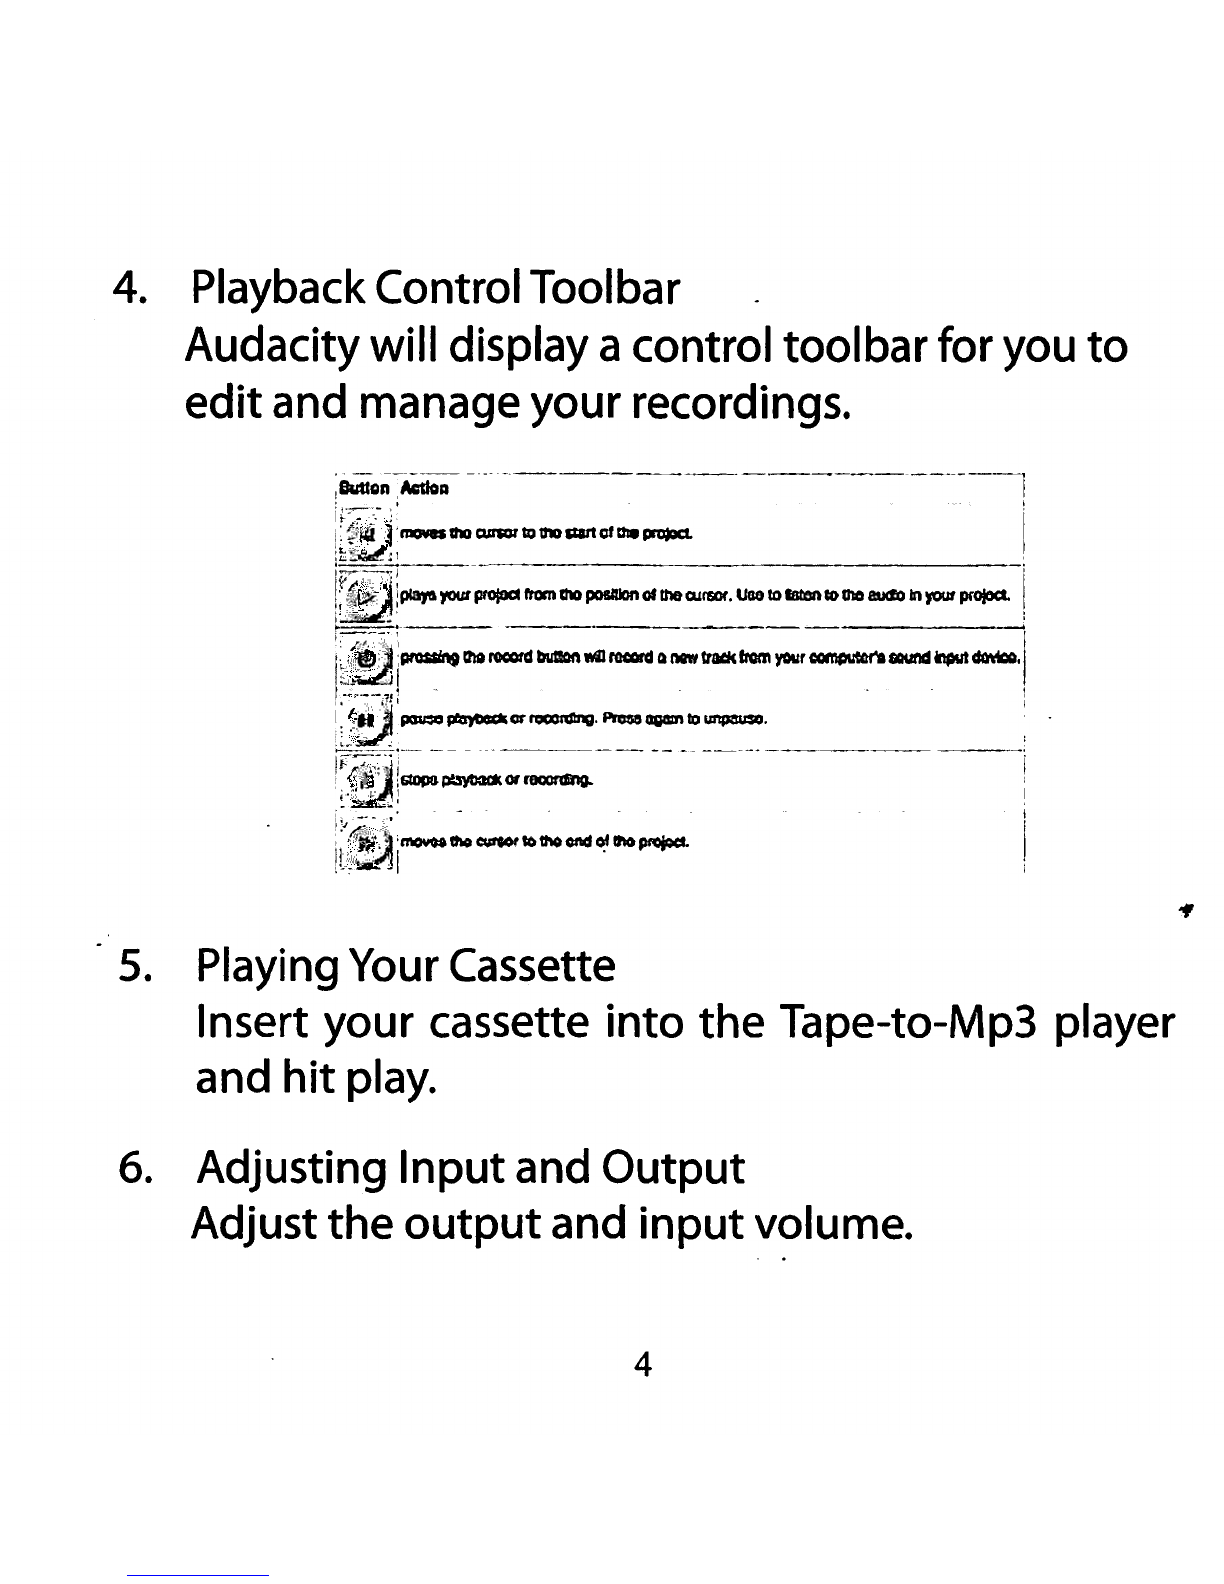
'~~~:rJ!OIIadlllcur101'101ho&llttofat.~
;r:.:
··------
------:
!~;play!t.yoo.rprojOCI
rtomthOposmDnoflh&OJrsct.
UG81DIIItonCOih08I.ICioh)'OUfprofoa.
!
~~~-.,.~...:-~-·---yo.·~---·1
0:l:~~~-~·-~-~~-~~-------
'
~~~:QOpS~Of~
:;_\~~
..
~I:
mo.....~
0#001'
~thO
end~
lfl&pr$d.
•·c't...~
5.
Playing Your Cassette
Insert your cassette
into
the Tape-to-Mp3 player
and
hit
play.
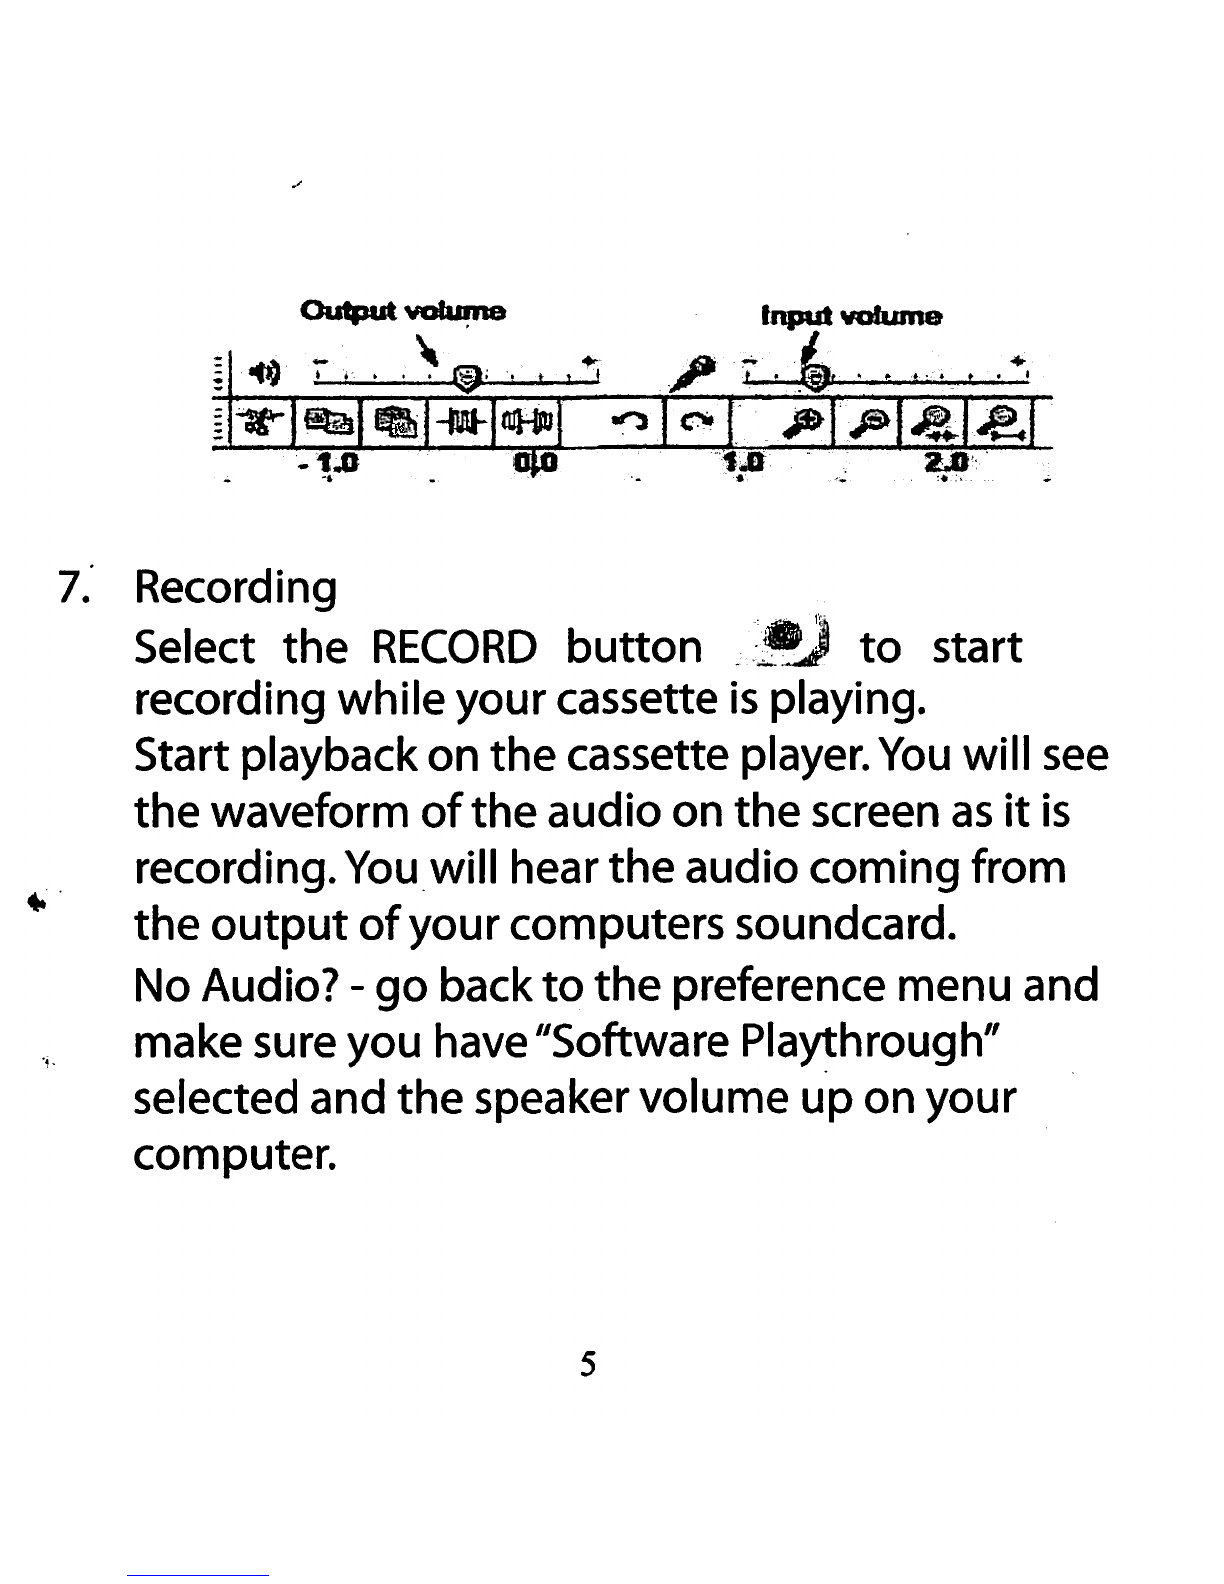
6.
Adjusting Inputand Output
Adjust the
output
and
input
volume.
4