10
Руководство пользователя
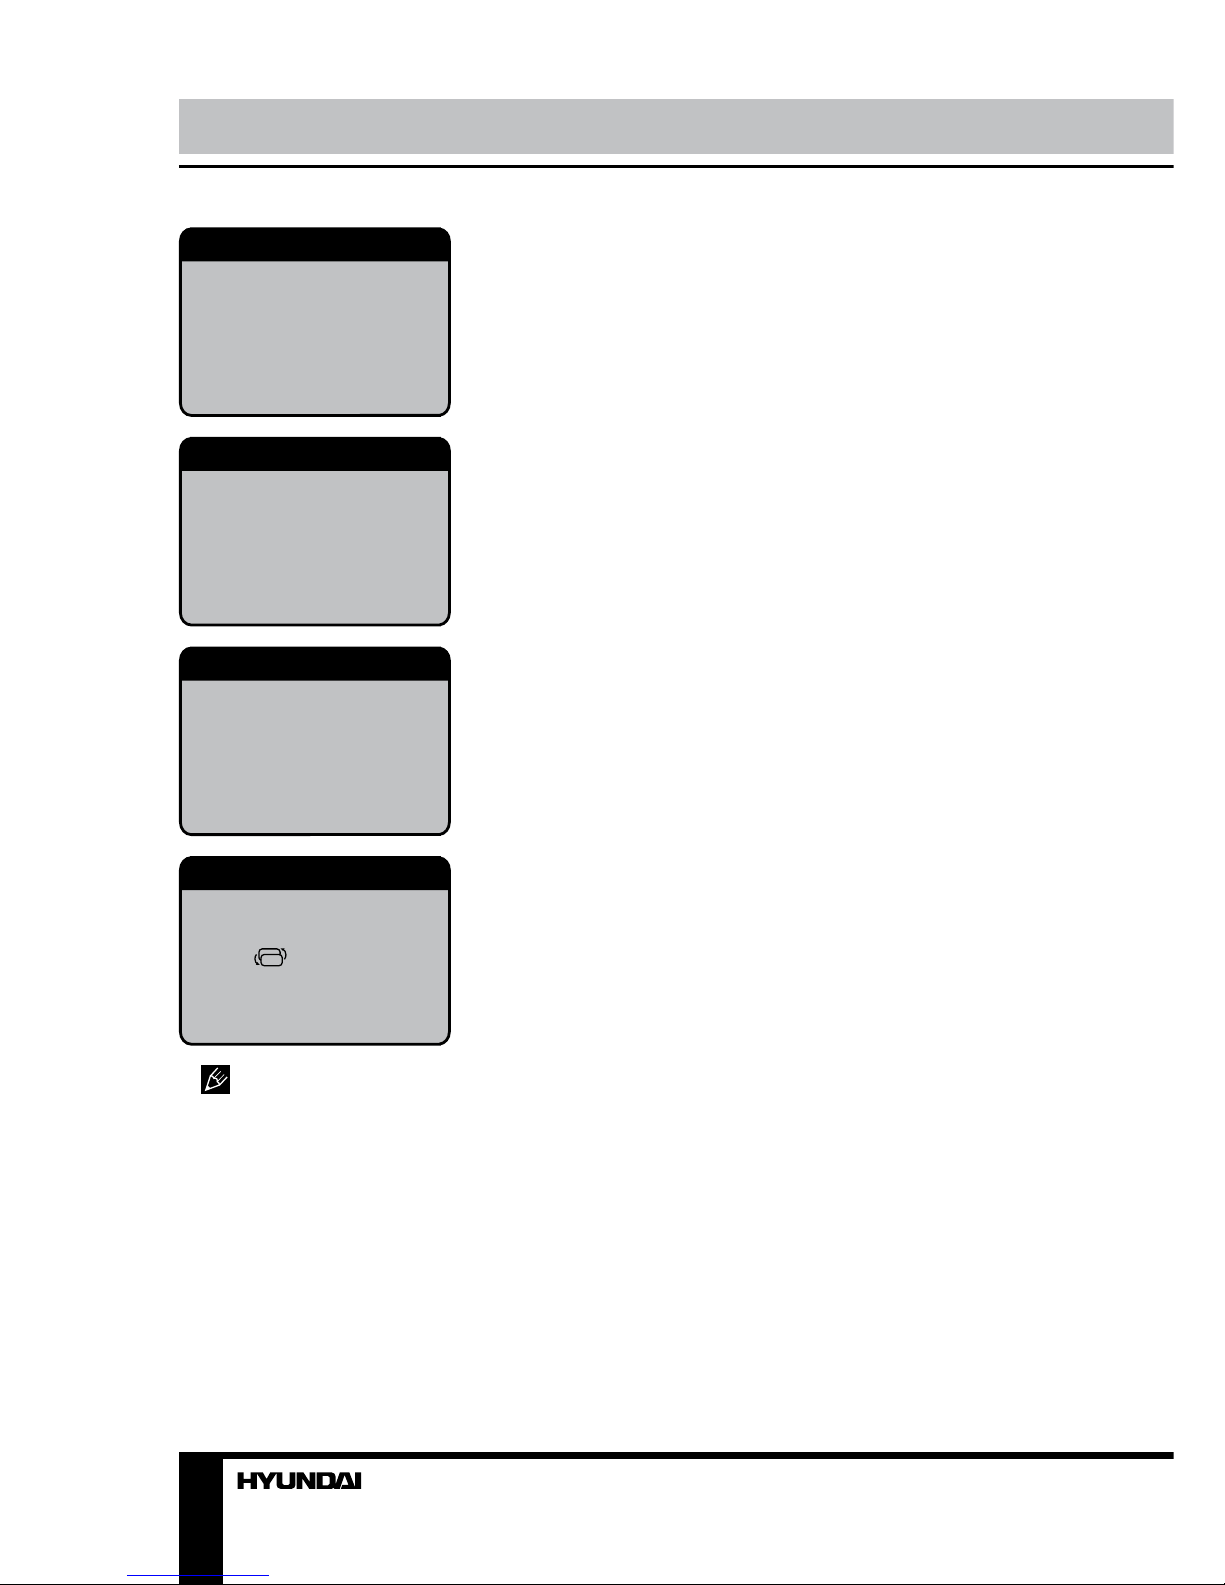
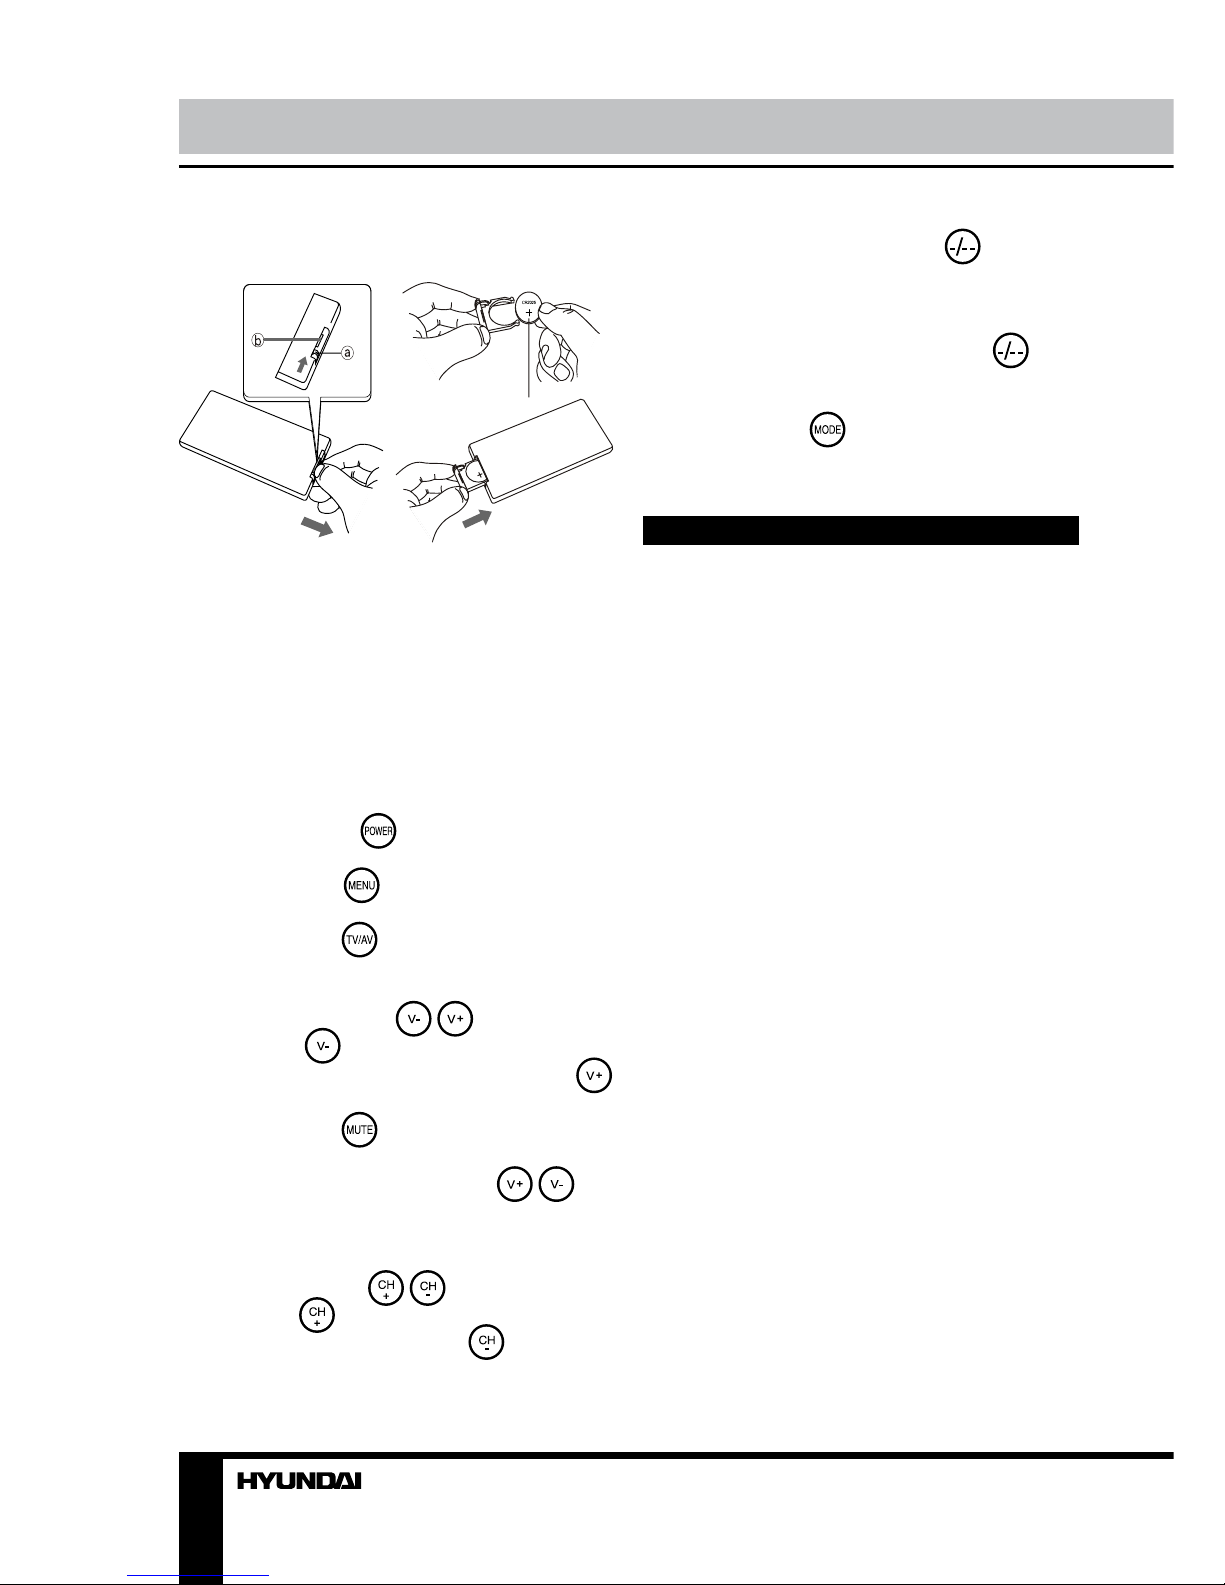
Установка батарей
Вставьте батареи как показано на рисун-
ке выше, соблюдая правильную поляр-
ность (+) и (-). Используйте одну батарейку
типа Cr2025. Если ПДУ не работает даже
вблизи устройства, замените батарейки.
Не используйте перезаряжаемые батареи.
Извлекайте батарейки из ПДУ, если он не
будет использоваться долгое время.
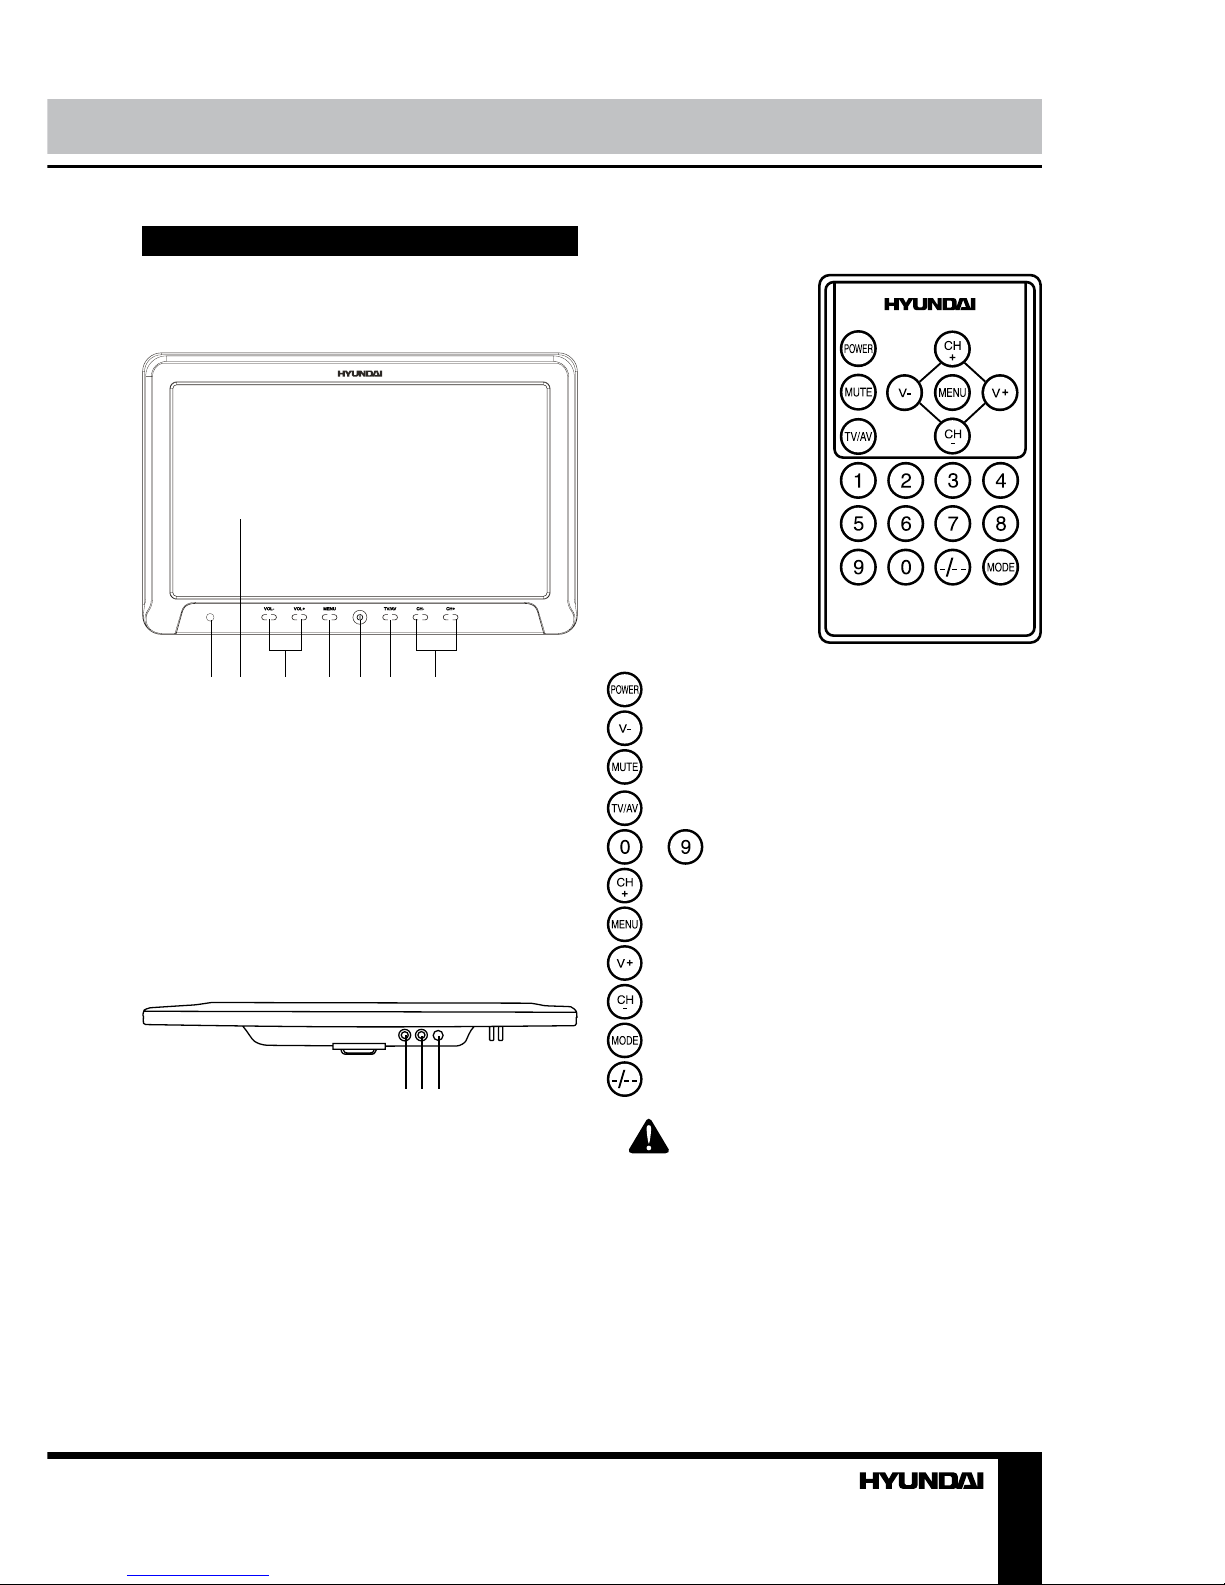
Функции кнопок
Кнопка POWER/ : Нажмите эту кнопку
для включения/выключения питания.
Кнопка MENU/ : Нажмите для отобра-
жения экранного меню.
Кнопка AV/TV/ : Нажимайте для пере-
ключения между источниками аудио-видео
сигнала.
Кнопки VOL-/VOL+/ / : Нажмите
кнопку VOL-/ для уменьшения уровня
громкости звука. Нажмите кнопку VOL+/
для увеличения уровня громкости звука.
Кнопка MUTE/ : Нажмите для отклю-
чения звука. Нажмите ее повторно или
нажмите кнопки VOL+/VOL- или /
для возобновления звука. При отключении
звука на дисплее отобразится соответству-
ющий символ.
Кнопки CH-/CH+/ / : Нажмите
кнопку CH+/ для выбора следующего
канала. Нажмите кнопку CH-/ для вы-
бора предыдущего канала.
Кнопки с цифрами и кнопка : Если
канал обозначается одной цифрой, просто
нажмите соответствующую цифровую кноп-
ку на ПДУ. Если канал обозначается двумя
цифрами, нажмите сначала кнопку (на
экране отобразится «- -»), затем нажмите
соответствующие кнопки с цифрами.
Кнопка MODE/ : Нажмите, чтобы вы-
брать режим изображения.
Установка/подключение
Установка стойки
• Ослабьте металлическую гайку, рас-
положенную спереди кронштейна, вращая
пластмассовую гайку.
• Вставьте металлическую гайку
кронштейна в прорезь на задней стороне
устройства; передвиньте кронштейн на
нужную высоту.
• Затяните пластмассовую гайку для
прочной фиксации устройства.
• Отрегулируйте угол наклона устрой-
ства, вращая боковую гайку кронштейна.
• Привинтите стойку к кронштейну.
Подсоединение антенны
Вставьте антенну в разъем для антенны,
расположенный на задней панели устрой-
ства.
Подсоединение наушников
Подсоедините наушники к разъему для
наушников. При использовании наушников
звук через внешние динамики устройства
воспроизводиться не будет.
Подключение к источнику питания
Подсоедините штекер сетевого адаптера
или автомобильного адаптера питания,
входящих в комплект, к разъему питания, а
вилку штекера к розетке или к прикурива-
телю соответственно.
При использовании устройства в помеще-