77
FERRO DA STIRO MANUALE DI ISTRUZIONII ITA
PULIZIA E MANUTENZIONE
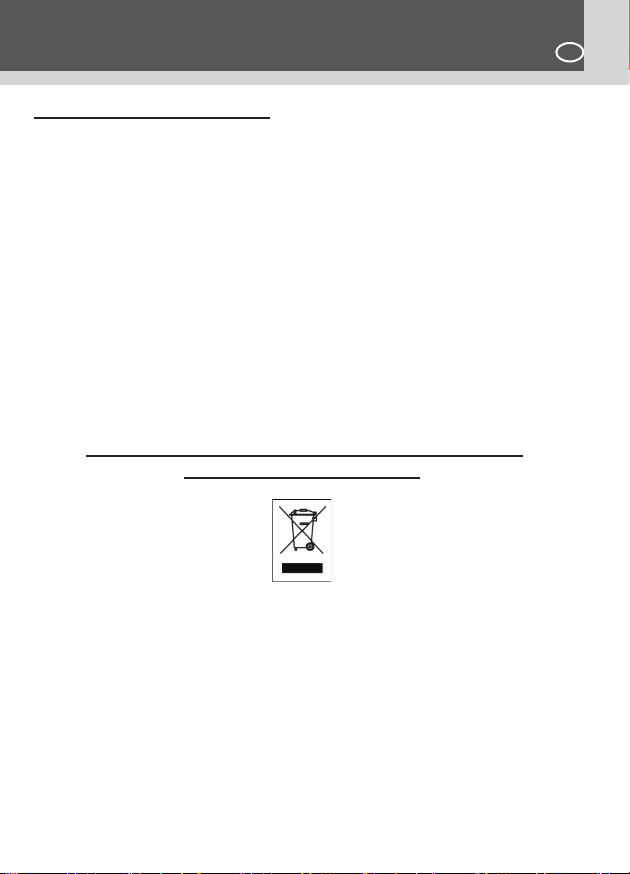
TRATTAMENTO DEL DISPOSITIVO ELETTRICO ED
ELETTRONICO A FINE VITA
Informazione agli utenti per il corretto smaltimento del prodotto ai sensi della Direttiva
Europea 2002/96/CE e del D.lgs N. 151/2005.
Caro consumatore,
è importante ricordarti che, come buon cittadino, avrai l’obbligo di smaltire questo prodotto non come
riuto urbano, ma di eettuare una raccolta separata. Il simbolo sopra indicato e riportato sull’apparec-
chiatura indica che il riuto deve essere oggetto di “raccolta separata”. I dispositivi elettrici ed elettronici
non devono essere considerati riuti domestici. Pertanto, il prodotto alla ne della sua vita utile, non
deve essere smaltito insieme ai riuti urbani. L’utente dovrà conferire (o far conferire) il riuto ai centri di
raccolta dierenziata predisposti dalle amministrazioni locali, oppure consegnarlo al rivenditore contro
l’acquisto di una nuova apparecchiatura di tipo equivalente. La raccolta dierenziata del riuto e le suc-
cessive operazioni di trattamento, recupero e smaltimento favoriscono la produzione di apparecchiature
con materiali riciclati e limitano gli eetti negativi sull’ambiente e sulla salute eventualmente causati da
una gestione impropria del riuto.
Grazie!
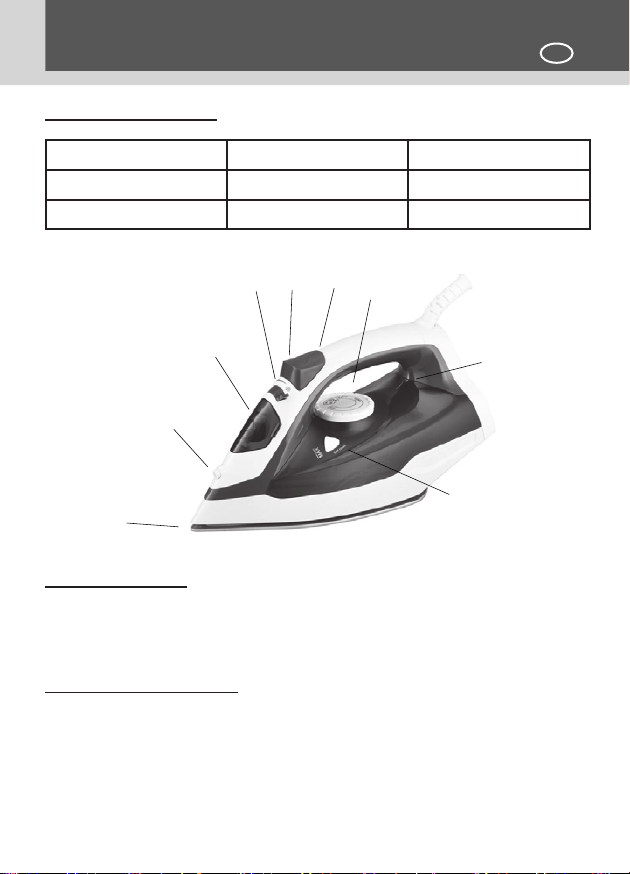
• NOTA: Per una migliore qualità del vapore, non utilizzare più di tre scatti
successivi ogni volta. Sistema anticalcare
• Un ltro speciale di resina all’interno del serbatoio di acqua ammorbidisce
l’acqua e previene la formazione di calcare nella piastra. Il ltro resina è
permanente e non necessita di sostituzione.
• Si prega di notare che:
• Utilizzare solo acqua di rubinetto. Acqua distillata e / demineralizzata rende
il sistema anti-calcare di “Zero-Calcare” ineciente alterando le caratteristi-
che sico-chimiche.
• Non utilizzare additivi chimici, sostanze profumate o decalcicanti. Il manca-
to rispetto delle suddette prescrizioni comporta la perdita della garanzia.
Sistema antigoccia
• Con il sistema antigoccia, si possono perfettamente stirare anche i tessuti
più delicati. Bisogna sempre stirare questi tessuti a basse temperature. La
piastra può rareddarsi no al punto in cui il vapore non fuoriesce più, ma
meglio piuttosto che avere gocce di acqua bollente che possono lasciare
segni o macchie. In questi casi, il sistema antigoccia si attiva automaticamen-
te per evitare la vaporizzazione, in modo da poter stirare i tessuti più delicati
senza il rischio di rovinare o macchiare loro.
Spegnimento automatico (stand-by):
• Eccezionale dispositivo di sicurezza e risparmio energetico che
entra in funzione in automatico al vericarsi di una di queste due
situazioni:
- se il ferro viene lasciato per circa otto minuti in posizione verticale
- se il ferro non viene utilizzato per 30 secondi in posizione
orizzontale
La luce si accende per indicare che è scattato il pulsante di
spegnimento/stand by.
Non appena si impugna il ferro cambiandogli posizione, il dispositivo
si accende e il ferro può essere utilizzato di nuovo.
Solo quando viene tolta la spina della corrente il ferro smette di
funzionare completamente.
• Slare sempre la spina dalla presa e lasciar rareddare l’apparecchio com-
pletamente prima di pulirlo.
• Per non danneggiare la piastra, non utilizzare mai oggetti acuminati o uten-
sili in metalli per pulire la piastra.
• Per rimuovere depositi di calcare nei fori di passaggio del vapore, utilizza-
re un bastoncino per la pulizia delle orecchie inumidito con una soluzione
anticalcare.
• Pulire l’alloggiamento dell’apparecchio con un panno morbido umido.
• Non utilizzare detergenti abrasivi o lana d’acciaio per pulire il ferro da stiro
per non graare le superci.
• Svuotare e rabboccare acqua dal contenitore dell’acqua; non lasciare l’ac-
qua nel contenitore dell’acqua per tutta la notte.
• Lasciar rareddare sempre completamente il ferro da stiro prima di riavvol-
gere il cavo intorno alla piastra.