REMOTE CONTROLLER
1
23
5
4
8
6
7
9
10
11
12 13
14
15
16 17
18
19
20 21
22
24
23
26
25 28
27
29
30 31
Note:
1. The ID of the Double and Single:
√ means the function is effective,
× means the function is not effective.
2. The remote controller is effective for
all functions shown on TV and monitor.
POWER Power stand-by.
√ √
NAME
FUNCTION
DOUBIE
SCREEN
SINGLE
SCREEN
√ √
× √
√ √
√ √
√ √
√ √
NO.
1
√ √
√ √
√ √
√ √
APPLAUSE
2Show flowers and applause effect.
3THEME
(FACE)
Switch to different styles of operation interface
in monitor.
4
EXIT KARAOKE
Switch to non-karaoke mode.
KEY +, - KEY +, -.
VOCAL Vocal on/ off.
MUTE Mute all music output.
NEXT
Stop the playing song and go to play next song
PLAY/
PAUSE
Switch between the function of “PLAY” and
“PAUSE”.
5
6
7
8
9
REPLAY Repeat the current playing song.
10
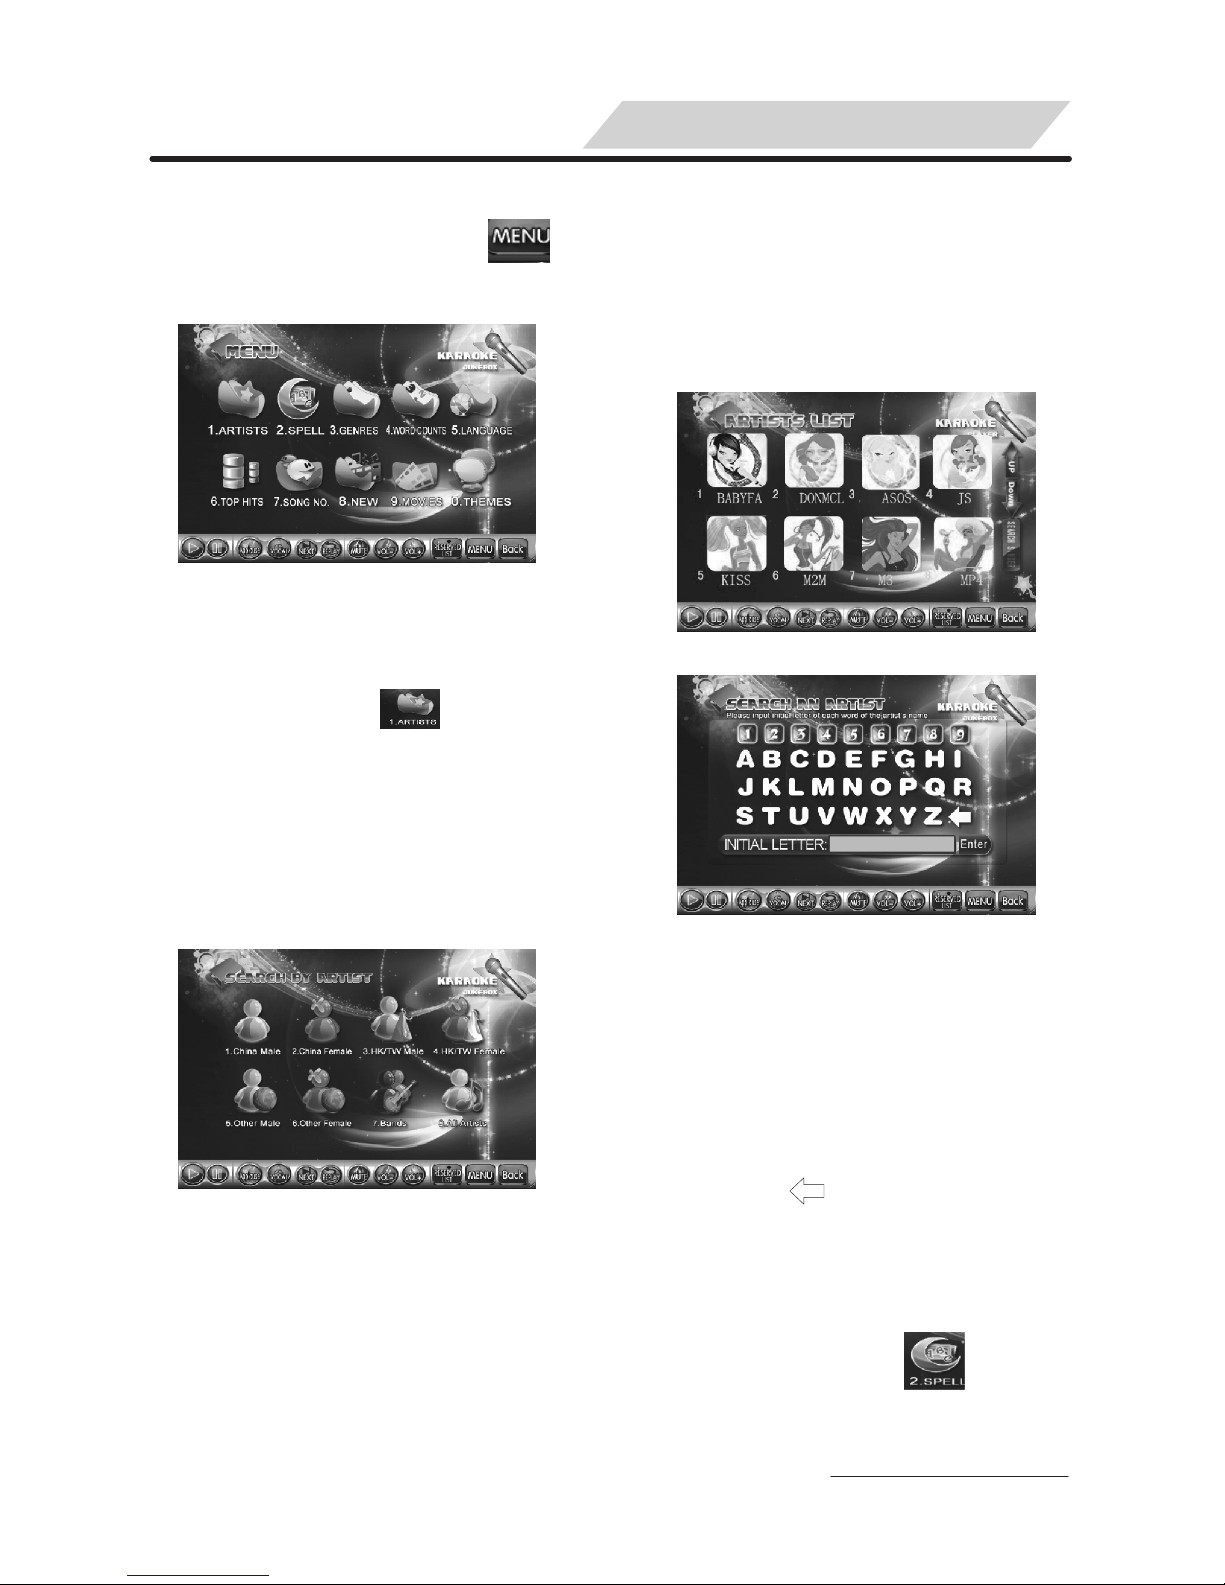
ARTIST
(SINGER)
Search a song by artist .
SPELL Search a song by initial letters of each word of
song title.
11
12
VOL+, - Increase or decrease music volume.
WORD
COUNTS Search a song by word counts of song title.
TOP HITS Search a song by top hit list of songs.
MENU
Accesses main Step up Menu.
RETURN Return to the previous Menu.
13
14
15
16
17
ENTER
18
Enter and confirm what you select.
TUNING Open/close tuning menu.
RESERVED
LIST
List all reserved songs.
FWD
Access fast forward scanning while playing
Mp3, MTV (DAT, MPG, VOB) files in
Non-karaoke Mode.
ADVANCE Advance a song in reserved list.
REV
Access backward scanning while playing Mp3,
MTV (DAT, MPG, VOB) files in Non-karaoke
Mode.
PAGE UP Page up.
PAGE DOWN
Page down.
WORD
COUNT+ Search a song by word count +.
WORD
COUNT- Search a song by word count -
0-9 (A-Z)
①Press number buttons to search a song
directly.
②Press number buttons accordingly to input
initial letter of title to search a song
③Press the corresponding number button to
enter sub-menu directly.
Delete the wrong input.
Reserve song while playing.
Move cursor by press
Press [ ] or [ ] button for page up /down
while listing song titles.
RESERVE
DELETE
19
20
21
22
23
24
25
26
27
28
29
30
31
√ ×
√ √
√ √
√ √
√ √
√ √
√ √
√ √
√ √
√ √
√ ×
√ √
√ √
√ √
√ √
√ √
√ √
√ √
√ √
√ √
6