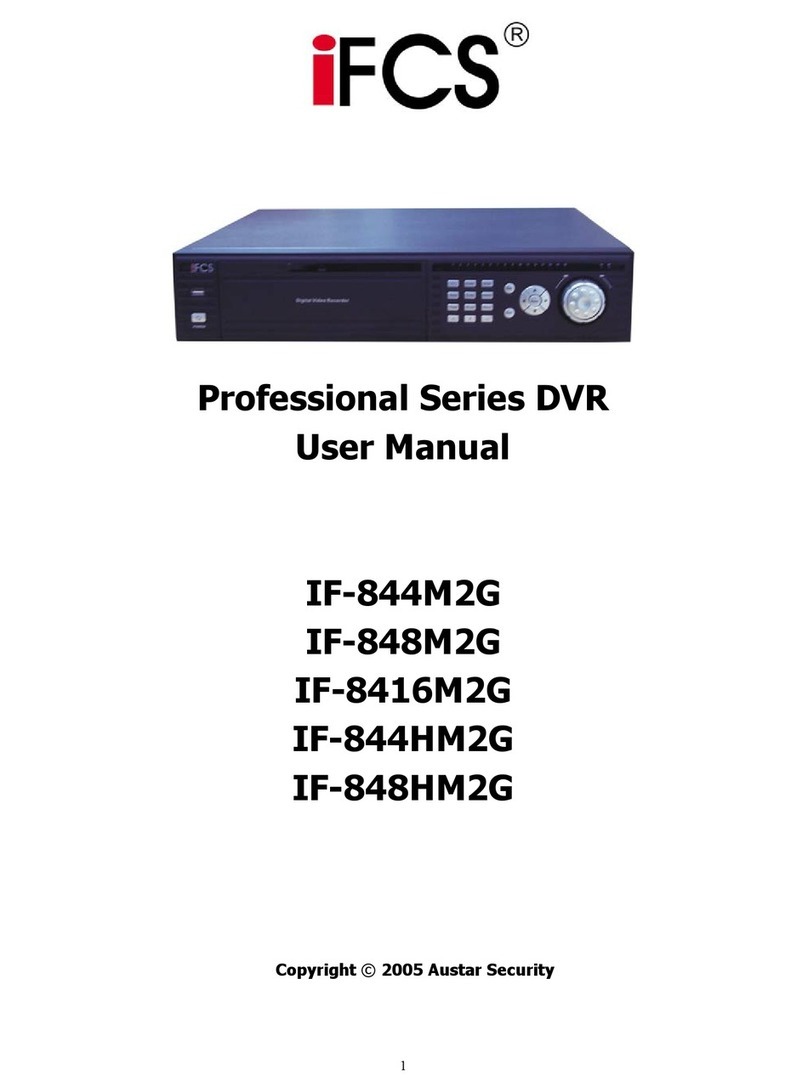
IFCS Professional Series User manual

Professional Series Digital Video Recorder
Live Viewing & Playback Guide
Viewing live cameras
Quick
Reference
R
FCS
i
POWER
Fn 1.. 2ABC 3DEF
5JKL 6MNO
8TUV 9WXYZ
0--/-
7PQRS
4GHI
Esc
Mult
Enter
9 10 11 12 13 14 15 165 6 7 81 2 3 4 Fn ACT
i
FCS
Power Switch
USB Port
Internal CDRW
Record Function Toggle
Slow Play
Previous Record
Rewind
Fast Forward
Next Record
Play/Pause
Shift Key
Number Toggle (10+)
Numeric Keypad (0-9)
Multi-Screen Selection
Navigation Keys
Escape
Recording Indicator Lights
Function Indicator Light
Remote Receiver Light
Outer Jog Shuttle
Inner Jog Shuttle
Searching for footage
View 1
View 4
View 9
View 16
Pan/Tilt/Zoom
Color Setting
Search
Record
Alarm Output
Alarm Input
Main Menu
.
.
View 1
View 4
View 9
View 16
Pan/Tilt/Zoom
Color Setting
Search
Record
Alarm Output
Alarm Input
Main Menu
.
.
ENTRANCE
CAM 2
CAM 3
EXIT
CAM 5
CAM 6
LOADING DOCK
CAM 10
CAM 11
GATE 1
GATE 2
CAM 14
CAM 15
CAM 16
CAM 7
3Selecting View 4, View 9 or View 16 will display
multiple cameras on the screen. View 4and
View 9 submenus allow for different camera
groups to be selected.
2The submenu that appears when selecting View
1allows selection of a single camera.
Customised camera titles appear in this menu.
View 1
View 9
View 16
Pan/Tilt/Zoom
Color Setting
Search
Record
Alarm Output
Alarm Input
Main Menu
View 4
.
.
CAM 1 - 4
CAM 5 - 8
CAM 13 - 16
CAM 9 - 12
Important Precautions
1Right-click on the screen and select one of the
following View selections.
?Ensure the DVR is located in a dust-free
environment that permits proper airflow.
?Do not subject the DVR to vibration or
sudden jolts.
?Always ensure the cooling fans are free of
dust or any obstruction that may prevent
their operation.
?Do not insert scratched or warped CDs into
the CDRW drive as damage may result.
?Safeguard against liquids and other electrical
hazards.
1Right-click on the screen and select Search 5The Playback interface will appear.
View 1
View 4
View 9
View 16
Pan/Tilt/Zoom
Color Setting
Record
Alarm Output
Alarm Input
Main Menu
.
.
Search
2Use the drop down menu to select your Local Access
User Name and enter your Password if required.
Store your User Name and Password in a safe place as the DVR
may require manufacturer servicing to reset a Local User
administrative account.
3Clicking on the password box displays a virtual
keyboard which can be used to enter the password.
Selecting the icon alongside the password box will
allow toggling between numerical and alphabet input.
4Once the password is entered select OK to proceed.
Repeated unsuccessful login attempts will sound a buzzer and
cause a security lockout. DVR power must be reset before
attempting to log on again.
Calendar
Date Input
Time Input
Recording Type
Play/Pause
Stop Rewind
Slow Play
Fast Forward
Volume Control
Previous Camera
Next Camera
Next Record
Previous Record
Camera Search Result Tabs
Camera Selection
Auto-Play Next Record
Fullscreen
Backup
Search
6Either click on the Calendar button to view which
days have recorded footage or input a date into
the Date Input. Days highlighted in blue have
recorded footage.
7Entering the time into the Time Input is optional
and can provide more accurate searches.
If you do not enter this information, the list of records will
start at midnight the morning of the date selected.
10 A list of records will appear underneath the
Camera Search Result Tabs and double-clicking
on the record commences playback.
If the DVR supports dual-channel playback and a second
camera is selected with available footage at the time
period selected, the second camera will also playback.
11 To stop playback and select another camera or
time period, right-click or click on Stop. After
selecting a new camera or time period, click on
Search to refresh the list of records.
9Click on the Search icon.
12 To return to live view right-click or select Stop to
cancel any playback and right-click a second time
to exit the Playback interface.
15: 45: 00
00:03:48 M
03:48:12 M
09:01:17 M
09:00:12 M
8Select the camera number(s).
1 2
23 - 11 - 2006
23 - 11 - 2006
Sun Mon Tue Wed Thu Fri Sat
1 2 3 4
8 9 10 11
5 6 7
15 16 17 18
12 13 14
22 23 24 25
19 20 21
29 3026 27 28
2006November
v20061208

Professional Series Digital Video Recorder
Archiving & Remote Access Guide
Quick
Reference
R
FCS
i
Archiving footage
1
Step 1 Step 9
Enter the Playback interface as directed in the
Searching for footage module and complete
through to .
2Identify the desired record(s) to archive within the
listed records underneath the Camera Search
Result Tabs. Click on the box to place a tick
mark next to the record(s) required.
3
Step 6 Step 9
If another camera or time period is required,
repeat through to of the
Searching for footage module and tick the box
alongside the additional record(s).
4Insert a blank CDR, CD-RW or USB storage into
the DVR.
5Click on the Backup icon in the Playback
Interface.
6Review the record(s) listed in the Backup
interface and verify that there is sufficient space
on the storage medium selected.
7Click Backup to commence the backup process.
All selected files will be archived to the storage
medium and the player program will be added.
CDR disks will be finalised during the backup process to
create a read-only copy for evidenciary purposes. Use
CD-RW or USB if requiring storage medium that is
reusable.
00:03:48 M
03:48:12 M
09:01:17 M
09:00:12 M
DC R
m080 in70MB
A B
BACKUP FILES
Device IDE CDRW (sg0) Erase
Remove
Add
Type
Start Time
End Time
ALL 1
Channel
23 - 11 - 2006 00 : 00 : 00
23 - 11 - 2006 10 : 15 : 00
3 CH Type Start Time End Time Size(KB)
1 M 23-11-2006 00:03:48 23-11-2006 00:08:19 7503
1
1 M 23-11-2006 03:48:12 23-11-2006 04:01:07 32071
2
1 M 23-11-2006 09:00:12 23-11-2006 09:18:53 45237
3
Page Up Page Down Select/Deselect Files to Backup
Fn
Backup
Space Required: 10.6MB Space Remaining: 800MB
Remote Access via Internet Explorer
1Launch Internet Explorer®.
2Type the IP address of the DVR and press Enter.
3When connecting to the DVR for the first time a security
alert will display. Select Install ActiveX Control.
4A second alert will appear to confirm installation of the
ActiveX applet. Click Install to proceed.
Depending upon browser security settings the ActiveX applet
may not be able to install.
If this occurs click on Tools and select Internet Options. Click
on the Security tab and select Trusted Sites. Select Sites and
deselect Require server verification (https:) for all sites in this
zone. Add the IP address of the DVR to this list and close the
browser. Repeat through to above.Step 1 Step 4
5Click on Login.
2To open additional viewing windows to watch more
cameras, right-click on the screen and select Video
Windows and select the number of windows required.
Login
6Enter your Remote Access User Name and Password.
Note that Remote Access user accounts are not the same as
Local Access accounts for the DVR menu interface.
Login
Logout
Video Menu
Search Footage
Additional Settings
Real-time Monitor
Camera Selection
Playback Control Bar
Configure DVR Settings
Record to Local Storage
Stop
Take Snapshot
Record Slider Bar Hide Control Bar
Close Control Bar
Full Screen
Fast Forward
Pause
Play/Play Local RecordRewind
7Once the password is entered select OK to proceed.
1To view a camera using Real-Time Monitor select the
camera number from the top bar.
Real-Time Monitor
Multi-View Preview
Decode Quality
Begin Dialog
Playback Control Bar
Set Volume
Net Data Flux
Full Screen
Resize Video
Video Windows
One window
Two windows
Four windows
Nine windows
New Video Window
Close Video Window
Arrange in Full Screen
Sixteen windows
3To view multiple cameras over Internet connections
right-click and select Multi-Video Preview.
Multi-Video Preview transmits the selected cameras in one
window to save on bandwidth. The DVR can only transmit one
Multi-Video Preview display at a time.
Real-Time Monitor
Multi-Video Preview
Decode Quality
Begin Dialog
Playback Control Bar
Set Volume
Net Data Flux
Full Screen
Resize Video
Video Windows
One Video Preview
Four Video Preview 1
Four Video Preview 2
Four Video Preview 3
Four Video Preview 4
Nine Video Preview 1
Nine Video Preview 2
Sixteen Video Preview
1To view playback and download files click on Search.
Login | Logout | Video | Search | Config | Assistant | 1 3 4 5 6 7 8 9 10 11 12 13 14 15 162
Search
2Enter the From Date and From Time and the To Date
and To Time and the Camera number. Tick All
Channel to view all camera records for the specified
time period.
3Select the desired record and select Play to view
playback or Download to download the file to your
computer.
Viewing Live Images
Viewing Recorded Images
8The top bar will light up and display numerical icons for
the cameras to indicate a successful connection.
v20061208
Table of contents
Other IFCS DVR manuals
Popular DVR manuals by other brands

Toshiba
Toshiba RD-XS34 owner's manual
Dahua
Dahua 6064 Series quick start guide
ENERGY SISTEM
ENERGY SISTEM TDT SD3 user manual
Digital Watchdog
Digital Watchdog VMAX A1 Plus DW-VA1P41T quick start guide
Mace
Mace MVR-SQ-40 Series quick start guide
VICONNET
VICONNET KOLLECTORPRO XG Installation & operation manual
