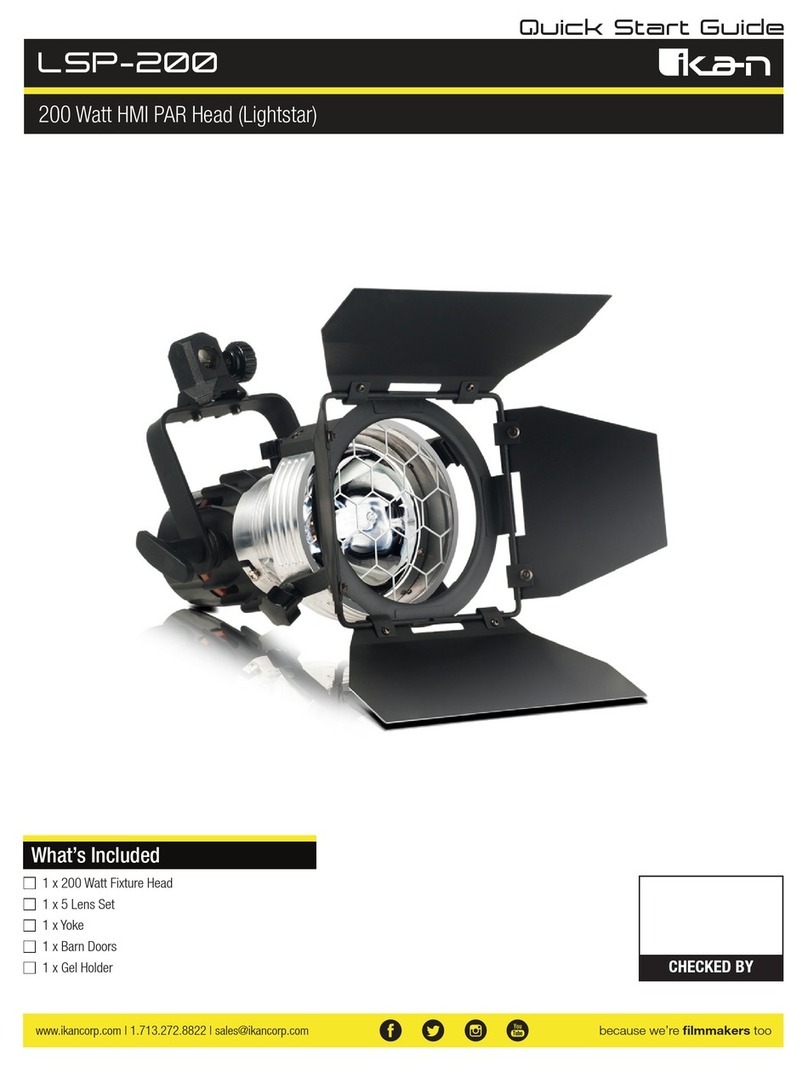
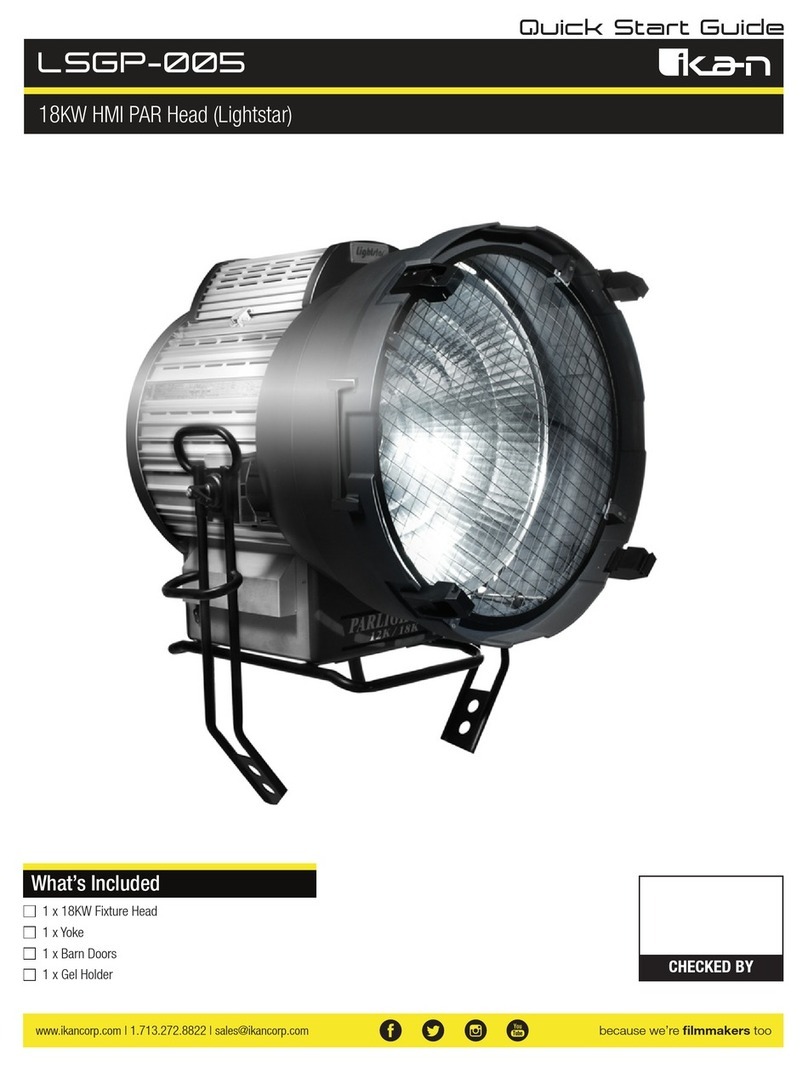
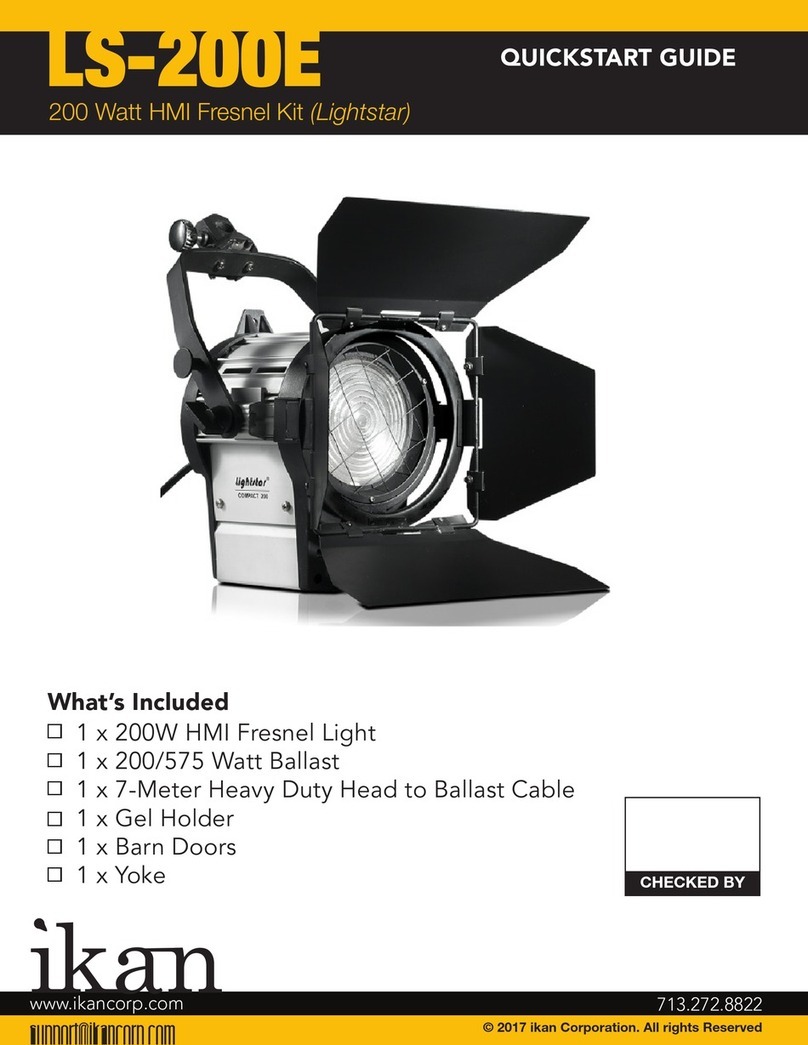
Ikan LS-575SPX User manual

CHECKED BY
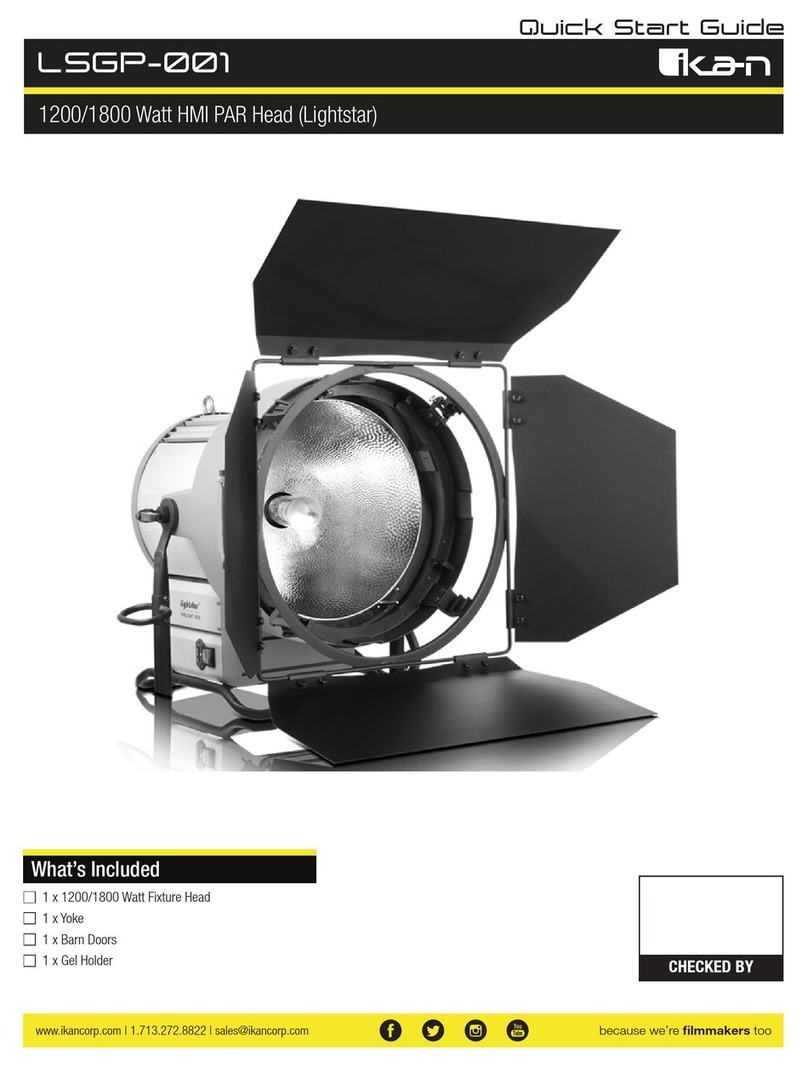
LS-575SPX
Quick Start Guide
575 Watt HMI Super Spot Kit (Lightstar)
What’s Included
1 x 575 Watt Light Fixture
1 x Barn Doors
1 x 575 Electronic Ballast
1 x 4’ Head to Ballast Cable
1 x Yoke
1 x 5 Insert Lens System (1x Spot, 1x Flood,
1x Narrow Flood, 1x Super Flood, 1x Frost)

Instructions & Safety Precautions
1. Before connecting the fixture to the main power, set lights. Disconnect from main power before moving the fixture. Do not
pull the main connecting wire from power source. Any product repairs must be performed by professional ikan personnel.
Users must use correct wattage globes for fixture.
2. Before lighting fixture lights, main power connection must be stable and operating correctly.
3. When adjusting or replacing the lamp, the fixture must be disconnected from main power.
4. When connecting to the AC connection you must first shut down the electronic ballast. To avoid possible harm caused by
the fixture’s ballast, we recommend using Lightstar cables and connectors with the correct fixtures.
5. Electronic ballasts and DIN meet DIN EN605981 EN60065 safety standards.
6. Grid voltage should not exceed the “technical indicators” set forth in the manual. Prior to the use of electronic ballasts,
electronic check voltage network and cable wiring is correct. When AC voltage is less than prescribed values then the use
of the unit ma be prohibited for users and production.
7. Fixture lamp ambient operating temperature must ensure that 20°C (68°F) ~ + between.
8. Products must be placed on a solid, flat and dry surface. Surface temperature should be less than 50°C (120°F). Avoid
direct sunlight by then irradiated, and at high humidity and with explosive gas in the work environment.
Product Overview
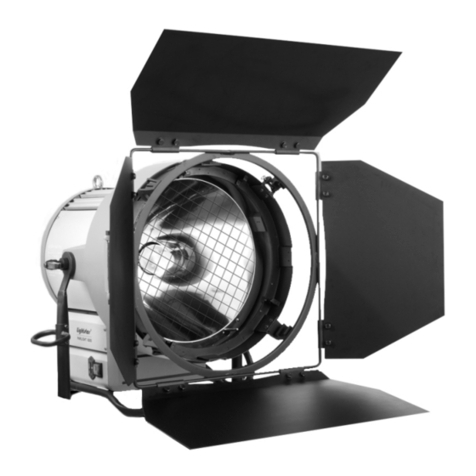
Lightstar 575W Super Spot HMI Lighting Fixture
The Lightstar Super Spot is intended for professional studio and location use and may be operated by qualified personal only.
Please read the following instructions carefully before using the fixture for the first time. For the safety of all parties please
follow all instructions of lamp and ballast manufactures also. Please keep the operating instructions for future use.
The Lightstar 575W Super Spot combine the fixture and ballast in a simple attached unit. The ballast attaches directly to the
yoke of the light. The quick connection of the light to the ballast is simple with the 4 foot head cable that comes with the 575W
Super Spot kit.
Lightstar 575 Super Spot fixture has the following advantages:
1. The ballast power supply unit safely connects to the light fixture so the system is convenient and placement quick.
2. The Par Lens System gives the user a Spot, Flood, Narrow Flood, Super Flood, and Frost Lens to choose from.
3. The light’s body structure is more compact, smaller, and efficient.
4. The ballast can be attached directly on the yoke of light. This makes the attachment of the head to ballast cable very
convenient.
5. On the integrated ballast pack the dimming can be set from 50%-100%.
Ikan is the exclusive distributor of Lightstar products in the United States.
Product Description
Lightstar 575W Super Spot HMI Lighting Fixture
Step 1: 575W Super Spot cap Press the button on the back cover, while counterclockwise rotation
of the cover, and then remove the back cover. Install the lamp in a porcelain seat, using a
firm push to install the bulb.
Step 2: The electronic ballast is fixed at 575W Super Spot yoke. Plug the head cable into the
electronic ballast, the other end is connected to the back fixture.
Step 3: The light can be attached to a Baby 5/8” pin on a stand or attached to a grid with a C-Clamp.
Step 4: Finally, the power cord connects to the electronic ballast, and the other end connects to the
AC power socket.

FAQ’s & Answers
1. The required ballast input voltage can automatically match the AC power.
A. Lightstar electronic ballasts can be used with either 110V or 220V AC power.
2. If the ballast suddenly stops working after working for some time.
A. The lamp itself is broken, or end of life.
B. The ballast fan may be bad; in this case the user must wait for the ballast temperature to
cool down before starting the unit again.
C. If the AC voltage exceeds the specified input voltage on the ballast this will cause the
breaker to engage.
D. An unexpected surge/spike of electricity will cause the ballast protection circuit to engage
and cause the ballast to not function.
E. If the ballast stops working due to voltage surge/spike its best to turn off the ballast than
turn the breaker back on and push the Action/Close button. These will reactivate the
ballast for reuse.
Product Accessories
Lightstar 575W Super Spot HMI Lighting Fixture
5 Sets of Lens to adjust the Beam Degree and Angle
No Lens Beam Angle: 5 Degree
Spot Lens Beam Angle: 9 Degree
Narrow Flood Beam Angle: 11 - 22 Degrees
Flood Beam Angle: 21 - 41 Degrees
Super Flood Beam Angle: 42 Degrees
Frost Beam Angle: 35 Degrees
Lighting Illumination Steps
Check the start button on the operation panel “0” so that it is in the pressed down position.
The fixture to ballast cable is connected and locked into place.
Connect the ballast power plug to the AC Power.
After the above operations are correct, the start button on the operation panel “1” is pressed, so that it’s in the ON position.
When the AC power voltage is live, the voltage indicator will be illuminated with a Green light.
Output Power Adjustment
The HMI Bulb is installed.
The power and output of the lamp can be adjustment by dimming the operating knob on the front panel.
Power can be adjusted between 50% and 100% on the ballast.

Optional Accessories
Some other products that work well with the LS-575SPX available from Ikan include:
KCP-703
SW-04
CV600
Stage Clamp w/ 16mm Stud
Safety Wire
Chrome Exposure / Spectrometer from UPRTek
Specifications & Photometrics
LS-575SPX Fixture Specifications
Light Source Metal Halide 575W/SE
Head Type HMI PAR 575W
No Lens 5°
Flood Beam Angle 21°-42°
Super Flood Angle 11°-22°
Spot Beam Angle 42°
Frost Beam Angle 9°
Lamp Base HMI 575/95V/G22
Control/Dimming 50-100%
Focusing 5-Insert Lens System
Build Material Aluminum
Cooling System Air-Cooled
Yoke Cast Aluminum w/ 1-1/8"Pin
IP Class IP23
Fixture Size 19.9 x 10 x 10 In.
Fixture Weight 18 lbs
Electronic Specifications
Power Supply Electronic Ballast 575w
Voltage Range Electronic Ballast 90-125 VAC 7.1-5.2 A
Electronic Ballast Size 9 x 5 x 4 In.
Electronic Ballast Weight 6 lbs
Shipping Specifications
Shipping
Dimensions
22 x 12 x 12 In.
55.88 x 30.48 x 30.48cm
Shipping Weight 30 lbs / 13.6 kg
LS-575SPX Photometrics
Spot Narrow Flood Flood Super Flood
10 Feet 82800 LUX 33600 LUX 9500 LUX 7200 LUX
7692.3 FC 3121.5 FC 882.5 FC 668.9 FC
16 Feet 29900 LUX 12000 LUX 3400 LUX 2600 LUX
2777.8 FC 1114.8 FC 315.8 FC 241.5 FC
32 Feet 7500 LUX 3040 LUX 850 LUX 650 LUX
696.7 FC 282.4 FC 78.4 FC 60.3 FC

Learn More
More dynamic information at official website: www.ikancorp.com
Support
CONDITIONS OF WARRANTY SERVICE
• Free service for one year from the day of purchase if the problem is caused by manufacturing errors.
• The components and maintenance service fee will be charged if the warranty period is expired.
Free Service will not be Provided in the Following Situations:(*Even if the product is still within the warranty period.)
• Damage caused by abuse or misuse, dismantling, or changes to the product not made by the company.
• Damage caused by natural disaster, abnormal voltage, and environmental factors, etc.
©2017 ikan Corporation. All rights reserved
Table of contents
Other Ikan Dj Equipment manuals

Ikan
Ikan LSC-007 User manual

Ikan
Ikan Lightstar LSGP-005 User manual

Ikan
Ikan LSP-200 User manual

Ikan
Ikan WS-F350A User manual

Ikan
Ikan Lighstar LSP-003 User manual

Ikan
Ikan LSP-011 User manual

Ikan
Ikan Lightstar LSGP-003 User manual

Ikan
Ikan LSGP-001 User manual

Ikan
Ikan OYB5 User manual

Ikan
Ikan OYB15 User manual