Imi Heimeier Boost V2 User manual

Boost V2

2
Hereby, IMI Hydronic Engineering declares that the radio equipment type
(designation of type of radio equipment) is in compliance with Directive 2014/53/EU.
RF Frequency: 868 MHz 2 dBm, 2.4 GHz 3.5 dBm.
Hiermit erklärt IMI Hydronic Engineering, dass der Typ der Funkanlage (Bezeichnung
des Typs der Funkanlage) mit der Richtlinie 2014/53/EU übereinstimmt.
HF-Frequenz: 868 MHz 2 dBm, 2,4 GHz 3,5 dBm.
Par la présente, IMI Hydronic Engineering déclare que le type d’équipement
radio est conforme à la directive 2014/53/UE.
Fréquence RF : 868 MHz 2 dBm, 2,4 GHz 3,5 dBm.

3
EN
Boost – LED/button indication........ 4
Installing the Boost ......................... 5
Using the Boost with the wireless
series system.................................. 6
Using the Boost with the neoHub
system............................................ 7
Wiring diagram - Boost................... 8
Factory resetting the Boost............. 9
DE
Boost – LED-/Tastenanzeige......... 10
Installation .................................... 11
Verwendung mit der Wireless-Serie...12
Verwendung des Boost mit dem
neoHub-System ........................... 13
Anschlussschema - Boost............ 14
Auf Werkseinstellungen
zurücksetzen ................................ 15
FR
Boost – Indications des LED/
boutons........................................ 16
Installation du Boost V2................ 17
Utilisation du Boost avec le
système sans fil ............................ 18
Utilisation du Boost avec le
système neoHub ......................... 19
Schéma de câblage - Boost ......... 20
Réinitialisation d’usine du Boost ... 21
Notes/Notizen/Notes .................... 22

4
Boost – LED/button indication
RF repeater
LED’s
(RX TX Comms)
Pairing
button
Power
status LED
Neo/Mesh repeater LED’s
(Link )
1

5
• Using a small screwdriver, slightly
loosen the screw located at the
base of the Boost. You can then
carefully separate the front panel
from the back plate.
• Position the Boost back plate on
the wall, fixing into place using the
screws provided.
• Terminate the cables to the Boost
as shown in the wiring diagram
(section 5).
• Mount the front panel onto the
back plate, tighten the retaining
screw on the base.
• Switch on the power supply, the power LED will illuminate.
Installing the Boost2

6
4
4
3
3
2
2
1
1
ON
ON
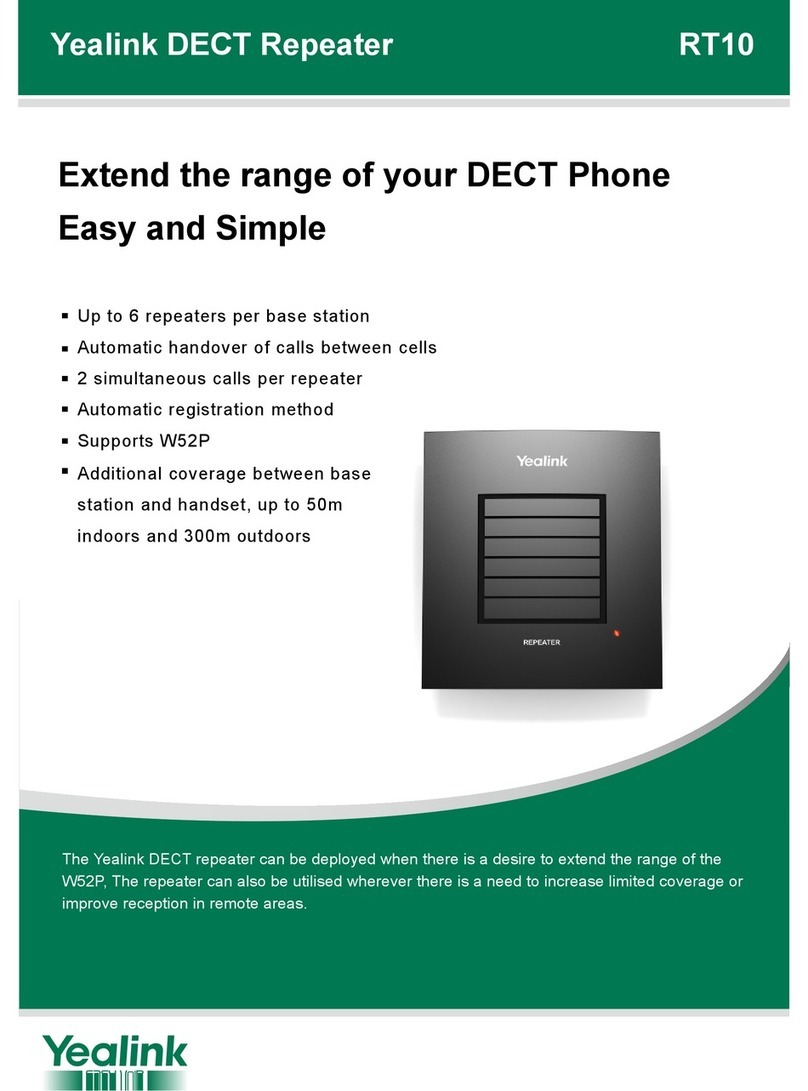
The IMI Heimeier Boost is a repeater designed to extend the communication
distance of the neoAir thermostat to the UH8-RF V2 wiring centre.
On the Boost, set switch number 3 to the OFF position
The Boost repeater does not need to be paired to any
devices on the system.
Signals that are being transmitted by the thermostats will be detected by the
Boost and repeated on to the UH8-RF V2.
3Using the Boost with the wireless series system

7
44332211
ONON
The IMI Heimeier Boost is a repeater, designed
to extend the communication distance between
neoStats, neoAirs and the neoHub.
On the Boost, set switch number 3 to the OFF position
First pair the Boost repeater to the neoHub, then pair any other devices which
require the help of the Boost to communicate with the neoHub.
Signals that are being transmitted by the thermostats will be detected by the
Boost and repeated to the neoHub.
Add the Boost repeater from the Home screen in the Neo App;
Select +
Add Accessory
Add Repeater
Then follow the pairing instructions in the app.
Using the Boost with the neoHub system
4

8
Wiring diagram - Boost
LEN
230 V supply
3A
5

9
Factory resetting the Boost
To reset the Boost;
Press and hold the connect button for 10 seconds,
The light on the Boost will now flash.
Release the connect button.
Once the light has stopped flashing, the reset procedure is complete.
6

10
Boost – LED-/Tastenanzeige
Stromver-
sorgungs-
anzeige
Neo/Mesh-Verstärker-LEDs
(Link )
Funkver-
stärker LEDs
(RX TX Comms)
Kopplungs-
taste
1

11
• Lösen Sie mit einem kleinen
Schraubenzieher die Schraube
an der Unterseite des Boost.
Anschließend können Sie die
Frontplatte vorsichtig von der
Rückwand entfernen.
• Positionieren Sie die Boost-
Rückwand an der Wand und
befestigen Sie sie mit den
mitgelieferten Schrauben.
• Schließen Sie die Kabel wie im
Schaltplan (Abschnitt 5) dargestellt
an.
• Montieren Sie die Frontplatte auf die Rückwand und schrauben Sie
anschließend die Befestigungsschraube an der Unterseite wieder fest.
• Schalten Sie das Netzteil ein, die Power-LED leuchtet.
Installation2

12
Verwendung mit der Wireless-Serie
44332211
ONON
Der IMI Heimeier Boost ist ein Funksignalverstärker (Repeater), der die
Kommunikationsdistanz zwischen dem neoAir V3 Thermostat und der UH8-RF
V2 Anschlussleiste verlängert.
Stellen Sie den Schalter Nummer 3 am Boost in die Position OFF (AUS).
Der Boost muss nicht zusätzlich mit Geräten im System gekoppelt
werden.
Signale, die von den Thermostaten gesendet werden, werden vom Boost
erkannt und an das UH8-RF V2 automatisch weitergeleitet.
3

13
Verwendung des Boost mit dem neoHub-System
44332211
ONON
Der IMI Heimeier Boost ist ein Funksignalverstärker
(Repeater), der dazu dient, die Kommunikations-
distanz zwischen neoStats, neoAirs und dem
neoHub zu verlängern.
Stellen Sie den Schalter Nummer 3 am Boost in die Position OFF (AUS).
Koppeln Sie zunächst den Boost-Repeater mit dem neoHub und anschließend
alle anderen Geräte, die sich außerhalb der Reichweite des neoHub befinden.
Signale, die von den Thermostaten übertragen werden, werden vom Boost
verstärkt und an den neoHub weitergeleitet.
Fügen Sie den Boost über den Startbildschirm der Neo-App ihrem System hinzu;
Wählen Sie +
Zubehör hinzufügen
Repeater hinzufügen
Befolgen Sie dann die Kopplungsanweisungen in der App.
4

14
Anschlussschema - Boost
LEN
230 V
3A
5

15
Auf Werkseinstellungen zurücksetzen
So setzen Sie den Boost auf die Werkseinstellung zurück;
Halten Sie die Verbindungstaste 10 Sekunden lang gedrückt,
Die -Leuchte am Boost beginnt zu blinken.
Lassen Sie die Verbindungstaste los.
Sobald die Leuchte nicht mehr blinkt, ist der Rücksetzvorgang
abgeschlossen.
6

16
Boost – Indications des LED/boutons
LED du
répéteur RF
(RX TX Comms)
Bouton
d’appairage
LED voyant
d’alimentation
LED du répéteur Neo/Mesh
(Link )
1

17
• À l’aide d’un petit tournevis,
desserrez légèrement la vis située
à la base du Boost. Vous pouvez
alors séparer avec précaution la
face avant de la face arrière.
• Positionnez la face arrière du Boost
sur le mur et fixez-la à l’aide des vis
fournies.
• Terminez de câbler le Boost
comme indiqué dans le schéma de
câblage (section 5).
• Repositionnez la face avant sur la
face arrière, serrez la vis de fixation
sur la base.
• Mettez l’alimentation en marche, le voyant d’alimentation s’allume.
Installation du Boost V22

18
Utilisation du Boost avec le système sans fil
4
4
3
3
2
2
1
1
ON
ON
L’IMI Heimeier Boost V2 est un répéteur conçu pour étendre la distance de
communication du thermostat neoAir à la centrale de contrôle UH8-RF V2.
Sur le Boost, placez le commutateur numéro 3 en position OFF.
Le répéteur Boost n’a pas besoin d’être appairé à un appareil
du circuit.
Les signaux transmis par les thermostats sont détectés par le Boost et transmis
à l’UH8-RF V2.
3

19
Utilisation du Boost avec le système neoHub
44332211
ONON
L’IMI Heimeier Boost V2 est un répéteur, conçu
pour étendre la distance de communication entre
les neoStat, les neoAir et le neoHub.
Sur le Boost, placez le commutateur numéro 3 en position OFF.
Couplez d’abord le répéteur Boost au neoHub, puis tous les autres appareils
qui ont besoin de l’aide du Boost pour communiquer avec le neoHub.
Les signaux transmis par les thermostats sont détectés par le système Boost et
répétés au neoHub.
Ajoutez le répéteur Boost à partir de l’écran d’accueil de l’application Neo :
Sélectionner +
Ajoutez un accessoire
Ajoutez un répéteur
Suivez ensuite les instructions d’appairage dans l’application.
4

20
Schéma de câblage - Boost
LEN
Alimentation
230 V
3A
5
Table of contents
Languages:
