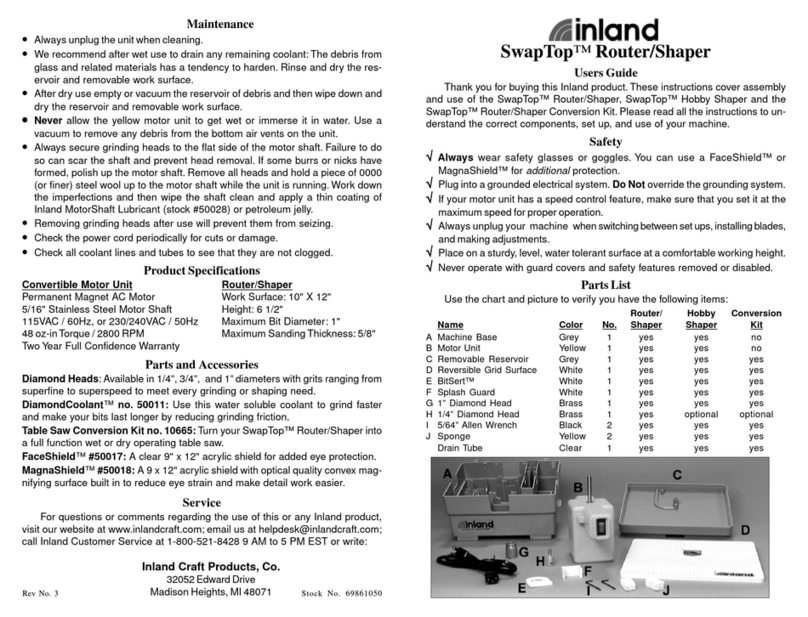
Inland WizCG User manual

INSTRUCTION MANUAL
WizCG grinder
WizlingCG grinder

2
IMPORTANT! READ FIRST
For your own safety be sure to read, understand and follow all
warnings, safety rules and instructions in this instruction manual
before using this machine. Failure to do so can result in serious
personal injury. This instruction manual is intended for the WizCG
and WizlingCG grinders. Save these instructions.
SAFETY INSTRUCTIONS
Setup
Intended for indoor use only.
Avoid dangerous environments. Do not
use this machine near gasoline or other
Make sure machine is securely placed
on a sturdy, level surface with ample
working area and away from open
electrical outlets.
Do not place grinder in a pan, on a
towel, or on carpeting.
Check for damaged parts. Before use,
always check for any damaged parts to
determine that it will operate properly
and perform its intended function. Check
for proper alignment of moving parts,
binding of moving parts, breakage
of parts, mounting, and any other
conditions that may affect its operation.
A part that is damaged must be properly
replaced through the manufacturer of
this machine to avoid risk of injury.
Use only Inland WizCG and WizlingCG
grinder parts for replacement parts.
Use of any other parts not originally
intended for these machines may create
a hazard or cause product damage.
Know your power tool. Read this
instruction manual carefully. Learn the
correct applications and limitations as
related to this machine.
Usage
Always wear proper eye protection to
out while you’re grinding. We recommend
wearing safety goggles or safety glasses
with side shields. Everyday glasses are
not safety glasses. If anyone is around
the machine while it’s in use, they must
also wear safety glasses.

3
SAFETY INSTRUCTIONS
Always wear proper apparel. Do not
wear any loose clothing, gloves, neckties
or jewelry that can get caught in the
machine’s moving parts. Secure long hair
with a rubber band or hair tie.
Keep work area well lit and clean.
Make sure your work area is not cluttered.
Do not operate unattended. Adult
leave the machine running unattended.
Do not operate this machine while
under the inuence of drugs, alcohol
or any medication.
Never run diamond grinder bits dry.
Diamond grinder bits are designed to
be used with a lubricant, such as water,
and will be ruined immediately if used
dry. Always make sure you are using
the material’s dust doesn’t form. This
dust contains chemicals that can be
hazardous to your lungs if inhaled and is
known to cause cancer, birth defects or
other reproductive harm. To reduce your
exposure to these chemicals, work in a
well ventilated area and wear a face or
dust mask.
Never grind more than one workpiece
at a time.
Some materials contain poisonous
elements. Avoid grinding materials that
contain uranium, mercury, lead, arsenic,
etc. Make sure you know the material you
are grinding.
Do not allow water to run down the
shaft and into the motor. This will cause
the motor to instantly burn out. This
machine is designed in such a way that
this does not occur with normal use.
Do not overll the water reservoir.
and damage the motor.
Do not force the tool or attachment to
do a job it is not designed to do.
Avoid awkward operations and hand
positions. Make sure you have good
balance while working on this machine.
A sudden slip could cause your hand to
move into the moving grinder bit.
Always stay alert. You must be focused
while working on this machine. Your
grinding material can catch on the
grinder bit and eject out of the area.
Maintenance
Always disconnect from power
before servicing. Disconnect machine
from power source before making any
adjustments and when not in use.
Do not abuse the power cord.
carry the machine by the cord or yank it
to disconnect from receptacle. Keep cord
away from heat, oil and sharp edges.
Do not open the motor housing. There
are no user serviceable parts inside.
Clean and dry machine after use.

4
TABLE OF CONTENTS
2
5
6
ASSEMBLY 7
USAGE 9
10
ACCESSORIES 11
Register your product
So that we can offer you the highest
level of service possible, please take
a moment to register your WizCG
or WizlingCG at inlandcraft.com/
product-registration.You can also
register by mailing us the enclosed
registration form. Complimentary
mailing envelope is included for
your convenience. Registration of
your grinder also helps facilitate any

5
WARRANTY INFORMATION
What does this warranty cover?
If your Inland machine fails under appropriate use during the warranty period,
Inland Craft will repair or replace it at our discretion. Inland Craft guarantees
to replace (after receipt and inspection) your included grinder bit, if the
diamond cutting surface peels off due to any manufacturing defect.
What does this warranty not cover?
This warranty does not cover problems resulting from abuse, misuse,
machine or improperly following the instructions.
Who is covered under this warranty?
non-transferable.
Whom should I contact if I need a warranty service?
Contact Inland Craft directly by phone at (248) 583-7150 or by email at
You must prove that you are under warranty by providing us with the
original invoice of your machine or by registering your product in order
to receive our warranty service.
WizCG and WizlingCG grinders are covered by a 5-year warranty
from the date of purchase. Registering your grinder machine helps
facilitate any warranty-related requests.

6
MACHINE DETAILS
The image below shows parts included with your grinder machine
(WizCG grinder pictured)
1
2
3
4
9
8
1. Grinder housing
2. Coolant reservoir tray
*WizlingCG reservoir is maroon color
3. Work surface
4. 3/4" grinder bit
5. 1/4" grinder bit
*Included with WizCG ONLY
6. BitSert
7. Splash guard
8. Coolant sponge (2)
9. Allen wrench (2)
56
7
*WizCG only

7
Filling the coolant
reservoir
A water/coolant mixture prevents
airborne glass dust, increases grinding
speed, and prolongs the life of the
diamond surface on the grinder bits.
diamond tool. Remove the work surface,
then pour 12 ounces (1½ cups) of clean
to the ridge on the coolant level indicator
located in the middle of the reservoir
(Fig. A). Optionally, you can add a capful
of Inland Craft diamond coolant (not
included) to increase diamond bit life
and grinding speed. Replace the work
surface.
*IMPORTANT NOTES: Never pour
water directly onto the grinder bit or
down the motor shaft. Do not overll
the coolant reservoir; overlling
can create an electrical shock and
damage the motor. Do not use
antifreeze as a coolant.
ASSEMBLY
Installing the grinder bit
In chronological order, install the grinder
bit according to the steps below and
Fig. B on page 8.
1Insert the BitSert into the work
surface.
2Insert the splash guard into the
installed BitSert.
3Before installing the grinder bit,
apply a thin coat of Inland Craft
motor shaft lubricant (not included) to
the motor shaft. This is to prevent the set
screw from seizing to the motor shaft.
Metal against metal, under pressure and
over time can bond. Loosening the set
screw between uses also prevents this. If
you do not have the Inland Craft motor
shaft lubricant, use a small amount of
Vaseline.
4Take the included 3/4" grinder bit
and loosen the set screw using
the included Allen wrench, turning
counterclockwise.
5Slide the 3/4" grinder bit onto the
motor shaft, positioning the set
shaft. Bits should slide onto the motor
shaft easily, do not force!
6Lower the bit until just over 1/8" of
the diamond is exposed above the
work surface. Secure the bit using the
Allen wrench, turning clockwise.
Fig. A
*WizCG reservoir is pictured,
WizlingCG reservoir is maroon
Fill to
here

Sponge placement
The included yellow sponge is what feeds
the coolant to the grinding bit while you
work. It is held in place by the BitSert. To
under clean water. Insert the sponge into
the rectangular hole behind the BitSert,
so that the bottom of the sponge makes
contact with the coolant in the reservoir,
and the top of the sponge makes contact
with the diamond surface of the bit
(Fig. C). The sponge must always have
contact with the bit while grinding. If a
white paste develops on the head or
on your glass while grinding, either the
sponge is not properly positioned or the
water/coolant level in the reservoir is low.
Periodically rinse out the sponge to remove
accumulated grinding residue. When the
sponge becomes worn, replace it.
Fire it up!
Make sure the power cord is plugged into
a grounded electrical outlet. Put on safety
goggles (not included) and turn on power
located on the right side of the machine.
8
ASSEMBLY
Fig. C
*IMPORTANT NOTE: Always tighten
and secure the grinder bit set screw
to the at side of the motor shaft.
Tightening the grinder bit to the
rounded side can scar the shaft and
prevent bit removal. Never force a
bit onto the motor shaft and never
attempt to pry off a bit. If the bit
is stuck, please review our FAQ at
inlandcraft.com/faq rst. If you still
need assistance, please contact
Inland Craft at (248) 583-7150.
Fig. B
BitSert
Splash guard
Flat side
motor shaft
Grinder bit
set screw

9
USAGE
Grinding
Turn on the machine and start grinding
a piece of scrap glass to get a ‘feel’ for
the grinding action. Begin by pushing
the glass into the grinding bit using light
pressure and moving the glass back and
forth across the bit. Slowly increase the
pressure until you feel comfortable with
the grinding speed and your control.
pressure for the types of glass you
use. When grinding out deep cuts, use
intermittent pressure to allow coolant
to rinse ground glass from the head. If
you ever have a white paste form on
the bit, it is not getting enough coolant.
Stop, turn off the machine, and check
the sponge placement and coolant level.
Grinding without coolant greatly reduces
the life of your grinding heads.
As the diamond surface wears, you will
feel it grind less effectively. When this
happens, it is time to expose a new
portion of the diamond surface. Loosen
the set screw using the included Allen
wrench and move the grinding head up
on the shaft to expose a new 1/8" section
of diamond. Secure the bit back in place
making sure to tighten the set screw
Reposition the sponge if needed. You
have up to 5, 1/8" sections of exposed
diamond on a standard grinding bit
to use before you need to consider
replacing the entire head.
How to drill a hole in glass
The WizCG comes with a 1/4" grinding/
drilling bit. It is not included with the
WizlingCG. This 1/4" grinder bit is useful
for drilling holes and intricate grinding.
The 1/4" bit is placed onto the motor shaft
and sits on top of the 3/4" grinder bit.
Loosen the set screw with the included
Allen wrench, then slide the bit onto the
side of the motor shaft. You need to supply
the coolant to the 1/4" bit while drilling by
using the other included sponge soaked in
coolant. Begin drilling the hole by holding
the front surface of the glass against the
upper edge of the bit at about a 45° angle,
while holding the coolant soaked sponge
against the bit and glass (Fig. D). You will
want to use two hands. Slowly move the
glass down onto the bit in a horizontal
position. Continue to work the glass down
and around the top of the bit in a circular
motion, making sure to keep the glass and
diamond wet at all times. You may need
to stop and soak the sponge with coolant
several times. Reduce pressure as you
Fig. D
begin to see the bit
come through the
back of the glass
to avoid chipping.
Practice before
project.

10
MAINTENANCE
Motor
The motor bearings are permanently
sealed and lubricated. There is no
Motor shaft
Apply Inland Craft motor shaft lubricant
(not included) or a small amount of
Vaseline to the motor shaft whenever
you change or remove the grinding bits.
Remove the bit if you won’t be using the
grinder for more than a week.
Water reservoir
Remove and clean the reservoir every
four hours of use, more often if grinding
heavily. Remove the water reservoir by
the work surface, then lift the reservoir
tray off the grinder housing. Scrape the
glass sludge into the trash and rinse
clean. Reassemble, referring to the
assembly section on page 7.
Work surface
The work surface is reversible. When one
Replacement work surfaces are available
online.
Coolant sponge
Periodically rinse out the coolant sponge
to remove any accumulated grinding
holding the sponge under running water
to rinse and clean it. When the sponge
becomes worn, replace it.
Keep your switch clean
Water and glass slurry may slop over the
sides of the grinder and onto the switch.
Wet hands handling the switch will also
get glass slurry into the switch. Over time,
this glass slurry builds up in the switch
contacts. Because colored glass contains
are there, the dried glass dust will make
a live connection across the switch
contacts.
Maintenance to WizCG and WizlingCG grinders is minimal but important. Follow these
guidelines to prolong the life and performance of your machine.
Check out our YouTube channel for WizCG and WizlingCG grinder
maintenance videos and usage tutorials at youtube.com/ICPVids

11
ACCESSORIES
Optional accessories and additional grinder bits available at inlandcraft.com
Jewelry bit
Use to grind grooves
around the outside of glass,
cabochons, beads and
buttons for wire wrapping
projects. Available in 220#
diamond grit. Choose from
1 mm and 1.4 mm thickness.
SKU
1 mm: 40190, 1.4 mm: 40194
FaceShield
Large, 10" x 8-3/4" acrylic
face shield provides added
protection from grinding
debris. Quick and easy
installation.
SKU
50017
Diamond drill bit
Use to drill precision holes
details in your glass pieces.
Available in 1/8", 1/4" and
the grinding/drilling adapter
on the right.
SKU
1/8": 40318, 1/4": 40314,
3/8": 40338
MagnaShield
Same as the FaceShield
except with a built-in optical
convex magnifying surface
to reduce eye strain, making
it easier to see.
SKU
50018
Grinding/drilling bit
adapter
This adapter is used with
the diamond drill bits. Drill
precision holes and create
having to remove your 3/4"
or 1" grinding head!
SKU
40317
SecondStory work
surface
Elevated work surface that
makes it easier to grind
and drill holes with small
diameter drilling heads.
SKU
50001

Manufactured by
Reentel International Inc.
808 Burr Oak Drive
Westmont, IL 60559
U.S.A.
Phone
(248) 583-7150
Email
Website
inlandcraft.com
Facebook
facebook.com/inlandcraft
Twitter
twitter.com/inlandcraft
YouTube
youtube.com/ICPVids
This manual suits for next models
1
Table of contents
Other Inland Grinder manuals
Popular Grinder manuals by other brands
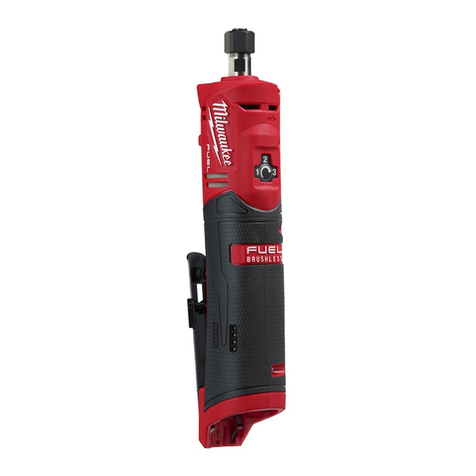
Milwaukee
Milwaukee M12 FDGS Original instructions

AEG
AEG WS 22-180E Original instructions
Atlas Copco
Atlas Copco LSF19 S300-1 Product instructions

joke
joke JBS 400 instruction manual

Würth
Würth EWS 7-115 BASIC Translation of the original operating instructions
Siegen tools
Siegen tools S0530.V2 instruction manual

Challenge Xtreme
Challenge Xtreme MD3215M Original instructions
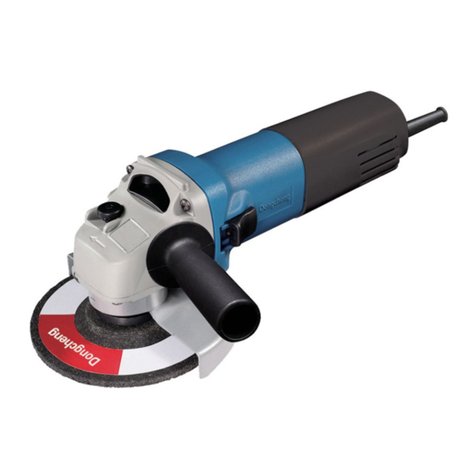
Dongcheng
Dongcheng DSM125A Operation instructions

Ingersoll-Rand
Ingersoll-Rand CA series Operation and maintenance guide

DeWalt
DeWalt D28143 instruction manual
Metabo
Metabo FSR 200 INTEC - Original instructions
Makita
Makita 9565PCV01 instruction manual
