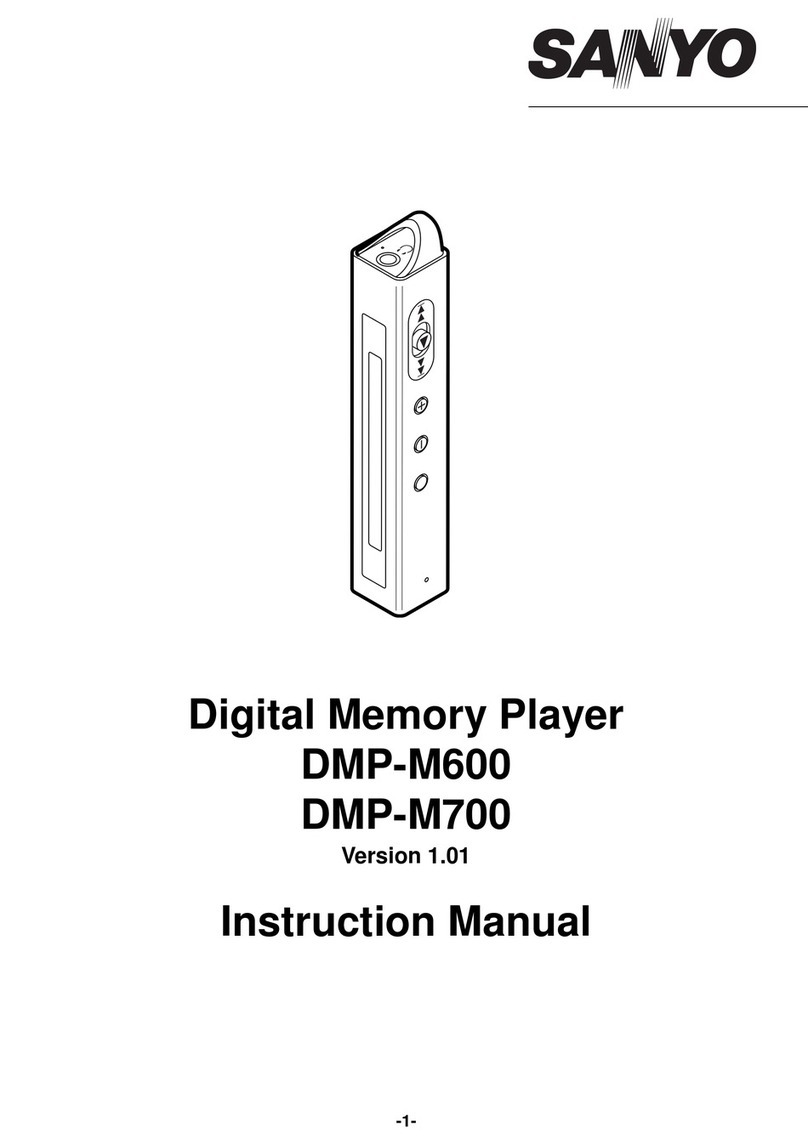
INNIOASIS G1 User manual


INNIOASIS G1
Digital Music Player

SD Slot
Home
USB-C Port
Speaker
Restar
3.5mm output
Back
Volume +
Volume -
Power
Key DiagramButton & Port Introduction

Button & Port Introduction
Power:
·In shutdown state, press and hold for 3
seconds to turn on.
·In power-on state, long press for 3
seconds to activate the shutdown options:
Power o, Restart.
·Short press to turn o / on the screen.
Volume + / - : Press + / - to turn up/down
the volume.
USB-C: Connect type-c cable for charging
and file transfer.
Restart: Long press for 3 seconds with the
pin, the device will be reboot.
Back: Click to come back to the previous
page.
Home: Click to come back to homepage.
Long press to open the background
process management (Recently used
apps), swipe left/right to remove the
selected process.
SD slot: Expand storage of the device,
maximum support 2 TB TF / Micro-SD card.
3.5mm output: Connect your headphones
or external speakers as audio output.
Button & Port Introduction

1. Transfer from your computer:
·For Windows:
1) Use the included USB cable to connect
·For MacOS:
1) Please download and install the MTP
device file transfer software. The recom-
mended software is as follows:
OpenMTP: https://openmtp.gane-
shrvel.com/
MacDroid: https://www.macdroid.app/
e-books and other files from your
computer and paste them into the target
folder of “G1” device, just like using a
normal USB flash drive.
2) Copy the downloaded music or videos,
the player to your computer. The
computer will automatically recognize
the device and install the driver. After
the installation is successful, Click "My
Computer", you will find an MTP device
named "G1" in the list of devices and
drives, click on it to access the player's
internal/external SD card and its folders.
How to Transfer Music or Video

2. Transfer from your phone:
·For Android:
Transfer music or videos from Android
smartphone to the player requires the
MiniShare app. Please scan the following
QR code to download and install MiniS-
hare.
2) Launch the installed OpenMTP or
3) Copy the downloaded music, videos,
e-books and other files from the Mac
device and paste them into the target
folder of the device "G1".
MacDroid software and follow the
prompts to connect the player to the
Mac device. You will find the device
named "G1" and all its folders in the
device list of the software.
Minishare for Android
How to Transfer Music or Video

①Android phone G1 Player
a. Click the “File transfer” icon on the
b. Open the MiniShare app on Android
phone, also click the icon in the
middle of the window to switch to
Send/Receive mode, and click the
"Send" icon, then select the music
and videos to be transferred, and
click the "Send" button that pops up
below. Next, you can find the avatar
and name of G1 player in the search
radar, click it to establish a connec-
tion and start transferring files (If you
have set a hotspot password, you
will be asked to enter it). If not found
in the search radar, you can also click
the "Scan QR Code" button below to
activate the camera scanning, and
scan the QR code of G1 player to
establish a connection, and then
desktop of the G1 player to open the
MiniShare App. And click the icon
in the middle of the window to
switch to Send/Receive mode, and
then click the "Receive" icon, and the
device will start hotspot and pop up
a QR code for scanning.
How to Transfer Music or Video

②Android phone G1 Player
a. Click the “File transfer” icon on the
desktop of the G1 player to open the
MiniShare app. And click the icon
in the middle of the window to
switch to Create Group/Join mode,
and then click the "Create Group"
icon, and the device will start
hotspot and pop up a QR code for
scanning.
b. Open the MiniShare app on Android
phone, and also click the icon in
the middle of the window to switch
to Create Group/Join mode, click the
"Join Group" icon. Next, you can find
the avatar and name of G1 player in
the search radar, click it to establish
a connection and start transferring
files (If you have set a hotspot
password, you will be asked to enter
it). If not found in the search radar,
you can also click the "Scan QR Code"
button below to activate the camera
scanning, and scan the QR code of
start to transfer files.
How to Transfer Music or Video

* The pictures and videos in the Photos App
can be transferred directly to the G1 player.
Please refer to the FAQ section in the “File
Transfer” chapter.
Tips: In the Create Group/Join Group mode,
multiple devices are allowed to join the same
group to transfer files between each other.
G1 player to establish a connection,
and then start to transfer files.
·For IOS:
Since IOS is a closed source system, the
music stored on the iPhone cannot be
transferred directly to the G1 player. You
must first export the music to your
computer from your iPhone with iTunes or
other third-party software (such as iTools),
and then transfer to the G1 player from
your computer (please refer to the
"Transfer from your computer" section).
How to Transfer Music or Video

MUSIC
1. Know The Main Window of Music App
Click the Music app on the player’s desktop
to enter the main window. Here, there are
4 commonly used tabs for you to custom-
ize the function menu of the app, and
manage songs and playlists. As below:
1) Including User login, Function menu,
·Import Music Via WiFi: (only applicable to
models with WiFi)Import music in batches
from your computer and cellphone via
WiFi. The player and the sending device
must be under the same wifi.
·Music scan: Scan music in all folders or
specific folders. Dierent scanning rules
can be selected.
·Equalizer: Enable or disable equalizer,
you can choose Pop, Blues, Classic, Jazz,
Rock, Dance, Metal, Voice, Custom, etc.
·MSEB: enable/disable MSEB sound
adjustment.
·Plugins: Add playback plugins.
·Sleep timer: Set the sleep time from 0 to
120 minutes, and once the set time is
exceeded, it will stop playing music.
Settings, etc.

MUSIC
·Settings: More setting options can be
found here, such as Show lyric, Resume
play from last position, Font size,
Language, Album cover display, etc.
·Quick guide: Guide you to operate the
App
·Exit: Close and exit the music App
·Artist: Organize songs by artist name
·Genre: Organize songs by their genre type
·Title: Show all local songs, including
device internal storage and external SD
card. And sort in alphabetical order by
default.
·Folder: Show all local folders, including
the device internal storage and external SD
card. You can quickly access the target
folder and add songs to the playlist in
batches.
* If you want to display only the folders containing music, you
can enable the "Filter non-music files and folders" item in
“Music scan”
2) Manage your songs according to
dierent categories. For example:
·Album: Organize songs by album name

MUSIC
·Album Artist: Organize songs by album +
artist
·Favourite: List all songs marked as
Favourite.
·Recently: List those recently played songs
·Playlist: List all playlists you have created.
Here you can click to create a new
playlist, or click to import a playlist.
Moreover, there are more shortcut menus
under each song category to meet your
dierent operating needs. For example:
3) Manage all your lists, including:
4) Quickly search for Tracks, Artists,
Albums or Genres.
1) Shue all: Click “Shue all” every
2) : Click this icon under Title or Folder
time, it will refresh the shue sequence.
to activate the selection mode, and then
click the check box in front of target files
one by one to select it. Next, you can do
in the shortcut bar at the bottom:

MUSIC
· Enqueue(next track) -- Assign the
currently selected song as the next track.
3) Long press any item under Title or
Folder, you can:
· Add to playlist -- Add the currently
selected song to a specific playlist.
· Send to -- Unavailable
· Delete -- Delete the currently selected
song
Note: To activate the selection mode under Album, Artist,
Genre, Album Artist, long press any item under it.
· Enqueue (next track) -- Assign the
currently selected song as the next track.
· Enqueue (last track) -- Add the current
song to the playback sequence.
· Add to playlist -- Add the current song
to the playlist.
· Properties -- View the details of the
current song
· Delete track -- Delete the current song
· Send to -- Unavailable
· Show album info -- View the info of
the album where the song is located.

MUSIC
· -- Switch between the linear progress
bar and the circular progress bar
· --Shue all. Click it to switch to List
loop, Loop single, Sequential play.
· --List loop
· --Loop single
· --Sequential play
· --Click to switch to the next song
· --Click to switch to the previous song
· / --Play/Pause
· --View the playlist of the current song.
· --Enable shortcut menu: Add to playlist,
Equalizer, Show album info, Properties,
Obtain lyrics and cover art online
2. Know The Music Playing Window
Click the thumbnail bar at the bottom of
the main window to access the music
playing window. Here, you can view the
album cover, lyrics, details (Samplerate,
Bits, Bitrate, etc.), and control the playback
process. The following are some common-
ly used keystrokes.

MUSIC
3.FAQ
1) How to create a playlist?
Click “ New playlist” in the “Playlist” of
the list-tab , then enter the name you
want, and click Ok·
2) How to add songs to the playlist?
·Add single: Long press the target track,
3) How to view lyrics?
Swipe left in the middle of the playing
window to switch between the album
cover, lyrics page, and details page. Lyrics
come from your local lrc file. If lrc is
missing, you can also click the icon in the
upper right corner and select "Obtain lyrics
and cover art online" to get.
and select "Add to playlist" in the pop-up
menu, Next, Select an existing playlist or
click “New Playlist” to create a new
playlist for store.
·Add in batch: Click this icon under
Title or Folder to activate the selection
mode, and then click the check box in
front of target files one by one to select it.
Next, Then select "Add to playlist" in the
bottom toolbar.

MUSIC
4) Added a new music folder or SD card,
but the device did not find the music
stored in them,How to do?
Please click on the icon in the main
window to select and perform “music
scan”.

VIDEOS
1. Know the video management window
Click the Videos app on the player’s desktop
to enter the folders management window.
Here, all folders with videos are displayed.
Click any folder to enter the video manage-
ment window. You can do the following in
these 2 windows.
1) Click the icon in the upper left corner, you
can get more function menu.
App Language -- Set the language of
the app. Defaults to the system language
App Theme -- Set the theme of the
app, such as the background color of the
title bar and window.
Local Music -- List all local music. You
can click to play the song.
Equalizer -- You can activate/deacti-
vate EQ to choose Normal, Classical,
Dance or Custom mode, and adjust bass
and virtualizer.
Video Playlists -- You can create your
own video playlist, add videos to it, and
specify the playback mode: Repeat All,
Shue All.

VIDEOS
Network Stream -- Enter the URL to
play the video, the target website or
server support is required.
Local Network -- Access and play video
files on local LAN servers. Requires server
support.
Local Player Settings -- Provide more
App settings, such as Decoder, Audio,
Subtitle, etc.
·Refresh -- Refresh the window to show
the latest folders and files.
·Create Folder -- Create new folder
i. Check/uncheck of single/multiple
videos -- Click the target videos one
by one to select them, click again to
deselect.
·Select -- Click this option to activate the
selection window and perform more
actions on the selected video, including:
2) Click the icon ,you can adjust the view
mode, layout and sorting of the folders or
videos management windows.
3) Click the icon in the upper right corner, 3
options are available:

VIDEOS
ii. Check/uncheck all videos -- Click
the button in the toolbar to select
all, click again to deselect.
iii. Move selected videos -- Click the
button on the toolbar to activate the
popup window. Next, return to the
target folder through the button in the
upper left corner, and then click the
MOVE HERE button to start moving, or
you can click “+ Create New Folder”
firstly and then click "MOVE HERE".
iv. Copy selected videos -- Click the
button on the toolbar to activate the
pop-up window. Next, return to the
target folder through the button in the
upper left corner, and then click the
COPY HERE button to start moving, or
you can click “+ Create New Folder”
firstly and then click "COPY HERE".
v. Add selected videos to playlist --
Click the button in the toolbar to
activate the list popup, and then
select an existing playlist to add the
selected videos to the list. Or click
“+Create New Playlist” to generate a
new playlist for adding.

VIDEOS
vi. Marked selected videos --Click the
button in the toolbar to mark the
selected videos as: Last played, New,
Finished, None.
vii. Rename selected video – (only
available when 1 video is selected.)
Click the button in the toolbar to
rename this videos.
viii. Delete selected video -- Click the
button in the toolbar to delete the
selected videos.
2. Know the video playback window
Click the video you want to play in the video
management window to enter the playback
window. Here, provide you with a lot of
shortcut buttons to make you get a better
viewing experience.
Screen Rototion -- Click it to rotate the
screen to horizontal or vertical.
Speed-- Click it, and drag the speed-bar
or click “+ / -” to change the playback speed
(Min 0.25X, Max 4.0X).
Background play-- Enable/disable
background playback, once enabled, you
1X
Table of contents
