Innovative Technology VJB-125 User manual

Instruction Manual
MODEL: VJB-125
DESTP UEBX

2
CAUTION: To reduce the risk of fire or electric shock, do not ex ose this a liance to rain or moisture.
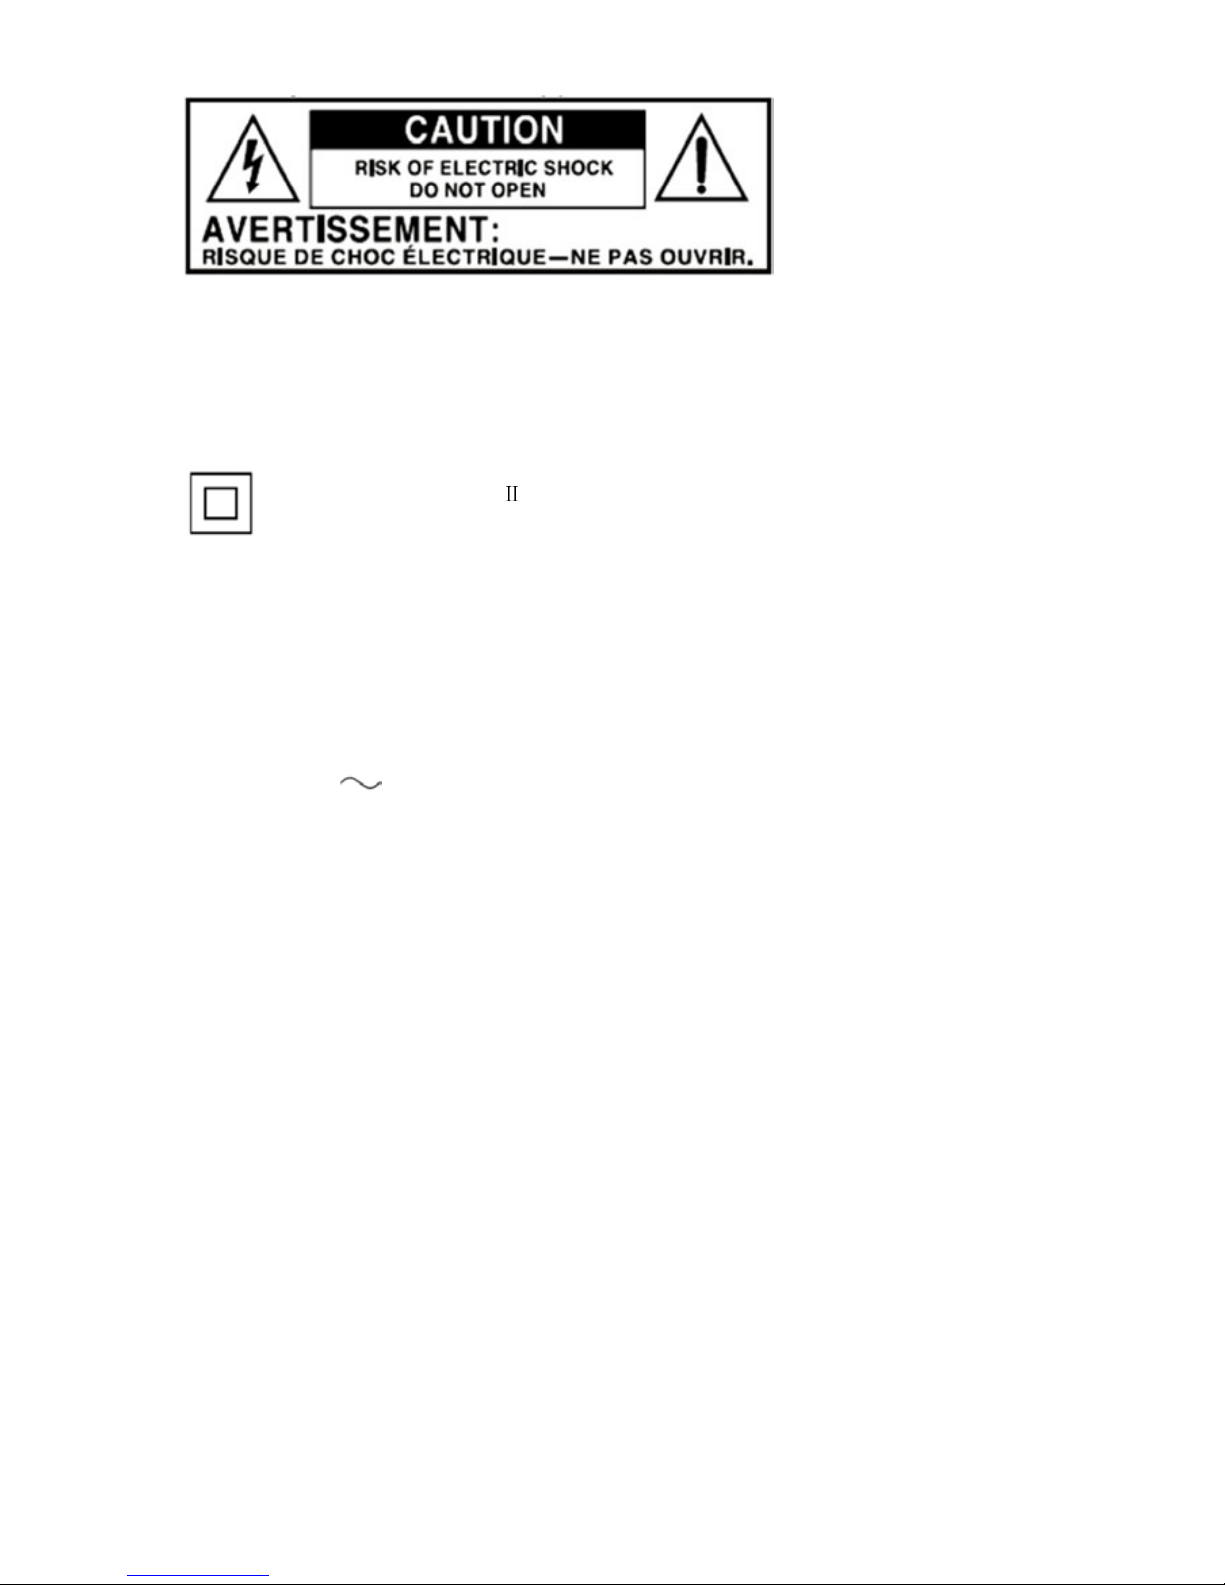
WARNING: To revent electric shock, do not use this ( olarized) lug with an extension cord, rece tacle
or other outlet unless the blades can be fully inserted to revent blade ex osure
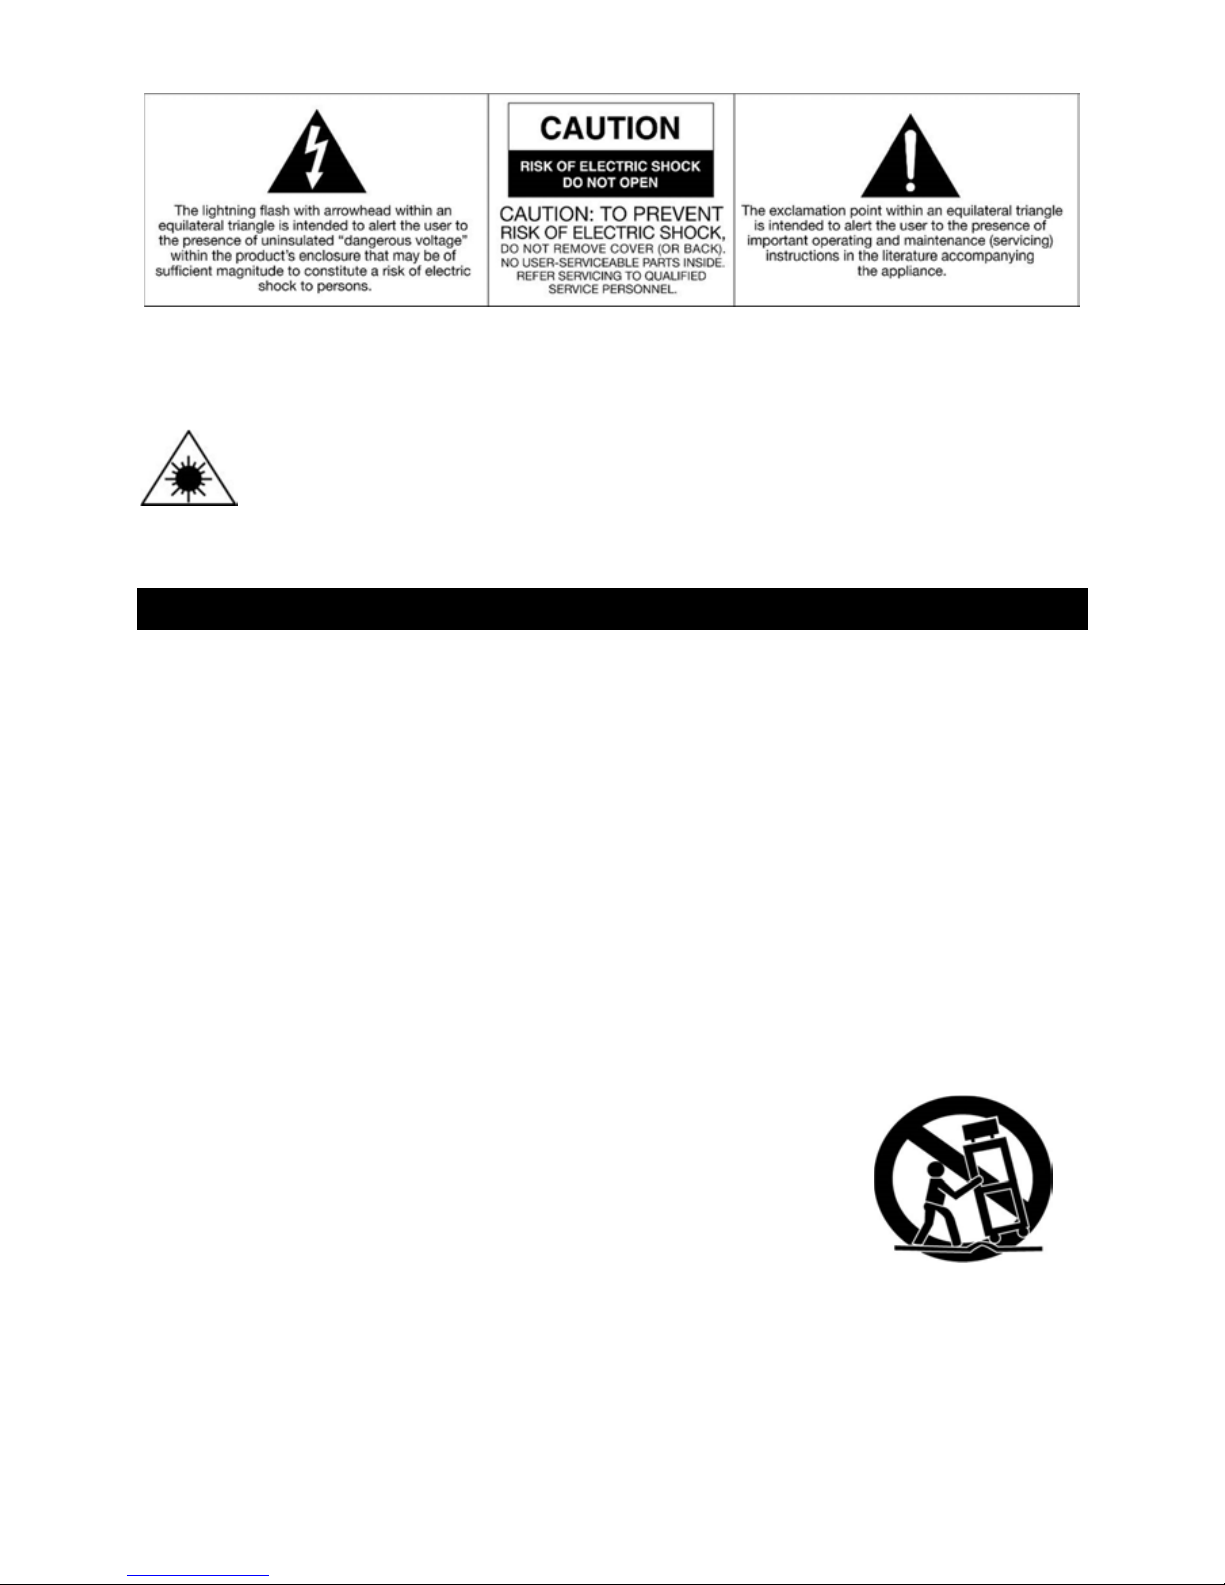
WARNING: Invisible laser radiation when o en and interlock failed or defeated. Avoid direct
ex osure to laser beam.
PRODUCT COMPLIES WITH DHHS RULE 21 CFR SUBCHAPTER J IN EFFECT AT DATE
OF MANUFACTURE
Important Safety Instructions
1. Read these instructions – All the safety and o erating instructions should be read before this roduct
is o erated.
. Kee instructions – The safety and o erating instructions should be retained for future reference.
3. Heed all warnings – All warnings on the a liance and in the o erating instructions should be
adhered to.
4. Follow all instructions – All o erating and use instructions should be followed.
5. Do not use this a aratus near water – The a liance should not be used near water or moisture – for
exam le, in a wet basement or near a swimming ool, and the like.
6. Clean only with dry cloth.
7. Do not block any ventilation o enings. Install in accordance with the manufacturer’s instructions.
8. Do not install near any heat sources such as radiations, heat registers, stoves, or other a aratus
(including am lifiers) that roduce heat.
9. Do not defeat the safety ur ose of the olarized or grounding lug. A olarized lug has two blades
with one wider than the other. A grounding lug has two blades and a third grounding rong. The wide
blade or the third rong is rovided for your safety. If the rovided lug does not fit into your outlet,
consult an electrician for re lacement of the obsolete outlet.
10. Protect the ower cord from being walked on or inched articularly at the lugs, convenience
rece tacles, and at the oint where they exit from the a aratus.
11. Only use attachments/accessories s ecified by the manufacturer.
1 . Use only with the cart, stand, tri od, bracket, or table s ecified by the
manufacturer, or sold with the a aratus. When a cart or rack is used, use
caution when moving the cart/a aratus combination to avoid injury from
ti -over.
13. Un lug the a aratus during lighting storms or when unused for long
eriods of time.
14. Refer all servicing to qualified ersonnel. Servicing is required when the a aratus has been
damaged in any way, such as ower su ly cord or lug is damaged, liquid has been s illed or objects
have fallen into the a aratus has been ex osed to rain or moisture, does not o erate normally, or has
been dro ed.

3
15.
- The lightning flash with arrowhead symbol within an equilateral triangle is intended to alert the user to
the resence of non-insulated “dangerous voltage” within the roduct’s enclosure that may be of
sufficient magnitude to constitute a risk of electric shock.
- Warning: To reduce the risk of electric shock, do not remove cover (or back) as there are no
user-serviceable arts inside. Refer servicing to qualified ersonnel.
- The exclamation oint within an equilateral triangle is intended to alert the user to the resence of
im ortant o erating and maintenance instructions in the literature accom anying the a liance.
16. This equi ment is a Class
Ⅱ
or double insulated electrical a liance. It has been designed
so that it does not require a safety connection to electrical earth.
17. The main lug is used as disconnect device, the disconnect device shall remain readily o erable.
18. WARNING
To reduce the risk of fire or electric shock, do not ex ose this a aratus to rain or moisture. The
a aratus shall not be ex osed to dri ing or s lashing. Objects filled with liquids, such as vases,
shall not be laced on a aratus.
19. The equi ment should always be used in a moderate climate.
0. The ventilation should not be im eded by covering the ventilation o enings with items, such as
news a ers, table-cloths, curtains, etc.
1. No naked flame sources, such as lighted candles, should be laced on the a aratus.
. The symbol with Indicates AC voltage.
3. CAUTION, The servicing instructions are for qualified service ersonnel only. To reduce the risk of
electric shock, do not erform any services other than that stated in the o eration manual unless you
are qualified to do so.
ACCESSORIES INCLUDED
• DESKTOP BLUETOOTH JUKEBOX
• INSTRUCTION MANUAL
• WARRANTY (BACK OF MANUAL)

4
Product Overview
Front View
1. VOLUME KNOB Turn to adjust volume.
. POWER / FUNCTION Press to turn the unit ON. / Press and hold to turn
the unit OFF. / Once ON, ress to select a function mode (CD, FM, AUX-IN or BLUETOOTH)
3. DISC TRAY Push to o en the tray.
4. REPEAT / PROGRAM ” In CD lay mode, ress to re eat a song or whole CD.
/ While in CD sto mode, ress to rogram tracks.
5. STOP In CD mode ress to sto layback. / In FM mode, ress to select
reset station number.
6. In CD / BLUETOOTH mode, ress to lay or ause layback. / In FM mode, ress
and hold to scan the stations. Press once to select a reset station.
7. In CD mode, ress once to restart the current track, ress twice in succession to
return to the beginning of the revious track. / Press and hold to fast rewind. / In Radio mode,
ress to manually search a station. / Press and hold to auto search a station
8. In CD mode, ress once to ski to the next track. / Press and hold to fast forward. /
In Radio mode, ress to manually search a station. / Press and hold to auto search a station.
9. LCD DISPLAY
10. LED TUBE ON / OFF Push ON / OFF button for the 5 color changing LED Tube.

5
Rear View
11. AC Power Cord
Plugs into a wall outlet or AC Two-Prong ower source.
1 . LIGHT Mode Switch
Single light mode or mixed light mode for LED Tube.
13. AUX IN Port
Connect an external source to the AUX IN ort.
14. FM Wire Antenna
While tuned to a station in FM mode, extend the wire and re osition to adjust for best rece tion.

6
Setup / Basic Operation
Setup
Connect the AC ower cord to a wall outlet.
Note: To prevent interference, avoid bundling audio signal cables together with the AC power cord.
Basic Operation
1. Press the button to turn the unit on.
2. Press the button again to select the source
(CD/FM/AUX/BLUETOOTH)
3. Rotate the VOLUME knob to adjust to the desired sound level.
4. Press and hold the button to turn the unit off.
Listening to a CD
1. Press the “ ” button to select CD mode. The unit
will dis lay the “CD”
Note: When no disc is set, “disc” will appear on the
display.
2. Push the CD door to o en the tray.
3. Place a disc on the tray with the rinted label facing
outward, then close the tray.
4. The unit will automatically start laying from the first track.
5. To tem orarily ause layback, ress the button. Press again to resume.
6. To ski tracks backward or forward, ress the corres onding ski button or
. Pressing once will restart the current track. Pressing twice
in succession will return to the beginning of the revious track.
Pressing button to ski to the next track.
7. To fast forward / rewind within a track, ress and hold down the corres onding ski button until
the desired osition is reached.
8. To sto layback, ress the STOP button
Important:
- Never place ore than one disc on the tray.
- The disc ust be placed in the center of the disc tray. An incorrectly loaded disc can per anently
da age the tray door echanis .
- It takes a o ent for the unit to load a disc, during which all buttons will be te porarily
deactivated.
Repeat / Random Playback

7
Each time the button is ressed, the re eat / shuffle mode will cycle through the
following o tions:
REPEAT 1 (Re eat one track)
The current track will be layed re eatedly. If you select another track, the track you select will be
lay on re eat.
REPEAT ALL (Re eat the entire CD)
The entire CD will be layed re eatedly.
RANDOM PLAY (Shuffle through the entire CD)
The entire CD will be layed randomly.
Notes:
- Press button, the repeat ode will be cancelled.
Programmed Playback
Program lay must be set when the CD is sto ed. You can rogram u to 20 tracks on a CD.
Notes:
- Progra ed playback works with finalized disc only.
1. Press button to select CD mode, then load a CD.
2. While the CD is sto ed, ress the button.
3. PROG indicator will blink, and P01 will a ear on the dis lay.
4. Press or to select a track number.
5. Press the button again to set the current track.
6. P02 will then be dis layed. Re eat ste s 4 thru 5 to rogram the additional tracks.
7. When the selection of track numbers has been finished, ress the button to start
rogram layback.
8. To cancel the rogram mode, ress the STOP button once.
(Note: when all 20 rogram tracks are set, ress the button and “FI” will a ear on
the dis lay as a notification that you’ve filled all 20 rogrammable tracks.)
To Check the Programmed Order
In sto mode, ress or re eatedly to show the track numbers that
have been rogrammed.
To Add a Track to the End of the Programmed Order:
In sto mode, ress the button. Select a track number by
ressing or , then ress the button.
The current track will be added to the end of the rogram.
To clear the rogrammed order:
Press STOP when the CD is already sto ed, or ress

8
Listening to FM Radio
1. Press the button to select the FM tuning function.
2. Press the or button to manually tune to a desired station
3. You may also ress and hold the or button to auto scan for a station.
4. Using the STOP or button you can scan through your reset stations.
(See how to reset a station in the section below.)
Adjusting for Best Rece tion
FM broadcast: Extend and reposition the FM antenna located on the back of the unit.
Preset Tuning
You can reset and store u to 20 FM radio stations.
1. Select your desired FM station.
2. To save the FM radio frequency shown, ress button, and “P01” will flash on the
dis lay. Then ress button again before the indicator sto s flashing and the
frequency shown will be saved as “P01”.
3. To continue saving another station, tune to the 2
nd
desired radio frequency:
a) Press button again to bring you to the list of the “P—“ stations.
b) Using the STOP or button, you can manually choose the desired reset
number (P01–P20). The manually selected number will flash on the dis lay
c) Press the button before reset number “P—“ sto s flashing.
Once ressed the frequency shown will be stored as the corres onding number “P—“.
4. Press the STOP or button to scan through your reset stations.
Listening to an External Audio Device (Auxiliary Mode)
In AUX (auxiliary) ode, this unit can play audio fro an external audio device (iPod, MP3 Player,
Portable CD Player, etc.)
CONNECTING VIA AUXILIARY
1. Press the button to select the AUX-IN function.
2. Plug one end of the AUX IN cable (not included) into the AUX IN jack located
on the back of the unit.
3. Plug the other end of the cable into the head hone jack of your external audio device.
NOTE: Playback functions and operations are only available on your external device.

9
Listening to an External Audio Device (Bluetooth Mode)
In BT (Bluetooth) ode, this unit can play audio fro external devices that have a built-in
Bluetooth function.
CONNECTING VIA BLUETOOTH
1. Press button to select the Bluetooth mode, the dis lay will show this symbol: .
2. Turn ON the Bluetooth function on your external device.
NOTE: The effective distance between your external device and this apparatus is 10 eters.
3. Wait a moment until “Victrola Jukebox” a ears on the aired devices list, then select “Victrola
Jukebox” and allow it to connect. If a window appears and asks for a password, si ply type
“0000”, then press ok on your external device.
4. After a few seconds you will hear an audio tune to indicate that your device has made a
successful connection.
PLAYING MUSIC VIA BLUETOOTH
1. Once your device is connected, o en the music layer a lication or rogram on your external
device. If your devise is not connected yet, see “Connecting Via Bluetooth”
2. You can now control music layback with the , and buttons on the
Bluetooth Jukebox.
3. Enjoy your music!
PLEASE NOTE: So e buttons ay not work in certain usic player applications or progra s.
Light Mode Function
USING THE LED LIGHT TUBE
1. Press the LED Tube On/Off button located on the front of the Jukebox to turn on the 5 color
changing LED Tube.
2. The Outer LED Tube will illuminate the 5 changing colors (de ending on the Light mode).
3. Using the Light Mode Switch located on the back of the unit, you can switch between Mixed
Light Mode and Single Light Mode.
- Mixed Light Mode will slowly transition through the 5 LED colors.
- Single Light Mode will remain on the single color that the LED Tube currently dis lays.
NOTE: The White tube located on the CD Door does not light up.

10
Specifications
GENERAL
Power Requirements AC 120 V~ 60 Hz
Power Consum tion 35W
Dimensions (W x H x D)
278mm x 400mm x 168mm
(a rox.)
10.9 in x 15.75 in x 6.6 in
Weight
2.8 kgs
(a rox.)
6.17 lbs
AMPLIFIER
Out ut Power 5 W + 5 W
Frequency Res onse 60 to 20, 000 Hz
SPEAKER SYSTEM
Ty e 1-way
Im edance 8 ohms
In ut Power Max. 10W
FM Radio
Range 88 to 108 MHz
CD PLAYER
Frequency Res onse 60 to 20, 000 Hz +/-4 dB
Signal-to-Noise Ratio 55 dB (IEC-A)
BLUETOOTH
Bluetooth Version Bluetooth V2.1+EDR
Bluetooth Profiles A2DP, AVRCP
Bluetooth Frequency range 2.402GHz-2.480GHz
O erating Distance 10 meters (33 ft.)
Troubleshooting Guide
GENERAL
Symptom Possible Cause Solution
•
Unit will not ower on.
•
Unit is un lugged.
•
Connect the unit to the AC
ower su ly.
•
No sound out ut from
s eakers.
•
The volume level is set too
low.
•
The in ut selector does not
match the layback source.
•
Adjust the volume.
•
Select the correct in ut
source.
•
Noise/Distortion in
sound out ut.
•
The unit is too close to a TV
set or another interfering
device.
•
Turn off the TV or other
a liance, and relocate the
unit.
•
Unit fails to res ond.
•
It might result from external
factors such as ESD
(Electro-static discharge).
•
Disconnect the ower cord
and external audio device.
Re- lug the ower cord
after one minute.
FM RADIO
•
Cannot listen to any
station, or signal
a ears weak.
•
The station is not tuned-in
ro erly.
•
A TV set is being used nearby
and is interfering with the
radio rece tion.
•
Pro erly tune-in the
desired station.
•
Turn-off the interfering TV
set.

11
•
The sound is distorted.
•
The antenna is not oriented
ro erly.
•
Re-orient the antenna until
rece tion im roves.
CD PLAYER
•
CD sto s immediately
after starting, or unit
auses or sto s during
lay.
•
The CD is inserted u side
down.
•
The CD is dusty or dirty or
there is condensation on the
CD.
•
Insert the CD with the
rinted side right-side u .
•
Carefully clean and dry the
CD.
•
No sound.
•
The CD layer is aused.
•
Press the PLAY/PAUSE
button.
•
CD layback is noisy,
or layback sto s or
ski s.
•
The CD is scratched,
damaged or war ed.
•
The disc is very dirty.
•
Re lace CD with an
undamaged one.
•
Carefully clean the CD.
•
Buttons are not
functioning correctly.
•
The unit is rocessing
information
•
The unit needs to be restarted
•
Wait until the unit finishes
rocessing.
•
Turn the unit off, then on
again.
AUX
•
No sound out ut with
external audio device
lugged into rear AUX
in jack.
•
AUX in jack is un lugged.
•
Unit is not in ro er Mode
•
Make sure the Auxiliary
Cable is lugged into both
sources.
•
Select ro er AUX mode
BLUETOOTH
•
No sound
•
The unit is not switched to
Bluetooth mode
•
Your device’s and/or the unit’s
volume is not turned u .
•
Your device is too far from the
unit or there’re some obstacle
between your device and the
unit
•
Ensure the unit is switched
to BT mode.
•
Move your Bluetooth
device closer to unit
•
Turn u the volume on your
ortable device and/or the
unit.
•
Turn OFF your Bluetooth
device and unit. Then
ower them both back ON
•
Sound has a lot of
static
•
Your device is too far away
•
Bring your device closer to
the turntable
•
Unable to air with a
Bluetooth device
•
Your device doesn’t have
Bluetooth connectivity.
•
The Bluetooth airing is not
successful
•
Confirm that your device is
Bluetooth com atible.
•
Re- air the unit and device
again.
Statement

12
FCC Statement
This device com lies with Part 15 of the FCC Rules. O eration is subject to the following two
conditions: (1) This device may not cause harmful interference, and (2) this device must acce t any
interference received, including interference that may cause undesired o eration.
NOTE: This equi ment has been tested and found to com ly with the limits for a Class B digital
device, ursuant to Part 15 of the FCC Rules. These limits are designed to rovide reasonable
rotection against harmful interference in a residential installation. This equi ment generates uses
and can radiate radio frequency energy and, if not installed and used in accordance with the
instructions, may cause harmful interference to radio communications. However, there is no
guarantee that interference will not occur in a articular installation. If this equi ment does cause
harmful interference to radio or television rece tion, which can be determined by turning the
equi ment off and on, the user is encouraged to try to correct the interference by one of the following
measures:
- Reorient or relocate the receiving antenna.
- Increase the se aration between the equi ment and receiver.
- Connect the equi ment into an outlet on a circuit different from that
to which the receiver is connected.
- Consult the dealer or an ex erienced radio/TV technician for hel .
WARNING: Any changes or modifications not ex ressly a roved by the arty res onsible for
com liance could void the user's authority to o erate this equi ment.
The device must not be co-located or o erating in conjunction with any other antenna or transmitter.
To maintain com liance with the FCC’s RF ex osure guidelines, lace the roduct at least 20cm
from nearby ersons.
California PROP 65 Warning
"WARNING" This roduct contains chemicals known to the State of California to cause birth defects or
other re roductive harm. For more information on these regulations and a list of chemicals, log on the
following website address:
htt ://www.oehha.ca.gov/ ro 65.html
Table of contents