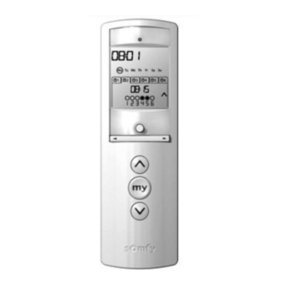
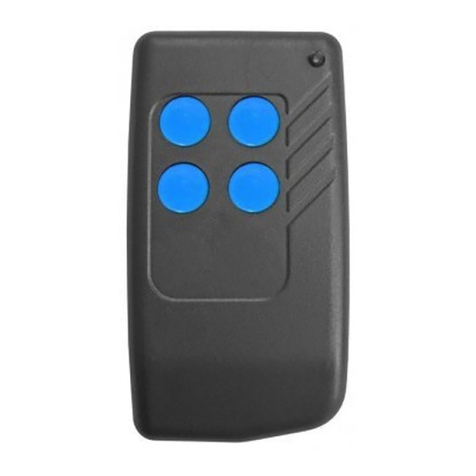
Instamat EL.AFSTAND.02 User manual

Manual remote control EL.AFSTAND.02
Technical specifications
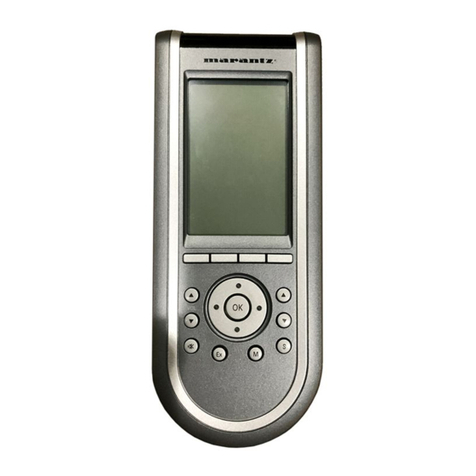
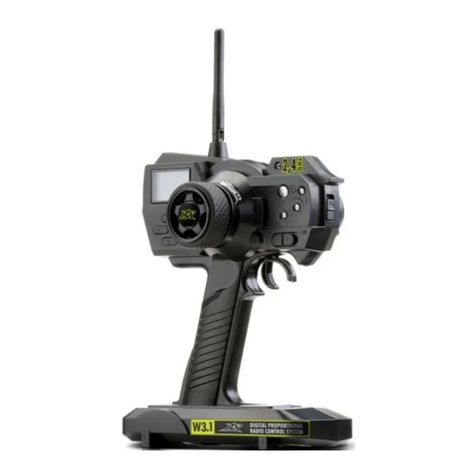
Product
Remote control
Application
Electrical (Towel) Radiators
Color
White
Keypad
7 keys
Display
LCD display
Functions / Modes
Comfort, Night, Antifreeze, Standby,
Fil-Pilot, Boost-2h, Chrono, ASC, Open
Window Detection, ECO.
Selectable range
+7°C / +30°C
Operational temp.
-10°C / +40°C
Batteries
2 x 1,5 V, type AAA (not included)
Size
109 x 52 x 27 29 (HxLxD)
Transmission
IR
Mounting
Wall mount with holder kit
Approval mark
CE
Warranty
2 years
WARNING: Please read the manual carefully before use
and keep this for future reference.
Please note that since this infrared (IR) remote control uses
a light beam to transmit data, it requires line of sight with
no obstacles to operate the destination device (e.g.: do not
cover the remote or receiver with towels etc.).
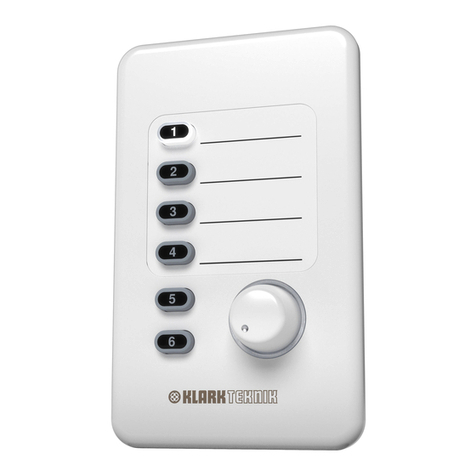
Keypad:
[ Chrono ]
[ Mode ]
[ - ]
[ + ]
[ 2h Boost ]
[ ECO ]
[On / Standby]
Disposal: This product may NOT be treated as ordinary
household waste. It has to be disposed of at proper
waste collection sites.
Operating modes:
•Turn the remote on/off by pressing .
•Press (repeatedly) to select the desired mode;
Icon
Mode
In "Fil-Pilot" mode the device is managed by a
central control system that sets the operating
mode for all the connected devices (only
available in France).
The "Comfort" stably maintains the room
temperature to a selected value.
The "Night" mode sets a value of tempera-
ture below the "Comfort" temperature value.
In "Antifreeze" mode the temperature is
fixed to 7°C. The device activates the heating
element when the room temperature falls
below 7°C.
The chrono mode runs the weekly program.

Setting temperatures (comfort and night):
•To set the comfort temperature, press to turn on the
remote.
•Press repeatedly until appears on the display.
•To set the desired temperature use the [+] /[-].
•To set the night temperature, press to turn on the
remote.
•Press repeatedly until appears on the display.
•To set the desired temperature use the [+] /[-].
IMPORTANT: The temperature of ‘night’ mode must be
below the ‘comfort’ mode temperature.
Setting year, date, time and weekly program (chrono):
•Press to start the procedure with the year flashing;
Use [+] and [-] to select the current year. Then confirm
with the key.
•Then select the month with the [+] and [-] keys and
confirm with .
•Now select the day with the [+] and [-] keys and
confirm your selection with .
•The time starts flashing. Select the current hour with
the [+] and [-] keys and confirm with .
•Then select the minutes and confirm with .
The -icon and 24-hour overview for day 1 (Monday) now
flashes in the display. You will now start programming the
daily sequence, starting from Monday (1).
•For each hour you can specify COMFORT by pressing [+]
(full bar displayed) and NIGHT by pressing [-] (empty
bar).
•Complete your choice for each of the 24 hours until you
are satisfied with day 1. Then press to confirm.
•Repeat this procedure for days 2, 3, 4, 5, 6 and 7.
•After confirming Sunday (7) you will return to the
previously used mode.
Example:
*The example shows COMFORT temperature set from 6am
to 11 am and from 4 pm to midnight; NIGHT temperature
set otherwise.
Boost mode
The "2h boost" mode can be used to quickly warm up the
room. The device is activated at the maximum power for 2
hours, up to a maximum room temperature of 32°C.
•Press ‘P’ to activate this function. The display shows the
symbol . After 2 hours the remote will automatically
return to the last selected mode (or in stand by if the
remote was previously turned off).
•The switch off boost mode prematurely, press ‘P’ again
and return to the last selected program.
ECO
The ECO function can be used to reduce consumption.
During ECO, the set temperature (comfort/night) is
reduced by 3 degrees.
•Press the [ECO] key to activate or deactivate the
function.
Open window detection
The open window detection, if enabled, becomes active in
the event of a sudden drop in room temperature. The
element is switched off for a maximum of 30 minutes or
until the room temperature rises again.
•Press to turn on the remote.
•In order to activate or deactivate the open window
detection function, press the [ECO] together with
the [-] key for >3 seconds. The display shows the
symbol when activated and disappears when the
function is deactivated.
ASC (Advanced Start Control)
ASC is a function whereby an adaptive temperature control
can be activated in the chrono function. When turned on,
the thermostat attempts to reach the desired temperature
in the room at the programmed time.
•Turn on the remote and press repeatedly to chrono
mode ( icon in display).
•In order to activate or deactivate ASC function, press
the [ECO] together with the [+] key for >3 seconds.
The display shows the symbol when activated and
disappears when the function is deactivated.
Sync with EL.BEDIENING.08,-11,-12 and -13
•Set the thermostat manually into stand-by and also set
the remote control (without IR-contact with the
thermostat) into stand-by.
•Now make sure there is a visual connection between
the thermostat and the remote control (infrared).
•Press on the remote control to turn it on.
•The thermostat receives this signal and turns on
(beep signal). The devices are paired.
If the function and/or time in the displays differ, the devices
must be re-paired following the same procedure.
Key lock
•Press the and [+] together for at least 3 seconds to
(un)lock the keypad. The icon (dis)appears on the
display.
INSTAMAT WARMTETECHNIEK BV
Spinfondsweg 15, 8171 NT Vaassen
