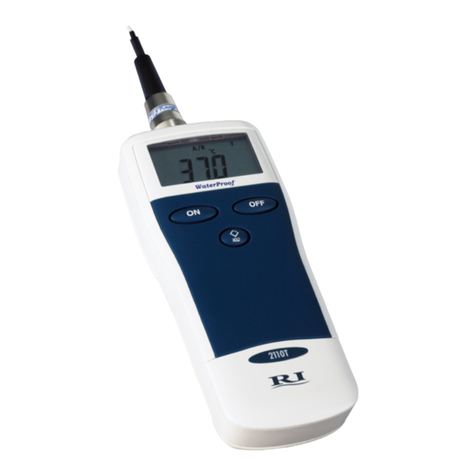
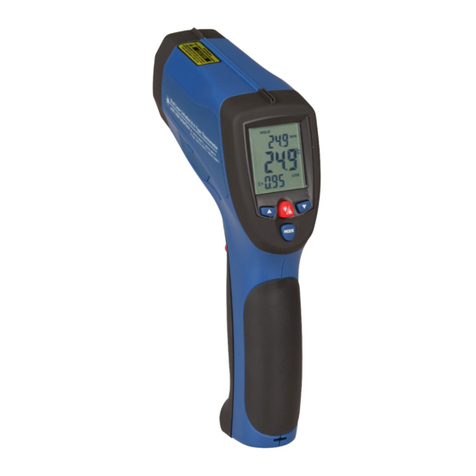
Instru IN01234 User manual

User's Guide
VERSATILE (WATERPROOF) THERMOMETER
Model IN01234

Introduction
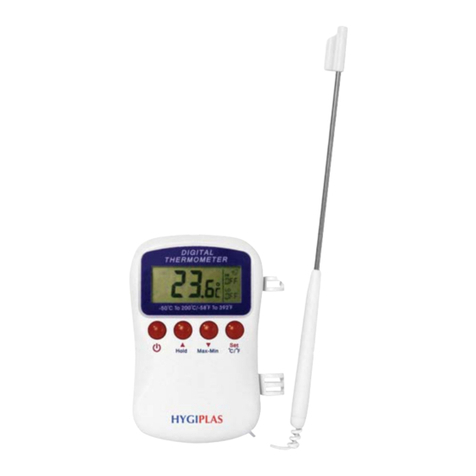
The IN01234 is an economic waterproof thermometer with alarm and min/max. Changeable sensor probe
makes this instrument appropriated for different types of readings.
IN01234 is ideal for measure ambient temperature, liquids, dust or soft samples.
Thanks to it’s waterproof materials, this instrument is ideal for food, lab and refrigerating industry.
Functions
•ON/OFF
•H/T ºF/ºC
•MAX/MIN (ºF/ºC)
•Up to 10 memories
•Memory recalling
•Memory clearing
•Hi alarm
•Low alarm
•Alarm off
•Backlight.
Features
•10 memories data storage/recalling clearing
•Alarm beep sound al high or low temperature limit
•MAX/MIN (F/C) memory recalling
•Temperature unit F/C selectable
•Data hold/test function
•Backlight
•1 second normal temperature sensing time
•Low battery indicator
•One hour auto shut off
•133mm stainless steel sensor probe
•Pvc holster with flip out stand al the back of unit
Specifications
Measurement range -50ºC ~ 300ºC or -58ºF ~ 572ºF
Resolution ±0.1º for -19.9º ~ 199.9º, otherwise 1º
Accuracy ±1ºC from -30ºC ~ 150ºC or ± 1.8ºF from -22ºF ~ 302ºF
Ambient temperature for plastic case -10ºC ~ 50ºC or 14ºF ~ 122ºF
Battery 2 X 1.5V “AAA” size or equivalent
Installation
•Unpack the thermometer with care.
•Screw to open the battery cover, install two “AAA” (or equivalent) batteries into the battery
compartment. Screw to close the battery cover.
•Screw the plastic wires to connect with the main unit.
•Untie the plastic wire. The thermometer is now ready for use.
•Replace with new batteries when low battery indicator appears on the display.
Operation
•(I) ON/OFF
Press ON/OFF. The unit will shut down automatically after one hour.

•(II) Cancellation of “auto power off”
1) Press H/T and ON/OFF for five seconds, the “auto power off” function can be cancelled. “Power on”
has different opening sounds from the “auto power off” function.
2) The “auto power off” function can be activated again by pressing ON/OFF button after using the
“power on” function.
•(III) Hold
1) Press H /T once, “HOLD” sign appears.
2) The temperature recorded on the upper display can be held.
3) Press again, “HOLD” sign disappears.
•(IV) “F/C”
Press “F/C” to select desirable measurement unit.
•(V) MAX/MIN
1) Press MAX/MIN, the recorded maximum temperature of T1 is shown on display.
2) Press MAX/MIN again, the recorded minimum temperature of T1 is shown on display.
3) Press again to restore real time measurement.
•(VI) High and low alarm
1) Press the “LOW AL” or “HI AL” button for setting alarm at desired low and high temperature. The
digit flashes. The display will show -50ºC or -58ºF and start to increase up to 150ºC or 302ºF / 299ºC
or 572ºF.
2) Release the “LOW AL” or “HI AL” alarm set button when the desired temperature is approached.
Press the “LOW AL” button, the “LOW” sign appears on the left bottom corner. Press the “HI AL”
button, the “HIGH” sign will be shown. The display value will stop.
3) The alarm will sound 4 beeps per minute when the measured temperature equals or is grater than
the maximum or less than the minimum set value.
4) After releasing the button for approximately 3 seconds the thermometer will return to the normal
mode.
•(VII) Memory setting
1) Press H/T once. “HOLD” sign appears.
2) Press MEM to restore the temperature reading “MEM 1” can be seen at the bottom.
3) Press H/T and then MEM again. “MEM 1 2” will display.
4) By repeating the same procedure (H/T and then MEM), up to 10 memories can be stored.
•(VIII) Memory recalling and cancelling
1) Press REC once. “MEM 1” appears. The stored temperature reading in MEM 1 appears. Press REC
again, the other stored memories will be displayed one by one, up to 10 memories.
2) Press CLR for 5 seconds. All the stored memories will be removed.
•(XI) Low battery indicator
The low battery indicator appears when the battery is low.
•(X) Backlight
1) Press B/L once, the backlight is on. It will illuminate for 7 seconds.
Precautions
•The probe tip should be immersed at least 10mm. into the tested substance to obtain the best
results.
•Remove the battery from the battery compartment if the thermometer will not be used for long
duration of time or during storage.
•The thermometer cannot be used or put inside any oven or microwave.

Sales:
e-mail: [email protected]
Repair/ Returns:
Web site: www.e-instru.com
Warranty
INSTRU warrants this instrument to be free of defects in parts and workmanship for one year
from date of shipment (a six month limited warranty applies on sensors and cables). If it should
become necessary to return the instrument for service during or beyond the warranty period, visit
our website at www.e-instru.com (click on ‘Contact INSTRU’ and request an RMA number). A
Material Authorization (RMA) number must be issued before any product is returned to INSTRU.
The sender is responsible for shipping charges, freight, insurance and proper packaging to prevent
damage in transit. This warranty does not apply to defects resulting from action of the user such as
misuse, improper wiring, operation outside of specification, improper maintenance or repair, or
unauthorized modification. INSTRU specifically disclaims any implied warranties or merchantability
or fitness for a specific purpose and will not be liable for any direct, indirect, incidental or
consequential damages. INSTRU’s total liability is limited to repair or replacement of the product.
The warranty set forth above is inclusive and no other warranty, whether written or oral, is
expressed or implied.
Table of contents
