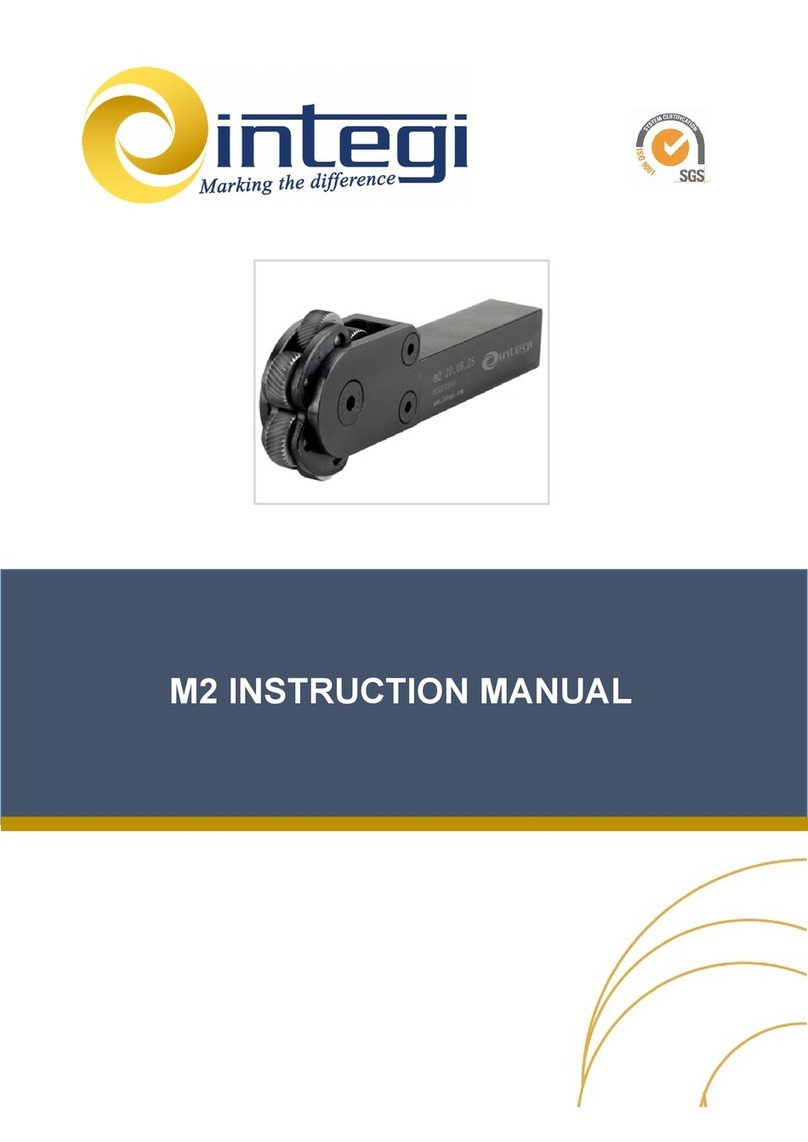
3. CLAMPING AND SETTING THE TOOL IN THE MACHINE
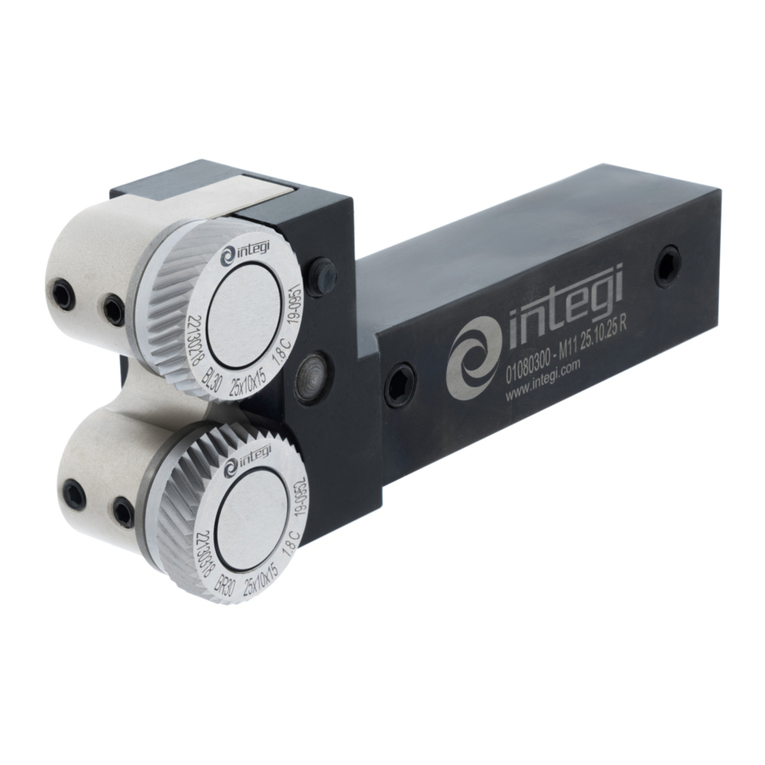
First, we need to make sure that the knurl rotates freely around the pin.
Spread graphite grease if necessary.
Clamp the tool to the turret of the lathe.
While the chuck rotates very slowly, approach the tool to the workpiece
until the knurl makes contact with the workpiece.
Approach the knurling wheel to the workpiece following the 'F' direction up
until the teeth plunge a little into it. Check out the resulted print. The printed
width (h) must be equal to the width of the teeth on the knurl. If the width
isn´t correct, change the clearance angle.
The tool and the workpiece need to be aligned as shown on the Drawing 2.
4. KNURLING ON STEPPED WORKPIECES
When knurling stepped workpieces, it is not possible to knurl up to a shoulder. Using this tool, no knurling
should be performed closer to 6mm from the shoulder itself.
5. BEGINNING TO KNURL
While the chuck is rotating at the speed recomended at point 8, feed the
tool so that 1/3 of the width of the knurling wheel gets in contact with the
workpiece.
Press the knurl against the workpiece. The value of the radial feed must be
according to the conditions recommended on the table 4 (next page). After
that, you will be able to feed longitudinally.
To calculate up to what diameter we must deepen with the knurl, we must
take into account the height of the tooth (in the case of standard knurls is
always equal to half the step) and the increase in diameter that suffers the
material.
That information is available at www.integi.com and in our catalog.
6. BEFORE AND DURING THE WORKING PROCESS
Make sure that the knurl pins are firmly fastened.
Make sure that the axis of the knurl is aligned with the axis of the workpiece.
Always work plenty of coolant, lubricant or cutting oil.
Always apply plenty of coolant, lubricant or cutting oil flowing in order to sweep the swarf away.
The working direction, longitudinal advance, will always be against the tool.
