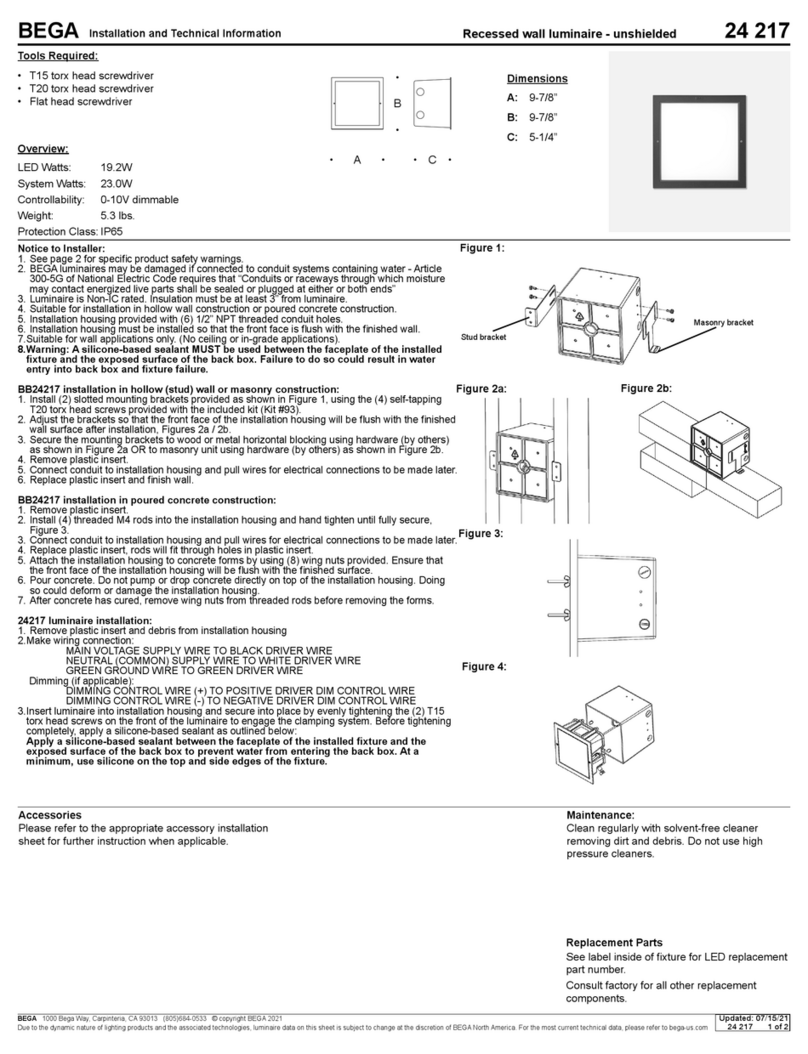
Thank you for purchasing an INTEGRAL LED product. When installed correctly this unit will
provide years of service. For support or warranty information please see integral-led.com.
Important Details – Please read prior to installation
1. Installation must be completed by a qualied electrician in accordance with all recognised local and national
electrical regulations.
2. Disconnect the power on the column base or remotely. Ensure that power is OFF during installation and can
not be unexpectedly reconnected. Disconnecting the power only on the NEMA socket is unsafe.
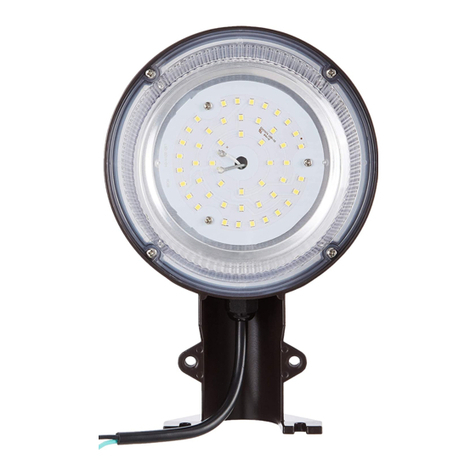
3. This canopy street light tting is designed to operate with 220V-240V~ 50/60Hz electricity supply. Do not use
the canopy light tting if damaged or if the LED protective cover is missing or damaged. Do NOT open or
remove the driver on the base of the unit.
4. This canopy light tting is rated IP66.
5. This is a Class I product – EARTH must be connected.
6. Failure to comply with the recommendations and instructions provided herein may cause damage to the light
tting or present a risk of injury or death (e.g. short-circuit, re, burns or electric shock). Any modications
to the light tting, incorrect installation or unsuitable positioning may be dangerous to users and may cause
the warranty to become void.
7. Images are for illustrative purposes only.
Installation Instructions
8. Ensure that the power is OFF during installation and that power cannot be unexpectedly reconnected.
9. Losen the Allen screw on the base – see Fig 1.
10. On a bench, pass the cable through the cable gland. Pass the cable through the internal strain relief. Leave
adequate cable length to reach the electrical terminals. Tighten the cable gland and the strain relief. Use
H05RN-F cable or superior. The total cable length must be enough to reach the column terminal plus 1 meter.
11. Connect the cable to the connector: L – Brown, N – Blue, - Green/Yellow – see Fig 2.
12. Hang the hook to the eyelet – see Fig 3.
13. Put the light tting body to straight position and tighten the Allen screw (2 Nm).
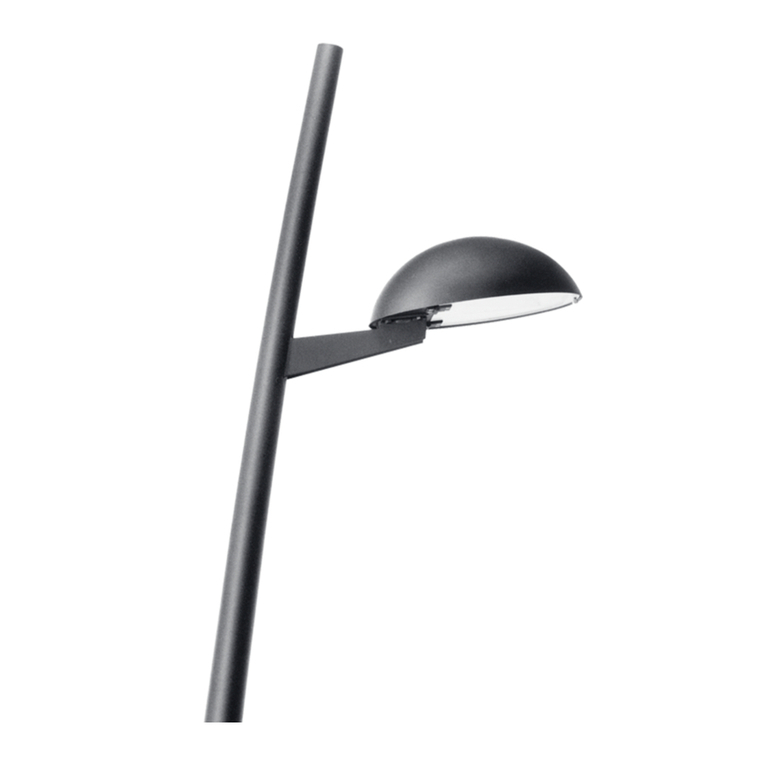
14. Attach the canopy to the street light using the 3 xings – see Fig 4. Once you t it, please take care
when handle.
15. Losen the 6 Allen screws on the slip tter and x it to the pole top – see Fig 5.
16. Evenly tighten the 6 Allen screws on the pole xing (17 Nm) – see Fig 6.
17. Turn on power supply. Test with a NEMA 3 shorting cap. Replace the shorting cap by the photocell, if needed.
Product Code Wattage CCT Lumens Output NEMA Socket Spigot Adaptor IP rating
ILSLA001 45 4000K 3200 NEMA 3 76 mm IP66
INSTALLATION INSTRUCTION
CANOPY STREET LIGHT LED
5 Years Warranty
EN
