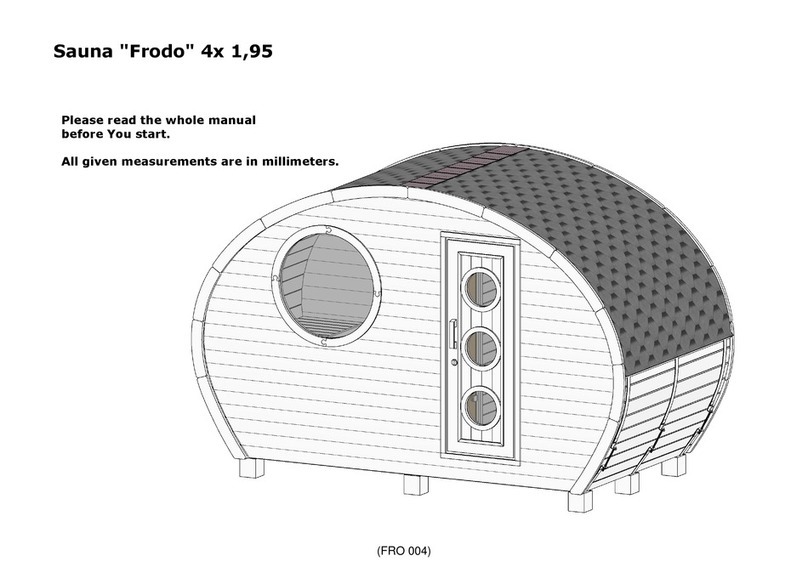
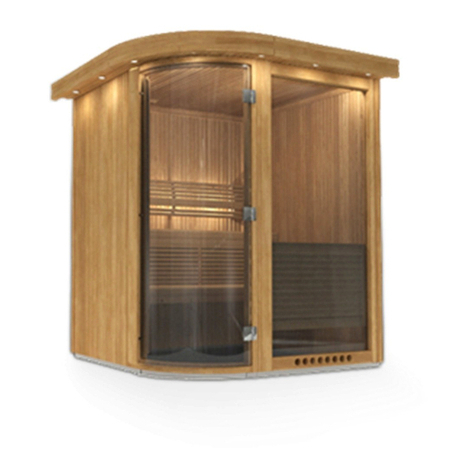
Interflex FRODO 300 User manual

FRODO 300
( FR101 )

FRODO 300 Details list nr.1
x1
x27
x1
x1
x6
x1
x1
510*100*47
3264*100*47
x6
1
x28
x2
3000*44*44
x6
3302*28*95
x32
2300*28*113
3264*95*28
3320*90*28
x1/ x1
x1/ x1
x1/ x1
x2
x2
x1
x2
x1
B
D
C
E
x16
x8
G
F
x2
x6
Optional!
x16
x16
x1
x5
2160*56*42
x1
2300*56*42
x1
930*56*42
660*56*42
x1
348*56*42
456*56*42
x1
x2
B1
x4
L= 4,14 m
B2
x4
L= 7,14 m
660*87*18
2300*87*18
930*87*18
x44
x8
x44
2300*90*18
x3
x1
x2
x2
x4
2
3000*135*42
3000*135*42
3
4
5
6
7
8a/9a
8b/9b
8c/9c
3000*135*42
3000*135*42
10
11
12
13
14a
14b
15a
15b
16
17c
17b
17a
17d
17f
17e
18a
18b
18c
19a
930*44*44
400*44*44
100*44*44
22
20a
x1
2295*980*72
810*800*72
20b
2295*800*72
21a
x1
x1
20b
x1
1125*500*72
21b
23
300*44*44
x4
x6
36
37a
37b
37c
39
x1
19b
750*44*44
x3
19c
( FR101 )

FRODO 300 Details list nr.2
24a
x1
24b
x1
1095*44*44
1100*48*18
27
x1
2255*420*65
26b
x1
25b
x1
25a
x1
2295*380*62
1175*380*62
26c
x2
26a
x1
30b
x2
30a
x2
29
x4
31
x1
600*810
L ~1000
O
x7 package
~1,5kg
x30
x150
x30
x405
x35
32b
x3
32a
32c
x1
570*45* 28
L ~1000
N
x12
33a
x1
33c
x1
34b
x1
34a
x3
684*44*44
388*44*44
570*540
570*520
2295*44*44
1125*700*88
700*700*88
790*700*88
1200*595*9
595*595*9
28
x5
580*90*18
x1
33b
x1
Optional!
570*820*88
35a
35b
35c
35d
787*28
520*28
661*28
744*28
x4
x8
x4
x8
38a
x1
L= 16,3 m
P
38b
x2
38c
x2
715*88*28
310*1405
570*540
5,0 x 90
( FR101 )

FRODO 300
1x DET 5
6x DET 3
1x DET 6
5x DET 4
1x DET 2
same level
DET 6
Back
Front
710
1280
1840
2400
3000
90
3130
1.
96 x H
32x DET 7
1x DET 1
4x DET B1
Important!
Place the DET B1
on the foundation
in the right place
before assembling the sauna!
3120
1560
1150
1560
510
1127
2787
150
150
44 x H
10 x M
3264
( FR101 )

FRODO 300
2.
DET 8a
I
II
DET 8b
NB! Cut a few boards from the base
to temporarily support and secure the walls!!
12 x I
DET 9b
DET 9a
DET 8c
DET 9c
( FR101 )

FRODO 300
3.
Wall and floor
midpoint
mm=mm
DET 8a/8b/8C
Use DET 10/ DET 11
temporarily if necessary
mm=mm
DET 9a/9b/9C
4 x H
NB! Cut some boards from
pallet, to support and fix walls if necessary!
( FR101 )

FRODO 300
4.
~7mm
NB! Don`t leave space,
if using thermal wood!!!
See Page 4A
21x DET 10
20x DET 11
40 x H
12 x H
12 x H
Remove
6x DET 10
6x DET 11
I
II
( FR101 )

FRODO 300
4A.
Glue
Use wood glue between boards
A/2
A/2
DET 10
DET 11
5 x H (M)
A
A/2
A/2
DET 10
DET 11
( FR101 )

FRODO 300
5.
4x DET B2
Würth
oil
~240mm
Remove all screws
and use them
on further
sauna installation
Remove all
screws
NB! Don´t remove screws
if using thermal wood!
I
Use strap
II
During assembly and retightening
the threaded rods, use oil
(Würth HPS 1400 or similar)
to avoid "cold welding" and it is
also easier tightening.
III
8x DET C
16x DET D
16x DET E
16x DET B
DET B2/DET B1
D
E
( FR101 )

28 x H
FRODO 300
6.
6x DET 12
I
Use waterlevel for
installation.
Place door from inside.
DET 13
2x DET 14b
V
42 x J
II
Measure the door and add
10 mm to each side!
III
Mark openings and cut out.
~850
min.50 from floor!
50
Place doors
from inside.
IV
VI
2x DET 14a
18 x J
NB! Vertically fix screw
in every board.
min 50 mm
10+X+10
10+y+10
x
y
( FR101 )

5 x I
FRODO 300
Use waterlevel for
installation.
Place window from outside.
Measure the window and
add 10 mm around!
Mark openings and cut out.
7.
R 497
1350
~870
Remove all brackets
I
II
III
1x DET 15a
1x DET 15b
IV
6 x I
Sauna
midpoint
1x DET 16
V
( FR101 )

FRODO 300
8.
Make 3 holes
Ø110
Sauna
midpoint
900
700
I
Sauna
midpoint
Make 1 holes
Ø110
2 x DET G
4 x DET F
18 x K
6 x K
2 x DET F
II
1570
( FR101 )

FRODO 300
9.
652
290
2 x DET 19a
2 x DET 19c
16 x H
DET 20a
I
II
III
4xDET 23
IV
12 x H 4xDET 22
DET 21a
V
DET 17a
I
DET 17b
II
5 x DET 17c
III
2 x DET 17e
IV
V
1 x DET 17f
1 x DET 17d
IV
30 x H
sauna midpoint
652
290
( FR101 )

FRODO 300
10.
1150
from floor
920
10+x+10
10+y+10
Measure the window and
add 10 mm to each side!
Mark openings and cut out.
Midpoint of
sauna
Y
X
DET 38a
NB! Vertically fix screws
in every board.
2xDET 38b
2xDET 38c
20 x J
20 x J
( FR101 )

FRODO 300
11.
44 x DET 18a
44 x DET 18b
6 x DET 18c
2 x DET 18c - cut to size!
x
X
8 x H
2 x DET 16
II
I
1 x DET 19b
1 x DET 19c
290
652
8 x H
III
IV
DET 20b
DET 21b
2xDET 22
10 x H
( FR101 )

FRODO 300
12.
422
422
DET 25b
DET 25a
DET 24a
DET 24b
10 x H
5 x H
8 x H
6 x H
I
DET 26a
8 x H
II
III
DET 26b
2xDET 26c
IV
DET 27
8 x H
( FR101 )

FRODO 300
13.
I
15 mm
from wall
15 mm
from wall
595
5x DET 28
10 x J
2x DET 29
4 x J
II
595
2xDET 30a
4 x J
DET 30b
7 x J
2x DET 29
4 x J
DET 30b
6 x J
( FR101 )

DET 36
10 x M
FRODO 300
14.
1x DET 37a
2x DET 37b
2xDET 37c
Use waterlevel
1x DET 37a
2x DET 37b
16 x J
DET 31
( FR101 )

FRODO 300
15.
3x DET 32b
DET 32a
3 x H
DET 32c
10 x H
~828
from floor
I
II
684
388
388
III
DET 33a
8 x H
DET 33b
3x DET 34a
DET 34b
8 x H
DET 33c
IV
~470
( FR101 )

FRODO 300
16.
2x DET 39
8 x H
10 mm
L
NB! Check also shingles
installation manual
inside shingles package.
DET N
DET O
N
N
N
O
O
O
O
Cut and use it
on ohter side
DET 35a
22 x H
N
N
N
NB! Before roof shingles,
install underlay felt. Check underlay felt installation
manual on extra pages.
Check also roof shingles
installation manual inside package.
DET 35b
DET 35c
DET 35d
22 x H
DET P
( FR101 )
Table of contents
Other Interflex Plumbing Product manuals
Popular Plumbing Product manuals by other brands
Sanela
Sanela SLP 27R Instructions for use

PEERLESS
PEERLESS P99637LF Series quick start guide
Blanco
Blanco BlancoMagnum 501-113-A Specification sheet
KWC
KWC Designo K.28.H3.35.000.99 Specification sheet
Symmons
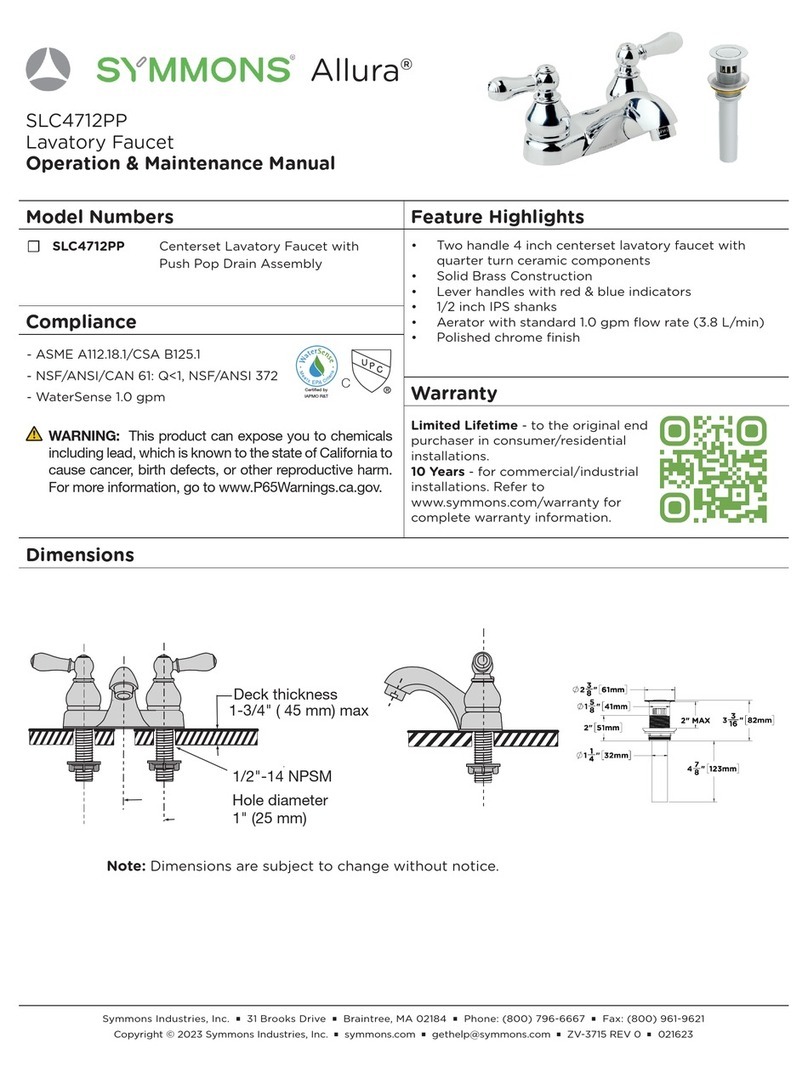
Symmons Allura SLC4712PP Operation & maintenance manual
Pfister
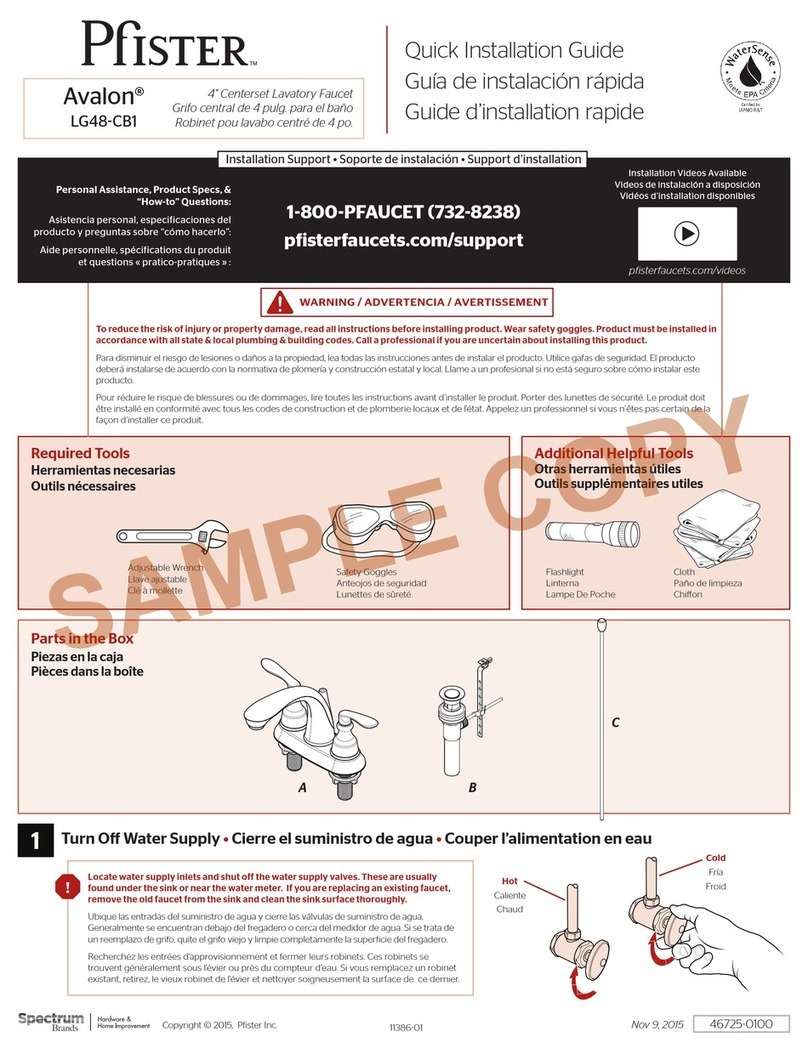
Pfister Avalon LG48-CB1 Quick installation guide
