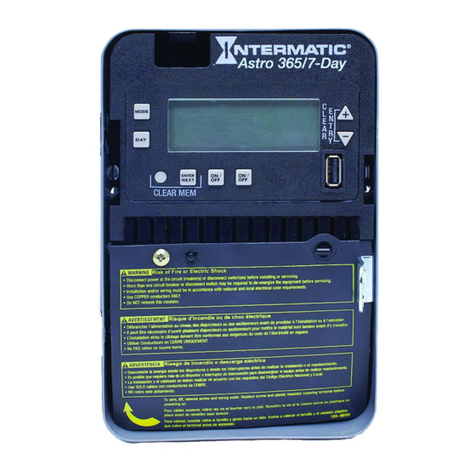
To combine Astronomic and xed events, only program one event in each ON/OFF event pair for both Astro and Fixed events. For
example, a combination Astro and xed event schedule could be a Sunset ON and a Fixed event off for 10 P.M. It is recommended to
determine your facility schedules in advance and then program the time switch. If applicable, different combinations can be congured
for different loads.
Follow these guidelines to congure a combination Astro and Fixed Event schedule.
1. Program the Sunset ON or Sunup OFF events for the applicable loads as instructed in Setting Astro On/Off Events.
NOTE: After a Sunset or Sunup is configured, be sure to leave the other On or Off event blank.
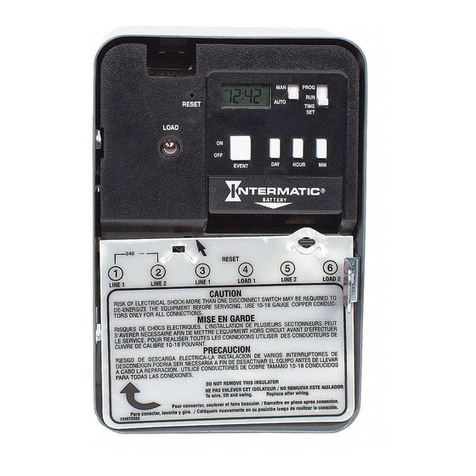
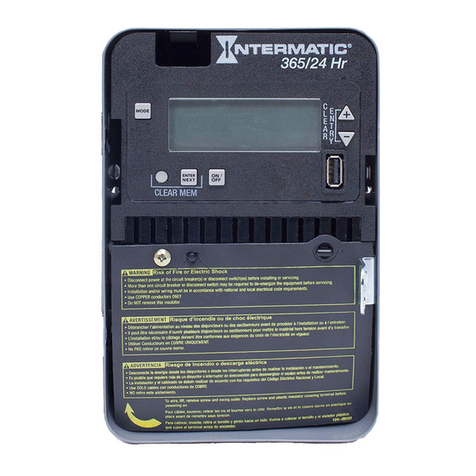
2. Press MODE to scroll to SET FIXED ON/OFF.
3. Program the Fixed ON or Fixed OFF events for the applicable loads as instructed in Setting Fixed Timed Events.
NOTE: After a Fixed ON or OFF is configured, be sure to leave the other ON or OFF event blank.
4. When all the schedules are complete, press MODE to exit the xed event screen.
Daily Operation
Perform the Daily Operation procedures as needed. They include resetting the controller, deleting an event, and clearing time switch
memory.
Deleting (Clearing) an Event
Astro events and xed timed events can be deleted from the time switch. If you need to delete an event, follow this procedure.
1. If necessary, press MODE to scroll through the menus to SET ASTRO or SET FIXED ON/OFF EVENTS screen.
2. Press ENTER/NEXT as necessary to scroll through the scheduled events until you see the event you want to delete.
3. Press + and - AT THE SAME TIME to display --:-- --. This indicates the event is erased.
4. Press MODE to exit.
Setting Astronomic and Fixed Events
6. Repeat the process for each day of the week. When all the individual days are congured, press the applicable ON/OFF buttons
for the applicable loads that you want to include with the xed timed event.
7. Press ENTER/NEXT to save.
NOTE: If you are performing the procedure Setting Astronomic and Fixed Events, return to step 4 of that procedure.
8. Repeat steps 2 through 7 to set the xed OFF event. After both xed on and xed off are set, go to step 9.
9. Take one of these actions:
If... Then...
Another xed timed event needs to be set, Repeat steps 2 through 8.
All the events are set, Press MODE to exit. Go to step 10.
10. Press MODE to place the time switch in AUTO (Mode). This enables the time switch to automatically initiate congured
scheduled events.
NOTE: In AUTO Mode, the time switch follows the user-configured events, and the circuits turn ON and OFF at the configured
time(s). In MANUAL mode, the time switch does not follow user-configured events and only activates circuits when an ON/
OFF button is pressed. Press MODE again to return the controller to MANUAL mode.
NOTE: Press ON/OFF to override a program in Auto Mode. After a program is overridden, the time switch returns to the normal
schedule.
Setting Fixed Timed Events
Access the Fixed ON/OFF screen to set xed switching times. Odd-numbered events are for ON switching and even-numbered events
are for OFF switching. Follow these steps to set xed time events.
1. Press MODE to scroll until SET FIXED ON@ appears on the screen.
2. Press DAY. The screen displays 12:00 am, the days of the week, and the event number.
NOTE: If you are performing the procedure Setting Astronomic and Fixed Events, press ENTER/NEXT to adjust between Fixed
ON@ and Fixed OFF@ and then press DAY.
3. Press + or - to set the starting time for the xed event.
4. Press DAY to select the days (MON-SUN, MON-FRI, SAT-SUN), or a user-congured group of days) you want xed event to oc-
cur.
NOTE: To select the individual days, press DAY to scroll through the options until ON and MON flash on the screen.
5. Take one of these actions.
If you select... Then...
MON-SUN, MON-FRI, SAT-SUN, Press ENTER/NEXT to save. Go to step 8.
NOTE: If you are performing the procedure Setting Astronomic and Fixed Events,
return to step 4 of that procedure.
Individual days Press +or -to select event ON or event -- (OFF) for Monday and press DAY. Go
to step 6.
