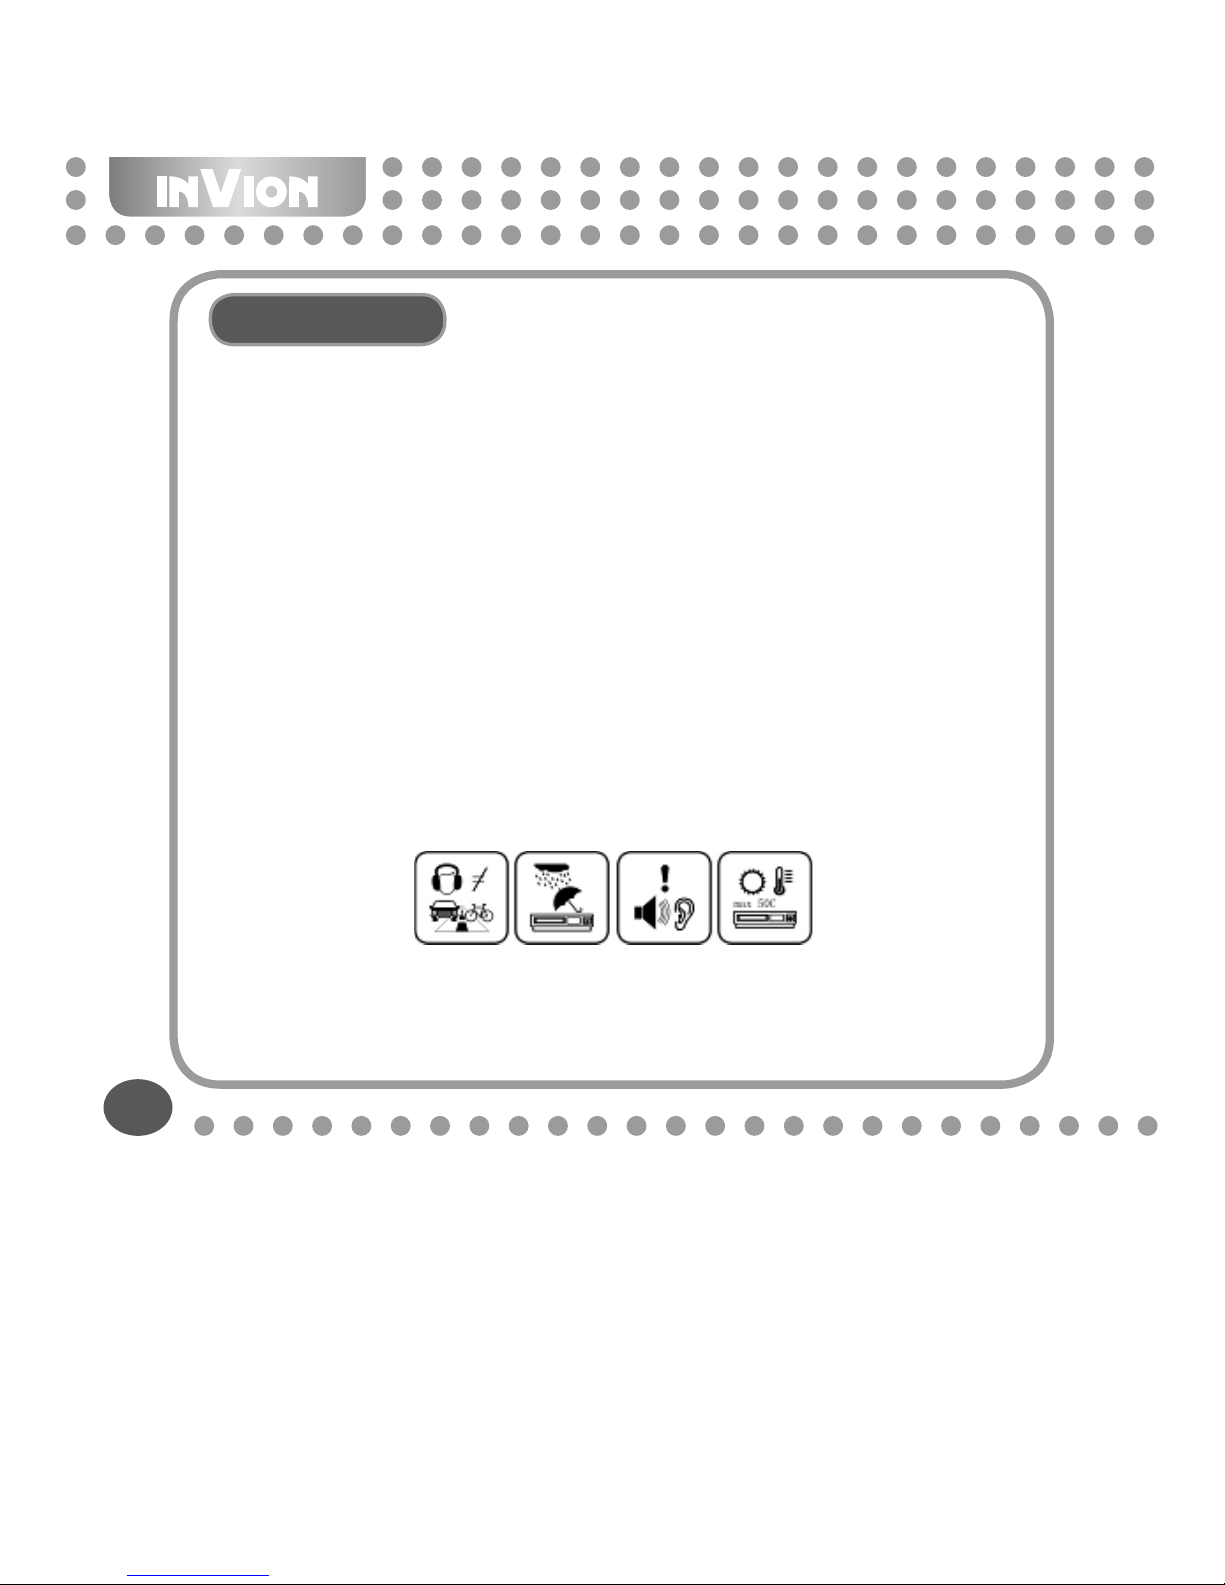
Invion Rush MP3 Player with USB Stick User manual

UK
DE
FR
NL
ES
IT
INSTRUCTION MANUAL
Rush MP3 Player With USB Stick

2
ENGLISH
Congratulations on purchasing your new Invion product.
We are convinced you will be satised with it.
To always guarantee optimal function and performance of your product, we would
ask the following:
● Before using the appliance for the rst time, carefully read the operating
instructions and adhere to the safety precautions!
● All activities at and with this appliance may only be carried out as described in
these operating instructions.
● Please be sure to include the operating instructions in case you pass along this
product to someone else.
Packaging:
This appliance is delivered in protective packaging to prevent transportation
damage. Packaging materials are raw materials and can therefore be recycled.
Please recycle these materials.

3
Content
Precautions 5
System requirement 6
1. Installation instructions 7
1.1 Installing the driver 7
1.2 Installing the battery 7
2. Connect/Download/ Remove 7
2.1 Connecting a PC 7
2.2 Download MP3 songs 7
2.3 Removing USB device 8
3. Basic operation 10
3.1 Buttons and functions 10
3.2 Power On/Off 10
3.3 Main menu setup 10
4. How to use the MP3 player 11
4.1 Music mode 11
4.2 Voice mode 12
4.3 FM Radio (depending on model) 13
4.3.1 Playing FM Radio 13
4.3.2 Recording FM Radio 14
4.3.3 Setting FM Radio 14
4.4 Record function 16
4.4.1 Record from the main menu 16
4.4.2 Record using the shortcut key 16
4.5 Setting 17
4.5.1 Set EQ 17
4.5.2 Set Play mode 17

4
ENGLISH
4.5.3 Setting Contrast 18
4.5.4 Set Backlight 18
4.5.5 Set Stop off 18
4.5.6 Set Sleep off 19
4.5.7 Record set 19
4.5.8 Set Language 19
4.5.9 Reset 20
4.5.10 Exit 20
4.6 Delete function 20
4.6.1 Delete single music 21
4.6.2 Delete All music 21
4.6.3 Delete single voice 22
4.6.4 Delete All voice le 23
4.7 About function 23
4.8 Folder function 24
4.9 Exit 25
5. A-B play mode 25
6. Lock function 26
Lyric sync 26
FAQ 27
Technical specications 29
DRM function (depending on model) 30

5
1) To avoid a trafc accident, never use the player while driving or operating other
vehicles. This may also be written in the law in some districts. To avoid any
danger, please also do not listen at extremely high volumes while walking,
especially when crossing the street. For safety purposes, wherever there are
potential risks, please stop using the player.
2) Please connect the earphone prior to turning on the player. This not only avoids
damaging the earphone but keeps the player in good condition.
3) Keep the player clean. Never store the player close to any heat source or dirty,
humid or rainy places. Avoid direct sunlight.
4) If the surface is dirty, please clean it with a soft cloth wet with clean water or a soft
cleanser. Never clean the case using alcohol or harsh abrasives.
5) Never use the player in an extremely dry environment to avoid static.
6) Never disconnect the player from a PC abruptly while downloading, uploading or
formatting to avoid program failure.
7) When the player is used as a removable disk, please follow the proper le
download and upload procedures. Our company resumes no responsibility for
any les lost due to improper operation.
Precautions

6
ENGLISH
System requirements of MP3 player:
Microsoft Windows 98SE/2000/Me/XP
Pentium 200MHZ or above.
USB port
120MB hard disk space
Mouse installed
CD-ROM drive
System requirements

7
1.1 Installing the driver for Windows 98. (no driver installation required for
Windows ME or above)
a. Connect the MP3 Player to the USB port of the PC and a “Find new hardware”
window appears on the screen. Click “Search latest driver for this device” and
insert the driver CD into the CD-ROM, and then click “Next”.
b. Select “Look in” to direct the installation directory to the “Drivers” les in the driver
CD, then click “Yes”. The PC will install the Windows 98 driver automatically.
1.2 Installing the battery
Install one AAA 1.5V alkaline battery properly upon indicator on the player.
Press the ► button to enter MP3 standby mode.
2.1 Connecting to a PC as USB
Before operation, please insert one end of the USB cable included with the player
into a PC and insert the other end into the MP3 player.
2.2 Download MP3 songs
You can drag and drop les and folders onto the removable device. The following
screens display indicating that the player is in USB mode.
USB ready Downloading
1. Installation instructions
2. Connect /Download/Remove

8
ENGLISH
2.3 Removing the USB device
a. Double click the Safely Remove Hardware icon in taskbar:
b. From Safely Remove Hardware screen, highlight “USB Mass Storage Device”
item.
c. Click “Stop” button. “Stop to Hardware Device” window appears on the screen as
shown in the picture below.

9
d. Click “OK”. After the “Safe to Remove Hardware” window appears, the player can
be disconnected from PC safely.
Notice: Never unplug the USB cable when transmitting data with PC to avoid
damaging the Player; after data transmitting, please do not disconnect the player
from PC until “Device now be safely removed” appears; while using USB function,
all other buttons will be nonfunctional.
Any application lost or I/O error and power on issues caused by improper operations,
please refer to FAQ.

10
ENGLISH
3.1 Buttons and functions
1) Hold
2) Menu
3) | Previous
4) REC/A-B
5) VOL-
6) Next |
7) Earphone jack
8) VOL+
9) ► Play/Pause/Stop
10) Microphone
3.2 Power On/Off
From power Off mode, press the ► button to power the player On and enter MP3
standby mode. Press the ► button 3 seconds under any mode, the player will save
data and enter power Off mode.
MP3 standby mode
Important: If the power is directly cut off in standby mode or play back
process, all the data set cannot be saved!
3.3 Main menu setup
From standby or playing mode, you can press the MENU button to enter the main
3. Basic operation

11
menu function setting mode.
Push the ׀ or ׀ button to select: Music , Voice , FM Radio , Record ,
Folder , Settings , Delete , About , and Exit ; press the ► button to enter
the desired setting.
4.1 Music mode
a) From MP3 standby mode, you can press the► button to play MP3 music and
press the ► button again to pause. To resume playing, please press the ►
button the third time.
Play Pause
b) From play or pause mode, press and hold the ► button for 2 seconds and the
player will return to the MP3 standby mode. Press and hold the ► button again,
it will repeat step “a)”.
c) From MP3 standby or play mode, you can press the ׀ or ׀ button to select
previous or next track.
d) You can hold and press the ׀ or ׀ button to fast backward or forward in this
track.
4. How to use the MP3 player

12
ENGLISH
e) From MP3 standby, play and pause mode, press and hold the ► button 3
seconds, the player will save the data and enter the power off mode.
f) You can press the V + or V-button to adjust volume.
4.2 Voice mode
a) From MP3 mode or voice standby mode, you can press the MENU button to
enter the main menu. To enter voice mode, press the ׀ or ׀ button to select
Voice and press the ► button. If there are voice les currently saved, you can
press the ► button to play, and press this button again to pause. To resume
playing, please press this button a third time. If there are no les, please refer to
the record function to learn how to record les.
Main menu Play Pause
b) During voice playing or pause mode, press and hold the ► button for 2 seconds.
The player will return to the MP3 standby mode. Press the ► button again and
it will repeat step “a)”.
c) During voice standby or play mode, you can press the ׀ or ׀ button to select

13
previous or next track.
d) You can hold and press ׀ or ׀ button to fast backward or forward in this
track.
e) During voice standby mode, press the ► button 3 seconds, the player will enter
the power off mode.
f) You can press the V + or V-button to adjust volume.
4.3 FM Tuner (Depending on Model )
4.3.1 FM Playing
From MP3 or voice mode, press the MENU button to enter the main menu. Press
the ׀ or ׀ button to select FM radio mode and then press the ► button to
enter. The player will begin playing FM under the rst preset station. At most 20 FM
stations can be stored in this MP3 player.
a) During FM playing mode, you can press the ► button to turn off the sound.
Repress again to resume.
b) During FM playing mode, you can switch between the preset stations by pressing
the ׀ or ׀ button.

14
ENGLISH
d) From FM playing mode, you can press the VOL+ or VOL- button to adjust the
volume.
e) From FM playing mode, press and hold the ► button for 3 seconds, the player
will enter the power Off mode.
4.3.2 FM Recording
During FM playing mode, press and hold the A-B/REC button for 2 seconds to enter
the FM record mode and begin recording. The FM music will be recorded in WAV
format. Press the ► button to pause recording. Press the MENU button to stop
recording and save the le and return to the FM playing screen. The le can be
played under voice mode.
4.3.3 FM function setting
During FM playing, you can press the MENU button to change the FM status. FM
functions includes: radio , scan , store , delete , exit .
Press the ► button to enter the desired function.

15
a) Radio: You can return to the FM playing mode from any FM mode by pressing
the MENU button to select the radio icon. The FM radio will return to the FM
playing mode.
b) Scan: You can enter the scan mode in FM playing mode by pressing the MENU
button to select the scan icon. Press the ► button to begin scanning. The band
width ranges between 87MHz and 108MHz. The player will begin play the rst
station after scanning.
c) Store: Enter the store mode by pressing the MENU button to select the store icon.
Press the ׀ or ׀ button to select the frequency and press the ► button to
save after scanning out a new station. The “Already Save” icon will appear after
saving.
d) Delete: You can enter the delete mode in FM playing mode by pressing the
MENU button to select the delete icon. Press the ► button to conrm deleting
the current station. The player will skip to the next station.

16
ENGLISH
e) Exit: Press the ► button to return the FM playing .
4.4 Record function
4.4.1 Record from the main menu
From MP3 mode or voice standby mode, pres the MENU button to enter the main
menu, and press ׀ or ׀ to select the record function. Press the ► button to
begin recording and repress the ► button to pause. You can press the MENU
button to stop recording and return to the record main menu. You should enter the
voice mode to play the recorded les.
Main menu Recording Pause recording
4.4.2 Record using the shortcut key
From MP3 mode or voice standby mode, press the A-B/REC button 2 seconds,
the player will enter the record mode and begin recording, press the ► button to
pause. You can press the MENU button to stop recording and enter to the voice
standby mode. You can press the ► button to play voice, and press this button
again to pause. To resume playing, please press this button a third time.

17
4.5 Settings
From MP3 mode or voice standby mode, you can press the MENU button to enter
the main menu, and press the ׀ or ׀ button to select Setting and press the►
button to enter. The function setting includes: EQ , play mode , contrast ,
backlight , language , stop off , sleep off , record set , reset , and exit
. You can press the ► button to save the selected option.
4.5.1 Set EQ
Under the setting mode, press the ׀ or ׀ button to select the EQ mode: Normal
, Classical , Jazz , Rock , Pop and Ultra Bass . Press the ► button
to save the selected EQ setting.
4.5.2 Set Play mode
Under the setting mode, press the ׀ or ׀ button to select the playing mode:
Normal , repeat one , repeat all , random and random& repeat and intro
. Press the ► button to save the selected play mode. Random mode, random &
repeat mode and intro mode are unavailable while you are playing voice les.

18
ENGLISH
Intro
Press the or button to select INTRO and press the ► button to start. In the
Intro mode, the player will play the rst 10 seconds of each track and then skip to
the next one.
4.5.3 Set Contrast
Under the setting mode. Press the ׀ or ׀ button to adjust the contrast of LCD.
Press the ► button to save the selected setting.
4.5.4 Set Backlight
Press the ׀ or ׀ button to select the backlight settings which includes: disable,
5s, 10s, 30s, 50s, always on. Press the ► button to save the selected setting
4.5.5 Set stop off
Under the setting mode press the or button to select the Stop off option.
Stop off settings include: Disable, 1MIN, 2MIN, 5MIN,10MIN. Press the ► button
to save.
10

19
4.5.6 Set sleep off
Under the setting mode, press the or button to select the Sleep off options.
Sleep off settings include: Disable, 10MIN, 30MIN,60MIN, 90MIN. Press the ►
button to save.
4.5.7 Record Set
Under the setting mode, press the ׀ or ׀ button to select the record set options
including: 8000Hz, 11025Hz, 16000Hz, 22050Hz, 32000Hz, 44100Hz, 48000Hz.
Press the ► button to save the selected recording setting.
4.5.8 Set language
Under the setting mode. Press the ׀ or ׀ button to select language. Press the
► button to save the selected language.

20
ENGLISH
4.5.9 Reset function
Under the setting mode, press the ׀ or ׀ button to select the Reset function.
Press the► button to reset. All the settings will return to the default settings.
4.5.10 Exit
Return to the previous mode. You can press the MENU button to exit the setting
mode quickly.
4.6 Delete function
From MP3 mode or voice standby mode, press the MENU button to enter the
main menu, and press the ׀ or ׀ button to select the Deletion function. You
can select: Delete music, Delete all music, Delete voice, Delete all voice and Exit.
Repress the► button to enter a selected option.
Table of contents