Press Ato:
•Open or close unlocked doors. Stand back to allow the door to open. If
something blocks it, nudge it out of the way.
•Pick locked doors. To learn how, see Picking Locks, p. 13. Not all
doors can be picked — a few require you to press a nearby button or
lever.
•Pick up/drop bodies. Leaving dead or unconscious bodies in plain view
draws attention. Pick up bodies and hide them in shadows or alcoves.
•Pick up loot. If you see a vase, goblet, purse or other item highlighted in
blue when you face it, pick it up. The item’s name and value appear
briefly onscreen. The Gear screen (p. 19) shows what you’ve collected so
far in the current game. (Note that you can’t drop loot, only junk items.)
•Read letters or books. Books, plaques, letters, notes and scrolls hold a
wealth of information. Use these items to read them. To switch pages,
move RK o
. To close the page, press B.
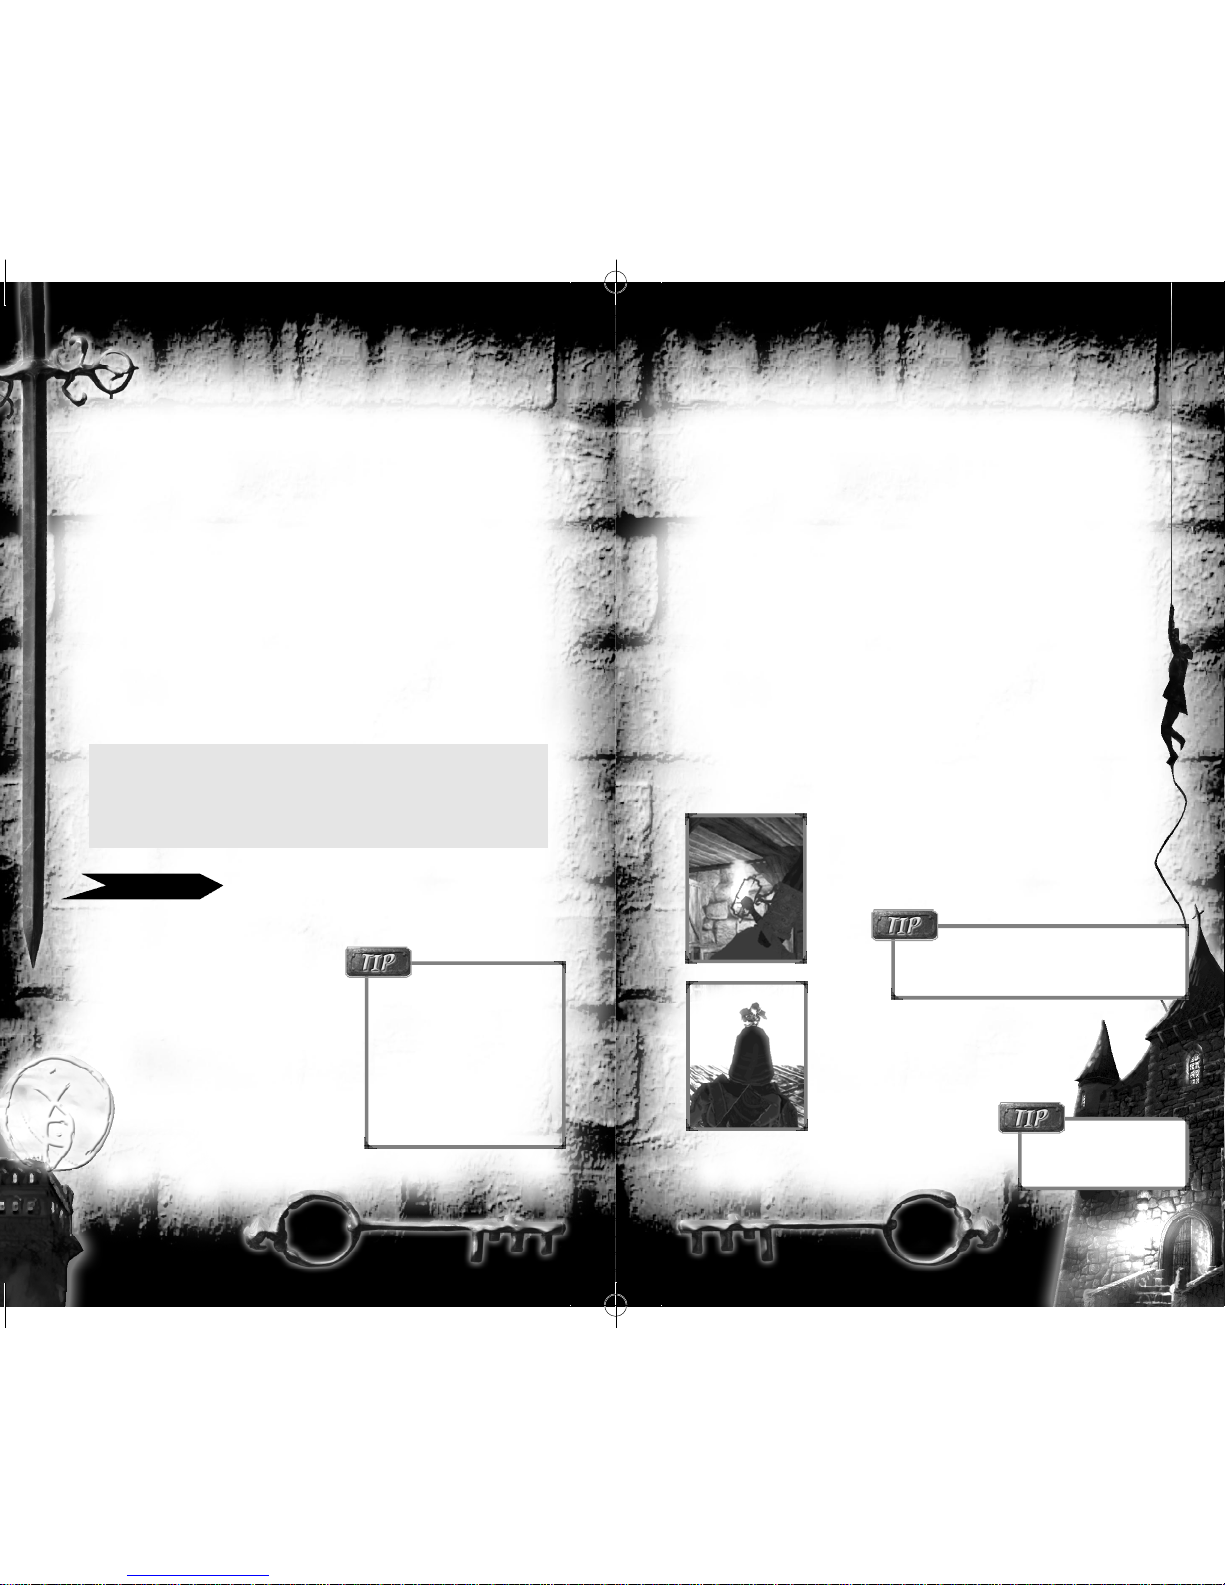
Firing Arrows and Projectiles
When firing arrows or tossing explosives and flasks, aim at at a target by tilting
your view up or down. This alters the trajectory of whatever you’re throwing.
Look up to toss high and far, or look lower to throw low and close by.
Fi ring arrows. Select an arrow type. Pull and hold rto
enter aiming mode. Simulta n e o u s l y, move Rto position
the crosshairs slightly above the ta r get. Release the tri g ge r
to fi re the arrow. (Be sure yo u’re not too far away, or the
a rrow may fall short of its ta r g et . )
Throwing flasks and explosives. Select a flask,
bomb or mine. Move Rand line Garrett’s head
up with the target.
Pull lfirmly to hurl the item.
(For mines, aim at the ground.)
11
10
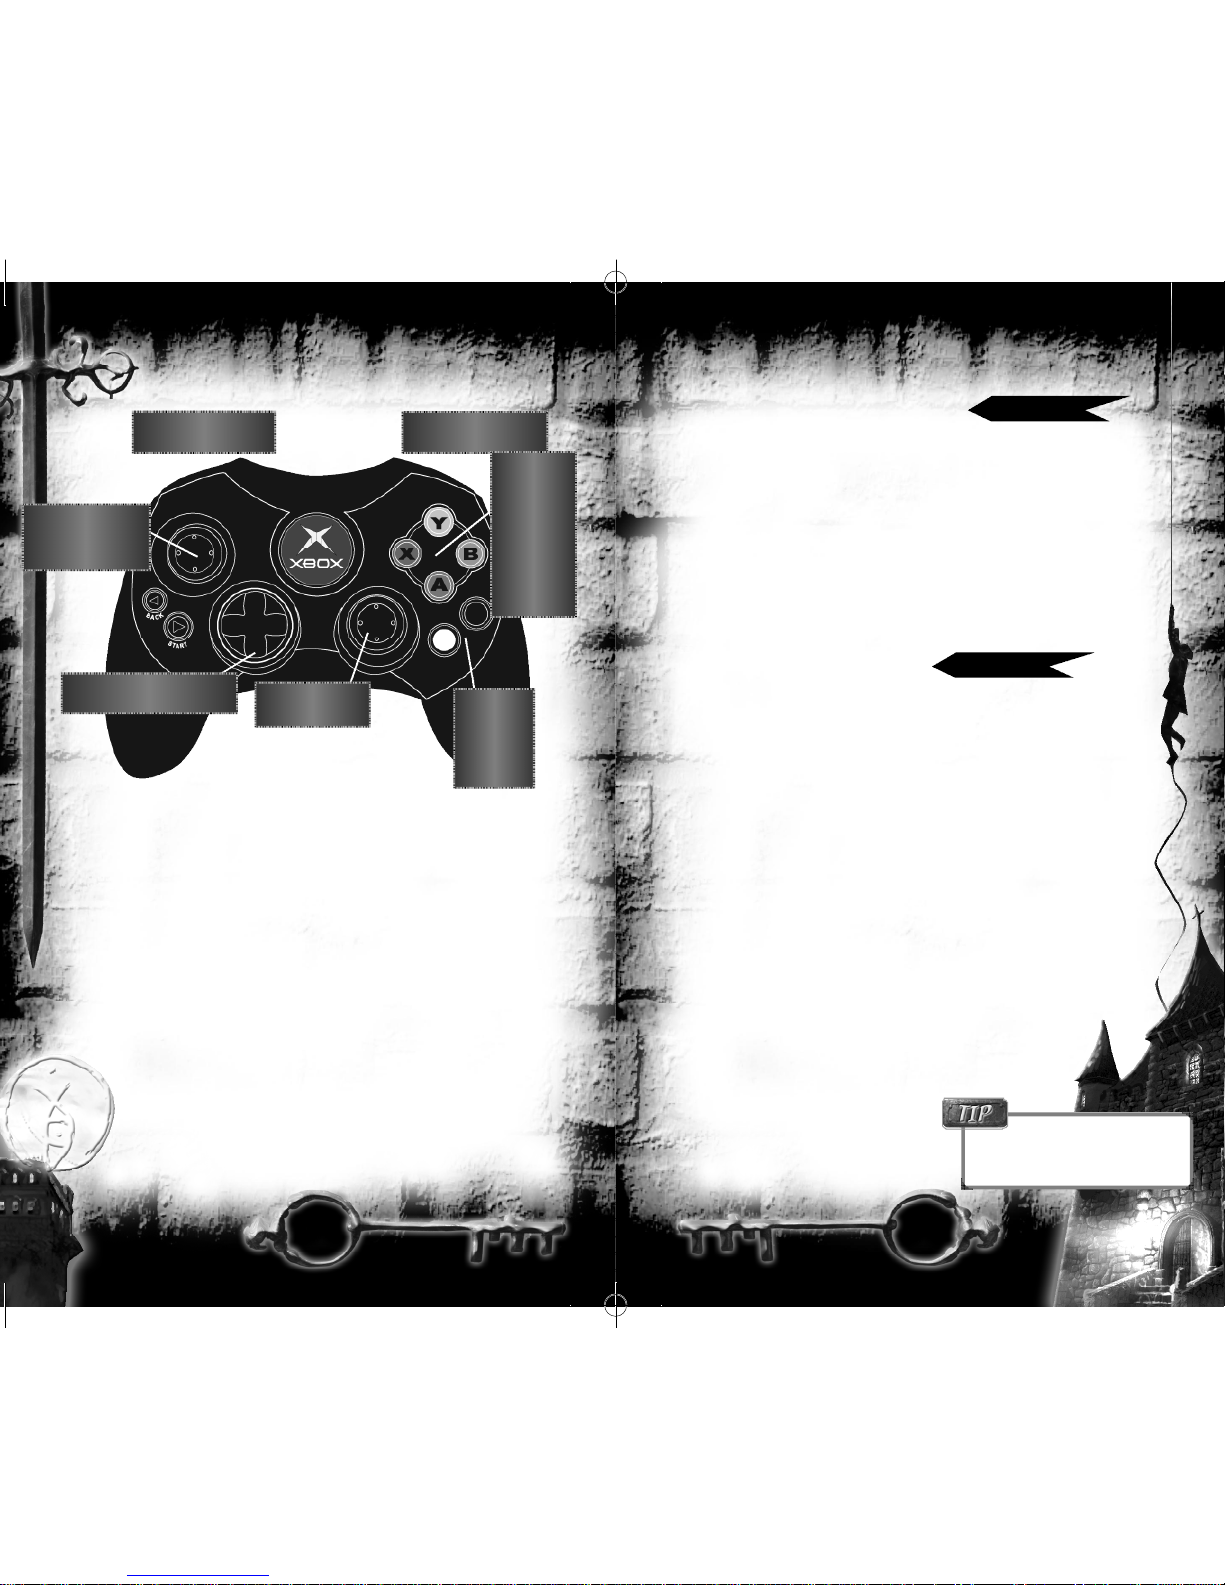
Looking Around
hSwitch viewpoints. You can choose to see Garrett onscreen, or
play using the first-person “eyeball” view. For new players, third-per-
son view (the default) is usually easiest.
RAdjust view angle. Move RK oto rotate the camera.
Move Rq m to angle your view or aim.
(See Look spring below to change how this works.)
D
qm Zoom view. Garrett has a mechanical eye with a built-in zoom
lens that gives you a close-up view.
Press Dqto zoom in and Dmto zoom out.
GControl Options: Look spring. Option that maintains a straight,
forward view, even when you’re turning.
(You can still change your viewpoint while moving by moving R.
Release the stick to re-center your view.)
Using Weapons and Items
To use a weapon or item, select it, then use it.
ISelect next weapon. jSelect next item.
LICycle through weapons. LjCycle through items.
rUse selected weapon. lUse selected item.
Tools of the Trade (weapon and item details)
Gear Screen (viewing equipment and items)
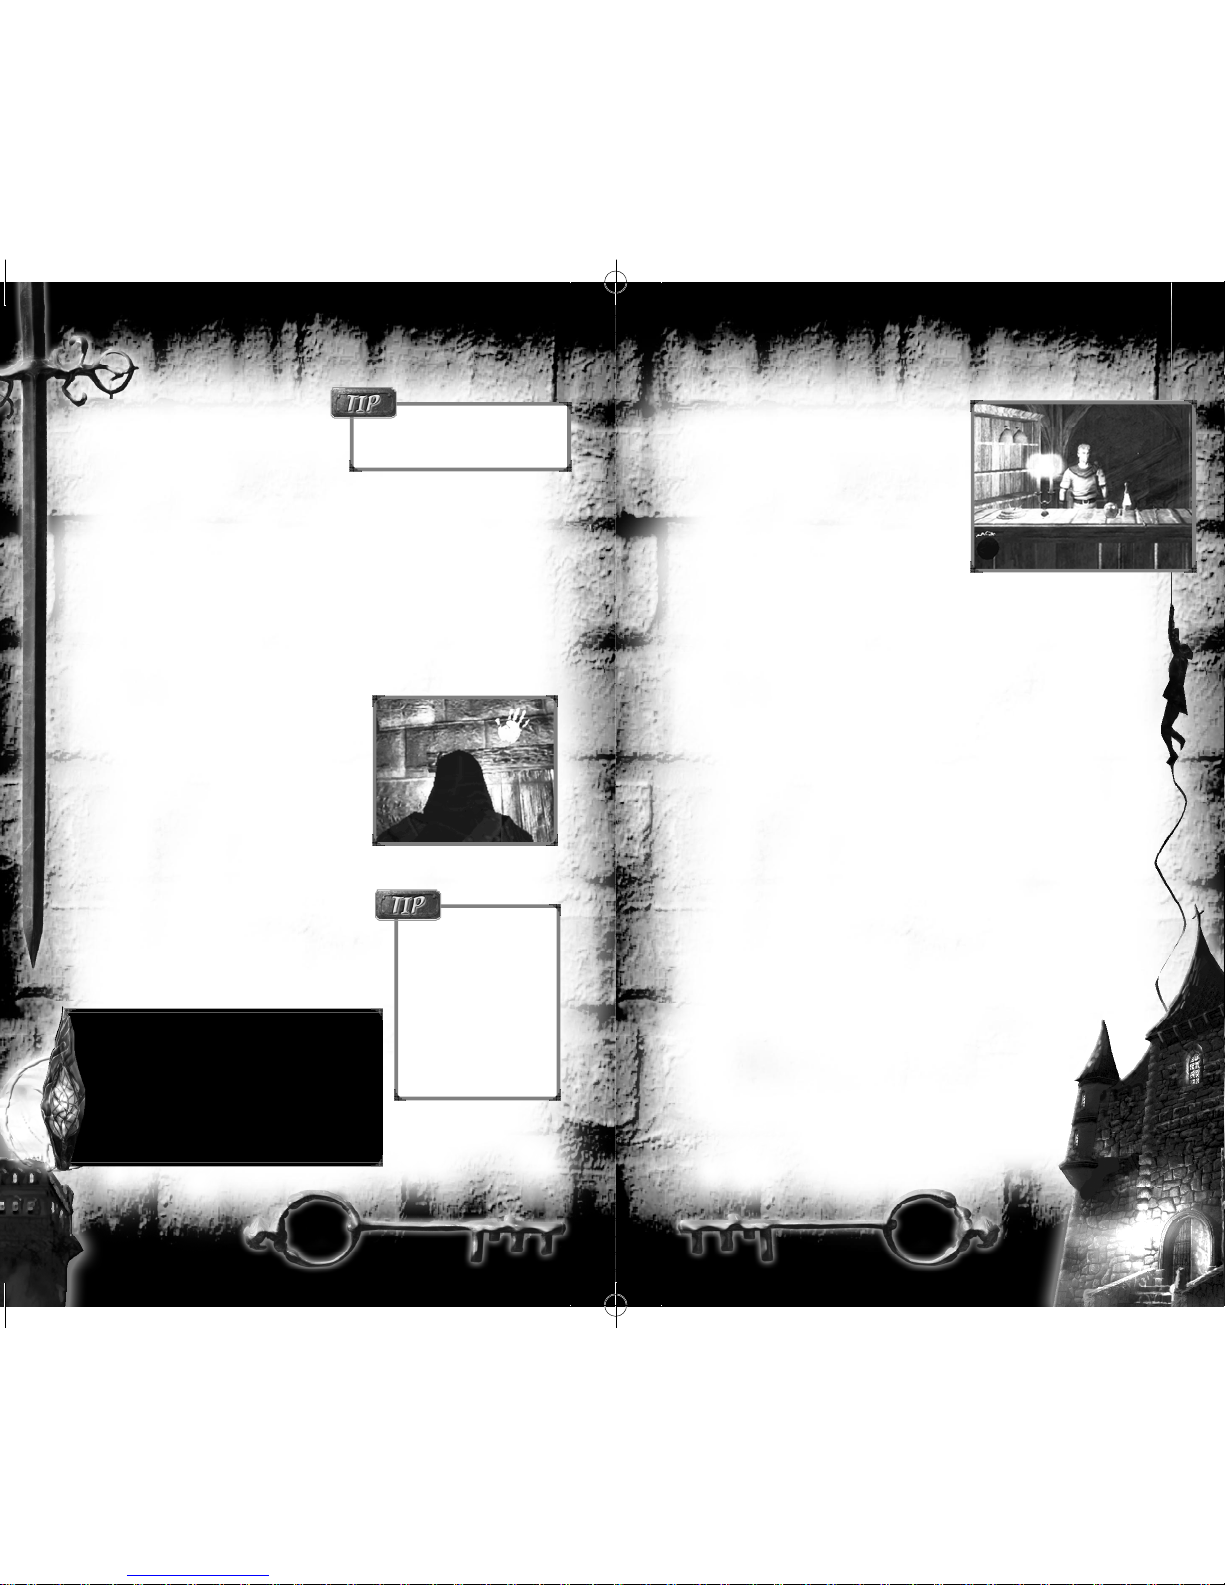
Items in the World
To interact with something, center it in view
and press A. Anything you can use, press,
steal, or pick up is highlighted with a faint
aqua glow once you are in the correct position
to use it or pick it up.
•To drop worthless items or a body,
press A.
•To throw worthless items,
pull the lor rtrigger.
Page 19
If you pick up a body
or useless item, “Nothing”
appears in the item or weapon
slot on the interface. You can’t
select or use anything until
you drop or throw that item.
(Don’t worry — you can’t
drop loot or anything valuable,
just junk!)
Continuing to pull rfor any length of
time zooms in, but eventually causes your arm
to shake with fatigue. This upsets your aim.
To drop the
selected item at your feet,
gently pull l.