7
CONFIGURATION
Step 1: Connect the unit to a computer using the USB cable provided and switch on
the power to the unit.
Step 2: Once connected the PC will find the unit as a new removable hard disk. If it is not
detected automatically the user can search for the unit via ‘My Computer’ on the PC.
Once the relevant folder has been found open the file called ‘DVXSet.exe’ which will
open the unit’s settings, detailed below as follows:
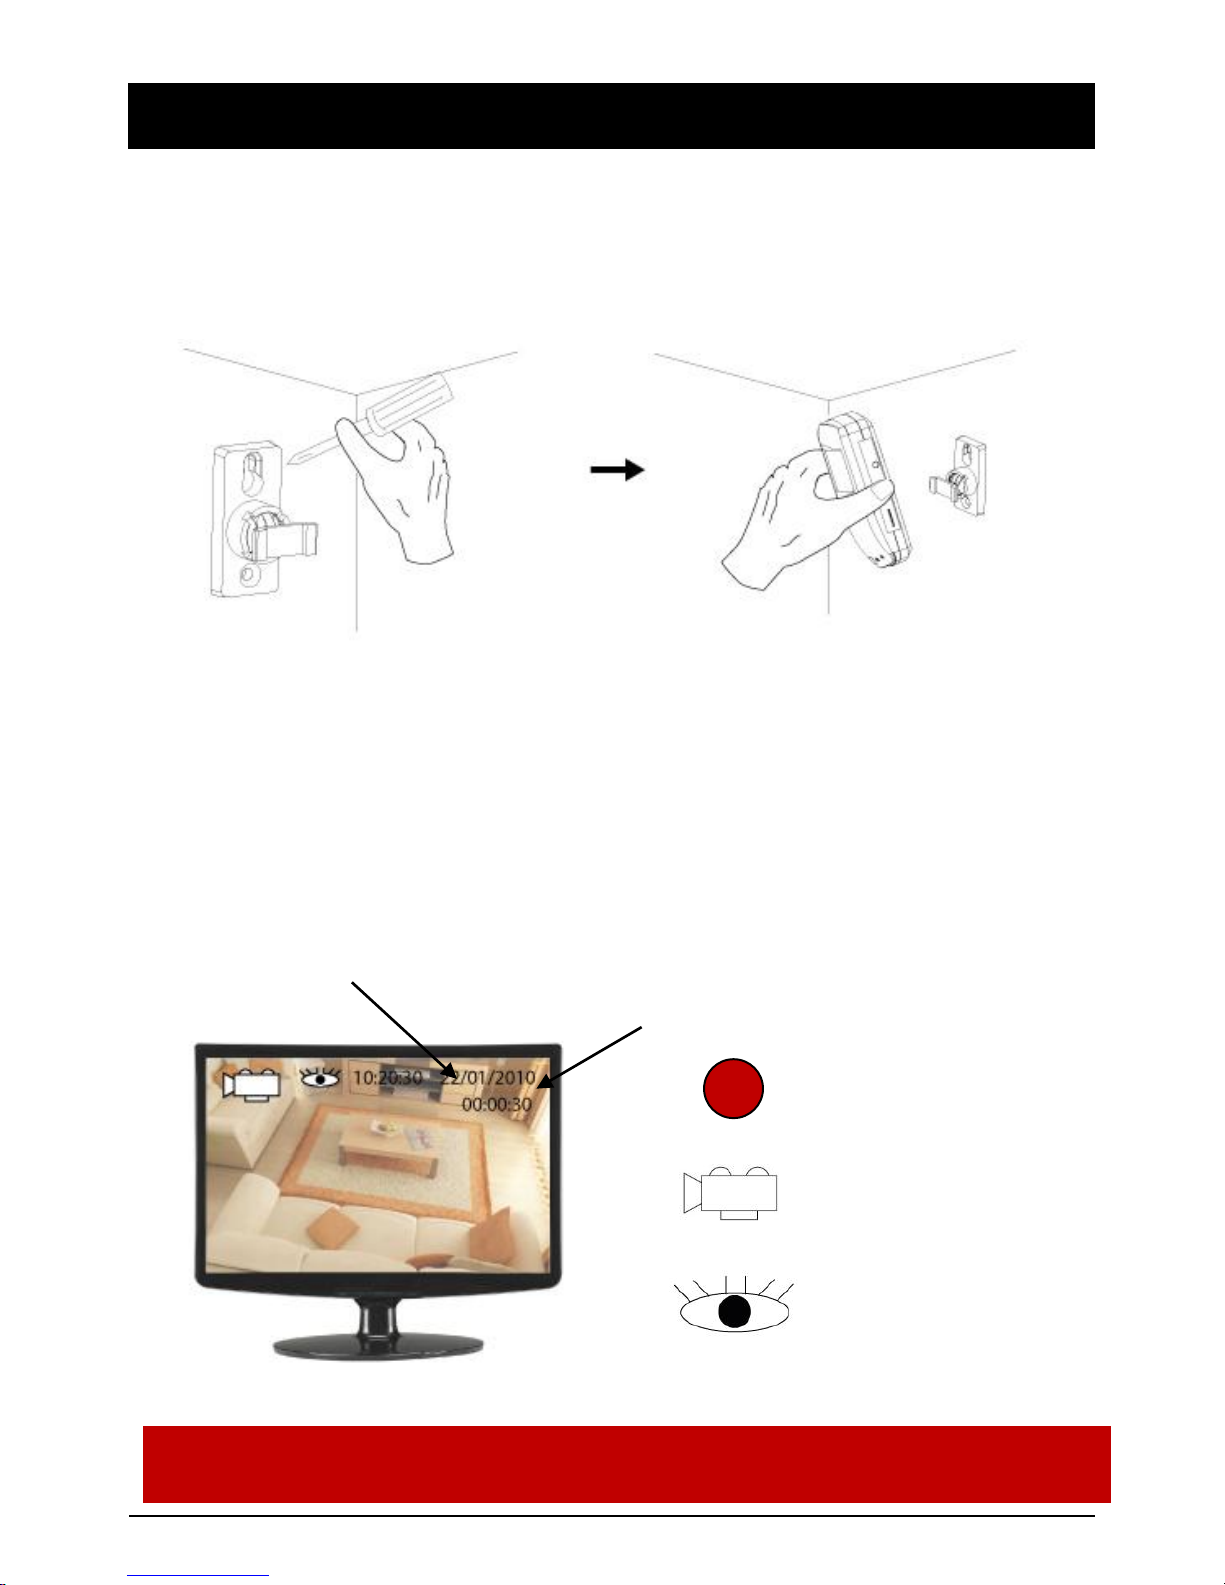
A. DATE: Set the date in the format ‘Year/Month/Date’.
B. TIME: Set the date in the format ‘Hour/Minute/Seconds’.
C. DATE/TIME: Set Date and Time format ‘YY/MM/DD’ or ’DD/MM/YY’ or ‘MM/DD/YY’.
D. MD SENSITIVE: Select the Motion Detection Sensitivity between 1-5 (5 is the highest)
E. LIGHT FREQENCY (Hz): Select appropriate option for your country (i.e. 50Hz for
Europe and China, 60Hz for America and Japan).
F. IMAGE QUALITY: Resolution settings; HD (High), D1 (Standard) or VGA (Low).
G. OVERWRITE: ‘ON’ means it overwrites when the memory card is full. Consequently
‘OFF’ means that the memory card will not be overwritten once full.
H. BELL: ‘ON’ means that pressing the remote control buttons to control the unit will
generate a sound. Similarly ‘OFF’ ensures no sound is produced.
Step 3: After changing the required settings, press the ‘SAVE’ button. Then press
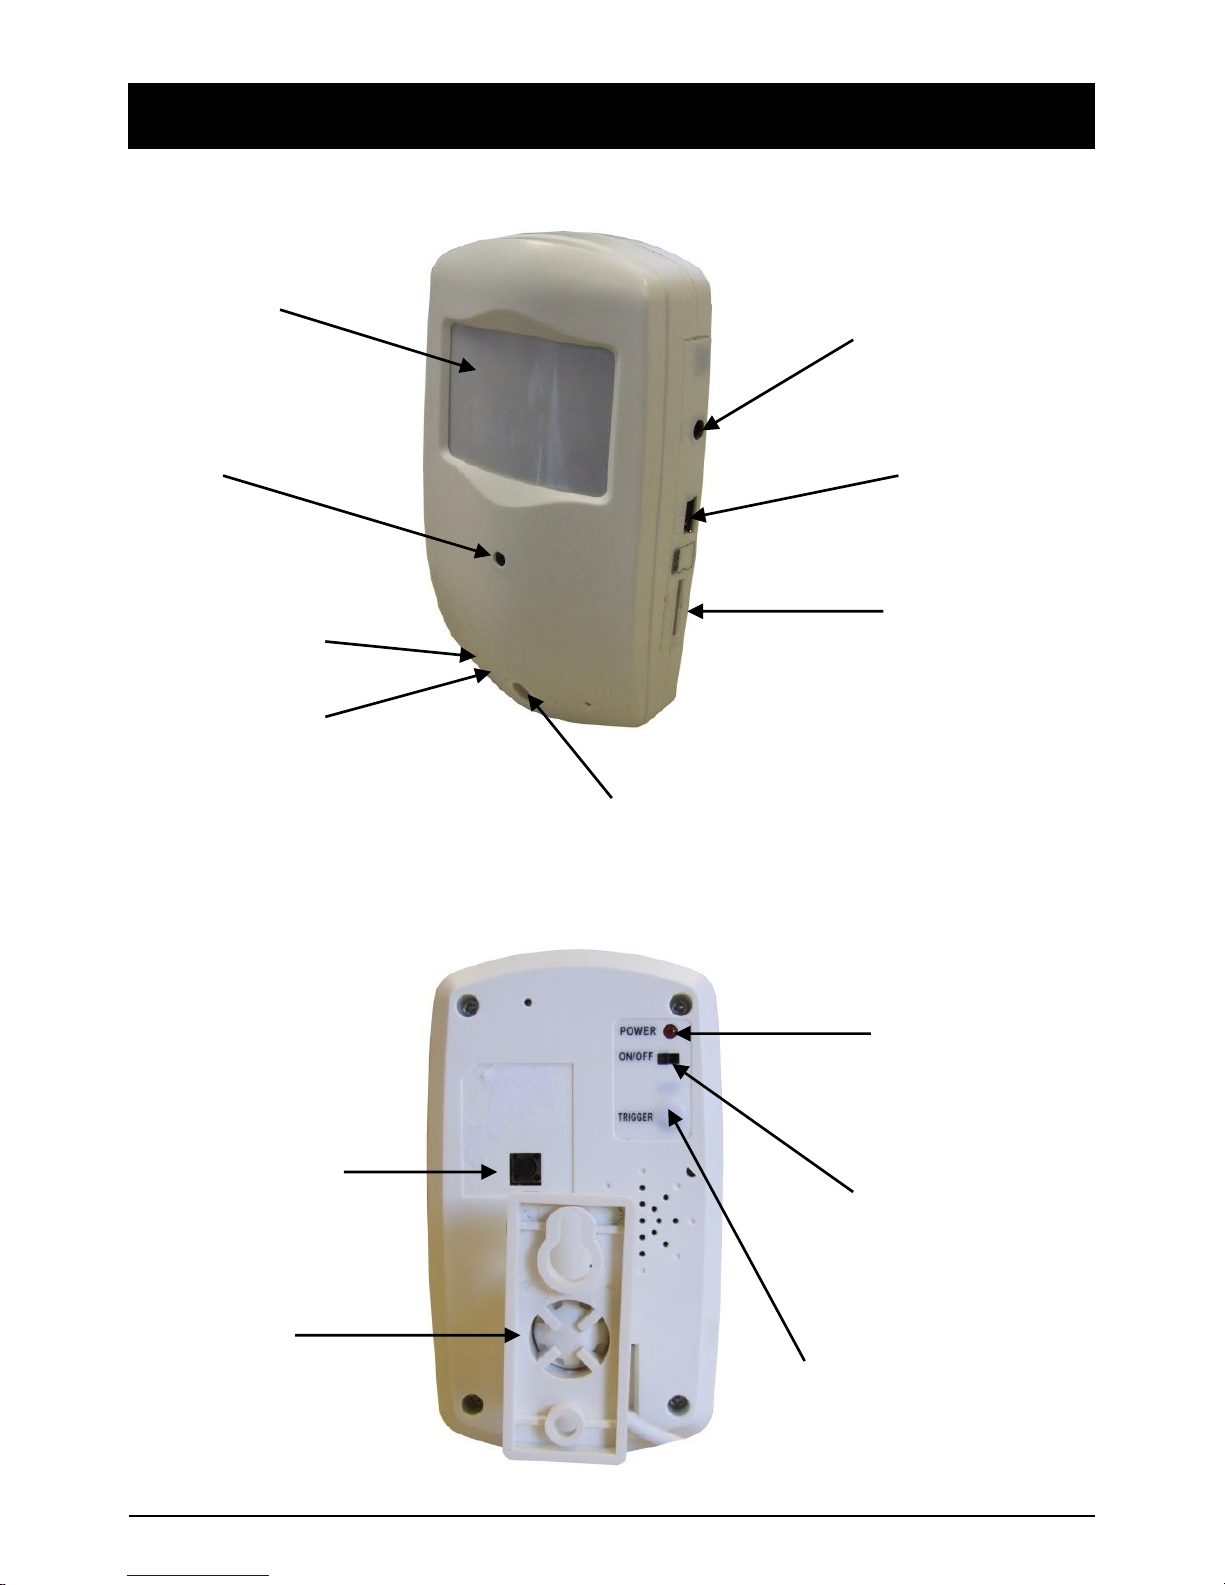
the ‘SET’, button on the back of the camera, for 3-5 seconds. The removable
hard disk will now disappear from the PC and the standby indicator will light up to
confirm the settings have been saved and finished.
USB CABLE