manuals.online logo
Brands
  1. Home
  2. •
  3. Brands
  4. •
  5. Isenberg
  6. •
  7. Kitchen & Bath Fixture
  8. •
  9. Isenberg 250.2410 User manual

Isenberg 250.2410 User manual

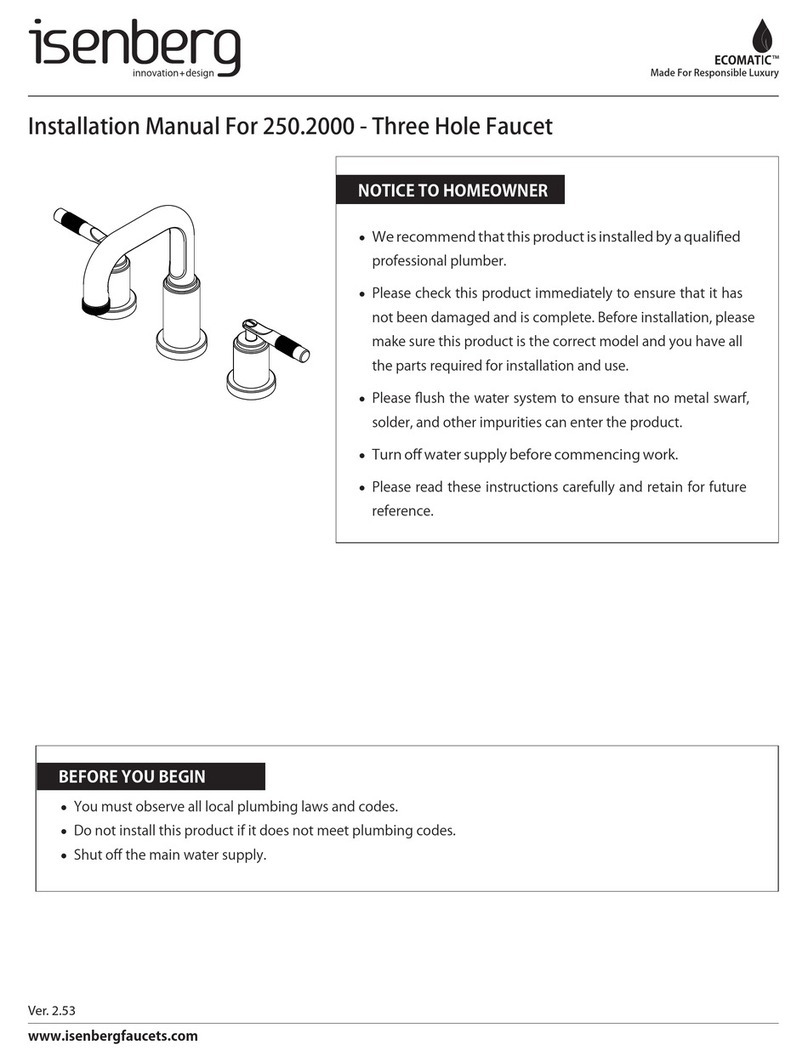
InstallationManualFor250.2410-ThreeHoleRomanTubFaucet
MadeForResponsibleLuxury
NOTICETOHOMEOWNER
•
We
recommendthatthisproductisinstalledbyaqualified

professionalplumber.
•Pleasecheckthisproductimmediatelytoensurethatithas
notbeendamagedandiscomplete.Beforeinstallation,please
makesurethisproductisthecorrectmodelandyouhaveall
thepartsrequiredforinstallationanduse.
•Pleaseflushthewatersystemtoensurethatnometalswarf,
solder,andotherimpuritiescanentertheproduct.
•
Turnoffwatersupplybeforecommencingwork.

•Pleasereadtheseinstructionscarefullyandretainforfuture
reference.
BEFOREYOUBEGIN

•Youmustobservealllocalplumbinglawsandcodes.

•Donotinstallthisproductifitdoesnotmeetplumbingcodes.
•Shutoffthemainwatersupply.

www.isenbergfaucets.com
Ver. 2.53
MadeForResponsibleLuxury
INSTALLINGTHETHREEHOLEROMANTUBFAUCET
www.isenbergfaucets.com
5 in. min.
8~16 in.
3 in. min.
1-7/8 in. MAX. DECK THICKNESS
1-3/8 in.
Diamter
1-3/8 in.
Diamter
1-1/8 in.
Diamter 2
3
4
1
Step 1
Shut o the water supply. Remove the old faucet.
.wolebmargaidehtninwohssakceddehsinifehtniselohllirD
NOTE: This kit allows up to 1-7/8 in. deck thickness.
Step 2
Loosen the connector (1) from the middle body. Adjust the rubber
washer (2), metal washer (3) and mounting nut (4) to the bottom of
middle body.
2
1
3
4
Step 3
From underneath the deck, insert the middle body with the rubber
washer (1), metal washer (2) and mounting nut (3) through the
mounting hole. From above, thread the connector (4) onto middle
body. Tighten the mounting nut (3), so that the connector (4) sits
ush against the nished deck surface.
1
2
3
4
3
4
1
2
Step 4
Loosen the anges (4) and washer (3) from the valve bodys. Adjust
the washer (1) and mounting nuts (2) to the bottom of valve bodies.
MadeForResponsibleLuxury
INSTALLINGTHETHREEHOLEROMANTUBFAUCET
www.isenbergfaucets.com
1
1
4
3
2
Step 6
Connect the hoses (1) to the bottom of the hot and cold end valves
(2 & 4), as shown. Align the middle body (3) in a position that will
allow maximum clearance to connect the hoses (1). Carefully bend
the hoses (1) to t in the available space, and carefully thread the
hose (1) couplings onto the sides of the middle body (3). Tighten all
connections with a wrench.
1
2
3
4
Step 5
From underneath the deck, insert the valve body with the washer
(1) and mounting nut (2) through hole on the right (cold) side. From
above, thread the washer (3) and ange (4) onto valve body. Lock
the ange (4) to be ush with the top face of the body,as shown in
Fig. 1, then tighten the mounting nut (2) using a basin wrench.
Repeat this procedure for the hot end valve on the left (hot) side.
Note: Hot side end valve is red labeled.
keep flush
Fig. 1
1
2
4
3
Step 7
nstall the spout assembly (1) onto the connector (4). Be sure the
spout assembly (1) is resting rmly on the deck. Push down on
spout assembly (1) and tighten set screw (2) with the Hex wrench
(Hex: 3.2mm, 3).
3
2
1
OFF
ON
Step 8
Place the handle assembly (1) onto the cartridge stem (3).
Place the other handle onto the left (hot) valve and install the
same way. Note: With the Cartridge in the "O" position,
align Handle to desired "O" position, and engage the
splines of the Valve Cartridge into the Handle Assembly.
MadeForResponsibleLuxury
INSTALLINGTHETHREEHOLEROMANTUBFAUCET
www.isenbergfaucets.com
1
2
2
Step 9
Connect a 1/2 in. IPS faucet connector (not included) to the
water supplies underneath the deck using wrenches (not
included).
NOTE: Refer to the local plumbing codes for permissible
types of water supply connectors.
Step 10
Ensure the faucet handles are in the o position, and turn on
the water supply and check for leaks. If you discover any
leaks, check your connections to ensure they are installed
properly. Turn on the hot and cold handles to allow the water
to run for at least one minute.
This ushes away any debris that could cause damage to
internal parts. Turn o the water.

Other Isenberg Kitchen & Bath Fixture manuals

Isenberg ECOMATIC 160.2000 User manual

Isenberg

Isenberg ECOMATIC 160.2000 User manual

Isenberg K.2030 User manual

Isenberg

Isenberg K.2030 User manual

Isenberg 250 Series User manual

Isenberg

Isenberg 250 Series User manual

Isenberg 250.2000 User manual

Isenberg

Isenberg 250.2000 User manual

Isenberg Ecomatic 100.2400 User manual

Isenberg

Isenberg Ecomatic 100.2400 User manual

Popular Kitchen & Bath Fixture manuals by other brands

Graff AMETIS GN-6440-LM43-T installation instructions

Graff

Graff AMETIS GN-6440-LM43-T installation instructions

Plumbworld Rangemaster Monorise Monobloc quick start guide

Plumbworld

Plumbworld Rangemaster Monorise Monobloc quick start guide

Dornbracht 13 512 661-FF installation instructions

Dornbracht

Dornbracht 13 512 661-FF installation instructions

Helvex Magna DX EP-914 installation guide

Helvex

Helvex Magna DX EP-914 installation guide

Graff 8322 installation instructions

Graff

Graff 8322 installation instructions

Kraus KEF-15003 installation manual

Kraus

Kraus KEF-15003 installation manual

Kalia AQUATONIK 104090 Series Installation instructions / warranty

Kalia

Kalia AQUATONIK 104090 Series Installation instructions / warranty

Lumex 7921R series Assembly & operation instructions

Lumex

Lumex 7921R series Assembly & operation instructions

Hans Grohe ShowerSelect S 15747000 Instructions for use and assembly instructions

Hans Grohe

Hans Grohe ShowerSelect S 15747000 Instructions for use and assembly instructions

Bossini D48000 Installation and maintenance instructions

Bossini

Bossini D48000 Installation and maintenance instructions

Price Pfister Brookwood 34 Series manual

Price Pfister

Price Pfister Brookwood 34 Series manual

Hans Grohe M712-H320 73810000 Instructions for use/assembly instructions

Hans Grohe

Hans Grohe M712-H320 73810000 Instructions for use/assembly instructions

Moen CA8301 installation guide

Moen

Moen CA8301 installation guide

Rejuvenation RICHMOND 27in Vanity Assembly instructions

Rejuvenation

Rejuvenation RICHMOND 27in Vanity Assembly instructions

Taymor CALEDONIA 06-4091HS installation instructions

Taymor

Taymor CALEDONIA 06-4091HS installation instructions

Spectrum Brands Pfister Harbor 36 Series manual

Spectrum Brands

Spectrum Brands Pfister Harbor 36 Series manual

InSinkErator Hottap HC900 owner's manual

InSinkErator

InSinkErator Hottap HC900 owner's manual

Kohler K-19033 installation guide

Kohler

Kohler K-19033 installation guide

manuals.online logo
manuals.online logoBrands
  • About & Mission
  • Contact us
  • Privacy Policy
  • Terms and Conditions

Copyright 2025 Manuals.Online. All Rights Reserved.