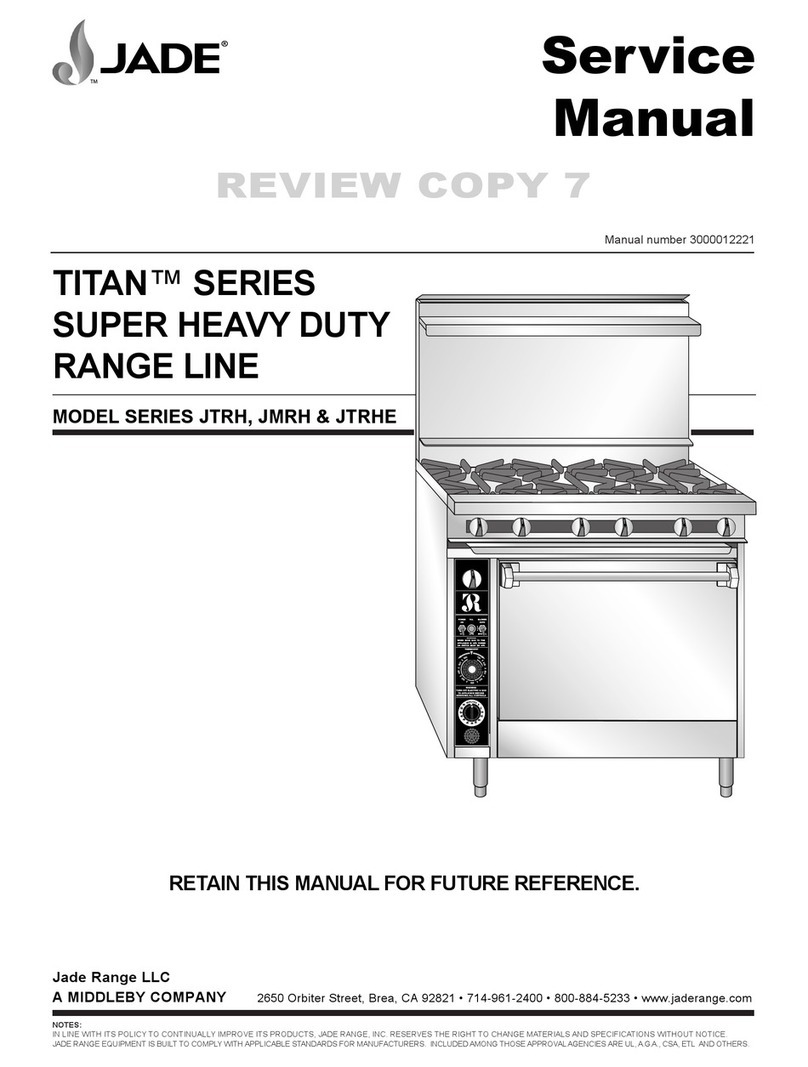
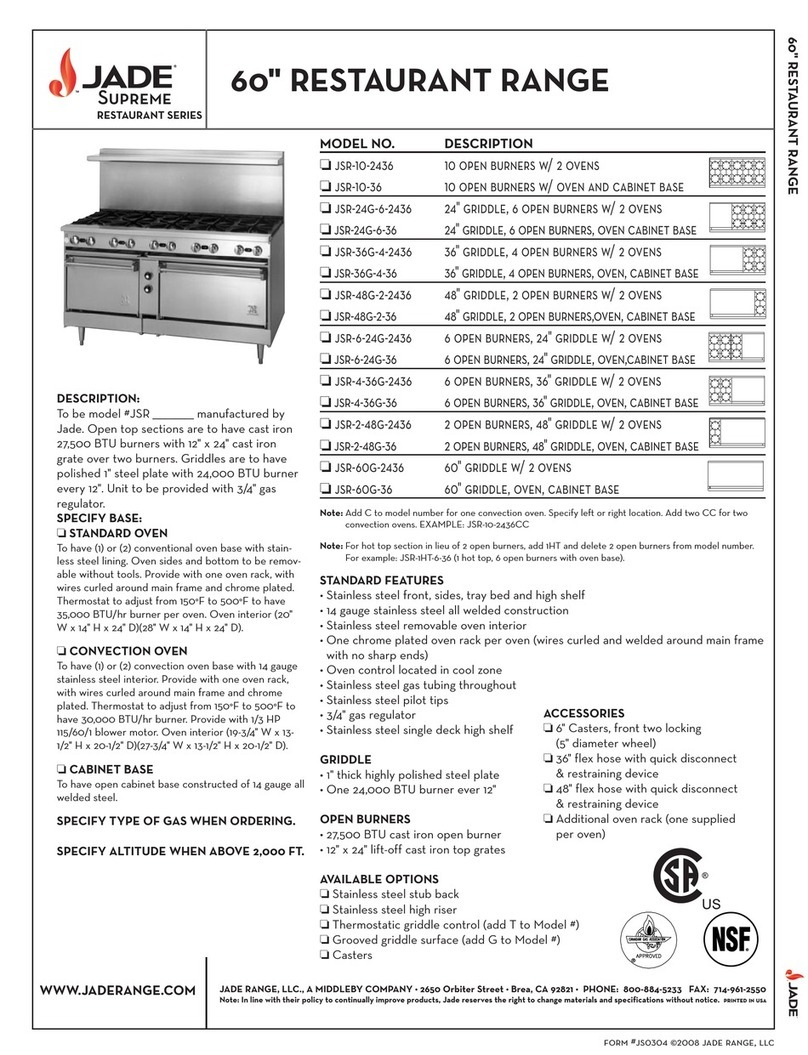
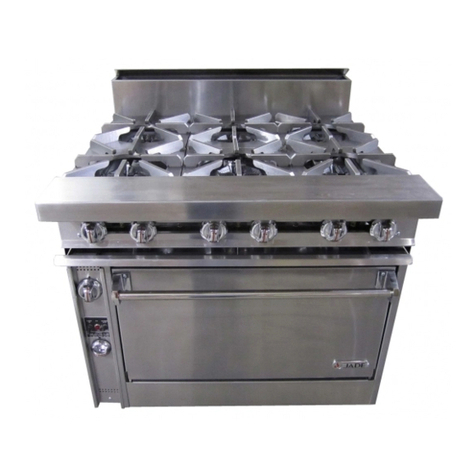
Jade JSR User manual

P/N 2412800000 REV. C 6/2011 Page 1
SUPREME RANGE SERIES
MODELS: JSR & JBR
INSTALLATION, OPERATION AND MAINTENANCE INSTRUCTIONS
NOTE: Instructions must be posted in a prominent location. These instructions are for the user to follow
in the event that he/she detects the smell of gas. The information is also available from your local gas
company.
Adequate clearances must be provided in front, rear and at sides of appliance for servicing. The
appliance area must be kept free and clear from combustibles. Remove any material or obstacles that
may obstruct the flow of combustion and ventilation air.
FOR YOUR SAFETY
Do not store or use gasoline
or other flammable vapors or
liquids in the vicinity of this or
any other appliance.
WHAT TO DO IF YOU SMELL GAS
•Open windows
•Do not touch electric switches
•Extinguish any open flame
•Immediately call your gas
company
WARNING
Improper installation, adjustment, alteration, service or
maintenance can cause property damage, injury or death.
Read the installation, operating and maintenance instructions
thoroughly before installing or serving this equipment.
RETAIN THIS MANUAL FOR FUTURE REFERE
NCE
Jade R
ange LLC, A Middleby Company
2650 Orbiter Ave.
Brea, CA 92821
Telephone (714) 961-2400
FAX (714) 961-2550

P/N 2412800000 REV. C 6/2011 Page 2
INSTALLATION AND GAS PIPING
A qualified installer, service agency or gas supplier must perform installation and service.
If equipped, the appliance is supplied with a three-prong (grounding) plug for your protection
against shock hazard and should be plugged directly into a properly grounded three-prong
receptacle. Do not cut or remove the grounding prong from this plug.
The installation must conform with local codes, or in the absence of local codes, in the USA,
National Fuel Gas Code ANSIZ223.1-latest edition and in Canada, CAN.CGA-B149.1 and
CANCGA-B149.2 “Installation Code for Gas Burning Appliances.” Electrical installation
must conform to latest edition of National Electrical Code, ANSI/NFPA70 in the United
States, and CSA Standard C22.1 Canadian Electrical Code Part I in Canada.
Level appliance. Adjustable legs are provided. If the appliance is equipped with casters,
the installation shall be made with a connector that complies with the Standard for
Connectors for Movable Gas Appliances ANSI-Z21.69-latest edition and a quick-disconnect
device that complies with the Standard for Quick-Disconnect Devices for Use with Gas Fuel,
ANSI-Z21.41-latest edition. In Canada, the flexible connector must be CGA approved and
comply with the CAN1 6.10.88. Quick disconnect must comply with CAN1 6.9.M79.
Adequate means must be provided to limit the movement of the appliance without
depending on the connector and the quick-disconnect device or its associated piping to limit
the appliance movement. The restraining means may be attached to the rear of appliance
by cable and hook.
The appliance shall be installed with the following minimum clearances to adjacent
construction:
Combustible Non-combustible
Without Unit Broiler With Unit Broiler
Sides 6 inches 9 inches 0 inches
Rear 3 inches 6 inches 0 inches
Floor 6-inch legs 6-inch legs 0 inches
A conveniently located gas shutoff valve, external to the appliance is required for complete
shutdown.
Be sure all valves are in a closed position before connection to gas supply.
Connect appliance to gas supply line. Under no circumstances should the gas supply line
be smaller than the inlet pipe on the appliance. Use pipe compound on all pipe joints.
Compound must be resistant to the action of liquefied petroleum gases.
Check all gas connections for leaks using a soap and water solution. DO NOT USE AN
OPEN FLAME FOR CHECKING PURPOSES.

P/N 2412800000 REV. C 6/2011 Page 3
The appliance and its individual shutoff valve must be disconnected from the gas supply
piping system during any pressure testing of that system at test pressures in excess of ½
psig (3.45 kPa).
Provisions shall be incorporated in the design of the kitchen to ensure an adequate supply
of fresh air for proper combustion.
It is suggested that for servicing and proper operation, at least 36 inches of free area be
provided to the front of the appliance.
LIGHTING AND RE-LIGHTING INSTRUCTIONS
Open Top and Broiler Sections:
The top burners of your appliance are equipped with constant burning lighters. Before letting
gas to flow into the appliance, be sure that all top burner and oven valves are in the off position.
1. Open main gas supply valve to let gas to flow into the appliance. Wait 5 minutes.
2. Light lighters.
3. Adjust lighter flames by using a screwdriver to turn lighter valve screw clockwise or counter-
clockwise. Good flame characteristics should be color blue with light blue at the tip.
4. Turn burner valves on.
5. If lighter flames go out, turn valves off and repeat steps 2 to 4 above.
Oven Section:
With main gas supply on and top burner pilot ignited, continue with lighting the oven pilot:
1. Remove oven kick plate.
2. Push red button on oven safety valve and light pilot. Continue to push red button while pilot
flame remains on (minimum of 30 seconds). Release red button.
3. Turn oven gas valve to fully on position.
4. Turn thermostat dial to desired temperature. The oven burner shall ignite.
5. CHECK IF PILOT FLAME IS EXTINGUISHED. IF EXTINGUISHED, REPEAT STEPS 2 to 4
ABOVE.
6. Replace oven kick plate.
7. Turn thermostat dial to “OFF” to shutdown oven.
For Ranges Equipped with “Supreme Convection Ovens”:

P/N 2412800000 REV. C 6/2011 Page 4
The convection oven has a pilot re-ignition safety feature. This feature runs on 120V system
using the pilot, thermocouple and Baso safety valve. To operate the pilot re-igniter, the master
electric switch (toggle switch) located at the control panel must remain in “ON” position. If the
pilot flame and oven burner flames are extinguished by drafts or temporary loss of gas (less
than 5 seconds) the pilot will attempt to re-ignite by sparking. Should the thermocouple cool
down (over 5 seconds) the safety valve closes and shuts down the gas supply to the oven
burner. The sparking will NOT stop until the pilot flame is re-established while the unit is under
power. To re-establish the pilot flame, follow the lighting procedures below.
Convection Oven Section Lighting Procedure:
With main gas supply on and top burner pilots ignited, continue with lighting the oven pilot
1. Flip master toggle switch to “ON” position. The indicator light will glow.
2. Remove oven kick plate.
3. Push red button of safety pilot valve and light pilot. Continue to push red button until pilot
flame remains on (minimum of 30 seconds). Release button.
4. Turn oven gas valve to fully on position.
5. Turn thermostat dial to desired temperature. Check oven burner ignition.
6. Check if pilot flame is extinguished of not.
7. Turn off thermostat.
8. Check pilot flame (still ignited).
9. Replace oven kick plate.
Convection Oven Section Operation
1. Turn oven gas valve to fully on position.
2. Turn thermostat to desired temperature.
3. Flip blower toggle switch to “AUTO” position to turn blower on.
If it is necessary to lower oven temperature very rapidly to accommodate a different product,
simply adjust thermostat to the lower selected temperature. Open oven door and flip blower
CAUTION
:
When possible,
DO NOT
operate convection oven
with oven blower OFF for more than 2 minutes.

P/N 2412800000 REV. C 6/2011 Page 5
toggle switch to “MANUAL”. This will allow blower to operate and disperse excess heat rapidly
from oven cavity (usually seconds). When ready, place new product in oven, close door and flip
blower switch back in the “AUTO” position.
When the blower toggle switch is in the “AUTO” position, the blower will operate only with oven
door closed. Opening the oven door will temporarily stop blower, preventing hot air from
blowing to operator. Closing the door will automatically set the blower to continue operation.
WHEN THE OVEN IS NO LONGER IN USE, TURN OFF THERMOSTAT AND BLOWER
SWITCH.
SERVICE AND MAINTENANCE
Contact the factory, factory representative, or a local service company to perform maintenance
and repairs.
For daily cleaning, turn “ON” burner valves on top sections for 2 to 3 minutes and then turn
“OFF.” Use warm water and mild cleanser on fry top plates and open top grates. On hot top
plates, use a rough cloth to clean plates. DO NOT use water to clean hot top plates.
NOTE: If removing hot plates for any reason, remember to replace the plate(s) with the
underside exhaust gas opening of the plate towards the rear. All plates should fit tightly
and flat to each other.
Once a month, clean all burners with water and steel brush ensuring that all burner ports are
free of debris. Clean pilots in same manner. Once cleaned and dried, re-light pilots and check
for blockage. As frequently as necessary, remove grease tray, empty and clean with mild
detergent.
When the appliance is supplied on casters and is connected to the supply piping by means of a
connector for movable appliances, and removal of wall restraint becomes necessary, be sure to
reconnect this restraint after the appliance has been turned to its originally installed position.
SERVICE INTERVALS
The need for servicing will, to a great extent, be determined by the appliance usage.
The following chart outlines our suggestion for service intervals:
DAYS PER WEEK SERVICE INTERVALS
Normal Use
(5 hours/day)
Heavy Use
(12 hours/day)
7 60 Days 30 Days
5 to 6 120 Days 60 Days
1 to 4 180 Days 120 Days
CAUTION
:
Before servicing this appliance, turn OFF gas to the
appliance and disconnect electrical supply to the appliance.

P/N 2412800000 REV. C 6/2011 Page 6
It is strongly suggested that a trained gas appliance service company examine the appliance at
least yearly.
REPAIR GUIDELINES
All repair work must be completed by a licensed, trained service person experienced in
commercial gas food service equipment.
During any service function, the satisfactory operation of the automatic gas ignition system (pilot
safety) should be verified. If it becomes necessary to replace any gas control device, such as a
main burner valve, safety valve, thermocouple, etc., the replacement part should be ordered
from the factory only, unless it has been determined that the EXACT part is available from your
local parts supplier.
SUPREME CONVECTION OVEN WIRING DIAGRAM
NOTE: A WIRING DIAGRAM CAN BE FOUND ON THE INSIDE OF THE OVEN KICK
PLATE.

P/N 2412800000 REV. C 6/2011 Page 7
CAUTION: In the event of prolonged power failure,
DO NOT attempt to operate appliance.
This appliance is serviceable to the front. It is suggested to provide at least 36 inches to the
front of the appliance for servicing and for proper operation.
When the appliance is equipped with casters, the installation shall be made with a connector
that complies with the standard for Connectors for Movable Gas Appliances, ANSIZ21.69-1987,
and Addenda, Z21.691989, and a quick-disconnect device that complies with the Standard for
Quick-Disconnect Devices for Use with Gas Fuel, ANSIZ21.41-1989. Adequate length must be
provided to limit the movement of the appliance without depending on the connector and the
quick-disconnect device or its associated piping to limit its movement.
When in use, the appliance must always be connected to the connector or restraining device.
Should it become necessary to disconnect from this device during cleaning or servicing, be sure
to reconnect the appliance to the connector or restraining device before the appliance is
returned to the original installed position.
TYPICAL RESTRAINING DEVICE INSTALLATION
This manual suits for next models
3
Table of contents
Other Jade Range manuals

Jade
Jade TITAN JMRH-12G Operating and safety instructions

Jade
Jade JTRH Series User manual

Jade
Jade JTRH Series User manual

Jade
Jade 60" Restaurant Range jsr-10-2436 Operating and safety instructions

Jade
Jade TITAN JCR-1 Operating and safety instructions

Jade
Jade 72" Restaurant Range jsr-12-36 Operating and safety instructions

Jade
Jade JTRH Series Manual
Popular Range manuals by other brands

Frigidaire
Frigidaire 316417121 use and care manual

Jenn-Air
Jenn-Air JER8895BAS - 30" Electric Double Oven Range Use & care guide

Kenmore
Kenmore 790.3690 Series Use & care guide

Thermador
Thermador PRO-HARMONY DP30 Care and use manual

KitchenAid
KitchenAid W10162196A Limited warranty

Maytag
Maytag GAS RANGE Use & care guide