Janty MiD One User manual

PC APPLICATION USER MANUAL
PULL DATA
WRITE DATA
EXECUTE DATA
SHARE DATA
CONTROL DATA


Contents
1. Introduction......................................................................................................................... 4
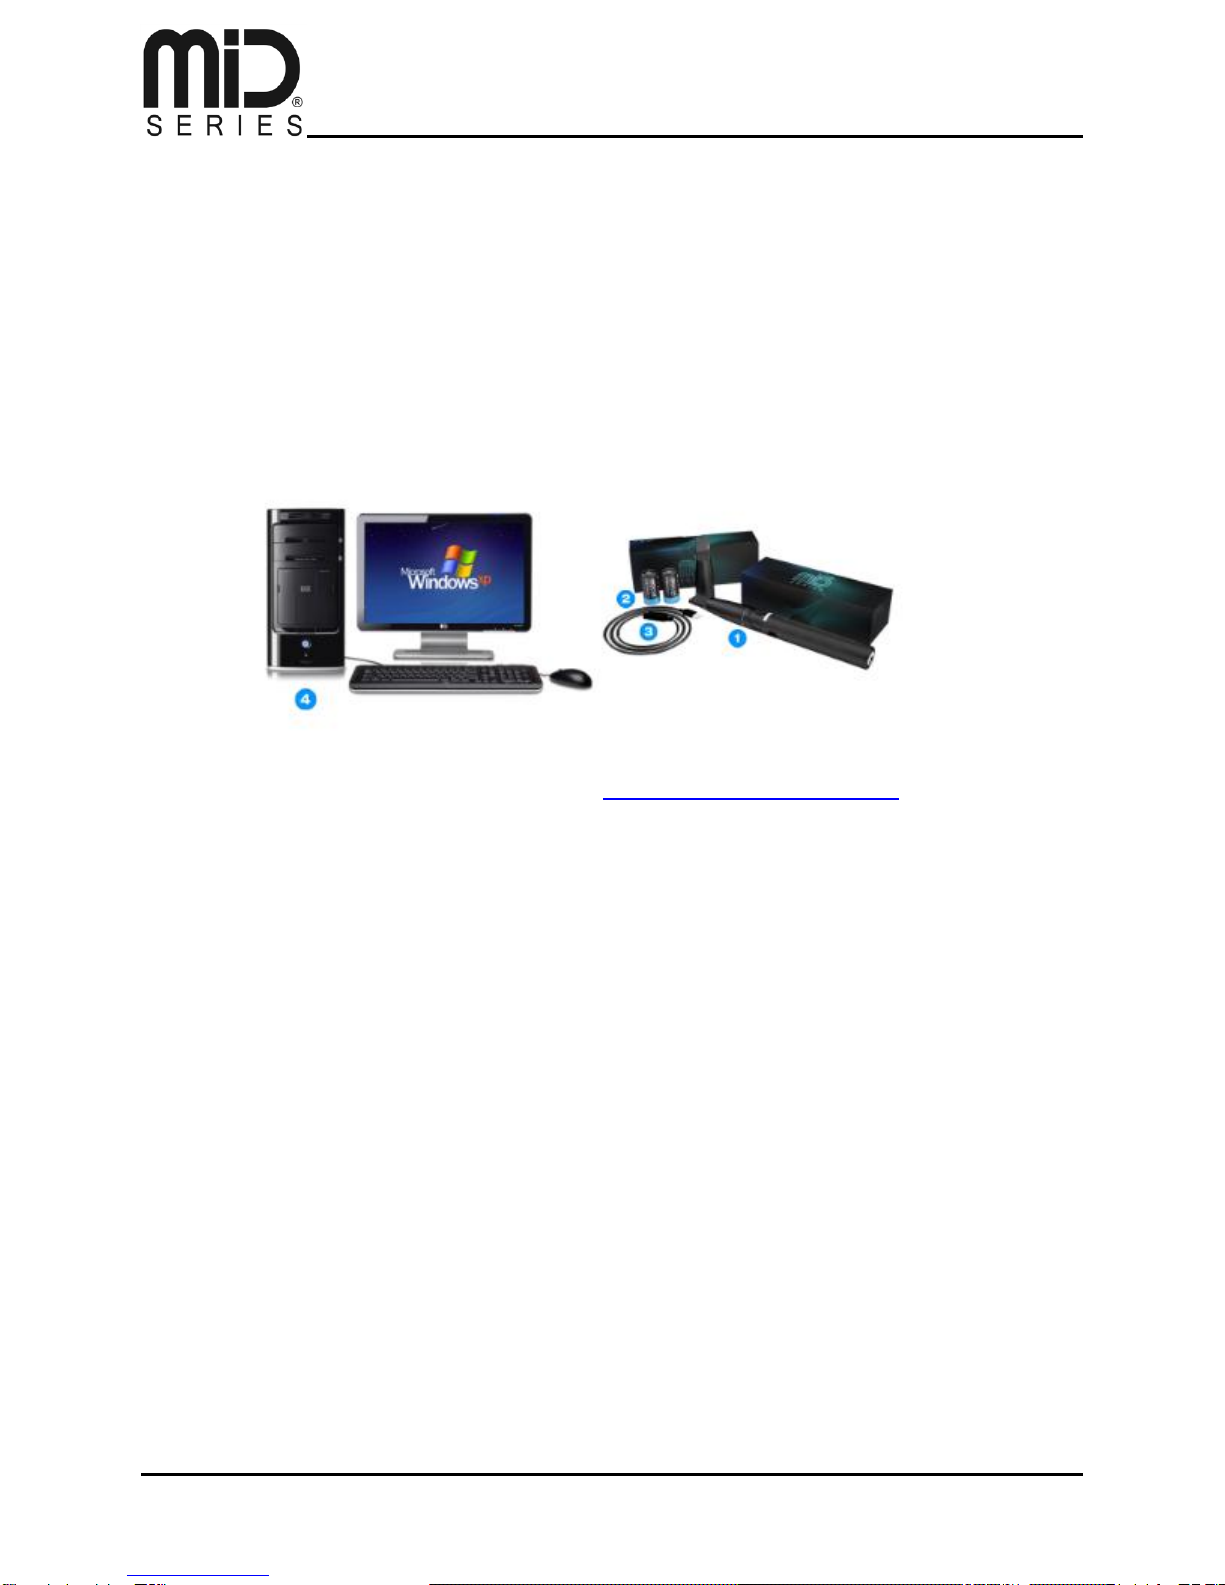
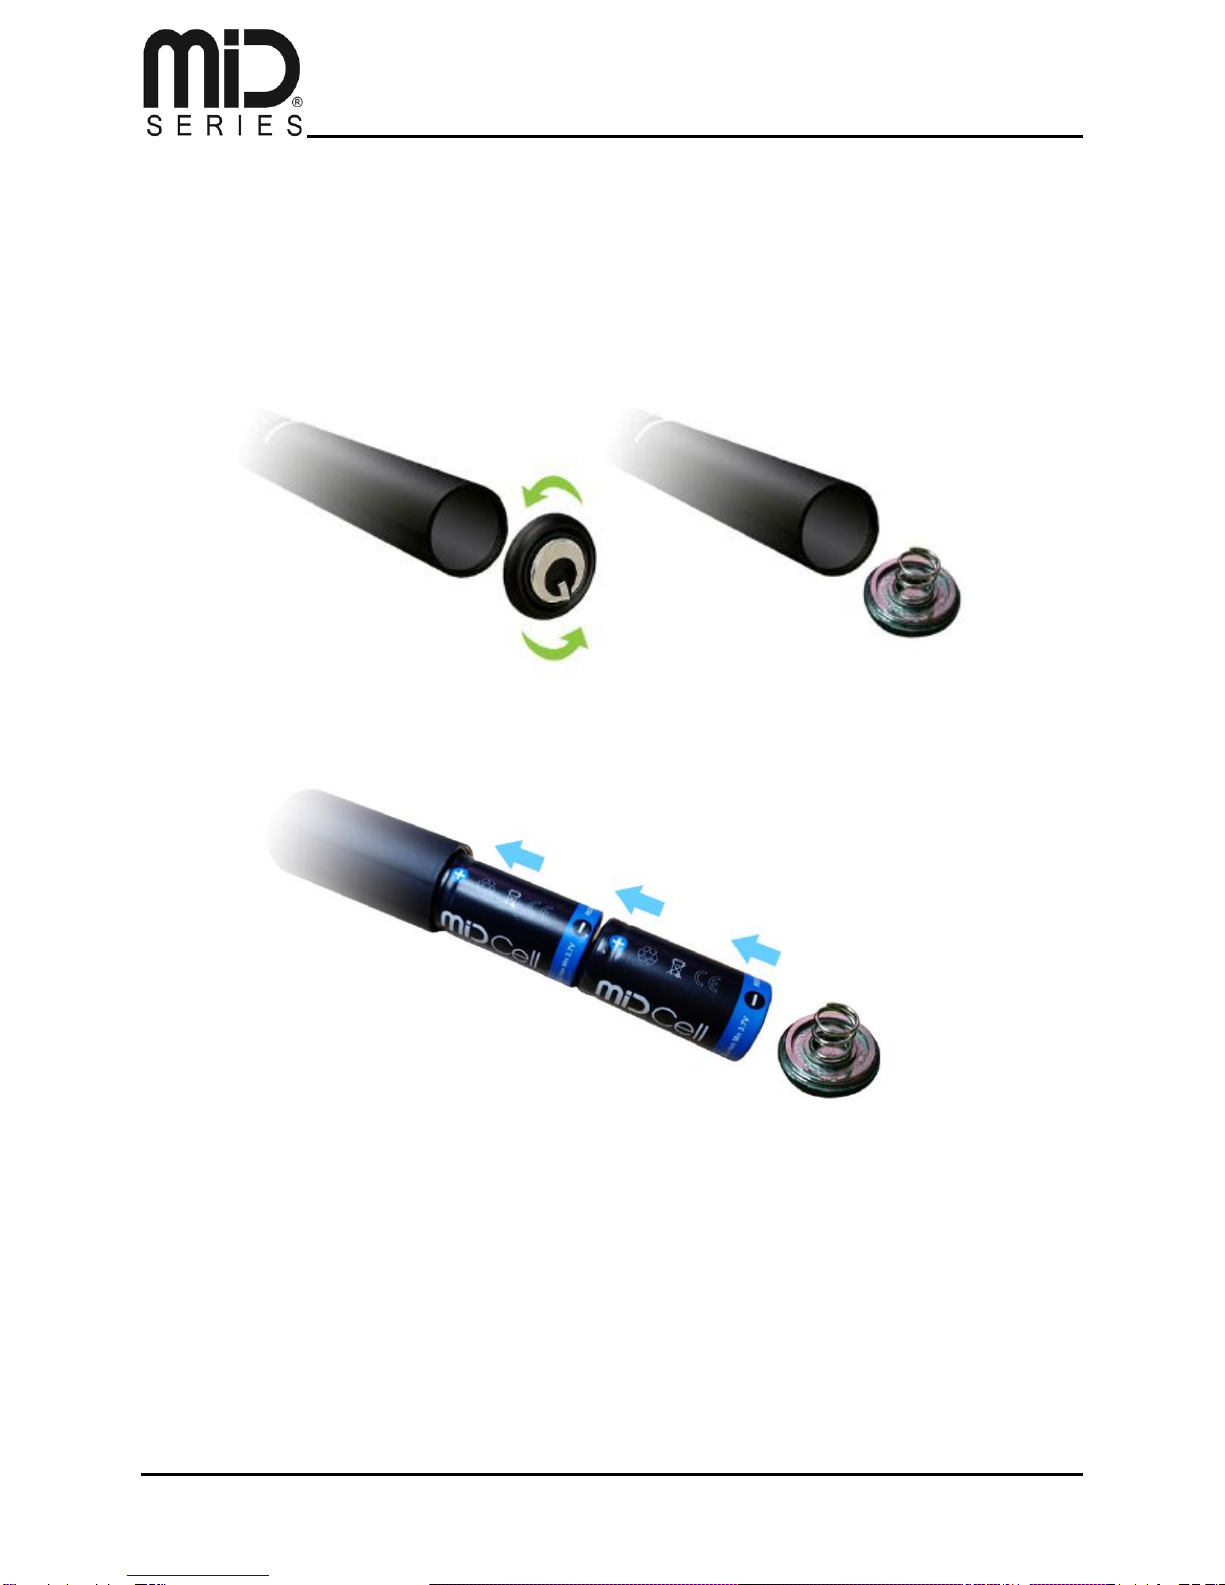
1.1. Getting started............................................................................................................. 5
2. Modular Intelligence Device................................................................................................ 7
2.1. DEMO MODE.............................................................................................................. 7
3. PC Application .................................................................................................................... 8
3.1. Logging in, and Creating a User................................................................................... 8
3.2. HOME.......................................................................................................................... 8
3.3. COMMUNITY............................................................................................................... 8
3.4. DEVICE....................................................................................................................... 9
3.4.1. Vaping Style ........................................................................................................12
3.4.2. Update.................................................................................................................13
3.4.3. License Manager.................................................................................................13
3.4.4. State Color...........................................................................................................14
3.4.5. Threshold Range.................................................................................................15
3.4.6. Statistics..............................................................................................................16
3.5. PROFILE....................................................................................................................17
3.5.1. MiD BASE............................................................................................................17
3.5.2. MiD PRO .............................................................................................................22
3.6. MONITORING ............................................................................................................39

PC Application User Manual
JTY-4S0-0E10-0-V1.1, 2013-02-14 Page 4 of 41
1. Introduction
Welcome, and a sincere thank you for purchasing the worlds most advanced e-cigarette –we
are confident you will enjoy it.
In order to get started with this quick guide you have to have the following items nearby;
1. MiD One device
2. 2x 16340 batteries
3. 1x USB to USB mini cable
4. PC with windows XP or higher running
The next thing you have to do is go to this link: www.midseries.com/download
And download the newest MiD software for your platform.
You will be required to register before being able to download; this registration also creates a
user for you so you can share, and download other users vaping profiles on midseries.com.
This user is required, since you also have to login to the MiD software on your computer, before
being able to use the software.
The download page will have further instructions on how to install the software.

PC Application User Manual
JTY-4S0-0E10-0-V1.1, 2013-02-14 Page 5 of 41
1.1. Getting started
After you have successfully installed your software, you need to power up, and connect your
MiD One.
First, remove the battery lid on the MiD One by screwing the end cap counter-clockwise.
Next, insert the batteries with the + pointing towards the joystick on the MiD
And screw the end cap back on.
You are now ready to connect your MiD to the PC software.
In order to do so, insert the USB cable into the MiD –take note, it only fits one way and you
should not have to use force to insert the cable.

PC Application User Manual
JTY-4S0-0E10-0-V1.1, 2013-02-14 Page 6 of 41
Now, click the Janty icon on your desktop to open up the Janty MiD software. Once the software
opens you will see something like this:
In general, the MiD software is divided into five sections:
A. MiD Home: This is the MiD Homepage, and by default this is the first page you will see
when you open the MiD software. This is a dynamic homepage that shows offers,
upgrades, and useful info from your MiD vendor.
B. Community: This button leads to the midseries.com community, in which you will be
able to share, and download vaping profiles for use on your MiD device, as well as
partake in the forum in order to exchange ideas and tips for the MiD series.
C. Device: You can set the global settings of your MiD device in this section.
D. Profile: This is where the magic happens; This is where you can edit, program, upload,
download and fine tune your MiD to function exactly as you want to. This is your lab!
E. Monitoring: This is where you can see what your MiD device does, in realtime, as you
push the button and use the joystick on your MiD.

PC Application User Manual
JTY-4S0-0E10-0-V1.1, 2013-02-14 Page 7 of 41
2. Modular Intelligence Device
MiD = Modular Intelligent Device
The MiD device is a modular device –this means that it can be expanded with new functions by
simply downloading, and activating software on it.
An example of a new function could be ”State Color”. This module gives you the ability to
personalize the color associated for the states of your MiD One.
If you do not have this module, you will not be able to activate this option; If you do buy this
module, the option to activate will of course be usable –and you can then go ahead and use the
module.
The reasoning behind this modular method is simple:
1. We don’t believe all our users will want the same modules
2. We don’t believe in making all our users pay for modules they dont need
3. Being modular means our device is future proof; we can always invent new modules,
new ways of using the MiD, and offer them to you; You can then buy the module if you
so wish
2.1. DEMO MODE
The MiD device is activated in a DEMO mode the first time you register it; this means that for
the first 175 puffs all modules are activated and can be used –this gives you a chance to
actually try out the modules before you decide if you want to buy them or not.

PC Application User Manual
JTY-4S0-0E10-0-V1.1, 2013-02-14 Page 8 of 41
3. PC Application
3.1. Logging in, and Creating a User
The first step is to log in by using the email and password you already registered with, in order
to download the PC software. Input those at the top right corner of the MiD software, and click
”Log in”.
Next, let us go a bit in-depth with the contents and usage of the different sections.
3.2. HOME
This page displays dynamic info from your MiD vendor, and keeps you updated with offers,
upgrades, and tips about your MiD device, and other devices. You can scroll through the pages
by clicking the left and right arrow.
3.3. COMMUNITY
The MiD community button will open up the midseries.com website –this is where you can
share the vaping profiles you make, as well as download other users vaping profiles for use on
your own MiD device.
You will also be able to partake in our forums, and discuss the MiD, suggest changes, report
bugs, and just hang out.
Your midseries.com account profile, will contain what you want it to contain; you can even carry
links to your youtube videos, or your own reviewers channels; or you can direct your fans and
followers to your midseries.com page, so they have easy access to your vaping profiles.

PC Application User Manual
JTY-4S0-0E10-0-V1.1, 2013-02-14 Page 9 of 41
3.4. DEVICE
The device section is where you set the global settings for your MiD device, and also where you
activate it.
Once you open up the page you see the following:
This screen is divided into left, and right. On the left side you have information about your MiD
serial number, owner, etc. –on the right side you have the global settings.
However, on the left side you see a tab called ”Device”. If your MiD is not connected via the
USB cable, then that is all you see.

PC Application User Manual
JTY-4S0-0E10-0-V1.1, 2013-02-14 Page 10 of 41
If however your MiD is connected, you should see the following:
A small tab saying ”Janty MiD Series” shows up.
Note: Depending on what model you buy, and if the software has been changed, this could read
something else; but it is still the identifer for your particular device.
In order to activate your MiD and let the software know you want to program it, you have to click
this tab:

PC Application User Manual
JTY-4S0-0E10-0-V1.1, 2013-02-14 Page 11 of 41
Once you click it, it turns blue, and now suddenly the screen gets expanded with more info:
This info is all the info that is embedded inside your MiD device.
Product part number:
The unique product number of your device
Product serial number:
The unique serial number of your device
Firmware version:
The actual, onboard, firmware version on your MiD
PCB version:
The revision of the PCB (onboard chipset) inside
Product Name:
The name of your MiD model
Product Owner:
The name of the owner, of this MiD; you can input your own name
here
Product Nickname:
If you have a nickname you use online, or if you want to use your
initials; you can input this yourself
Device registered:
This portion says if your device has been registered or not with
midseries.com; If it has it will say yes –if it has not it will say ”NO”,
and it will then be possible for you to register your MiD device by
clicking the ”Register” button.
This will then register your MiD and the information above, linking
product name, and product nickname together with all the other
information above, so you can easily prove this is your MiD, should
it ever get lost, or stolen.
If you have changed your product owner, or product nickname, then simply click ”Submit” and
the information will be written to the MiD device.

PC Application User Manual
JTY-4S0-0E10-0-V1.1, 2013-02-14 Page 12 of 41
The right side of the screen, is where you set up all your global variables:
At the top you have several tabs –the one with the white text, is the active one.
Note: Not all tabs may be edited. Some tabs require that you purchase a module from
midseries.com in order to use it.
3.4.1. Vaping Style
This module defines how fast your joystick can be used to boost a profiles settings. Low values
= slow / high values = fast. Lowest value is 0,01 –highest value is 1,00.
Enter the desired value and press ”Set”.
Pressing ”Get” will collect the current values from the MiD and display these.
Enable/Disable: You can choose to enable or disable this module entirely. Select, and press
”Set” to activate your choice.

PC Application User Manual
JTY-4S0-0E10-0-V1.1, 2013-02-14 Page 13 of 41
3.4.2. Update
In the update tab you can check for firmware updates online.
Firmware version:
This shows your current firmware version
Last Checked:
This shows when you last checked for a firmware update
Latest Version:
After your click ”Check for update” it will show what version is now
online, and ready for download.
The ”Check for update” button will then change to a ”Update firmware”
button. You can click this button to download and install the new
firmware.
Do not disconnect your device, or turn off your computer during this process.
3.4.3. License Manager
The license manager is where you can see which modules you have activated. The modules
listed will have a checkbox, and be either checked or unchecked.
Unchecked modules are not activated. If you wish to activate them you have to buy a license file
for that particular module from midseries.com, and click ”Add License” and point to that file in
order to register your purchase.

PC Application User Manual
JTY-4S0-0E10-0-V1.1, 2013-02-14 Page 14 of 41
3.4.4. State Color
State color is where you set the colors you want your MiD to display during various operations.
Profile Switching:
Click the box to set the color you want the MiD to display
whenever you activate profile switching mode
Profile Programming:
Click the box to set the color you want the MiD to display
whenever you activate profile programming mode
Vaping Style Switching:
Click the box to set the color you want the MiD to display
whenever you activate vaping style switching mode
Shut Down:
Click the box to set the color you want the MiD to display
whenever it is shutting down
Monitoring:
Click the box to set the color you want the MiD to display
whenever you activate monitoring mode
After you have made your changes, click the ”Set” button to save these changes to the MiD.
Clicking ”Get” will show the current values.

PC Application User Manual
JTY-4S0-0E10-0-V1.1, 2013-02-14 Page 15 of 41
3.4.5. Threshold Range
This section is where you can limit the MiD to perform within a certain range.
This can be useful if you have an atomizer you know is not intended for usage beyond a certain
limit; Or if you know you don’t want your MiD to ever go below a certain range.
Vaping Profile Voltage Range (volts):
Simply drag the slider to select the minimum and maximum values you want the MiD to be able
to perform within.
Vaping Profile Power Range (watts):
Simply drag the slider to select the minimum and maximum values you want the MiD to be able
to perform within.
Click ”Set” to save the changes to the MiD – click ”Get” to see the current values.

PC Application User Manual
JTY-4S0-0E10-0-V1.1, 2013-02-14 Page 16 of 41
3.4.6. Statistics
The statistics page shows the amount of puffs you have taken on the MiD since you inserted
new batteries. If you take out your batteries, this statistic will be reset.
One puff = everything past a 1 second push on the button.

PC Application User Manual
JTY-4S0-0E10-0-V1.1, 2013-02-14 Page 17 of 41
3.5. PROFILE
The profile section is where the magic happens; this is where you edit, store, and shares your
profiles.
In the profile section we will be covering two different ways of using the MiD software; MiD
BASE, and MiD PRO.
Please read the next section carefully, and step by step to benefit the most from this manual.
3.5.1. MiD BASE
When you first enter the profile page, it will look something like this

PC Application User Manual
JTY-4S0-0E10-0-V1.1, 2013-02-14 Page 18 of 41
Let’s break down this screen and look closer at the various elements.
First of all we have the big ”speed” dial portion of the screen
The ”speed” dial monitors your MiD One in real time, showing you the value you selected in the
bottom right of the screen:
So if you click voltage, you will see the dial show the actual voltage the MiD One is outputting,
the second you press on the joystick button.
Below the speed dial we have the ”Color Selected” icon – this icon is adjustable by the use of
the ”Adjust Color” bar at the bottom of the screen:

PC Application User Manual
JTY-4S0-0E10-0-V1.1, 2013-02-14 Page 19 of 41
So whichever color you select here, will be shown in ”Color Selected”, and will also be the color
your MiD One will light up in for that profile.
The ”Atomizer Voltage” portion ( reading ”0” on the screenshot ) is the voltage you set your MiD
One to run at –you set this variable by dragging the slider below:
So, if you drag this slider to 4.2, the ”Atomizer Voltage” will show that same value, and your MiD
One will be working at 4.2 volts, when you press the button on the joystick.
Now, all of these values are inactive when you first enter this screen; this is due to the software
not yet having any data, if you are using it for the first time.
In order to give the software some data, you will first begin by pushing the ”Refresh” button at
the grey area, which is your profile management area.

PC Application User Manual
JTY-4S0-0E10-0-V1.1, 2013-02-14 Page 20 of 41
By pushing ”Refresh”, the software then asks the MiD device to hand over the profiles it has
stored on it, and these will pop up on your screen:
As you can see, now the grey area suddenly shows profile 1, 2, 3, and 4 –and the highlighted
profile, in this case profile 1, also displays its first data on the right side; in this case a green
LED color, and a starting atomizer voltage of 5.58 volts.
In order to change this profile, you can click the ”Adjust Color” bar and set a new LED color, as
well as drag the ”Adjust Voltage” slider to your preferred setting, and once done, put a
checkmark in the box to the left of the profile you have altered, and click save:
Figure 1: Adjusting the LED color
This manual suits for next models
1
Table of contents