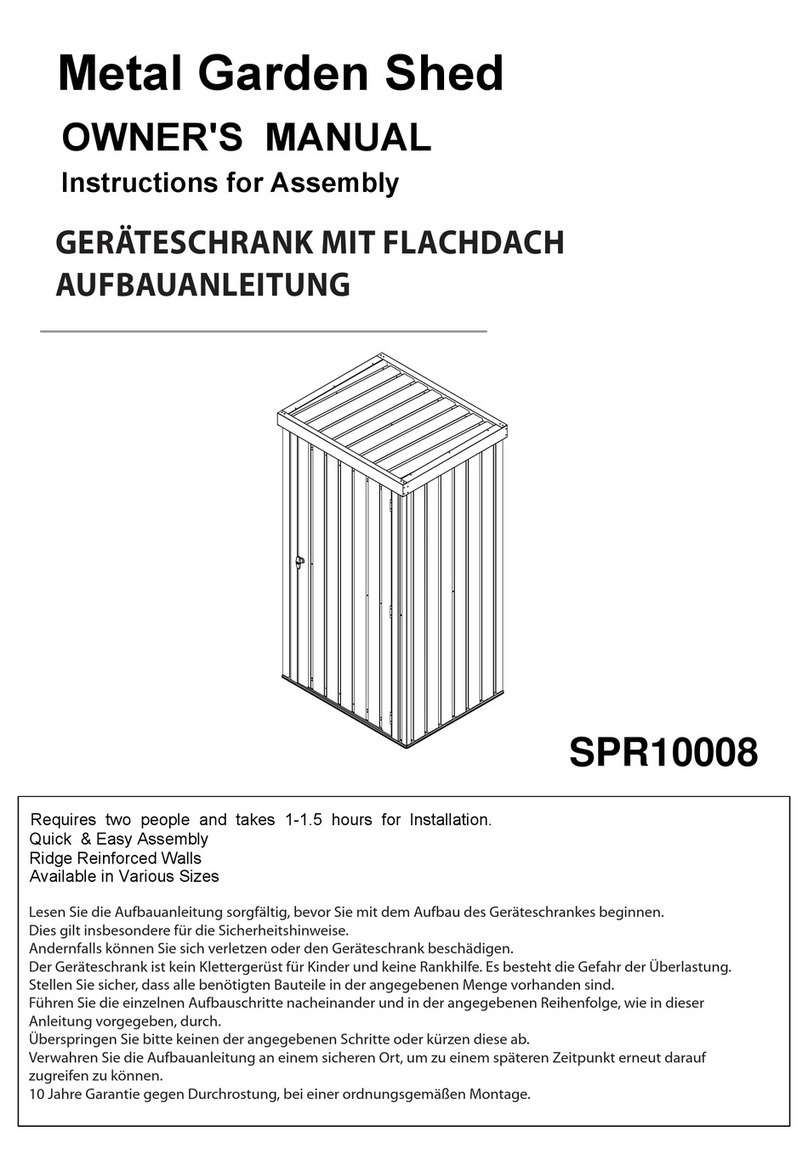
Jimmy at work SPR10011 User manual

IMPORTANT
You must read these instructions carefully before you start to assemble this PERGOLA .Please ensure that you find all parts
in the carton box in the correct type and quantity as mentioned in the list illustrated in every page accordingly.
Please carry out the steps in the order set out in these instructions.
Keep these instructions in a safe place for future reference.
Wichtige Hinweise!
Lesen Sie die Aufbauanleitung sorgfältig durch, bevor Sie mit dem Aufbau des Produktes beginnen. Prüfen Sie zuerst die
Lieferung auf Vollständigkeit. Nehmen Sie dazu die Teileliste zur Hand.
Um einen richtigen und sicheren Aufbau zu gewähren, befolgen Sie bitte die genannten Schritte in dieser Anleitung. Diese
Bedienungsanleitung ist Teil des Produktes und muss bei der Weitergabe an Dritte ebenfalls weitergereicht werden.
PERGOLA
Instruction manual
Aufbauanleitung
392x292x228 cm
Size/ Größe:
SPR10011

!
SAFETY ADVICE
We strongly recommend the use of work gloves during assembly.
Do not attempt to assemble the PERGOLA in windy or wet conditions,
Do not touch overhead power cables with the aluminum profiles.
Always wear shoes and safety goggles when working with extruded aluminum.
Dispose of all plastic bags safety-keep them out of reach of small children.
The PERGOLA must be positioned and fixed on a flat level surface.
Do not lean against or push the PERGOLA during construction.
Keep children away from the assemble area.
Do not position your PERGOLA in an area exposed to excessive wind.
Do not attempt to assemble this PERGOLA if you are tired ,have taken drugs
or alcohol or if you are prone to dizzy spells.
If using a step ladder or power tools ensure that you follow the manufacturer's safety advice.
Hot items such as recently used grills, blowtorches etc.must not be stored in the
PERGOLA.
Ensure there are no hidden pipes or cables in the ground before inserting the pegs.
GENERAL ADVICE
This is a multi-part assembly, Allow at least 45 minutes for assembly.
Selecting a site-choose a sunny level position away from overhanging trees.
If you are fixing your PERGOLA directly to a solid concrete foundation use the
predrilled holes in the metal base supplied.
The component parts should be checked and laid out close to hand.
Keep all small parts(screws etc)in a bowl so they do not get lost.
Note that the door is hinged on the right hand side and therefore opens to the right.
Keep roof clear from snow and leaves.
CARE & MAINTENANCE
When your PERGOLA needs cleaning, use a mild detergent solution and risen
with cool clean water.
Do NOT use acetone, abrasive cleaners or other special detergents to clean the
clear panels.
!
OTHER CAUTIONS
1. 2 people required, one is for measuring & taking marks to
ensure the installation dimension ,the second person is
responsible for the installation and the last one do as assistant
and assure the safety.
2. Firstly, make sure the carport is strong enough for installation.
A brick concrete structures is the best choice.
3. High-power electric tools are required, ensure the normal work
of them and highly pay attention to electric safety.
4. Be careful when using the kind of blunt tools, like hammer.
5. Wearing long sleeve cotton overalls,gloves and helmet during
installation and wear safety glasses when using power tools .
6.Don't look up when Working in high position, or the drop screws
may hurt your eyes and suffocation causing accidentally when
falling into your mouth.
7. No climbing, No standing on the tent to avoid falling down.
8. If injuries immediately, using the first-aid kit to stop bleeding,
bind up, In case of emergency, taken immediately to a nearby
medical institutions.

!
Sicherheitshinweise
Verwenden Sie beim Aufbau stets Handschuhe, Sicherheitshandschuhe und Brillen,
um Verletzungen zu vermeiden.
Bauen Sie das Produkt nicht bei Regen oder windigem Wetter auf.
Achten Sie darauf, dass Sie keine Kabel mit den Aluminiumstangen oder anderen Teilen
des Zeltes berühren, da Aluminium Strom leitet.
Entsorgen Sie nicht mehr benötigte Plastiktüten sofort, da Ersttickungsgefahr für Kinder
und andere Lebewesen besteht.
Bauen Sie das Produkt nur auf einem ebenen und festen Boden auf.
Lehnen Sie sich während des Aufbaues nicht gegen die Stangen.
Kinder oder nicht am Aufbau beteiligte Personen dürfen sich aus Sicherheitsgründen nicht
innerhalb der Aufbauzone befinden.
Bei starkem Wind muss das Produkt abgebaut werden.
Bauen Sie das Produkt nur auf, wenn Sie sich körperlich dazu in der Lage fühlen.
Unter extremer Müdigkeit, Alkohol- oder Drogeneinfluss ist der Aufbau nicht gestattet.
Halten Sie große Hitze vom Artikel fern. Grills oder Heizpilze sind unterhalb der Dachfläche
nicht erlaubt (auch wenn das Dach zusammengeschoben ist).
Stellen Sie vor dem Einführen der Heringe in den Boden fest, dass dort keine Rohre,
Leitungen oder Kabel liegen.
Generelle Hinweise
Der Aufbau dauert circa 45 Minuten und dazu werden mindestens drei Personen benötigt.
Wälen Sie zum Aufbau einen geraden Untergrund. Vermeiden Sie den Aufbau unter
Bäumen.
Beim Aufbau auf Beton muss das Produkt an den vorgebohrten Füßen im Beton
verschraubt werden.
Passen Sie beim Auf- und Abbau auf, dass keine kleinen Schrauben oder andere Teile
verloren gehen.
Achten Sie dauraf, dass das Dach stehts frei von Schnee und Laub ist.
Wartung & Reinigung
Zur Reinigung des Artikels darf lediglich ein feuchtes, weiches Tuch ver-wendet werden.
Reinigen Sie das Produkt gründlich nach jeder Benutzung und lassen Sie es vollständig
trocknen.
Verwenden Sie zur Reinigung keine aggressiven Reinigungsmittel und hal-ten Sie jegliche
Laugen und Säuren vom Produkt fern.
Bewahren Sie das Produkt nur im entlüfteten Zustand an einem trockenen und belüfteten
Ort auf.
!
Weitere Sicherheitshinweise
1. Es werden mindestens drei Personen benötigt. Die erste Person
misst und nimmt Maße; die zweite Person ist zuständig für den
eigentlichen Zusammenbau und die dritte dient als Assistenz und
achtet auf die Sicherheit.
2. Stellen Sie sicher, dass der Untergrund die Last des Produktes
tragen kann (ACHTUNG: punktuelle Belastung an den Füßen!).
3. Achten Sie bei der Verwendung von elektronischen Geräten auf die
Herstellerangaben.
4. Passen Sie bei der Verwendung von stumpfen Werkzeugen wie
Hämmer auf, es besteht Verletzungsgefahr.
5. Tragen Sie lange Kleidung, Handschuhe, einen Helm und eine
Sicherheitsbrille, wenn Sie mit Werkzeug arbeiten.
6. Stehen Sie nicht auf dem Zelt oder klettern Sie nicht am Zelt hoch.
Verletzungsgefahr.

1 2
2 2
2200mm
3 2
6 1
2760mm
9 1
B1 4
S1 21
S3 10
S5 4
B8 21
B9 21
B15 16
F1 22
F2 44
F3 2
F4 4
5 2 2700mm
1060mm
5-1 2
6-1 1
2540mm
899mm
7 3
7-1 3
2700mm
1060mm
B3 6
F0 12
S7 80
B6 2
B7 6
F6 12
10 2
PARTS LIST Teileliste
/
NO. Qty.
Nr. Menge
NO. Qty.
Nr. Menge
NO. Qty.
Nr. Menge

B1
B1
B1
B1
1
1
2
2
S6
S5
S5
S5
S5
S3
S3
S3 S3
S3
S3
S3
S3
S3
S3
8
7
7
9
3
3
5
5
6
228cm
207cm
238cm
338cm
392cm
292cm
Install schematic diagram of Alu.frames
PRODUCT SIZE
Produktabmessungen: Aufbauanleitung des Alu-Rahmens

1 x2
2 x2 3 x2 B1 x4 F1 x16 F2 x16
比例 25.400
比例 25.400
x4
Ⅰ
21
B1
F1
F1 F1
F1
x2
Ⅱ
3
F2x4
3
1
3
F2x4
S7 x32

5 x2
5-1 x2
B3 x6
6
6-1 F2 x12 F0 x12
x2
Ⅰ
5
5-1
B3
B3
6
6-1
Ⅱ
F1 x6
!
S7 x30
S7
S7
S7
S7
S7
F2
F2
F0
F0
F1

F2 x16
7 x2
7-1 x2 S1 x14
1
2
F2x4
F2x4
5-1
5
77-1
x2
Ⅱ
3
7
S1x7
x2
Ⅰ
7-1
7
S1x7
B3
3-1
3
1
1
2
2
!
B3
B3
5
5-1
5-1
5
7
7-1
7-1
7
Ⅱ
Ⅱ
Ⅱ
Ⅱ
S7 x16

6
8
S1
F3
F3
6
8
3
3
Ⅱ
F3 x2
6
6-1
B3
7
7-1
F3
F3
Ⅰ
S1x7
6-1
8-1
B3
6
6-1
8-1
8
B3
B3 Ⅱ
Ⅱ
S1 x7
7
7-1 S7 x2

B3
6
6-1
8-1
8
B3
B3
Ⅰx2
Ⅰ
Ⅰ
F4x4
B3 x2
F4 F4
B3

B3
6
6-1
8-1
8
B3
B3
Ⅰ
Ⅰ
Ⅰ
Ⅰ
x3
B7 x6 F6 x12
B7
B7
F6
F6
F6
F6
B7
7
7-1

S3 x10 S5 x4
x2
Ⅰ
S3 6
x4
Ⅱ
S3
S3
1
33
7
S5
B15 x16
x4
B15 x4
B1
S3
S3
S5 S3
S3 S3
S3
S3
S3
S3
S3
S5
S5
S5
S6
B15 x4
B1
B15 x4
B1
B15 x4
B1
B15 x4
B1
Ⅲ

B8 x21 B9 x21
x21
Ⅰx21
Ⅱ
B8
B9
9
9
Ⅲx2
10
Ⅲ
Ⅲ
10
9
10 x2
B9
Table of contents
Other Jimmy at work Garden House manuals
Popular Garden House manuals by other brands

Best Barns
Best Barns Millcreek-R Assembly Book

Lemeks
Lemeks EL16-1112 Assembly, installation and maintenance manual

Tiger
Tiger TIGERFLEX TIG/INS39 Assembly instructions

Décor et Jardin
Décor et Jardin 78457SX17 Assembly Notice

Palmako
Palmako Irene installation manual

Palmako
Palmako FR34-3828-3 Assembly, installation and maintenance manual

Forest garden
Forest garden Overlap Apex Shed ODA68NW quick start guide

Palmako
Palmako FRR44-5340 installation manual

G21
G21 PAH 458 manual

GardenMeister
GardenMeister GM34303 Assembly instructions

Palmako
Palmako FR44-4141-6 Assembly, installation and maintenance manual

GARDY SHELTER
GARDY SHELTER PRIMO 302028 Assembly instructions