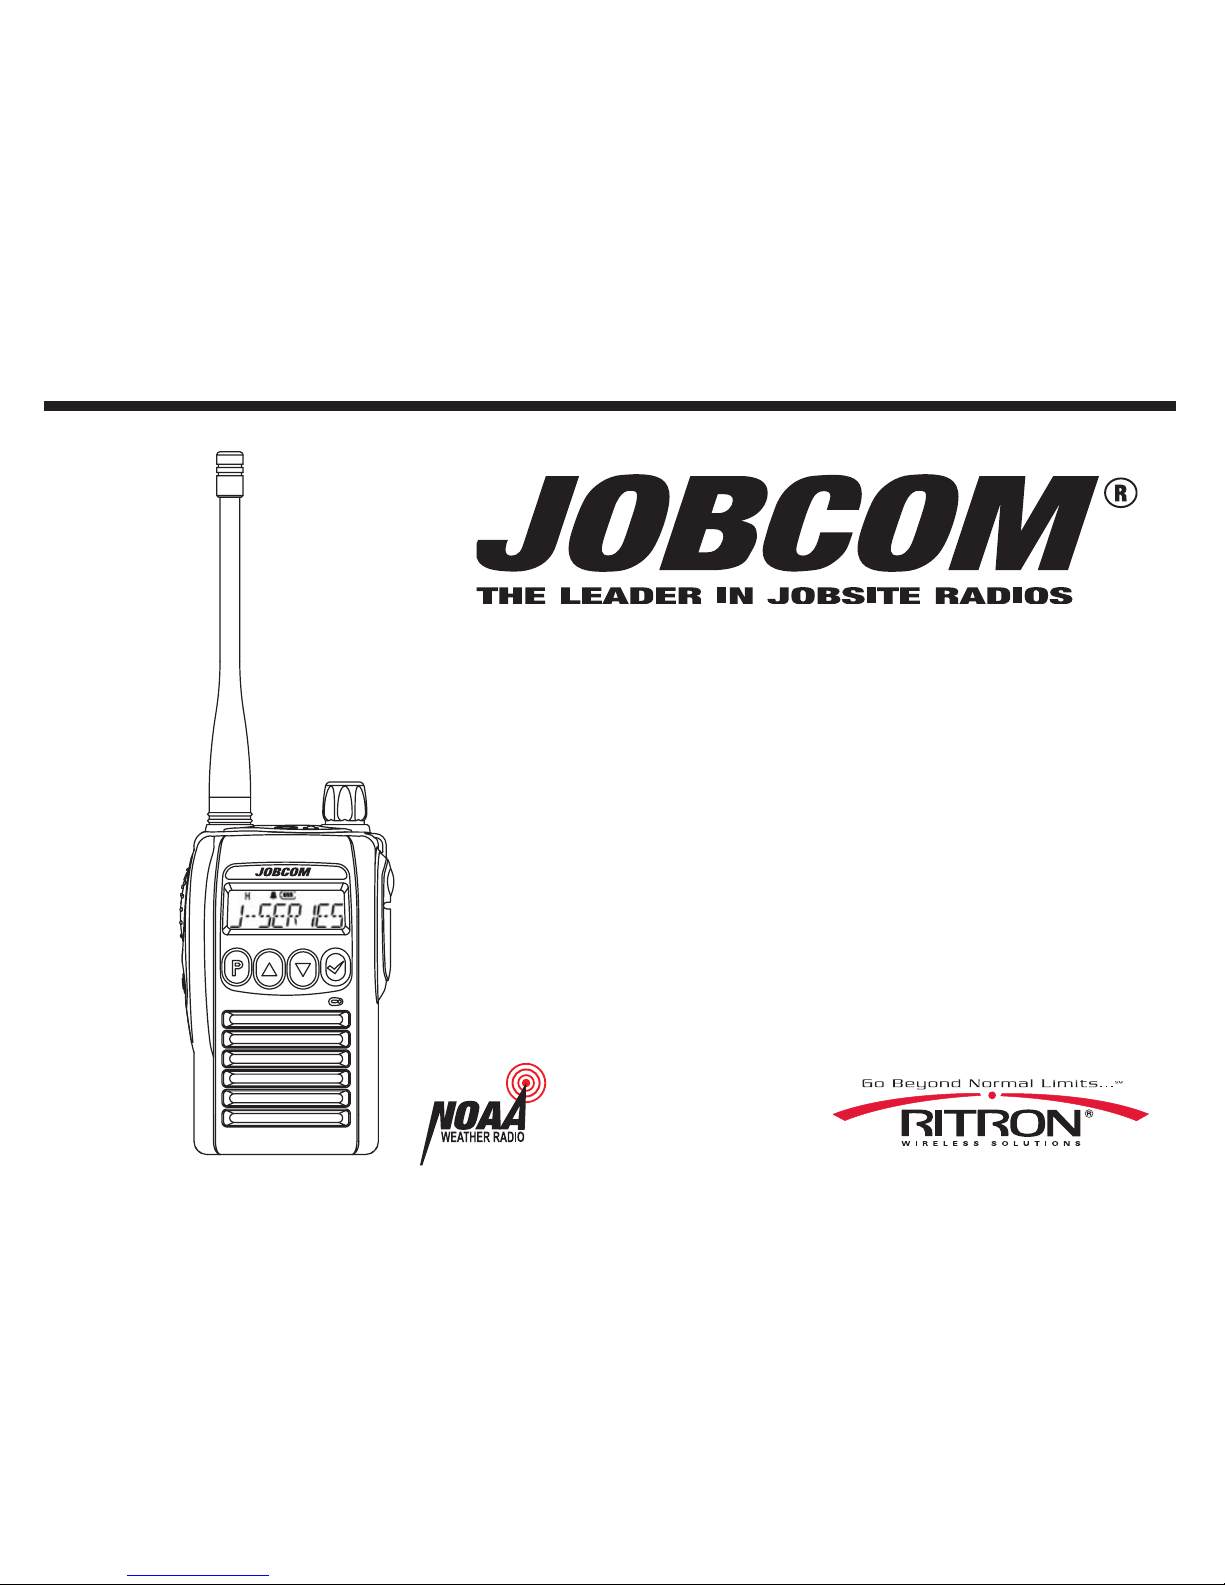
Have questions? Call
800-USA-1-USA
(800-872-1872) or visit our website at www.ritron.com
FCC REGULATIONS
LICENSING The FCC requires the owners of J Series radios to obtain a
station license before using them.
The station licensee is responsible for ensuring that transmitter power, frequency
and deviation are within the limits specified by the station license. The station
licensee is also responsible for proper operation and maintenance of the radio
equipment. This includes checking the transmitter frequency and deviation
periodically, using appropriate methods.
To get a FCC license for VHF or UHF frequencies, submit FCC application Form
600 as indicated in the block at right. Your Ritron dealer can help you with this
process.
SAFETY STANDARDS The FCC has adopted a safety standard for RF energy
exposure awareness and control information, and operational instructions for FCC
occupational use requirements. Refer to page 20 for complete details.
Service - Federal law prohibits you from making any internal adjustments to the
transmitter, and/ or from changing transmit frequencies unless you are
specifically designated by the licensee.
If your radio equipment fails to operate properly, or you wish to have the radio
programmed, contact your authorized dealer or Ritron.
RITRON, INC., Repair Department
P. O. Box 1998
Carmel, IN 46082 1998 USA
Phone: 317 846 1201
FAX: 317 846 4978
1
HOW TO OBTAIN AN FCC RADIO LICENSE
Federal Communications Commission (FCC)
Licensing Information
Because your Ritron radio operates on Private Land
Mobile frequencies, it is subject to the Rules and
Regulations of the FCC, which requires all operators
of these frequencies to obtain a station license
before operating their equipment. Make application
for your FCC license on FCC Forms 600 and 1 9.
To have forms and instructions faxed to you by
the FCC, call the FCC Fax-On-Demand system
at 202-418-0177 from your fax machine;
request Document 000600 & Form 59.
To have Document 000600 & Form 59 mailed
to you, call the FCC Forms Hotline at
800-418-FORM (800-418-3676).
For help with questions concerning the
license application, contact the FCC at
888-CALL-FCC (888-22 - 322).
You must decide which radio frequency(ies) you
can operate on before filling out your
application; refer to Table on page 5 of this
manual.
For help determining your frequencies, call
Ritron at 800-USA-1-USA (800-872-1872).