JOMO Tech Royal 30 User manual

The JOMO Tech Royal 30 Quick Start Guide
First things first . . . grab your vape pen and get to know each component : check the diagram above.
I doesn’t matter what type of e-cig you have, they all have the same components and they all work the same way. The battery heats the coil which
vaporises the liquid in the tank, producing the vapor that you inhale.
The most important piece of the whole unit is the coil. Nine out of ten times, the reason your e-cig plays up or won’t work is because the coil is faulty
or burnt out. Fortunately, it’s a very easy fix . . . we’ll get into the details later on in this Guide.
This Guide’s been written to get you set up and vaping as quickly as possible, while teaching you about the e-cig at the same time. There’s a lot of
images to show how to maintain and fill your e-cig, all with step by step instructions.
But before you can start vaping, you’ll need to charge your battery. Like any rechargeable battery, it’s best to start with a full charge to achieve and
maintain a good battery life [at least that’s what they tell us . . . it’s true . . it’s written in the users manual].
Charging the Royal 30
If you’re using a wall plug adapter to charge your battery, connect the USB Cable to the wall plug and turn the power on. Now plug the Micro USB Cable
in to the Micro USB port on the side of the battery, next to the fire button.
If you’re charging your battery via your computer, make sure the computer is turned on before you connect the Cable. Plug the Micro USB Cable in to
the Micro USB port on the side of the battery, and connect the other end of the Cable to the computer. You need to use a port with a high voltage level
to ensure that the battery charges properly. If you’re not sure which port on your computer has the highest voltage levels, check your manual [if you
have one] or visit my old friend Google to find out.
While the battery is charging, it will show a red light around the fire button : when the battery is fully charged, the light will change to blue.
The battery has full micro-chip protection and will shut off automatically once it’s reached a full charge. It’s also protected against short circuits,
over heating and will shut down if you hold the fire button down for more than 10 seconds.
* This is a really important bit : Only Use The Charger Provided In The Kit To Charge The Battery : Do Not Use Any Other Charger Cable*
Not only do you stand a good chance of damaging the circuit of the battery, it most likely won’t charge properly either. And just to let you know, using
the wrong cable voids your guarantee.
Under normal conditions, the battery will take around 1—3 hours to charge and that charge will allow for about 5—6 hours of seriously heavy vaping.
JOMO Tech then go on to say that if the unit isn’t used very often, one charge can last up to a month! How wild is that? Anyway, I can tell you that
when I was testing the Royal 30, I used it for 3 + days before I needed to charge it and I’m a fairly moderate vaper, I mean it’s wasn’t in my face
24 / 7 . . . but I vape regularly throughout the day [and night].

As you can see, it’s pretty easy to fill the Tank of the Royal 30.
If there is no Coil in the Tank, DO NOT attempt to fill the Royal 30 Tank.
The Coil must be in place and screwed in tightly into the base of the
Tank before you can fill it.
Avoid getting any liquid down the centre of the Coil : direct the needle
tip of your liquid bottle to either side. If you do [get liquid down the
centre of the Coil], clean it out with a cotton bud before you replace the
Top Cap / Air Flow Assembly or you'll end up sucking it up when you
take your first draw . . . tastes pretty icky . . .
Best practice is to get into the habit of checking that the Coil is
securely in place every time you take the Top Cap / Air Flow Assembly
off the Tank. It only takes a moment, but it can save you hours of grief.
And while you’re at it, form the habit of cleaning the Mouthpiece and Top
Cap / Air Flow Assembly whenever you have them off the Tank too.
Condensation and excess liquid which hasn't been vaporised can build
up in the Top Cap, potentially leading to leaking from the holes in the Air
Flow, but if you clean the components regularly, it’s less likely to occur.
Filling the Tank
Charging the Royal 30 [continued]
The Royal 30 battery will let you know how much charge is left in it by the colour of the light showing around the fire button when you press it. White
indicates that it has from 100% down to around 70% power remaining : a blue light indicates power between 70% –30% left and an orangey-red
colour shows that
“less than 30% power remains and it would be a good time to charge me now, thanks very much . . . “
Replacing the Coil
A bit of De’Ja`Vu for you. Yes, it’s the same
process as filling the Tank : exactly the
same. But there’s a few really important
bits you need to remember :
*When you’re filling your Tank for the first
time, or whenever you change a Coil, the
new Coil will need to be primed before you
install it in the Tank. How? Have a closer
look at the Coil and you’ll see 4 holes
spaced evenly around the outside of the
body : you can see the white organic cotton
behind the holes. *Hold the needle tip of
your liquid bottle above the holes and put
2—3 drops of liquid into each one. This
serves to start the absorption of liquid into
JOMO Tech recommend that you close the Air Flow when you store or carry your Royal 30 to further reduce the potential for leaks. The Users Manual
supplied in the Kit explains the potential leaking issue in detail and how to avoid it [pages 8 and 9 of the users manual]

the organic cotton inside the Coil body. There’s a fair sized piece of organic cotton in there and it will absorb more liquid than a standard or dual Coil.
You can now screw the Coil into the base of the Tank and fill the Tank. *Allow the unit to stand for a few minutes to ensure that the organic cotton
gets fully wet. You may notice that the liquid level has gone down slightly from the original level.
*Best practice is to remove the Top Cap / Air Flow Assembly again and top up the Tank. There must be enough liquid in the Tank at all times to cover
the holes in the Coil body at the very least. *Best practice is to never allow the liquid level to fall below 1/4 full.
*If the liquid level does fall below the holes and the Coil begins to dry out, do not use the e-cig again until you have refilled the Tank and the Coil has
had sufficient time to reabsorb the liquid.
If you do fire the unit while there is little or no liquid in the Tank, the Coil will burn in a matter of seconds : not only does it smell really bad, it tastes
even worse.
JOMO suggest that the Coil should be replaced every 2—3 weeks, however they further suggest that the Coils will live an extended life if you give them
a bath once a week in warm water [30—40 °C]. It’s then recommended that you change the Coil monthly.
With all due respect to JOMO, we suggest that you replace the Coil when it needs to be replaced. You’ll know if it’s dead or dying through the awful
burnt taste, no vapor being produced or excessive leaking.
*Another really important bit : Washed Coils must be totally and completely dry before you can use them again and, of course, you’ll need to prime
them again.
Replacing the Coil [continued]
Getting it Together
The Royal 30 is one of the first truly and totally ALL-In-One Vape units.
There are only 3 parts : the battery which has the glass tube/tank fixed in place, the coil
and the top cap/air flow assembly.
Although the image to the right shows the glass tube/tank as separate to the battery,
when you unpack your Royal 30, the tube/tank will be fixed in place on top of the battery.
This is where it lives and it is not removed unless is needs to be replaced because it’s
busted. So don’t play around with it, get twisty on it or try to see how it’s stuck on there :
just know that it is and move on.
1. At this point, you fit the primed coil, taking care not to cross-thread it and making sure
its in tight : don’t go crazy on it, there is such a thing as the coil being too tight . . . we’re
looking at a happy medium type tight.
2. Next, fill the tube/tank with your favourite flavour. You can safely fill the Royal 30 to within a couple of mm’s of the top of the tube/tank.
3. Seat the top cap/air flow assembly on top of the coil and tube/tank and screw into place . . . again, don’t go ape on it, just needs to be firm.
Being the first time this unit’s been filled, you need to allow time for the liquid to be completely absorbed into the coil’s organic cotton, making sure it’s
fully wet and completely soaked in and covered by the liquid. You’ll most likely notice that the liquid level will drop once the coil has absorbed it’s fill
and it’s a good idea to top the tank up again before you start vaping.
REMEMBER : keep an eye on the level of liquid in the tank and never let it fall below the top of the holes in the side of the coil. As soon as it gets close
to that level, refill the tank to avoid the coil drying out and burning the next time you take a draw.
And when you’re refilling the tank, REMEMBER to check that the coil is still tight in the fitting. It can move when you are unscrewing the top cap/air
flow assembly, so get into the habit of checking it every time you remove the top cap/air flow assembly.

The First Vape
There’s only a couple of other things you need to / should know before you start vaping : *How to lock and unlock the Royal 30 : Fortunately, the same
method is used by all e-cig manufacturers everywhere, it’s one of the few things that is truly universal about them. So, 5 fast clicks on the fire button
locks or unlocks your e-cig. Each time you lock or unlock the e-cig, the fire button will flash to indicate that it has either locked or unlocked itself
[depending on which one you wanted to do]. *Another of those rare universal features is the “Low Atomiser / Check Atomiser / Short Circuit /
Wiring Short” warning. If the fire button flashes 3 times and any of those messages appears on your LED screen, you need to replace the coil. If your
e-cig doesn’t have an LED screen, the fire button will flash 3 times and the unit won’t work, indicating the same problem. It may be that you have just
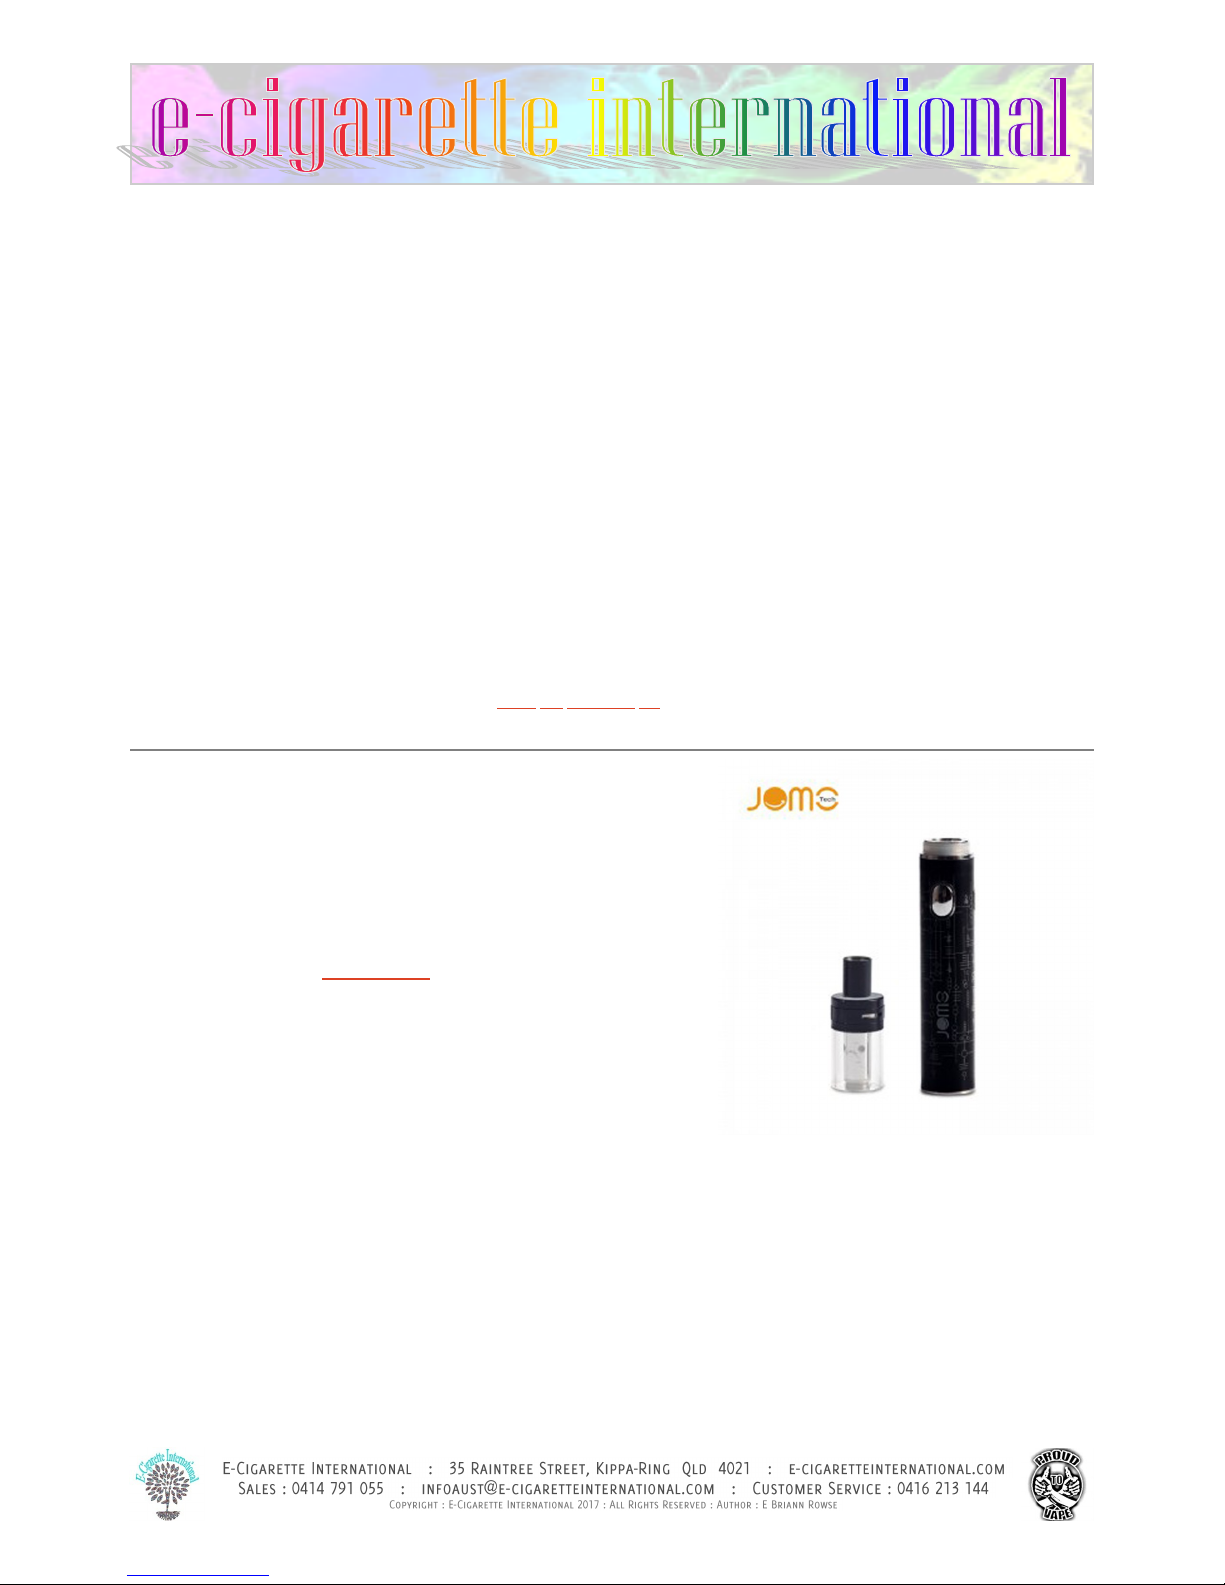
put a new coil in the unit when this happens. Before you throw the offending coil away, check that the coil is screwed tightly into the base and then the
top cap : check it’s making a good connection with the battery. If that doesn’t fix it, you’ll most likely need to replace the coil. Unfortunately, there is
no way to tell if a coil is faulty just by looking at it, unless there’s some obvious major defect, like it’s got no organic cotton in it . . . I’ve only ever seen
that once . . . Hmmmmm
So that’s pretty much it . . . To crank her up, hold down the fire button as you begin to inhale, continue to hold the fire button down until you finish
inhaling, at which point, you release the fire button . . . . . . . Let’s thank Captain Obvious for that last enlightening statement . . .
Yeah . . . whether you are a mouth to lung vaper or a direct to lung vaper, even if you’re not sure yet what your style is [will be] the Royal 30 works
beautifully used either way. Generally speaking, sub ohm gear is normally reserved for direct to lung vapers, people with crap lungs like mine never
got to play with sub ohm toys because they’re just too powerful for our lungs. I end up coughing with every draw : it’s a crap way to vape.
But I’ve found my sub ohm soul mate in the Royal 30 : it understands my lungs and treats them with respect and enough power to bring out the hidden
notes in some of my favourite flavours without choking me . . . . . all the while throwing out
uber
clouds of vapor.
Adjusting the Air Flow
The Air Flow adjustment is located in the Top Cap : it controls the draw on your e-cig and how much vapor it produces.
Increasing the amount of air coming in [exposing more of the vent holes] will give you a light, easy draw and more vapor, whereas closing off the air
flow [covering the vent holes] will make the draw tighter and less vapor is produced.
To adjust the Air Flow, rotate the Air Flow Control Ring to expose more of the vent or less as suits you best.
Air flow also plays a part in the nicotine hit and flavour you experience when vaping.
More air flow, as we’ve already seen, produces more vapor. Taking it one step further, we can see that : more vapor = more nicotine carried in the
vapor produced = more nicotine available to be absorbed by the body = a larger nicotine hit. There’s probably some really long scientific reason why
this happens . . . I just think it’s a neat side effect. . . . And ‘No’, the vapor you exhale contains nicotine particles which are unable to be inhaled by
another person, the particle size is incompatible, so the ’second-hand’ vapor thing is a myth.
So it follows, that if you wanted to drop the nicotine hit a little, you could start the process by restricting the air being fed into the mix . . . Maybe as a
precursor to dropping your liquid strength for the first time. I don’t think it’s an overly large drop in the nicotine strength but I couldn’t give you any
solid numbers, I’m only talking from personal experience while testing this unit. It is the first sub ohm unit I’ve actually been able to use, so I’m the
perfect crash test dummy.
Yeah, so I’m still vaping 16mg liquid in one of my new sub ohm toys, and 3 mg in the Royal 30 and I’m finding I’m hitting the Royal 30 with the 3mg liquid
more often than the other unit with the 16mg liquid and reduced air flow. So that tells me that I’m getting more nicotine from the other vape [YAY!
Captain Obvious is back] but it also tells me that it’s diluted [if that’s the right word] enough that I’m not getting the head spins, etc that ‘They’ say I
should be getting, vaping 16mg liquid through a sub ohm unit.
So I have come to the conclusion that ‘They’ are Knob Heads and that it’s a personal thing . . . some people can vape higher strength nicotine liquids
using sub ohm gear and [potentially] a restricted air flow.
I invite you to test the theory for yourself and report your own findings on our Facebook page or flick me an email and I’ll get it up on the website.
Table of contents