manuals.online logo
Brands
  1. Home
  2. •
  3. Brands
  4. •
  5. JVC
  6. •
  7. Security Camera
  8. •
  9. JVC VN-H37U series User manual

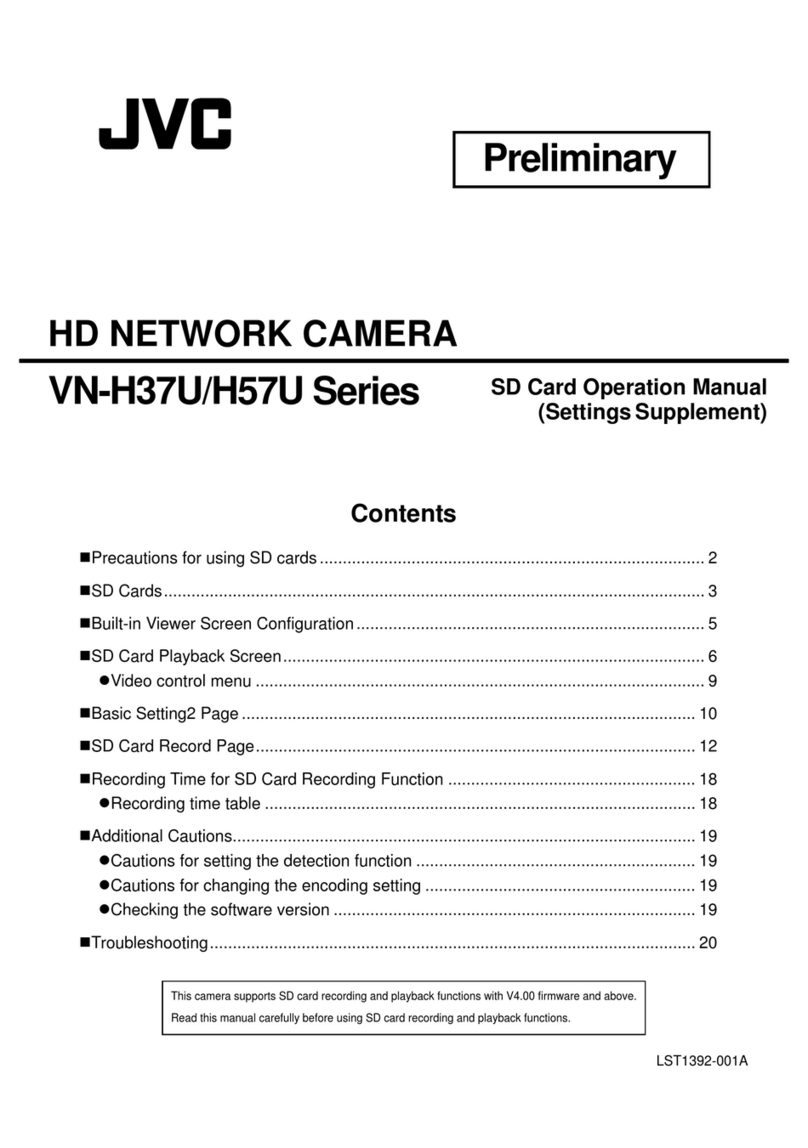
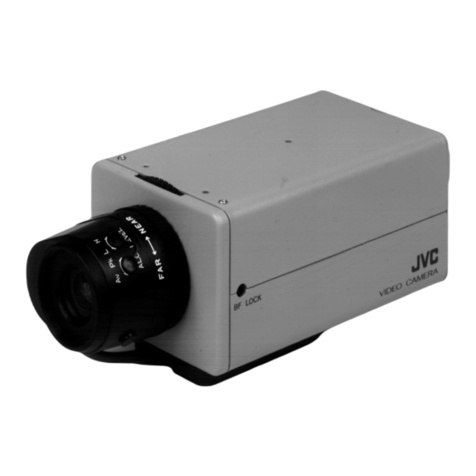
JVC VN-H37U series User manual

1
How to read the manual
Contents of this manual
This manual explains how to set up the PC to configure the camera settings and how to connect the camera to the PC.
Our company holds the copyright of this manual.This manual may not be reprinted or reproduced either in part or in whole
without the prior consent of the company.
Windows and Internet Explorer are registered trademarks of Microsoft Corporation in the United States and other countries.
Product names of other companies described in this manual are trademarks or registered trademarks of the respective companies.
Symbols such asTM, ®, © are omitted in this manual.
Design, specifications and other contents described in this manual are subject to change without prior notice for purposes of improvement.
Instructions for installing this camera can be found in "Instructions (Installation)".
For image and network settings, please refer to the "Instructions (Setting)" of the supplied CD-ROM.
For the latest information, please refer to the "README" file in the CD-ROM supplied with this product.
The supplied CD-ROM disk contains the "Instructions (Setting)" (pdf), "API Guide" (pdf), "JVC-VN-SearchTool", "JVC-VN-
IPSettingTool" and "README" (txt) files.
•
•
•
•
•
•
•
•
•
•
Symbols in this manual
Note : Operational precautions are provided.
Memo : Limitations related to functions and use, and other helpful information are provided.
☞: Reference pages or reference items are shown.
IP address setup procedure * This item is based on Windows 7 and Internet Explorer 8.0.
Set the IP address of the camera in the following steps.
Set the IP address of the PC used
for configuring camera settings.
Setup of the IP address of
the PC used for settings
Set up the Internet Explorer to
connect the camera to the PC.
Setup of Internet Explorer
Connect the camera to the PC used
for configuring camera settings.
Connection of the camera
to the PC
Call the [Basic Setting1] setting
window, and set the [IP Setting] to
"DHCP Disable" or "DHCP Enable".
IP address setting for the
camera
Step 1 Step 2 Step 3 Step 4
Step 1 Setup of the IP address of the PC used for settings
The camera is assigned the "DHCP Disable" (the DHCP client function is Off) during shipment. The camera
is first started up using the following IP address. Set the IP address of the PC correctly so that you can
communicate with the following. (For example, set the IP address to "192.168.0.100" and the subnet mask to
"255.255.255.0".)
Note
If multiple cameras are turned on simultaneously in the same LAN environment, access attempts may fail
due to IP address duplication. Set up an IP address by either using the JVC-VN-IPSettingTool (included on
the supplied CD-ROM) or turning the power supply of each camera on separately to avoid duplication.
•
IP address of the camera (factory default)
IPAddress 192.168.0.2
Subnet Mask 255.255.255.0
Default Gateway None
Step 2 Setup of Internet Explorer
1Launch Internet Explorer on the PC.
2If proxy settings are enabled in Internet Explorer,
disable them as follows:
1
Select [Tools] - [Internet Options] - [Connections] - [LAN Settings]
in this order.
2 From the [Local Area Network (LAN) Settings] window, select
[Proxy server] and uncheck the [Use a proxy server for your LAN]
box.
Uncheck this box.
3If the active script of Internet Explorer is disabled,
follow the steps shown below to enable it.
1
Select [Tools] - [Internet Options] - [Security] - [Trusted sites].
2 Click the [Trusted sites] button, and uncheck the [Require server
verification (https:) for all sites in this zone] box.
3 Add the URL of the camera to the zone. If you use the camera with
factory defaults, add the following URL to the zone.
http://192.168.0.2
4 Select [Tools] - [Internet Options] - [Security] - [Trusted sites], and
click [Custom Level].
5 From the [Security Settings] window, select [Scripting] and set the
[Active scripting] to [Enable]. Select [Enable].
4If ActiveX controls and plug-ins of Internet Explorer
are disabled, follow the steps shown below to
enable them.
1
Select [Tools] - [Internet Options] - [Security], and click [Trusted
sites].
2 Click [Custom Level] to open the [Security Settings] window.
3 Set all options of [ActiveX controls and plug-ins] to [Enable].
Also, select [Miscellaneous] and set [Allow Script-initiated windows
without size or position constraints] to [Enable].
Select [Enable].
5Disable pop-up block.
If the pop-up block is "enabled" in Internet Explorer, you will not be able to connect the camera.In this
case, set the pop-up block to "Disable" using the following steps.
1 Select [Tools] - [Pop-up Blocker] - [Turn Off Pop-up Bloker], and all sites are permitted.
2 To allow only specific sites such as this unit, select [Tools] - [Pop-up Blocker] - [Turn on Pop-up
Blocker].
3 Select [Tools] - [Pop-up Blocker] - [Pop-up Blocker Settings] to open the [Pop-up Blocker Settings]
window. In the opened window, add the address of the camera as a permitted Web site address.
6If plug-in tools are included in Internet Explorer, disable the pop-up block
function of these plug-ins tools as well.
7Enable [Every time I visit the webpage].
If checking for newer versions of pages stored by Internet Explorer is
not set to "Every time I visit the webpage", you cannot perform white
spot correction. (☞"Instructions (Setting)") In that case, follow the
procedure below to set checking for newer versions of stored pages
to "Every time I visit the webpage".
1 Select [Tools] - [Internet Options] - [General] - [Temporary Internet
Files] - [Settings] - [Every time I visit the webpage].
Select [Every time I visit
the webpage]
LST1270-001B
VN-H37U/H57U Series Instructions
(IP Address Settings)
Operating Environments
Recommended PC Specifications
OS : Windows 7 Professional (SP1)/Windows Vista Business (SP2)/
Windows XP Home Edition (SP3)/Windows XP Professional (SP3)
CPU : Intel Core 2 Duo, 3GHz or higher
Memory capacity : 2 GB or more
Free hard disk space : 512 MB or more of free space
Display and video card : 1600 x 1200 pixels or more, True Color (24 bit or 32 bit), VRAM 1GB or more
recommended
Web browser : Internet Explorer
Windows XP : Version 6.0
Windows Vista : Version 7.0
Windows 7 : Version 8.0
Note
The operation of any Web browser other than Internet Explorer is not reliable.
The Built-in Viewer consists of theActiveX software components. When you use the Built-in Viewer in the first
time, the ActiveX software is installed. However, the installation may be rejected by the anti-virus software
settings.If this occurs, change the anti-virus software settings.
LAN environments
10BASE-T/100BASE-TX network interconnected using IEEE 802.3-compliant switching hubs
IEEE 802.3af-compliant switching hub when PoE is used
IGMPv2-compliant network when multicast is in use
Category 5 or higher grade LAN cable while being connected
•
•
•
•
•
•
HD NETWORK CAMERA
EM_IP.indd 1EM_IP.indd 1 4/20/2012 5:57:00 PM4/20/2012 5:57:00 PM

All manuals and user guides at all-guides.com
all-guides.com
2
Step 3 Connection of the camera to the PC
1Launch Internet Explorer.
1
Enter the IP address of the camera (for example, the factory default of "http://192.168.0.2").
2 Click [Î].
1
2
3The Built-in Viewer of the camera is displayed.
If the IP address of the camera is not known
You cannot set up or change the IP address of the camera from the PC even if the IP address of the
camera is not known.
You can identify the IP address in the following ways.
Access the "TOOL_E" folder of the supplied CD-ROM disk, and search for the camera in the LAN
using the "JVC-VN-SearchTool" of this folder.
* For the "JVC-VN-SearchTool" details, please open the "README" file in the [TOOL_E] folder.
■
•
2Enter the user name and password (to log in as the administrator).
1
2
3
1 Enters a user name. (The factory default is "admin")
2 Enters a password. (The factory default is "jvc")
3 Click [OK].
Memo
If the [Security Information] window appears, click [Yes] to proceed.•
Step 4 IP address setting for the camera
1Click [Details] of the Built-in Viewer.
Click
2The [Basic Setting1] screen appears.
3
1
2
1 Specify the [IP Setting].
When selecting "DHCP Disable":
Select "DHCP Disable" for the [IP Setting] option. Then, enter required values in [IP Address], [Subnet
Mask], and [Default Gateway].
When selecting "DHCP Enable":
The "DHCP Disable" (the DHCP client function is off) is set as factory default. To assign an IP address
from the DHCP server, connect the camera to the LAN where the DHCP server exists. Set the [IP
Setting] of the camera to "DHCP Enable" and click [OK].
Note
Set the DHCP server so that the same IP address is always assigned to the MAC address of the
camera, using the DHCP server. The connection may fail if the above settings are not made.
2 Select the [Time Zone].
Set up the IP address if required.
3 Click [OK].
Memo
For detailed network settings, consult your network administrator.
If you enter the following URL in the address bar of Internet Explorer, you can log in with administrator
privileges proceeding 2in step 3 and you can directly access the [Basic Setting1] page without going
through the Built-in Viewer.
Example: http://192.168.0.2/cgi-bin/display.cgi?basicmenu1.html
If a [Security Warning] window appears, click [Yes] to proceed.
■
■
•
•
•
•
3When the confirmation window opens, click [OK].
The camera restarts with the new IP address. The camera takes about 90 seconds to restart.
Memo
As the IP address of the camera is changed, you may not be able to access the camera from the
PC you have been using. If you access the camera from the same PC, set the IP address of the PC
accordingly.
•
If the display or configuration of the open window appears strange, check the PC
settings as follows:
1Select [Start] - [Control Panel] - [Appearance and Personalization]
2Select [Display] - [Adjust screen resolution]
3Check that [Resolution] is set to [Monitor size (recommended)].
4Otherwise, change the setting to [Monitor size (recommended)] and
press the [OK] button.
5In [Display Settings], press the [Keep changes] button.
■
Advanced camera settings and operation
In addition to the above basic settings, you can set the advanced camera functions using Internet Explorer
and Built-in Viewer as follows.
Camera setting using Internet Explorer
Configure the picture quality and alarm settings using Internet Explorer.
* For details, refer to the "Instructions (Setting)" of the supplied CD-ROM disk.
Operating the Built-in Viewer
*For details about the Built-in Viewer, refer to "Built-in Viewer Operations" section in the "Instructions (Setting)"
of the supplied CD-ROM disk.
•
LST1270-001B© 2012 JVC KENWOOD Corporation
EM_IP.indd 2EM_IP.indd 2 4/20/2012 5:57:01 PM4/20/2012 5:57:01 PM
All manuals and user guides at all-guides.com

Other manuals for VN-H37U series

5

This manual suits for next models

1

Other JVC Security Camera manuals

JVC VN-C3WU - Digital Web Color Camera User manual

JVC

JVC VN-C3WU - Digital Web Color Camera User manual

JVC V.NETWORKS VN-C30U User manual

JVC

JVC V.NETWORKS VN-C30U User manual

JVC TK-C1460U - 1/3-in Ccd Wide Range Dsp Color... User manual

JVC

JVC TK-C1460U - 1/3-in Ccd Wide Range Dsp Color... User manual

JVC VN-V686WPU User manual

JVC

JVC VN-V686WPU User manual

JVC TK-C675BE User manual

JVC

JVC TK-C675BE User manual

JVC TK-C750U - CCTV Camera User manual

JVC

JVC TK-C750U - CCTV Camera User manual

JVC TK-T2101RE User manual

JVC

JVC TK-T2101RE User manual

JVC LoLux TK-T8101WPRU User manual

JVC

JVC LoLux TK-T8101WPRU User manual

JVC TK-C400E User manual

JVC

JVC TK-C400E User manual

JVC TK-C205 User manual

JVC

JVC TK-C205 User manual

JVC TK-C1380U - Color Ccd Camera User manual

JVC

JVC TK-C1380U - Color Ccd Camera User manual

JVC TK-C920BE User manual

JVC

JVC TK-C920BE User manual

JVC Super LoLux HD VN-H257VPU User manual

JVC

JVC Super LoLux HD VN-H257VPU User manual

JVC VN-V686BU - Network Camera - Pan Manual

JVC

JVC VN-V686BU - Network Camera - Pan Manual

JVC VN-C20 User manual

JVC

JVC VN-C20 User manual

JVC 1/3" CCD TK-C920U(A) User manual

JVC

JVC 1/3" CCD TK-C920U(A) User manual

JVC VN-H657BU User manual

JVC

JVC VN-H657BU User manual

JVC TK-C685E User manual

JVC

JVC TK-C685E User manual

JVC VN-V225U series User manual

JVC

JVC VN-V225U series User manual

JVC TK-C205VP User manual

JVC

JVC TK-C205VP User manual

JVC TK-C2201WPE(EX) User manual

JVC

JVC TK-C2201WPE(EX) User manual

JVC SuperLoLux TK-C9200U User manual

JVC

JVC SuperLoLux TK-C9200U User manual

JVC TK-C625U Owner's manual

JVC

JVC TK-C625U Owner's manual

JVC KY-F560U - 3-ccd Color Camera User manual

JVC

JVC KY-F560U - 3-ccd Color Camera User manual

Popular Security Camera manuals by other brands

EverFocus EHH5200 Operation instructions

EverFocus

EverFocus EHH5200 Operation instructions

RCA HSWIFI1 Quick start guides

RCA

RCA HSWIFI1 Quick start guides

Watec WAT-902H2 SUPREME Operation manual

Watec

Watec WAT-902H2 SUPREME Operation manual

AVer FV2026 user manual

AVer

AVer FV2026 user manual

Dahua HAC-HFW1100RP/N-VF user manual

Dahua

Dahua HAC-HFW1100RP/N-VF user manual

Riva RC6602HD-5311 Quick installation guide

Riva

Riva RC6602HD-5311 Quick installation guide

Samsung SCP-2371 Technical specifications

Samsung

Samsung SCP-2371 Technical specifications

Idis DC-C4212RX quick guide

Idis

Idis DC-C4212RX quick guide

Samsung SCC-B5342 operating instructions

Samsung

Samsung SCC-B5342 operating instructions

Surveon CAM2300 user manual

Surveon

Surveon CAM2300 user manual

Honic HN-SB500 user manual

Honic

Honic HN-SB500 user manual

Aussie AS-PTZRR-23 user manual

Aussie

Aussie AS-PTZRR-23 user manual

Axis 27505R1 installation guide

Axis

Axis 27505R1 installation guide

Samsung SCC-C9302(F)P user manual

Samsung

Samsung SCC-C9302(F)P user manual

Arcdyn DART 1080P user manual

Arcdyn

Arcdyn DART 1080P user manual

LG LCU5300R-BN owner's manual

LG

LG LCU5300R-BN owner's manual

Vimar ELVOX 46240.032A quick guide

Vimar

Vimar ELVOX 46240.032A quick guide

Hanwha Techwin Wisenet SNP-6320RH quick guide

Hanwha Techwin

Hanwha Techwin Wisenet SNP-6320RH quick guide

manuals.online logo
manuals.online logoBrands
  • About & Mission
  • Contact us
  • Privacy Policy
  • Terms and Conditions

Copyright 2025 Manuals.Online. All Rights Reserved.