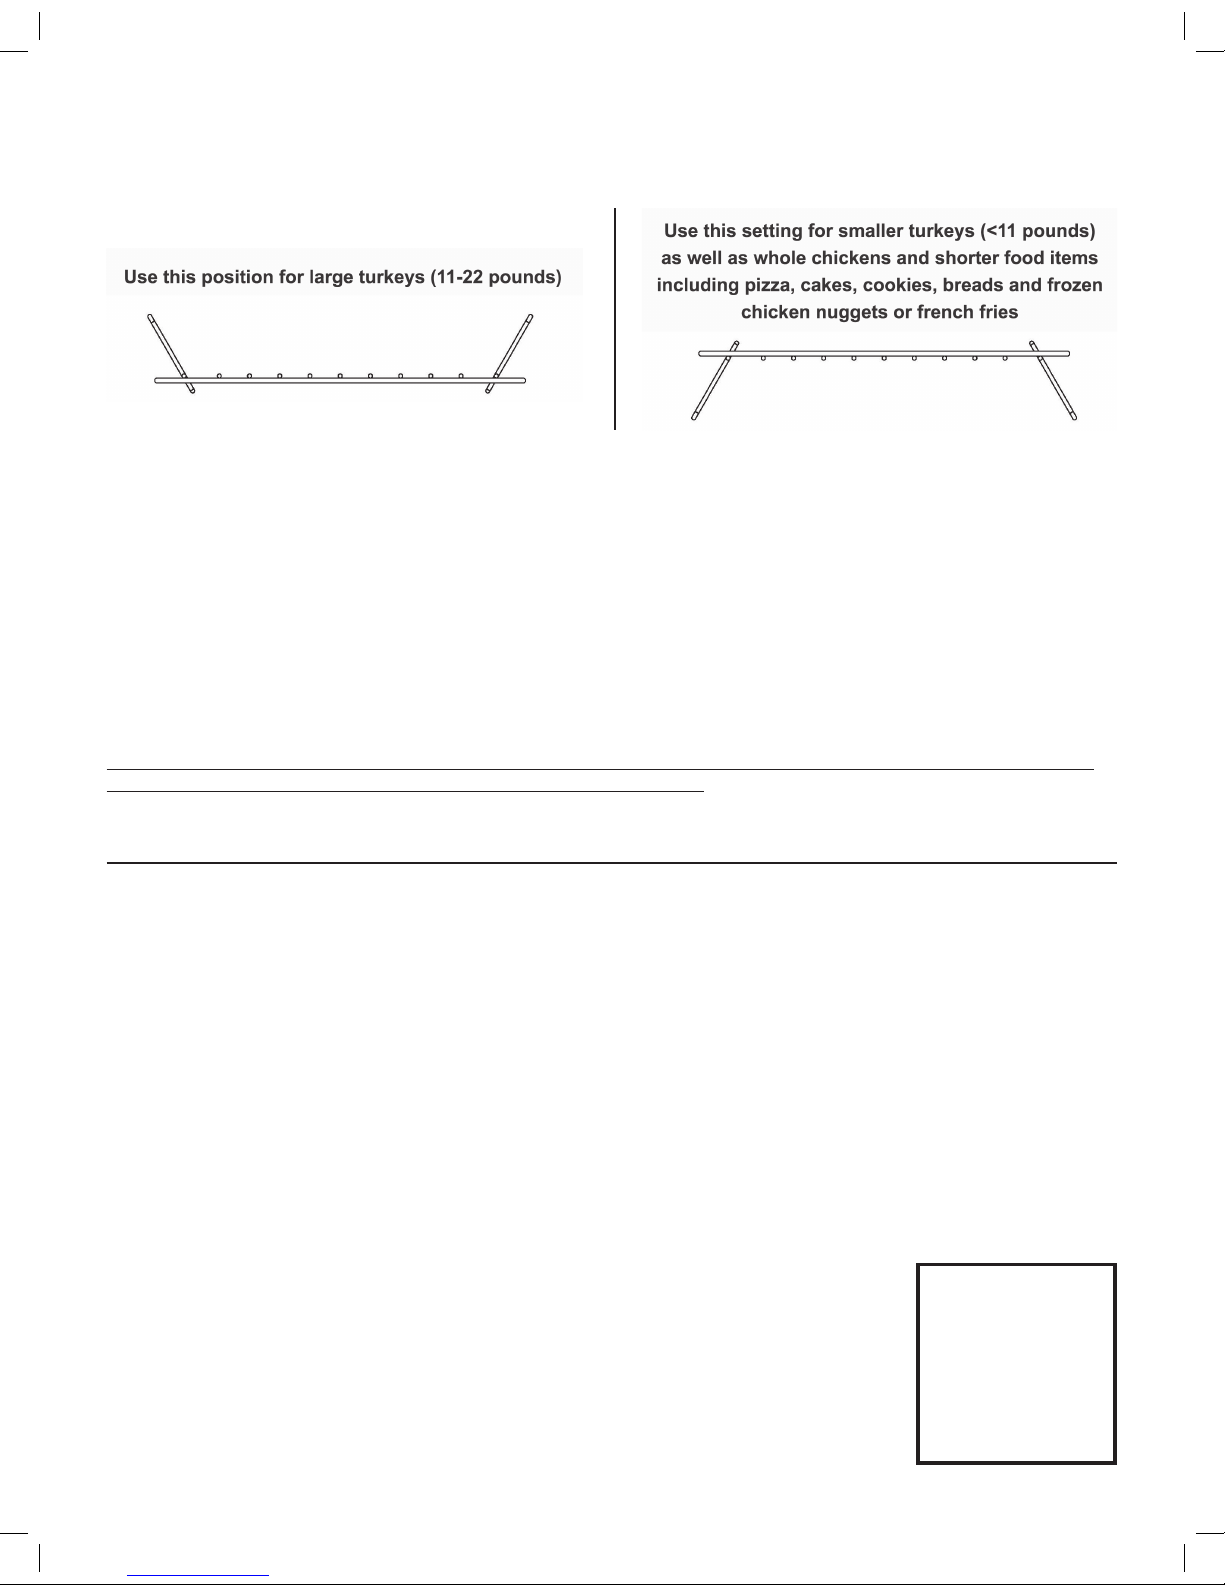
1. Insert the Reversible Cooking Rack directly on the Bottom Pan. See below for Cooking Rack position.
- Be sure the Pour Spout is positioned to the rear of the Dome Oven to ensure the actuator that allowstheunit to heat
is activated.
2. Using Temperature Dial, set to desired temperature. The indicator light will illuminate during the heating cycle and will
turn off when temperature is achieved.
3. Use a kitchen timer to set cooking time and alert you when cooking time has expired.
*NOTE: If Dome Lid is removed, the inside temperature will decrease substantially and therefore will need to achieve
desired/set temperature once lid is replaced on the Bottom Pan.
**NOTE: It is suggested that when cooking and baking foods for the rst time using the Dome Oven, you monitor closely as
cook times can be up to 40% faster depending on type of food being cooked.
IMPORTANT: When Removing the Dome Lid to check the doneness of foods, USE the COOLING RACKS to place the
Dome Lid. Always use Silicone or other heat resistant Protective gloves or pot holders when handling the Dome Lid,
Reversible Cooking Rack or Bottom Pan.
CAUTION: The Dome Lid will be extremely hot and should never be placed directly on an unprotected non-heat resistant
surface, To prevent damage always use Cooling Racks provided with unit.
Troubleshooting your dome oven with “captive heat technology”
Q: Why won’t my Dome Oven turn on?
a. Check to ensure your Dome Oven is plugged into a functional 120VAC outlet.
b. Check to ensure the Bottom Pan is correctly positioned with the Pour Spout facing to the rear. The Dome Lid has an
Actuator switch attached to unit below the power cord and must be properly seated to activate the power to the unit.
Q: Why is the Indicator Light turning Off and On?
a. Depending on the temperature selected, it is normal for the Dome Oven Indicator to turn on when heating to desired/
set temperature and turn off when temperature is achieved. This will continue during the entire cooking cycle and
when you remove and replace the Dome Lid.
Q: Why is the Indicator Light turning On and staying On?
a. If the Indicator Light stays illuminated, unplug and discontinue use immediately. Please contact Karrsen Customer
Service at 1-877 598-9981 for instructions.
Q: What position should the Reversible Cooking Rack be used to bake a cake or cookies?
a. The Higher Rack Setting should be used for smaller Turkeys (<11 lbs), Whole Chickens. Additional Foods:
Pizza, Cakes, Cookies, Breads, Frozen Foods (Chicken Nuggets, French Fries, etc…)
Q: What position should the Reversible Cooking Rack be used to roast a Turkey?
a. Lower Rack Setting: Used this position for cooking Larger Turkeys (11-22lbs).
Q: How do I clean my Dome Oven?
a. Wipe the dome oven interior with a clean, damp sponge and wash bottom pan
and all accessories in warm soapy water. Allow all surfaces to dry thoroughly prior to use.
b. Cooling Racks, Reversible Cooking Rack and Bottom Pan are dishwasher safe.
Note: Addditional baking pan, cake pan or other
accessories (not included) may be required for
making these types of food items.
*NOTE:
Do not place Dome
Lid in the dishwasher
or submerge in water
or other liquids!
Damage will occur
and is not covered
under warranty.
BR-2_QSG_Eng_20160822.indd 2 2016-08-26 07:55