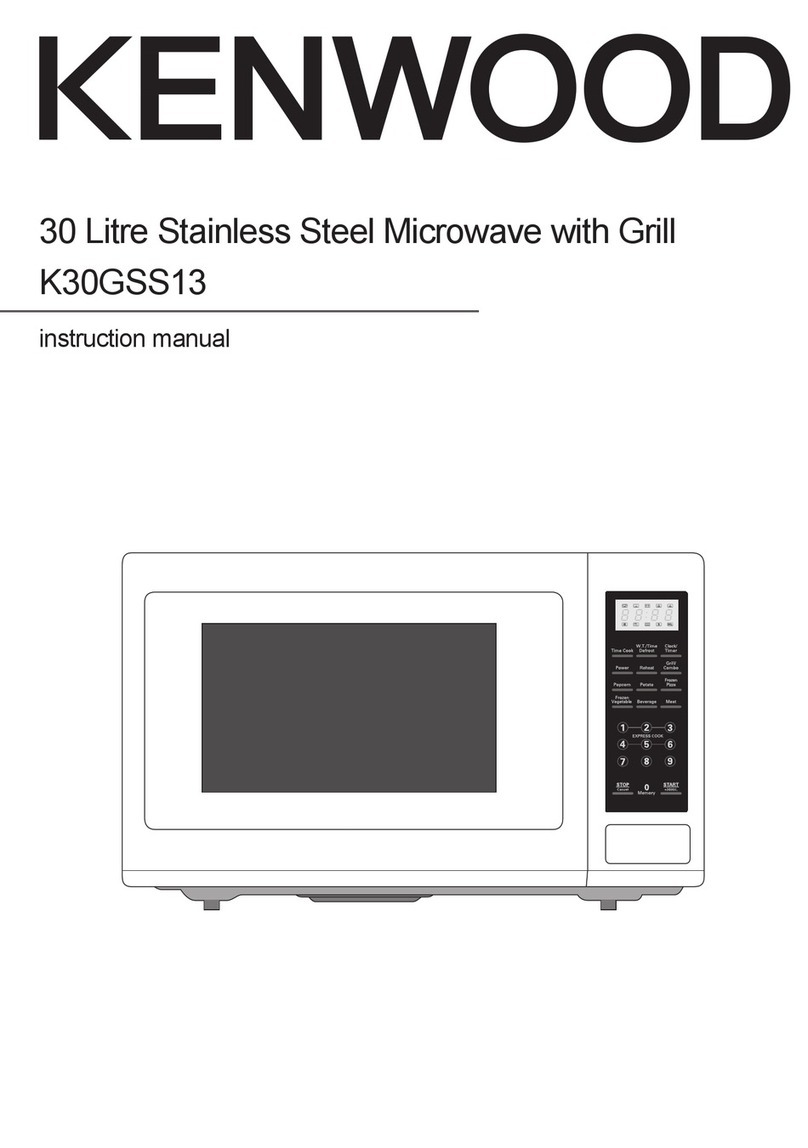
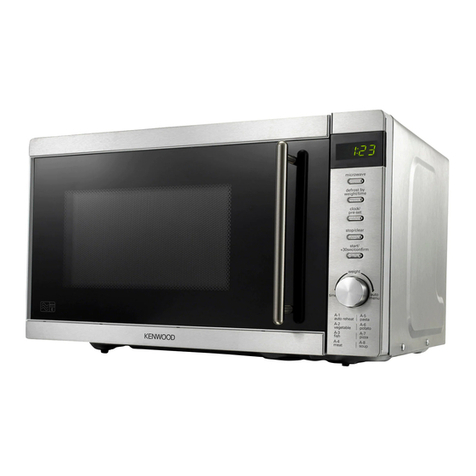
Kenwood MW311 User manual

MW311
Please read through these instructions carefully before
operating your microwave oven.

2
ABOUT YOUR KENWOOD MICROWAVE OVEN
Your new Kenwood Microwave Oven is a 900 watt model with a 23 litre capacity. It can
be used for defrosting, reheating and cooking.
For your safety and that of those around you, please take special care to read the
Important Safeguards listed here:
1Read all the instructions – it will enable you to make maximum use of
your microwave oven.
2DO NOT under any circumstances use this appliance for anything other
than its intended domestic purpose.
3DO NOT use this appliance if there is any visible sign of damage to the
supply cord or door seal or if it has been accidentally dropped.
4DO NOT immerse this appliance, the supply cord or the plug in water or
any other liquid.
5DO NOT let the electrical supply cord hang over the edge of a work surface
or allow it to touch hot surfaces such as a gas or electric hob.
6The appliance is not intended for use by young children or infirm persons
without supervision. Young children should be supervised to ensure that they
do not play with the appliance.
7Some products such as whole eggs and sealed containers may explode and
should not be heated in a microwave oven. Do not cook in containers with
restricted openings, such as bottles and small jars, because of the risk of
explosion in the oven.
8To reduce the risk of fire in the oven space you should supervise the oven
when in use especially when food is heated or cooked in disposable containers
of plastic, paper or other combustible materials.
9If smoke is observed, keep the oven door closed and switch off and
disconnect the power supply. Leave well alone until the smoke has ceased.
10 DO NOT operate the oven when it is empty as this could seriously damage
the oven.
11 DO NOT use the oven space for any type of storage.
12 DO NOT cook foods such as egg yolks, potatoes, chicken livers etc, without
first piercing several times with a fork.
13 DO NOT cook foods directly on the glass tray. Place food in a suitable dish
before placing in the oven.
14 DO NOT use metal pans or dishes with metal handles. DO NOT use anything
with a metal trim, or covered metal twist ties in the oven.
Before use, check that the utensils are suitable for use in microwave ovens.
IMPORTANT SAFEGUARDS

3
IMPORTANT SAFEGUARDS contd.
15 Always test the temperature of cooked food especially if you are heating or
cooking foods or liquids for babies. Foods and liquids should be allowed to
stand for a few minutes and stirred to distribute heat evenly. Remember to stir
with a non-metal utensil to prevent the food or liquid suddenly bubbling over
the container.
16 There are certain foods such as jam, mincemeat and Christmas pudding, which
heat up very quickly, and care should be taken to check the temperature
before consuming. When heating or cooking certain foods with a high fat or
sugar content do not use plastic containers.
17 If using a thermometer ensure it is a model specifically for use in microwave
ovens.
18 DO NOT attempt to deep fry food in the microwave.
19 Please remember when microwaving liquids that although the container is not
hot the liquid inside is, and will release steam or spit as in conventional
cooking.
Before plugging in
●Before switching on make sure the voltage of your electricity supply is the same as
that indicated on the rating plate.
THIS APPLIANCE MUST BE EARTHED

4
WARNING: Avoiding exposure to excessive microwave energy
DO NOT attempt to operate the oven with the door open as this can result in
harmful exposure to microwave energy.
DO NOT tamper with the safety interlocks that keep the door closed.
DO NOT operate the oven if it is damaged in any way. It is particularly important that
the oven door is closed properly and that there is no damage to the:
i. Door (bent)
ii. Hinges and Latches (broken or loose)
iii. Door seals.
The oven should not be adjusted or repaired by anyone other than properly qualified
service personnel.
1. Door Safety Lock System
2. Oven Window
3. Oven Air Vent
4. Glass Tray Location Shaft
5. Roller Ring
6. Glass Tray
7. Control Panel
2
1
56
3
7
HOW TO USE YOUR MICROWAVE OVEN
Before any cooking can start, it is necessary to set the clock on the clock/cooking display
panel. If the electric power supply is interrupted at any time, it will be necessary to reset
the clock using the instructions on page 6.
4

12345
67890
weight
defrost
jet
defrost
d1
meat
d2
poultry
d3
seafood
power express
time pre-set
clear
memory
start
clock
weight defrost
5
Display
Time
Number Pads
Weight
Defrost Pad
Power
Selection Pad
Time
Selection Pad
Clock Pad
Clear Pad
Weight Defrost
Guide
Jet Defrost Pad
Express
Programme Pad
Pre-Set
Programme Pad
Memory Pad
Start Pad
THE CONTROL PANEL

6
SETTING & RESETTING THE CLOCK
●Switch on the supply.
You will see:
●Press the CLOCK pad. A bleep will sound.
●Press the CLEAR pad, another bleep will sound.
Using the number pads, enter the correct time of day.
●Press CLOCK to confirm the time set.
●The display should now show the correct time of day. If not,
press CLOCK then CLEAR and try again.
Example:
●The two dots will flash every other second.
●The time of day can be checked during a cooking cycle by pressing the
CLOCK pad. The time will be displayed for 5 seconds.
1
min
10
min 1
sec
10
sec

7
●Press the TIME pad.
The display will show : 0 and 1S
This is the 1st Stage
(1S) indicator
●Press the number pads as shown in
setting the CLOCK to set the required
cooking time.
This example shows the cooking
time has been set for 2 minutes
●Press the POWER pad to set the power
level. The oven automatically cooks at high
power unless it has been set otherwise.
Enter the power level required by using
the number pad.
●The power level can be checked during
the cooking cycle by pressing the
POWER level pad. The power level will be
displayed for 5 seconds.
A power level of 7 has been
entered which gives 70% of full
power with an output of 630 watts
●Press the START pad to commence
cooking. The light comes on and you will
hear the oven sound. The oven will bleep
3 times at the end of the cooking time. If
you wish to stop cooking at any point,
pull the door open.
The example shows 1 minute and
14 seconds
SETTING THE COOKING TIME & POWER LEVEL
1
min 1
sec
10
sec
Power Level % of Power Wattage
0 Timer 0
1 10% 90
2 20% 180
3 30% 270
4 40% 360
5 50% 450
6 60% 540
7 70% 630
8 80% 720
9 90% 810
10 100% 900

EXPRESS
The oven is pre-programmed with 4 popular settings. By pressing the EXPRESS pad
once, the oven will be set for 15 seconds, press twice for 30 seconds, three times for
1 minute and 4 times for 2 minutes. These settings all run at the maximum power level.
PRE-SET
●The oven can be pre-set to come on at a
later time. Before setting a programme
you must ensure the clock is set to the
correct time of day.
●To set the programme press the
PRESET pad.
The preset clock symbol will appear
and the time of day will clear
●Use the number pads to set the required
start time as explained in ‘Setting the
Clock’.
In this example, the oven is set to
start cooking at 12.05
●Press the MEMORY pad to store the
start time.
The start time is now stored in the
memory
●Set the cooking time by pressing the
TIME pad and enter the cooking time
using the number pads.
5 minutes cooking time has been set
●Press the POWER pad to set the required
level as shown in the previous section.
The power level has been set to
cook at 80%
●Finally press START. To clear the
programme at any time before or during
cooking, press the CLEAR pad.
The display will show the time of
day and a flashing preset symbol
8

9
WEIGHT DEFROSTING - MEAT, POULTRY AND SEAFOOD
For automatic defrosting of frozen meat, poultry and seafood by weight.
This function allows you to defrost meat, poultry and seafood. The defrosting time and
power level are automatically set once you have selected the type of food and its weight.
Please note that this facility is not suitable for defrosting meat, poultry and seafood
above a certain weight, as shown in the table below:
Display Food Type Maximum Weight
d1 Meat 2.3kg (5lbs)
d2 Poultry 4.0kg (8lbs 8ozs)
d3 Seafood 0.9kg (1lb 10ozs)
●To set the programme, press the
WEIGHT DEFROST pad.
Press ONCE for meat – d1
Press TWICE for poultry – d2
Press THREE times for fish – d3
The display example shows the
programme is set to defrost meat
●Use the number pad to enter the weight
of the food in grams and/or Kilograms.
This example shows a weight of
250 grams
This example shows a weight of
1.5 Kilograms
●Check the food packaging for details of
weight in grams and kilograms.
●Press the START pad and the cooking symbol ( ) will appear,
and the oven light will come on.
Please note that during weight defrosting the oven will beep at one and two thirds of
the way through the cycle as a reminder that the food should be checked and turned
or rearranged as necessary to ensure even defrosting.
Always ensure that food is thoroughly defrosted before cooking.

10
JET DEFROSTING
For defrosting frozen food by time.
This feature can be used to defrost most frozen foods in the time you set. It should be
used for defrosting foods which are not in the WEIGHT DEFROST category or which are
too heavy for the WEIGHT DEFROST programme. (Refer to previous section).
The JET DEFROSTING cycle starts at medium high power and reduces to medium low
and then to low as the food thaws.
●Place food to be defrosted in the oven.
Press the JET DEFROST pad.
You will see the symbol appear
and an ‘0’
●Enter the required defrosting time using
the numeral pads.
In this example a defrosting time
of 5 minutes has been set
●Press the START pad and the cooking
symbol ( ) will appear, and the oven
light will come on.

11
PROGRAMME COOKING
The oven can be set to do several consecutive functions. It could, for example, defrost
and then cook an item at full power for a set time followed by a second cooking period
at a reduced power level. It is possible to set a one, two or three-step programme.
●Press the clear pad before starting.
●Press the JET DEFROST or WEIGHT
DEFROST pad as required then use the
number pads to enter the defrosting
time.
In this example, the JET DEFROST
programme is set for 10 minutes
●Pressing the MEMORY pad will activate
the first stage symbol (1S)
●Press the TIME pad and enter the
cooking time using the number pads.
Follow this by pressing the POWER pad
and set the level of power needed using
the same method as described in
previous sections.
Here, the time has been set for 12
minutes and the power at 100%
●Press the MEMORY pad, activating the
second stage symbol (2S)
●Press the TIME pad and enter the
cooking time using the number pads.
Follow this by pressing the POWER pad
and set the level of power needed.
In the second stage, the time is set
for 5 minutes and power at 50%
●Press the MEMORY pad, followed by the
START pad. The cooking symbols in the
display panel will show which stage the
process has reached.
●Remember! JET and WEIGHT defrost can
only be selected before a cooking stage.

12
TIMER
The oven can be used as a stand-alone timer. In this setting the oven light and fan will
come on but no cooking will take place.
●To set the timer press the TIME pad and
use the number pads to set the required
time.
In this example the timer has been
set for 1 minute
●Press the POWER pad, then enter ‘0’
using the number pads. Press START.
Three bleeps will sound at the end of the
elapsed time.
The cooking symbol will appear
although no cooking will take
place due to the power having
been set to 0
CHILD-PROOF LOCK
This safety feature will ensure that the oven cannot be operated unsupervised by young
children. The oven will not operate when the child-proof lock is set although the door
can still be opened.
●To set the lock, press the CLEAR pad
and then the number pads 5 and 7
at the same time. A bleep will sound and
the child-proof lock indicator will show.
In this example the lock has been
set and the symbol appears above
the time of day
●To release the lock, press the number
pads 5 and 7 again, at the same time.
A bleep will sound and the indicator
light will go out.
CLEAR
The CLEAR pad can be pressed at any time to cancel a programme.
LOCK

13
CARE & CLEANING
1Turn the oven off and remove the plug from the socket before cleaning.
2Keep the inside of the oven clean by wiping with a damp cloth. If the oven is heavily
soiled a mild detergent solution may be used. Do not use harsh or aggressive
detergents as this damages the oven. Do not use a knife or any other form of scraper
to remove food residues from this oven.
3The outside of the oven can be cleaned with a warm damp cloth.
4Keep the control panel free from too much moisture. Clean it with a soft damp cloth
only and do not use detergents or abrasives.
5If condensation accumulates inside or around the outside of the oven door, wipe it
clean with a damp cloth. Condensation is quite normal and forms when moisture is
present during cooking.
6Ensure the door seals and adjacent parts are kept clean by wiping with a damp cloth.
If the door seal is damaged in any way the oven must not be used until it has been
repaired by a Kenwood Authorised Repairer.
7It is occasionally necessary to remove the glass tray for cleaning. Wash the tray in
warm soapy water, then rinse and dry thoroughly.
8The roller ring and bottom surface of the oven should be cleaned regularly to avoid
excessive noise. Simply wipe the bottom surface of the oven using a mild detergent
and dry thoroughly with a soft cloth. The roller ring may be washed in mild soapy
water, rinsed and dried thoroughly. Be sure to replace the roller ring in the correct
position.
9Remove odours from your oven by combining a cup of water with the juice and rind
of a lemon in a deep microwaveable bowl. Microwave for 5 minutes and then wipe
the inside of the oven with a dry cloth.
10 Inspect the oven regularly for signs of corrosion – particularly around the door. If you
find any signs of corrosion, arrange for the appliance to be serviced.

14
SERVICE
If the oven or supply cord are damaged in any way, or it is necessary to replace the oven
light, or repair the oven, the work must, for safety reasons, be carried out by Kenwood or
a Kenwood Authorised Repairer.
Before you call for assistance please check the following:
1If the oven will not work at all and the display does not appear, or disappears, check
that the oven is plugged in and switched on. If it is, switch it off and check that the
fuse in the plug is OK. If necessary try the appliance in a different socket.
2If the microwave will not function, check to see that the timer is set. Also check that
the door is properly shut so that the safety interlocks are fully engaged. If they are
not, the oven will not work.
3Check to see that the child-proof lock is not on the display. If it is, switch it off.
If none of the above actions rectify the situation, contact:
In the UK:
Kenwood on 023 92392333 and ask for Customer Care. Have your model number ready.
You will find it on the back of your microwave. Alternatively contact your authorised
Kenwood repairer: look in Yellow Pages under ‘Electrical Appliance repairs’.
In Eire:
See our advertisement in Golden Pages.
Other Countries:
Contact the shop where you bought the microwave – they will advise you.
UK only guarantee
If your microwave goes wrong within one year from the date of purchase, we will repair
or where necessary replace it free of charge provided:
●You have not misused, neglected or damaged it
●It has not been modified (unless by Kenwood)
●It is not second-hand
●It has not been used commercially
●You have not fitted a plug incorrectly
●You supply your receipt to show where and when you bought it

15
SPECIFICATION
Power Consumption: . . . . . . .230v – 50Hz, 1400W
Output: . . . . . . . . . . . . . . . . . . .900W
Outside Dimensions: . . . . . . .305mm (H) x 508mm (W) x 405mm (D)
Oven Cavity Dimensions: . . .215mm (H) x 350mm (W) x 330mm (D)
Oven Capacity: . . . . . . . . . . . .23 Litres
Cooking Uniformity: . . . . . . . .Turntable System (314mm)
Net Weight: . . . . . . . . . . . . . . . .Approx.15.6kg

Kenwood Limited
New Lane, Havant, Hampshire PO9 2NH
Telephone: +44 (0)23 9247 6000 • Facsimile: +44 (0)23 9239 2423
2254/4
Table of contents
Other Kenwood Microwave Oven manuals

Kenwood
Kenwood K25CS14 User manual

Kenwood
Kenwood K25MSS10 User manual

Kenwood
Kenwood K23CSS12 User manual

Kenwood
Kenwood MM562 User manual

Kenwood
Kenwood KEN SJW17 User manual

Kenwood
Kenwood KGTS23 User manual

Kenwood
Kenwood MW572 Series User manual

Kenwood
Kenwood KEN CJSi25 User manual

Kenwood
Kenwood K30CSS10E User manual

Kenwood
Kenwood K20MW19E User manual

Kenwood
Kenwood KEN GJSS25A User manual

Kenwood
Kenwood K25MSS19 User manual

Kenwood
Kenwood MW301 User manual

Kenwood
Kenwood K30CSS13 User manual

Kenwood
Kenwood KSMS21 User manual

Kenwood
Kenwood MW320 User manual

Kenwood
Kenwood KCTAL30 User manual

Kenwood
Kenwood MW315 User manual

Kenwood
Kenwood K25MW14 User manual

Kenwood
Kenwood K20MSS10 User manual