King Industrial KC-50 User manual

INSTRUCTION MANUAL
MODEL: KC-50
28”GEARHEAD DRILLING MACHINE
COPYRIGHT © 2021 ALL RIGHTS RESERVED BY KING CANADA TOOLS INC.
WARNING!
This machine does
not come with oil in
the feed box and
speed box, see
“Maintenance”
section before
operating.

IMPORTANT INFORMATION
2-YEAR
LIMITED WARRANTY
FOR THIS DRILLING MACHINE
KING CANADA TOOLS
OFFERS A 2-YEAR LIMITED WARANTY
FOR INDUSTRIAL USE.
PROOF OF PURCHASE
Please keep your dated proof of purchase for warranty and servicing purposes.
REPLACEMENT PARTS
Replacement parts for this product are available at our authorized King Canada service centers across Canada. Please use the 10 digit
part numbers listed in this manual for all part orders where applicable.
LIMITED TOOL WARRANTY
King Canada makes every effort to ensure that this product meets high quality and durability standards. King Canada warrants to the
original retail consumer a 2-year limited warranty as of the date the product was purchased at retail and that each product is free from
defects in materials. Warranty does not apply to defects due directly or indirectly to misuse, abuse, normal wear and tear, negligence
or accidents, repairs done by an unauthorized service center, alterations and lack of maintenance. King Canada shall in no event be
liable for death, injuries to persons or property or for incidental, special or consequential damages arising from the use of our products.
To take advantage of this limited warranty, return the product at your expense together with your dated proof of purchase to an
authorized King Canada service center. Contact your retailer or visit our web site at www.kingcanada.com for an updated listing of our
authorized service centers. In cooperation with our authorized service center, King Canada will either repair or replace the product if
any part or parts covered under this warranty which examination proves to be defective in workmanship or material during the
warranty period.
NOTE TO USER
This instruction manual is meant to serve as a guide only. Specifications and references are subject to change without prior notice.
KING CANADA INC. DORVAL, QUÉBEC, CANADA H9P 2Y4
www.kingcanada.com

GENERAL & SPECIFIC
SAFETY INSTRUCTIONS
SPECIFIC SAFETY INSTRUCTIONS
1. USING A DRILL PRESS VISE
When using a drill press vise, always fasten workpiece to the table.
2. NEVER DO “FREEHAND WORK”
Never do any work “Freehand” (Hand holding the workpiece rather
than supporting it on the table).
3. NEVER move the head or table while the drill press is running.
4. NEVER climb or stand on the drill press table, you could break or
pull the entire drill press down on you.
5. USER MUST RECEIVE TRAINING BEFORE USE.
The user must know the functions and principals of operation. The
user must also be familiar with the safety devices and regulations.
6. YOU ARE ENDANGERING YOURSELF and other personnel if you
bypass, remove or override a safety device such as the emergency
stop button or the transparent shut-off spindle guard. Only use the
drill press if all safety devices are working properly, if any are
damaged or altered, replace them with identical replacement parts.
7. USER MUST stand in front of the drill press during operations.
VOLTAGE WARNING: Before connecting the tool to a power source (receptacle, outlet, etc.) be sure the voltage supplied is the same as that
specified on the nameplate of the tool. A power source with voltage greater than that for the specified tool can result in SERIOUS INJURY to the
user - as well as damage to the tool. If in doubt DO NOT PLUG IN THE TOOL. Using a power source with voltage less than the nameplate is
harmful to the motor.
1. KNOW YOUR TOOL
Read and understand the owners manual and labels affixed to
the tool. Learn its application and limitations as well as its
specific potential hazards.
2. GROUND THE TOOL.
This tool is equipped with an approved 3-conductor cord and a
3-prong grounding type plug to fit the proper grounding type
receptacle. The green conductor in the cord is the grounding
wire. NEVER connect the green wire to a live terminal.
3. KEEP GUARDS IN PLACE.
Keep in good working order, properly adjusted and aligned.
4. REMOVE ADJUSTING KEYS AND WRENCHES.
Form habit of checking to see that keys and adjusting wrenches
are removed from tool before turning it on.
5. KEEP WORK AREA CLEAN.
Cluttered areas and benches invite accidents. Make sure the
floor is clean and not slippery due to wax and sawdust build-up.
6. AVOID DANGEROUS ENVIRONMENT.
Don’t use power tools in damp or wet locations or expose them
to rain. Keep work area well lit and provide adequate
surrounding work space.
7. KEEP CHILDREN AWAY.
All visitors should be kept a safe distance from work area.
8. MAKE WORKSHOP CHILD-PROOF.
Use padlocks, master switches or remove starter keys.
9. USE PROPER SPEED.
A tool will do a better and safer job when operated at the
proper speed.
10. USE RIGHT TOOL.
Don’t force the tool or the attachment to do a job for which it was
not designed.
11. WEAR PROPER APPAREL.
Do not wear loose clothing, gloves, neckties or jewelry (rings,
watch) because they could get caught in moving parts. Non-slip
footwear is recommended. Wear protective hair covering to
contain long hair. Roll up long sleeves above the elbows.
12. ALWAYS WEAR SAFETY GLASSES.
Always wear safety glasses (ANSI Z87.1). Everyday eyeglasses
only have impact resistant lenses, they are NOT safety glasses.
Also use a face or dust mask if cutting operation is dusty.
13. DON’T OVERREACH.
Keep proper footing and balance at all times.
14. MAINTAIN TOOL WITH CARE.
Keep tools sharp and clean for best and safest performance.
Follow instructions for lubricating and changing accessories.
15. DISCONNECT TOOLS.
Before servicing, when changing accessories or attachments.
16. AVOID ACCIDENTAL STARTING.
Make sure the switch is in the ‘’OFF’’ position before plugging in.
17. USE RECOMMENDED ACCESSORIES.
Consult the manual for recommended accessories. Follow the
instructions that accompany the accessories. The use of
improper accessories may cause hazards.
18. NEVER STAND ON TOOL.
Serious injury could occur if the tool tips over. Do not store
materials such that it is necessary to stand on the tool to reach
them.
19. CHECK DAMAGED PARTS.
Before further use of the tool, a guard or other parts that are
damaged should be carefully checked to ensure that they will
operate properly and perform their intended function. Check for
alignment of moving parts, breakage of parts, mounting, and any
other conditions that may affect its operation. A guard or other
parts that are damaged should be properly repaired or replaced.
20. NEVER LEAVE MACHINE RUNNING UNATTENDED.
Turn power ‘’OFF’’. Don’t leave any tool running until it comes to
a complete stop.
ELECTRICAL INFORMATION,
TRANSPORTATION & CLEANING
WARNING
ALL ELECTRICAL CONNECTIONS MUST BE DONE BY A QUALIFIED ELECTRICIAN. FAILURE TO COMPLY MAY RESULT IN SERIOUS
INJURY! ALL ADJUSTMENTS OR REPAIRS MUST BE DONE WITH THIS DRILLING MACHINE DISCONNECTED FROM THE POWER
SOURCE. FAILURE TO COMPLY MAY RESULT IN SERIOUS INJURY!
POWER SUPPLY
WARNING: YOUR DRILLING MACHINE MUST BE CONNECTED TO A 550V (3 PHASE) CIRCUIT. FAILURE TO CONNECT IN THIS WAY
CAN RESULT IN INJURY FROM SHOCK OR FIRE.
GROUNDING
Your drilling machine must be properly grounded. Not all outlets are properly grounded. If you are not sure if your outlet is properly
grounded, have it checked by a qualified electrician.
WARNING: IF NOT PROPERLY GROUNDED, THIS DRILLING MACHINE CAN CAUSE ELECTRICAL SHOCK, PARTICULARLY WHEN
USED IN DAMP LOCATIONS. TO AVOID SHOCK OR FIRE, IF THE POWER CORD IS WORN OR DAMAGED IN ANY WAY, HAVE IT
REPLACED IMMEDIATELY.
This drilling machine must be grounded. If it should malfunction or breakdown, grounding provides a path of least resistance for electric
current, to reduce the risk of electric shock.
WARNING: TO MAINTAIN PROPER GROUNDING OF YOUR DRILLING MACHINE, DO NOT REMOVE OR ALTER THE GROUNDING
PRONG IN ANY WAY.
550V (3 PHASE) OPERATION
As received from the factory, your drilling machine does not come with a 550V CSA plug. The user must purchase a 550V CSA approved
plug and have it installed. Contact your authorized service center or qualified electrician to install the plug. Make sure the 550V plug
installation complies with all local and national codes.
Check with local codes for requirements for independent circuits and dedicated power control switch.
TRANSPORTATION USING LIFTING EQUIPMENT
To move this drilling machine from one location to the
other, start by removing the transversal hole plastic
covers (one on each side of the head). Insert a high grade
steel bar through the transversal hole (A-Fig.1) in the
machine head and attach a rope in order to lift the drilling
machine using a chain hoist.
FASTENING BASE TO FLOOR
Figure 2 shows the method and dimensions required for
fastening the drill press base to a level floor.
CLEANING
After removing the drilling machine from its wooden crate
and fixing it permanently to the floor, all the surfaced
(non-painted) parts of the machine are coated with an
anti-rust compound and must be cleaned. Clean with a
rag and kerosene or a petroleum base solvent, then
lubricate all movable parts with gear oil or grease.
FIGURE 1 FIGURE 2
A
B
C
D
E
16 1/8”
28 3/4”
14 1/8”
16 1/8”
4 1/2”

GETTING TO KNOW & STARTING
YOUR DRILLING MACHINE
FIGURE 3
GETTING TO KNOW YOUR DRILLING MACHINE
Main Components (Fig.3)
1. Motor
2. Speed selectors
3. Speed plate
4. Oil filling opening (speed gearbox)
5. Oil pump indicator sight glass
6. Oil level sight glass
7. Oil draining plug
8. Tool ejector
9. Spiral spring housing/cover
10. Spindle
11. Depth stop lock knob
12. Rapid manual feed control
13. Oil filling access panel (feed gearbox)
14. Oil level sight glass
15. Oil draining plug
16. Feed selector (0.1 or 0.2 m/min.)
17. Automatic feed lever
Control Panel (Fig.4)
1. Coolant switch
2. Work light switch
3. Forward - Reverse switch
4. Low - High selector (speed selection)
5. Tap Return button
6. Drill - Stop - Tap button
7. Emergency Stop button
8. Stop button
9. Start button
0
1
2
3
4
5
6
7
28” VARIABLE SPEED gearhead DRILLING MACHINE
PERCEUSE À VITESSE VARIABLES AVEC TÊTE À ENGRENAGE 28”
mod.: KC-50
Imported by/Import par: King Canada Inc. Dorval, Quebec H9P 2Y4
Inches
Pouces
LR174325
Warning! Read and understand the instruction manual before operating. Do not expose to rain or use in damp locations.
Avertissement! Lire et comprendre le manuel dinstructions avant doprer. Nexposez pas la pluie et nutilisez pas
dans des emplacements humides.
LH
12
34
56
7
89
FIGURE 4
Control Panel- Turning the Drilling Machine On/Off
In order to turn the drilling machine on, make sure the emergency stop button
(7) is turned clockwise and pops out completely or else you will not be able to
activate the on-off functions. The control panel (Fig.4) on the front of the drilling
machine head comes with a start button (9), press this button to turn the drilling
machine on. To turn the drilling machine off, push the stop button (8). In case of
an emergency, push the larger emergency stop button (7).
This drilling machine comes with a work light, to turn the work light on, turn the
work light switch (2) to the right.

TABLE HEIGHT ADJUSTMENT
To adjust the table height, loosen both lock handle assemblies (parts diagram# 111) which are found at the rear of the table. Turn the side
mounted height adjustment crank handle (parts diagram# 106) to raise or lower the table. Retighten both lock
handle assemblies.
SPEED SELECTOR LEVERS (A Fig. 5)
WARNING: DO NOT ADJUST SPEED WHILE THE MACHINE IS IN USE.
The speed is selected by means of levers (A-Fig.5). To select speed, first select either the Low or High setting
by turning the Low-High knob (see #4-Fig.4 on the control panel illustration). The “L” setting corresponds to the
speeds in columns #1 on the speed chart. The “H” setting corresponds to the speeds in columns #2 on the
speed chart. The letters on the speed chart correspond to the required lever positions. See speed chart Fig.6
as reference. Finally, slightly pull levers up and rotate them to the corresponding setting.
RECOMMENDED SPEEDS DEPENDING ON THE DRILL BIT SIZE AND MATERIAL TO DRILL (FIG.7)
WARNING: DO NOT ADJUST SPEED WHILE THE MACHINE IS IN USE.
Use the chart (Fig.7) as a guideline for speeds depending on the drill bit size and the material to be drilled.
SPECIFICATIONS,
ADJUSTMENTS & OPERATIONS
FIGURE 5
Bit Ø [mm]
3
4
5
6
7
8
9
10
11
12
13
14
16
18
20
22
25
Cast Iron
2550
1990
1530
1270
1090
960
850
765
700
640
590
545
480
425
380
350
305
Stainless
Steel
1600
1200
955
800
680
600
530
480
435
400
370
340
300
265
240
220
190
Steel (St 37)
2230
1680
1340
1100
960
840
740
670
610
560
515
480
420
370
335
305
270
Aluminum
9500
7200
5700
4800
4100
3600
3200
2860
2600
2400
2200
2000
1800
1600
1400
1300
1150
Bronze
8000
6000
4800
4000
3400
3000
2650
2400
2170
2000
1840
1700
1500
1300
1200
1100
950
FIGURE 6
FIGURE 7
MODEL KC-50
Drilling cap. in light alloy steel 1-3/8”
Drilling cap. in mild steel 1-1/2”
Chuck size 5/8”
Spindle taper MT #4
Swing 27-1/2”
Stroke 7”
Max. distance spindle to table 26”
Max. distance spindle to base 43”
Size of T-Slot on table 5/8”
Speeds (RPM) 18 (60-870 / 120-1740)
Table dimensions 22” x 22”
Motor 2.4 Amp., 1720 RPM
Coolant pump motor 1/8 HP
Voltage 550V, 3 phase, 60 Hz
Dimensions (LxWxH) 22” x 37” x 91”
Weight 1200 LBS
Spindle sleeves MT#4-MT#3, MT#4-MT#2

AUTOMATIC FEED SPEED SELECTOR (B-Fig. 5)
To select the feed speed, turn the side selector (B-Fig.5) to the desired feed speed
setting (0.1 or 0.2 m/min). To engage the feed speed, press the ON button found on the
control panel.
AUTOMATIC DOWNFEED (Fig. 8)
This drill press has a mechanical automatic feed. To set the automatic feed, proceed with
the following:
1. Set the depth of cut lock knob (1-Fig.8) to the desired depth and lock into place.
2. Select the feed speed (0.1 or 0.2 m/min) (2 or B-Fig.5).
3. Lift the automatic downfeed lever (3).
At the end of the stroke, the depth stop limit plate comes in contact with a limit switch
which stops the automatic downfeed. The automatic downfeed lever can also be
displaced manually to stop the downfeed before the depth stop limit plate comes in
contact with the limit switch.
AUTOMATIC TOOL EJECTOR (Fig. 9)
To remove the tool from the spindle, perform the following operations:
1. Lower the spindle manually a little bit and introduce the tool extractor (1-Fig.9).
2. Raise the spindle (2).
3. Hold the tool with one hand (3) when raising the spindle or it will fall on the table.
Attention: Do not leave the extractor bolt in the pushed-in position.
TORQUE LIMITER (Fig.10)
The gearbox is fitted with a stopping device which works in the event of overload. If the feed stops during
drilling and the tool continues to revolve, it is a sign that is it overloaded. When the load is reduced, the
feed starts up again. If for any reason, such as due to wear of the limiter discs or the need for a higher
working load, readjustment may be necessary, we recommend the following action. From the inspection
hole and guided by the limiter assembly, tighten the nut bushing (parts diagram# 479). This mechanism
has been factory adjusted, by measuring the maximum admissible axial load, with a tensiometer. There-
fore, do not tighten the nut bushing too much, so as to avoid the risk of breaking the mechanism.
TRANSPARENT SAFETY SHUT-OFF GUARD (FIG.11)
Never operate this drill press without this guard (Fig.11) in place. Do not modify this mechanism in any
way. This machine comes with a security micro shut-off guard. Before pressing the start button, place the
drill guard in the working position (closest position to the drill bit), otherwise the machine controls
will not start. Note: If the guard is opened when operating the machine, the machine will stop. Do not
remove the guard under any circumstances. Keep guard centered with the drill bit. This will ensure
operator protection.
COOLANT SYSTEM
This machine comes with a recirculating coolant system. Coolant is required to reduce the friction of the
cutting tool. The coolant flow is regulated using the regulator value (A-Fig.12) located at the bottom of the
coolant flex nozzle (B) on the left side of the head.
To fill the coolant system with coolant, pour coolant into the slots in the base of the machine. The coolant
will drain into a small coolant hole in the base, near the coolant pump. Pour coolant until the coolant stops
draining into the base, turn the coolant system on by turning the coolant switch (1-Fig.4) to the right. Set
the coolant flow with the regulator valve (A). The coolant should flow normally out from the flex nozzle (B)
into the table slots, the coolant will then drain from the table back down to the base and back up through
the coolant pump and the cycle repeats itself until the coolant switch is turned off.
The type of coolant to use depends on the material to cut, see your local industrial distributor for more
information.
ADJUSTMENTS & OPERATIONS
FIGURE 10
FIGURE 11
FIGURE 9
FIGURE 8
FIGURE 12

MAINTENANCE
4.5 LITERS 0.5 LITERS TO EMPTY
FIGURE 14 FIGURE 15 FIGURE 16
FIGURE 13
FILLING SPEED BOX AND FEED BOX WITH OIL
WARNING! THIS MACHINE IS SUPPLIED WITHOUT OIL IN THE SPEED BOX AND THE FEED BOX
FOR TRANSPORT REASONS. PLEASE FOLLOW THE INSTRUCTIONS FOR FILLING THE
MACHINE WITH OIL:
The speed box (Fig.13) has an oil pump which lubricates the higher, hard to reach gears. Remove
upper oil plug (A-Fig.14). Fill with 30 grade non-detergent gear oil by using a funnel. Stop filling oil when
oil level reaches the red mark (center) in oil sight glass (B) (approx. 4.5 Liters). This red mark must
never be exceeded or the oil will overflow out of the machine. If this occurs, remove plug (C) and drain
oil until oil level goes down to red mark in oil sight glass. When the machine is turned on, speed box oil
pump turns on and fills the oil sight glass (A-Fig.13). This indicates that the oil pump is working
properly.
Fig.15 shows the feed box. To add oil, remove the left side access panel (A-Fig.15) by removing both
cap screws which hold it in place. Fill the feed box through this access panel opening with 30 grade
gear non-detergent oil. Stop filling oil when oil level reaches the red mark (center) in oil sight glass (B-
Fig.15) (approx. 0.5 Liters), having a second person to watch the oil level will be helpful. This red mark
must never be exceeded or the oil will overflow out of the machine. If this occurs, remove plug (C) under
the head casting and drain oil until oil level goes down to red mark in oil sight glass.
LUBRICATION POINTS (30 grade gear oil/gear
grease)
A. Quill Spindle: Daily lubricate with oil the oiler
located next to the spiral spring cover.
B. Quill gearing shaft: Daily lubricate with oil the
lubrication port on the spiral spring cover.
C. Quill: Clean and lubricate the rack with grease for
upward and downward displacement of quill-spindle.
D. Column: Clean and grease every 50 hours.
E. Speed box: Fill the box with oil until reaching the
center of oil sight glass. Change oil every 2000
hours.
F. Feed box: Fill the box with oil until reaching the
center of oil sight glass. Change oil every 2000
hours.
G. Rack: Clean and lubricate with grease every 50
hours.
H. Table: Daily lubricate with oil the two lubrication
points. FIGURE 17
WARNING!
This machine does
not come with oil in
the feed box and
speed box, follow
instructions on this
page
PARTS DIAGRAM & PARTS LISTS
Refer to the Parts section of the King Canada web site for the most updated parts diagram and parts list.
Other manuals for KC-50
1
Table of contents
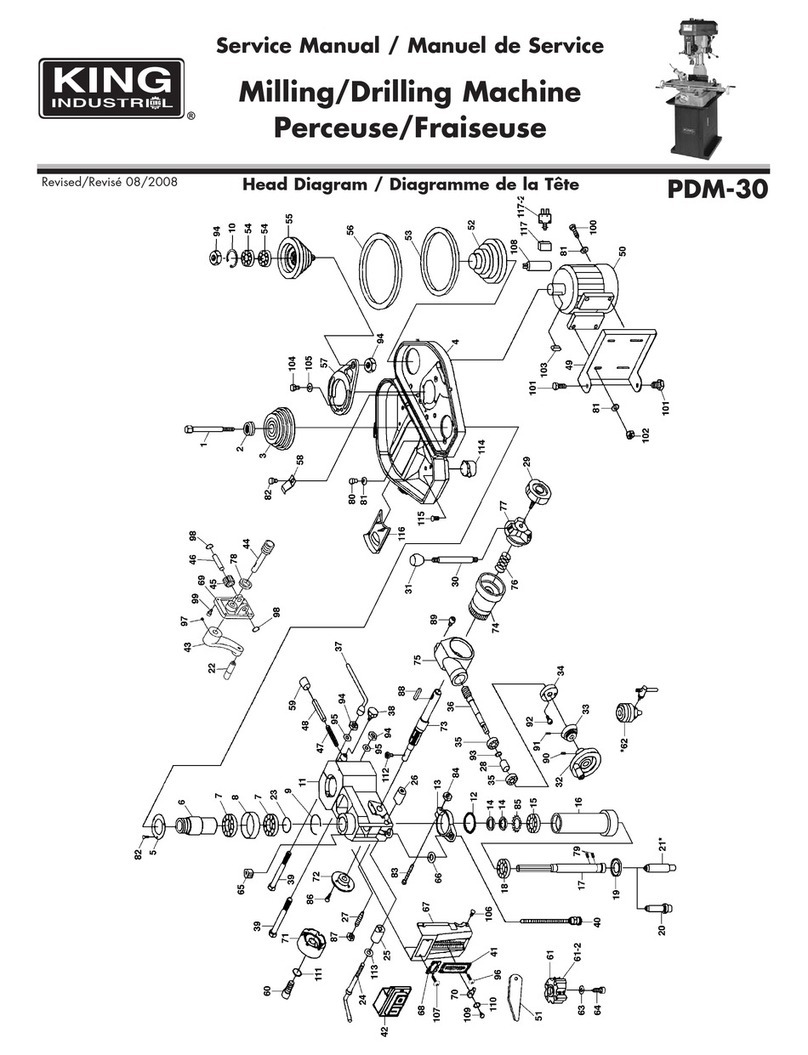
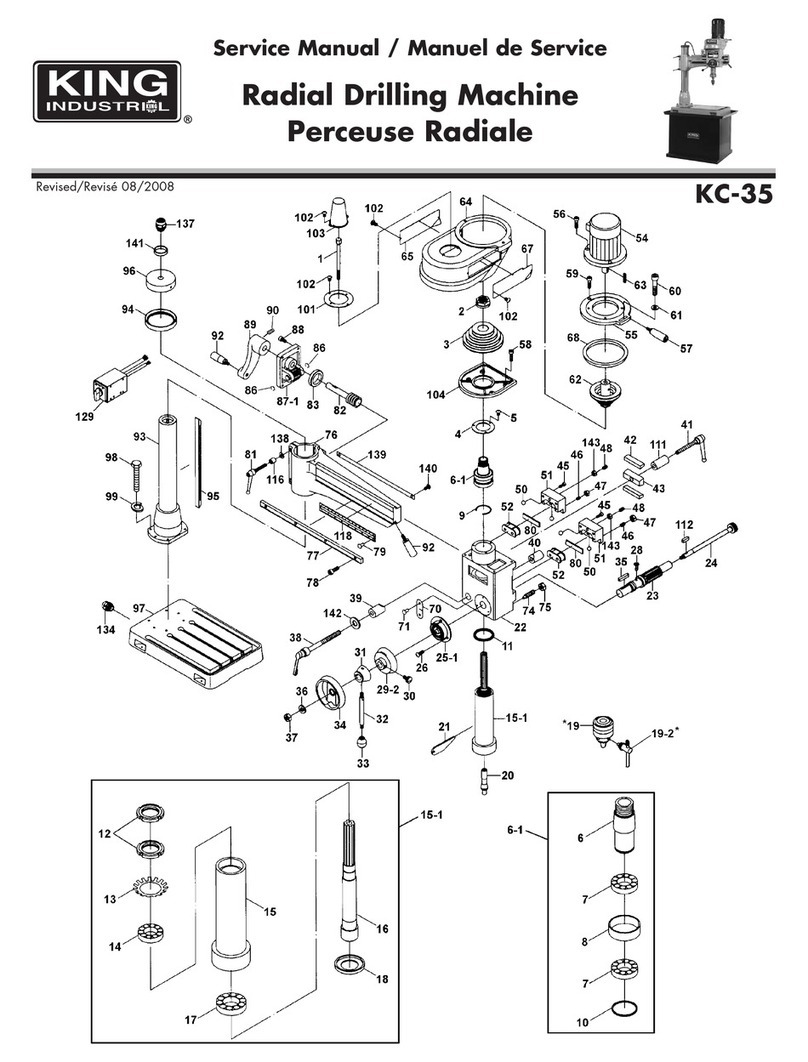
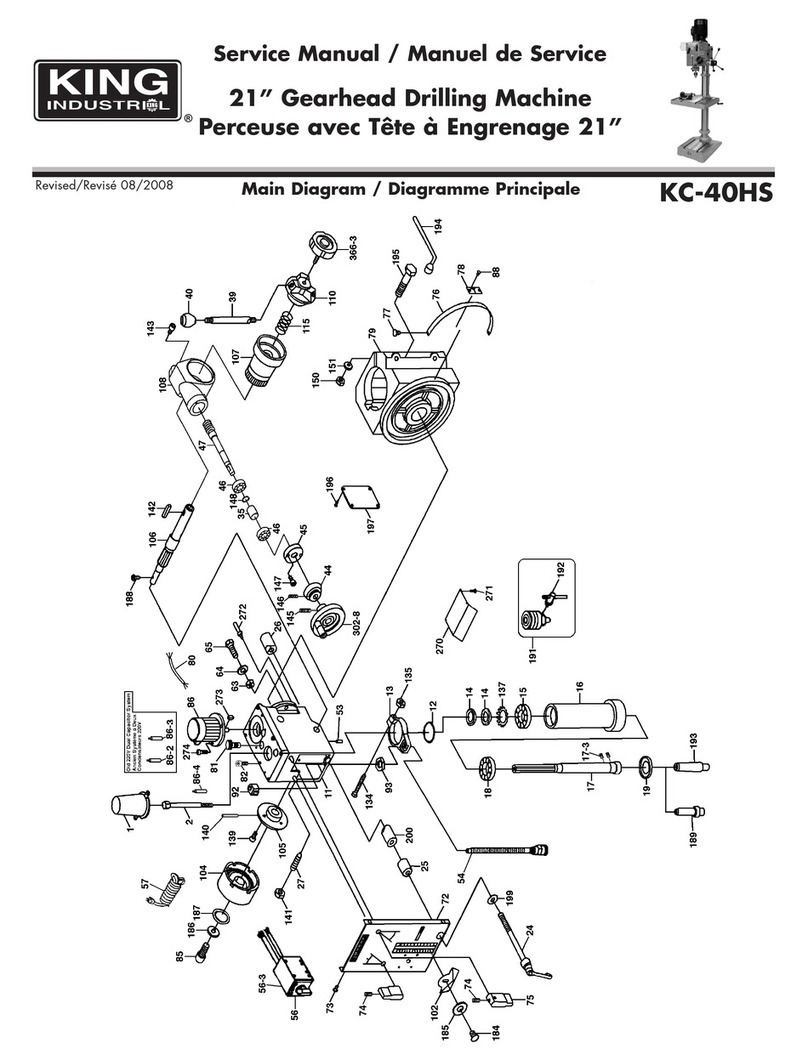
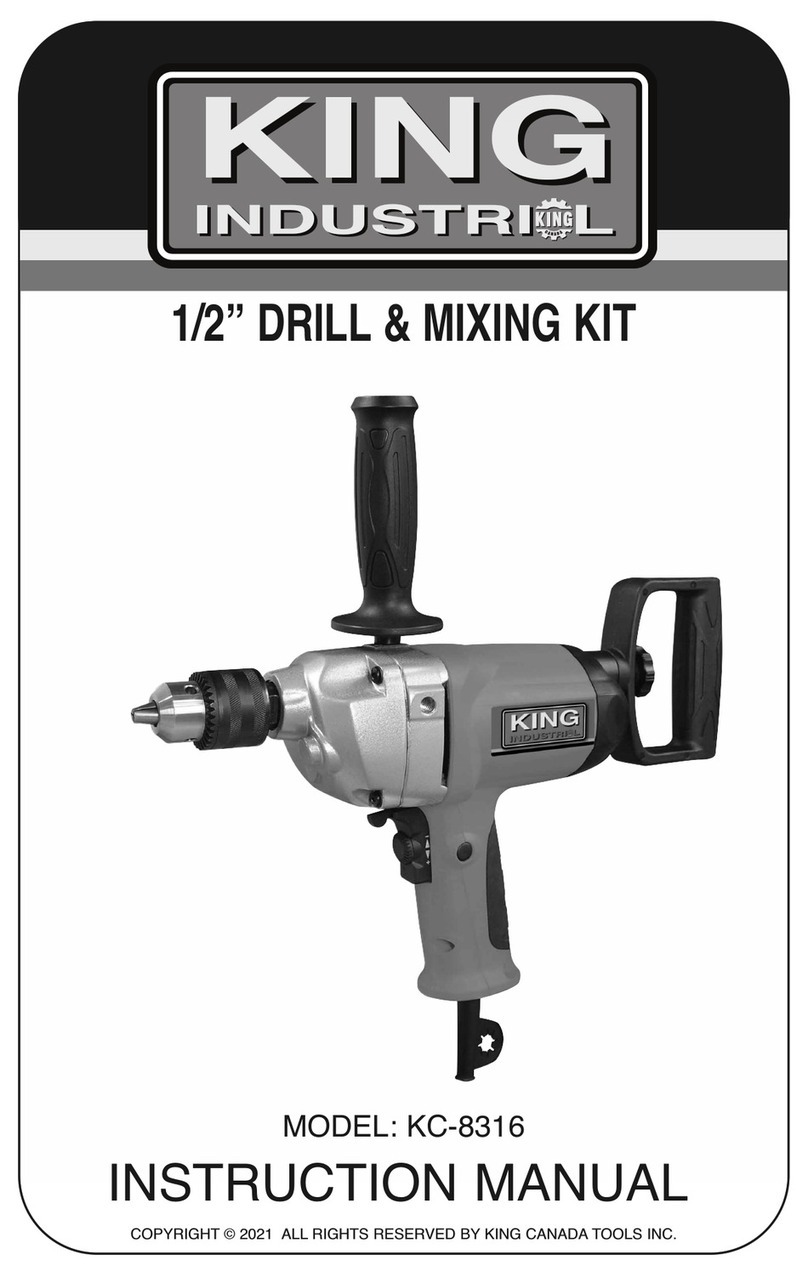
Other King Industrial Drill manuals

King Industrial
King Industrial KC-35 User manual

King Industrial
King Industrial KC-40HS User manual

King Industrial
King Industrial MA-1075ST User manual

King Industrial
King Industrial KC-50 User manual

King Industrial
King Industrial KC-401V2F-5 User manual

King Industrial
King Industrial PDM-30 User manual

King Industrial
King Industrial PDM-25 User manual

King Industrial
King Industrial KC-35 Instruction Manual

King Industrial
King Industrial KC-8316 User manual

King Industrial
King Industrial KC-40HC_5 User manual