SCIBORG 825K OWNER’S GUIDE
5
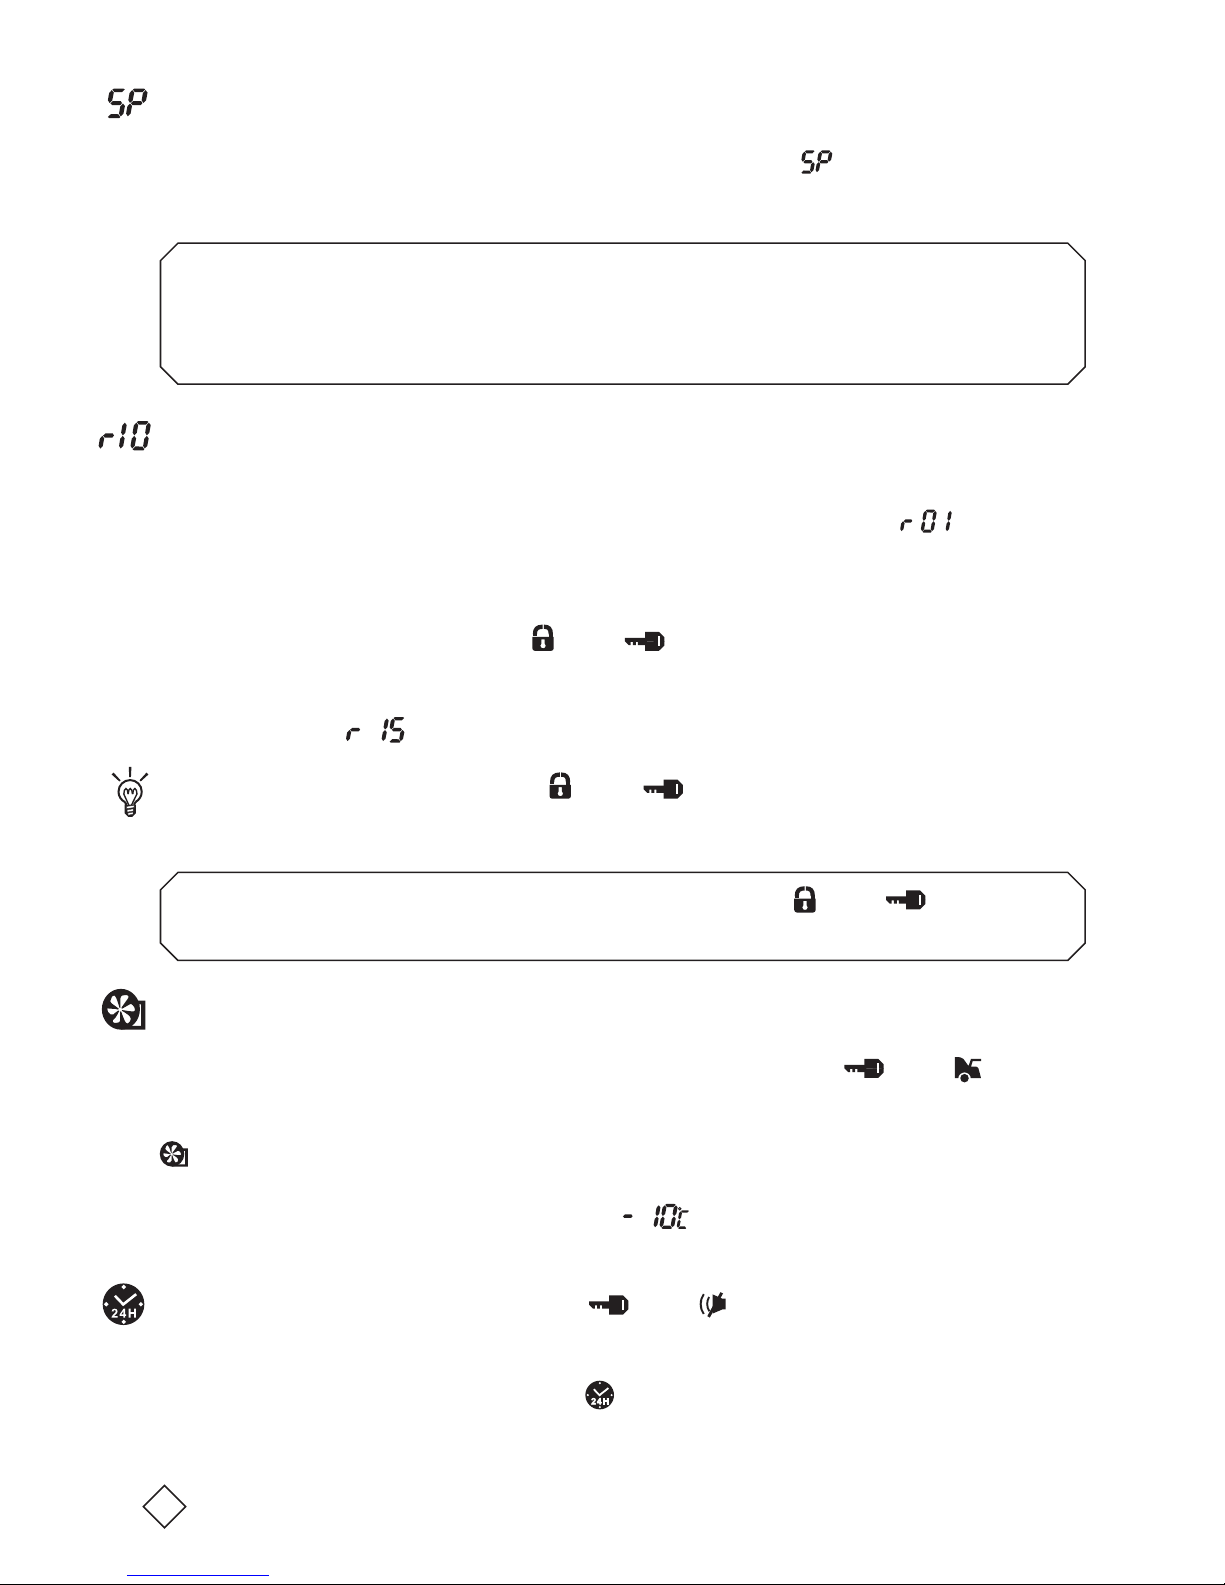
Remote Start Failure
.
If the engine fails to start initially, the 825K will retry
3 more times. If the 825K fails to start the engine after 4 attempts, the start-
system will stop and the LCD pager will display the icon. The siren will
also chirp 4 times and the pager will beep 4 times.
NOTE: The 825K will not start the engine under these 3 conditions: (1) the
hood open, (2) the ignition key turned ON, (3) the brake pedal pushed (see H3-
16 on pg.21 of the Installation Guide). If any of these conditions occur while
the engine is remote started, the engine will immediately shutdown for safety.
Preset Engine Run Time
.
The engine is factory programmed to run for 10 min-
utes, but you can change the preset run time to 5, 15 or 20 minutes. See line 1
on page 12 for details. When there is only 1 minute remaining before engine
shutdown, the LCD pager will play a chime and then display .
Remote Engine Run Time
.
After the engine has been successfully remote
started, you can easily increase the engine run duration from your pager or
transmitter. Simply press the and buttons at the same time to adjust
the engine run time in increments of 5 minutes, for up to 20 minutes. The
LCD pager will display the changes you have made. For example, if the LCD
pager displays , it means you have chosen a “run time of 15 minutes.”
TIP: Pressing and holding the and buttons for more than 2 seconds
will display the “remaining engine run time” on the LCD pager.
NOTE: When the engine is not running, pressing the and buttons for
any duration will display the current status of the vehicle on the pager.
Temperature Controlled Auto Start
.
The 825K can start your vehicle’s engine
automatically when the temperature falls below a specified level. (See page
12, line 2.) To activate this feature, press and hold the and buttons
for more than 2 seconds. Press a second time to deactivate. When activated,
the siren will chirp once and the hazard/parking lights will flash once. The
icon will appear on the LCD pager along with the preset activation tem-
perature, and a melody will also play. (If the preset temperature is -10°C, for
example, the LCD pager will display .) Temperature Controlled Auto
Start will allow a maximum of 6 start cycles in a 2 hour period.
Timed Auto Start
.
Press and hold and for more than 2 seconds to
have the 825K start your vehicle’s engine each day (every 24 hours) at the
exact time you activate this feature. The siren will chirp once and the pager
will play a melody and display the icon when active. The pager will then
beep 5 times, and the engine start sequence will begin.