Convection Oven__ __________ASSEMBLY & GENERAL INFORMATION
4 AFTER SALES SUPPORT
888-367-7373 customer-service@wk-usa.com
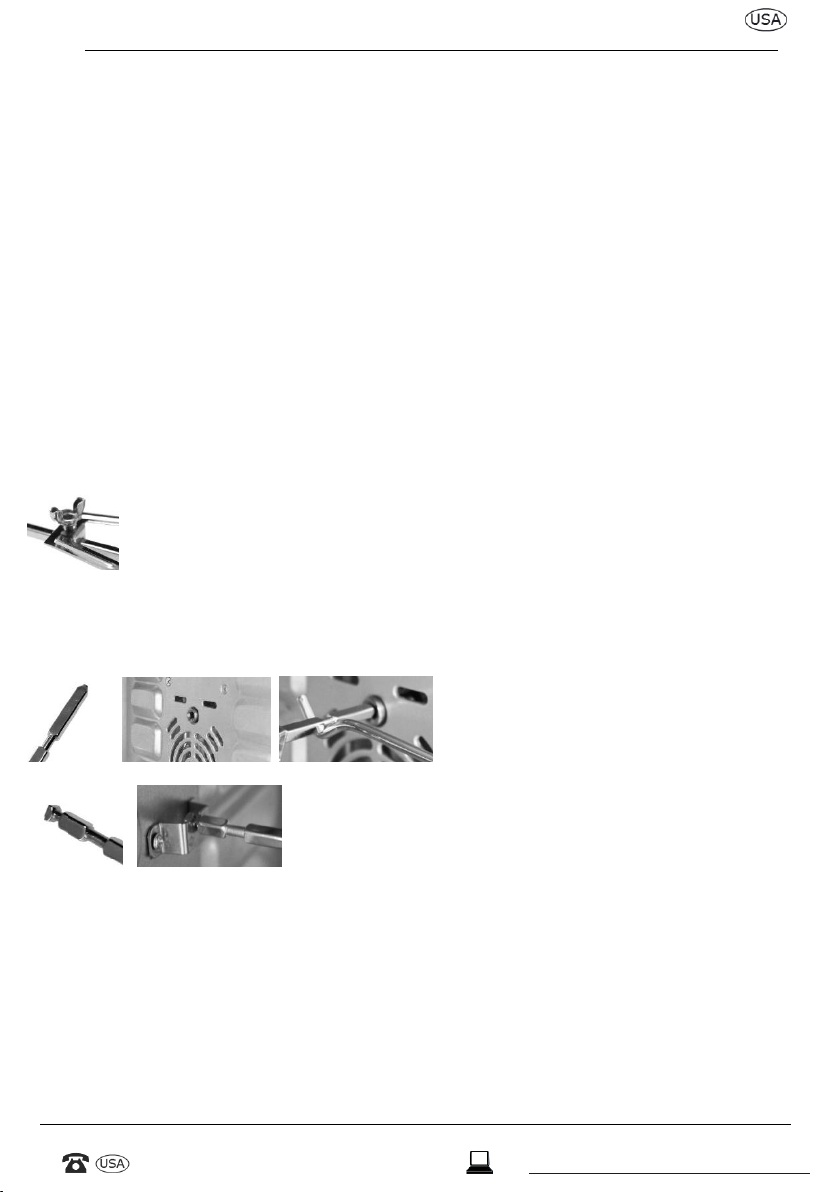
ASSEMBLY
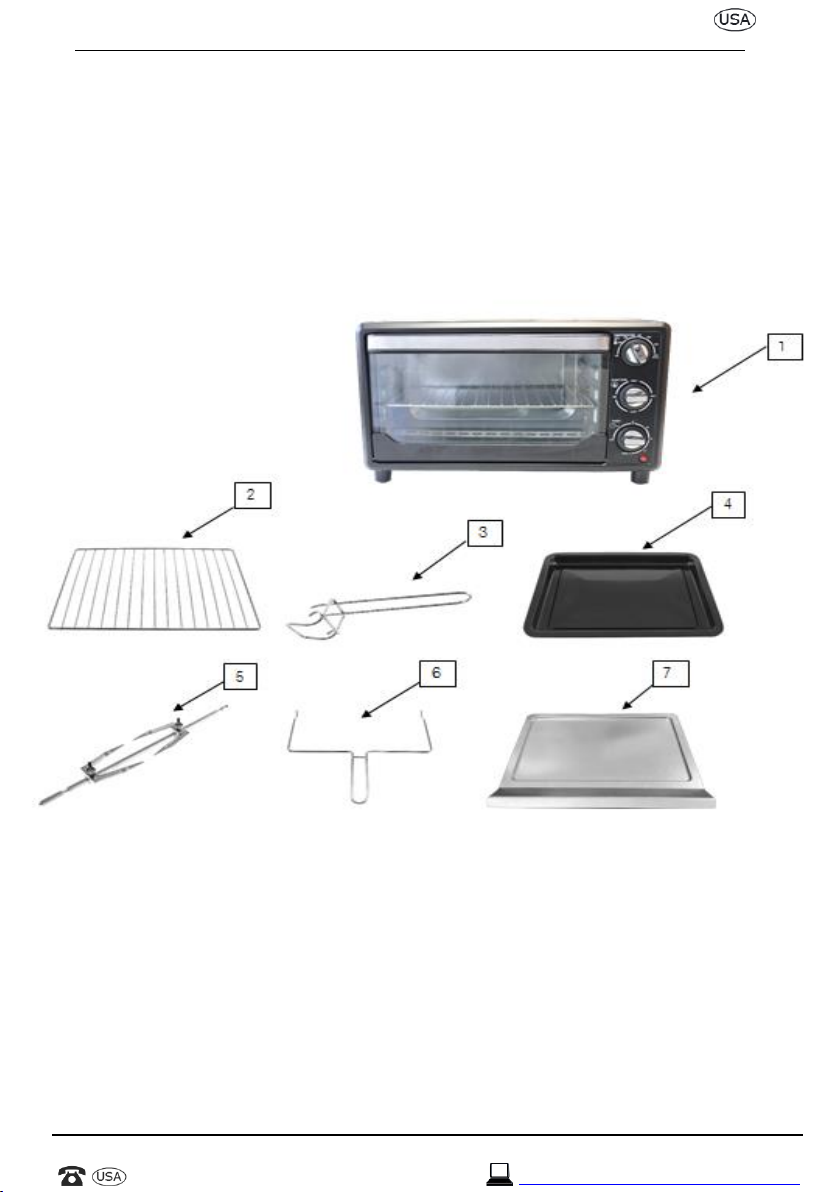
1. This convection oven comes fully assembled.
2. Unpack the convection oven from the box and remove the accessories from the inner box.
3. Remove any unwanted packaging materials such as cardboard, plastics or Styrofoam.
4. Wipe clean all the parts with a soft damp cloth or sponge and warm water. Rinse and dry
thoroughly. DO NOT IMMERSE THE CONVECTION OVEN IN WATER OR ANY OTHER
LIQUID.
5. Select an area to put the convection oven that is at least 4 inches away from other objects
and surfaces to allow heat to circulate without damage to cabinets and walls.
DO NOT USE ANY ABRASIVE MATERIALS TO CLEAN THE SURFACE OF THE CONVECTION OVEN, METAL
SCOURING PADS HAVE PIECES THAT CAN BREAK OFF, TOUCH ELECTRICAL PARTS, WHICH THEN
CREATES A RISK OF ELECTRIC SHOCK.
GENERAL INFORMATION
When using electrical appliances, basic safety precautions should always be followed.
Please read and save all instructions before using the Convection Oven.
1. To protect against electrical shock, do not immerse power cord, plug or convection oven
unit in water or any other liquid.
2. Always operate this unit on a flat stable surface. Do not tilt the convection oven.
3. Do not use the convection oven for other than intended use. Do not use outdoors. For
household use only.
4. Close supervision is necessary when any appliance is being used by or near children. This
convection oven is not intended for use by persons (including children) with reduced
physical, sensory or mental capabilities, or lack of experience and knowledge, unless they
have been given supervision or instruction concerning the use of the convection oven by a
person responsible for their safety.
5. Always unplug this unit from the electrical outlet when not in use or before cleaning. Allow
the convection oven to cool completely before removing parts or cleaning.
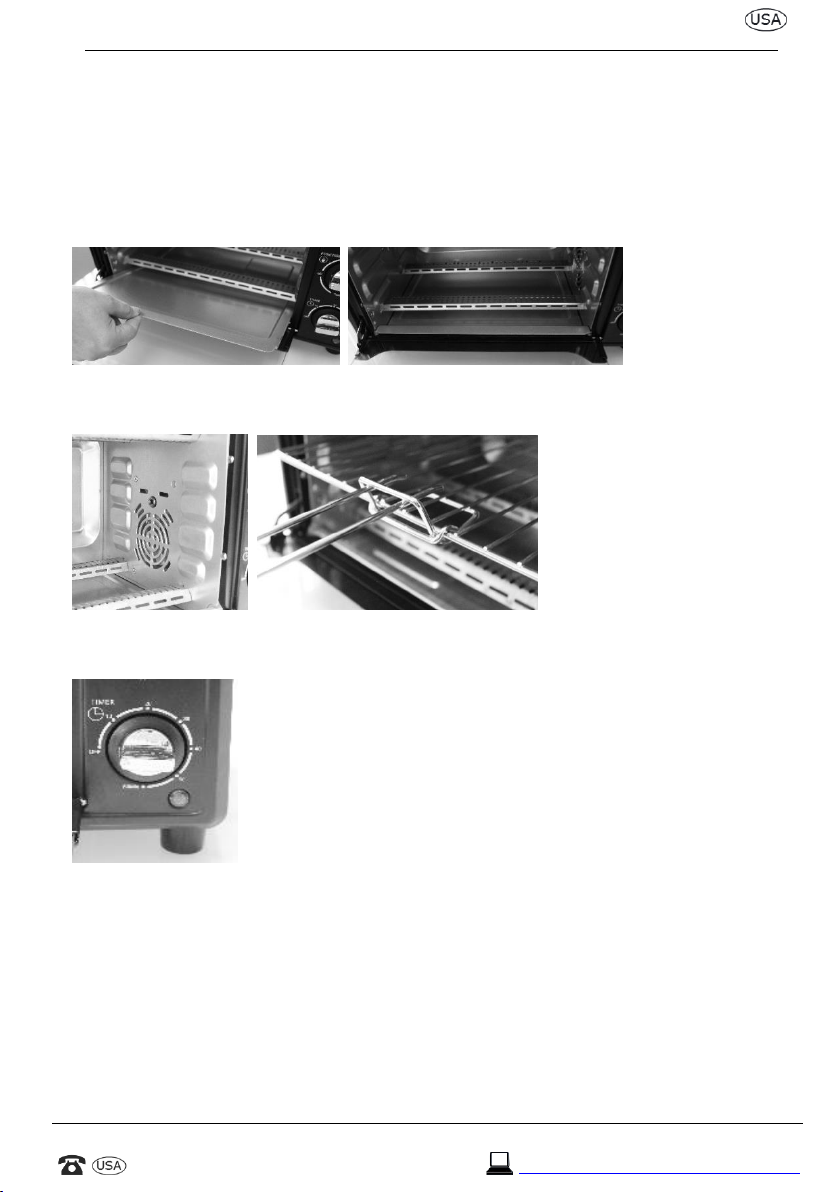
6. To disconnect, turn the function and timer knobs to OFF and remove the plug from the
outlet. Do not pull on the cord.
7. Extreme caution must be used when moving a hot container with hot oil or other liquids.
8. Do not operate the convection oven with a damaged power cord or plug or after the
appliance malfunctions or is dropped or damaged in any manner. Contact the warranty
center for instructions. See warranty page. Do not attempt to repair the convection oven
yourself.